Organize in style with this Crochet Makeup Bag Pattern, a cute & practical way to store cosmetics, accessories, or small everyday essentials.
Perfect for those who value both beauty and practicality, this stylish accessory seamlessly organizes daily essentials while adding a chic, handmade touch to any vanity or handbag. The Crochet Makeup Bag Pattern currently enjoys wide appeal thanks to its durability, versatility, and visual charm—offering endless color and texture possibilities to suit personal style. With a sturdy, structured design, it keeps cosmetics, toiletries, or small electronics secure and easily accessible, making it ideal for travel or everyday use.
Chic Crochet Makeup Bag Pattern for Everyday Use

Effortlessly customizable in size and embellishments, this pattern allows enthusiasts to select favorite yarns, experiment with stitches, and personalize closures for a truly unique result.

Notably, the finished bag maintains its shape beautifully, and often features a smooth, fabric lining and zipper for lasting quality. Presently, this pattern offers an engaging creative outlet and produces a modern, elegant pouch that elevates gift-giving or self-care rituals with a dash of handmade charm.
Special Features
- Beginner Level: Uses only single crochet stitches – perfect for those starting out.
- Customizable Size: Adjust the starting chain for a smaller or larger bag.
- Practical Design: Sturdy oval base provides generous storage space.
- Versatile Finish: Add a zipper and fabric lining for a polished, functional pouch.
- Quick to Complete: Simple, repetitive stitches make this a fast project.
Level of Difficulty
Easy / Beginner. If you can single crochet and count your stitches, you can confidently make this bag.
Tutor’s Suggestions
- Choose a smooth cotton yarn for durability and stitch definition.
- Use a stitch marker to keep track of your round beginnings, especially on the base.
- Make sure your tension is even for a neat appearance.
- Continue increasing the base for a larger pouch, or stop sooner for a smaller one.
- Patiently work with splitty yarn; pause and correct split stitches as needed.
Uses
- Makeup or toiletries bag
- Pencil or craft supplies case
- Mini clutch or organizer for handbags
- Giftable pouch for friends and family
Materials Needed
- Cotton yarn (or desired yarn)
- 3 mm crochet hook
- Yarn needle
- Scissors
- Zipper
- Fabric lining (optional)
Step-by-Step Pattern
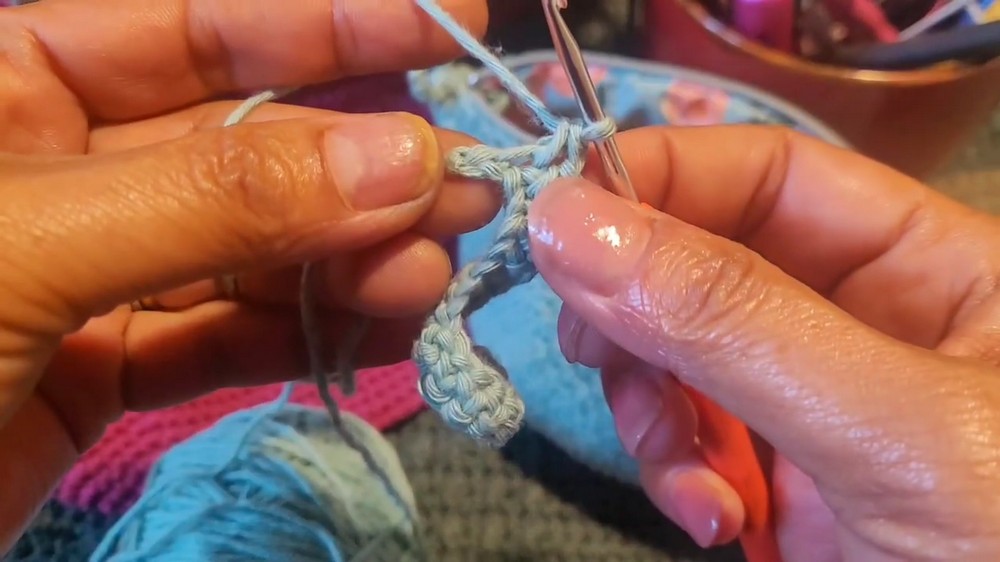
1. Make the Oval Base
- Foundation:
- Chain 15.
- Chain 1 extra for turning (Total: 16).
- Round 1:
- Starting in 2nd chain from hook, work 3 single crochets (sc) in same stitch (this is your rounded end).
- Mark the first stitch with a stitch marker.
- sc in next 14 stitches (across the chain).
- In the last chain, work 3 sc (other rounded end).
- Rotate work; working on the underside, sc in next 14 stitches (back to start).
- You should have 3 sc at both ends and 14 sc along each side.
- Starting in 2nd chain from hook, work 3 single crochets (sc) in same stitch (this is your rounded end).
- Rounds 2–7 (Increase Rounds):
- Round 2:
- At each end, sc increase (2 sc in each st) into the first 3 stitches (now 6 sc total at each end).
- sc in next 14 along each flat side.

- Round 3:
- At each round end, alternate 1 sc increase, 1 sc (repeat across 6 stitches at end).
- sc in next 14 along each side.
- Round 4:
- At each end, sc increase, sc in next 2 stitches, repeat to end.
- Round 5:
- At each end, sc increase, sc in next 3 stitches, repeat to end.
- Round 6:
- At each end, sc increase, sc in next 4 stitches, repeat to end.
- Round 7:
- At each end, sc increase, sc in next 5 stitches, repeat to end.
- Always sc 14 along each side without increases.

- After each round, adjust if needed so increases stay centered at the curve.
(TIP: To make a larger bag, keep increasing: next round would be sc increase, sc in next 6, then sc increase, sc in next 7, etc.)
- When satisfied with the base size, stop increasing. Example base at this stage: 64 stitches around.
- Round 2:
2. Build the Bag Sides
- Start the Sides:
- Skip the first stitch of your round.
- In the next stitch, work 2 single crochets (sc) in the same stitch.
- Skip one stitch, then 2 sc in the next.
- Repeat skip one, 2 sc in next all the way around, except in the very last stitch, where you just work 1 sc.
- Continue Sides:
- In following rounds, continue: In each space where you skipped, work 2 sc; skip the next two stitches (i.e., the paired ones from the previous round).
- This pattern naturally builds up the bag’s textured sides.
- Continue until your pouch reaches the desired height.

3. Finishing the Top
- Final Round:
- When happy with height, close the round with a slip stitch in the starting stitch.
- Chain 1, then single crochet evenly around the top edge for a neat finish.
- Cut yarn and fasten off.
- Weave in ends with a needle.
4. Assembly
- (Optional) Lining:
- Cut fabric to fit the inside of your pouch.
- Hand or machine sew into bag for a professional finish.
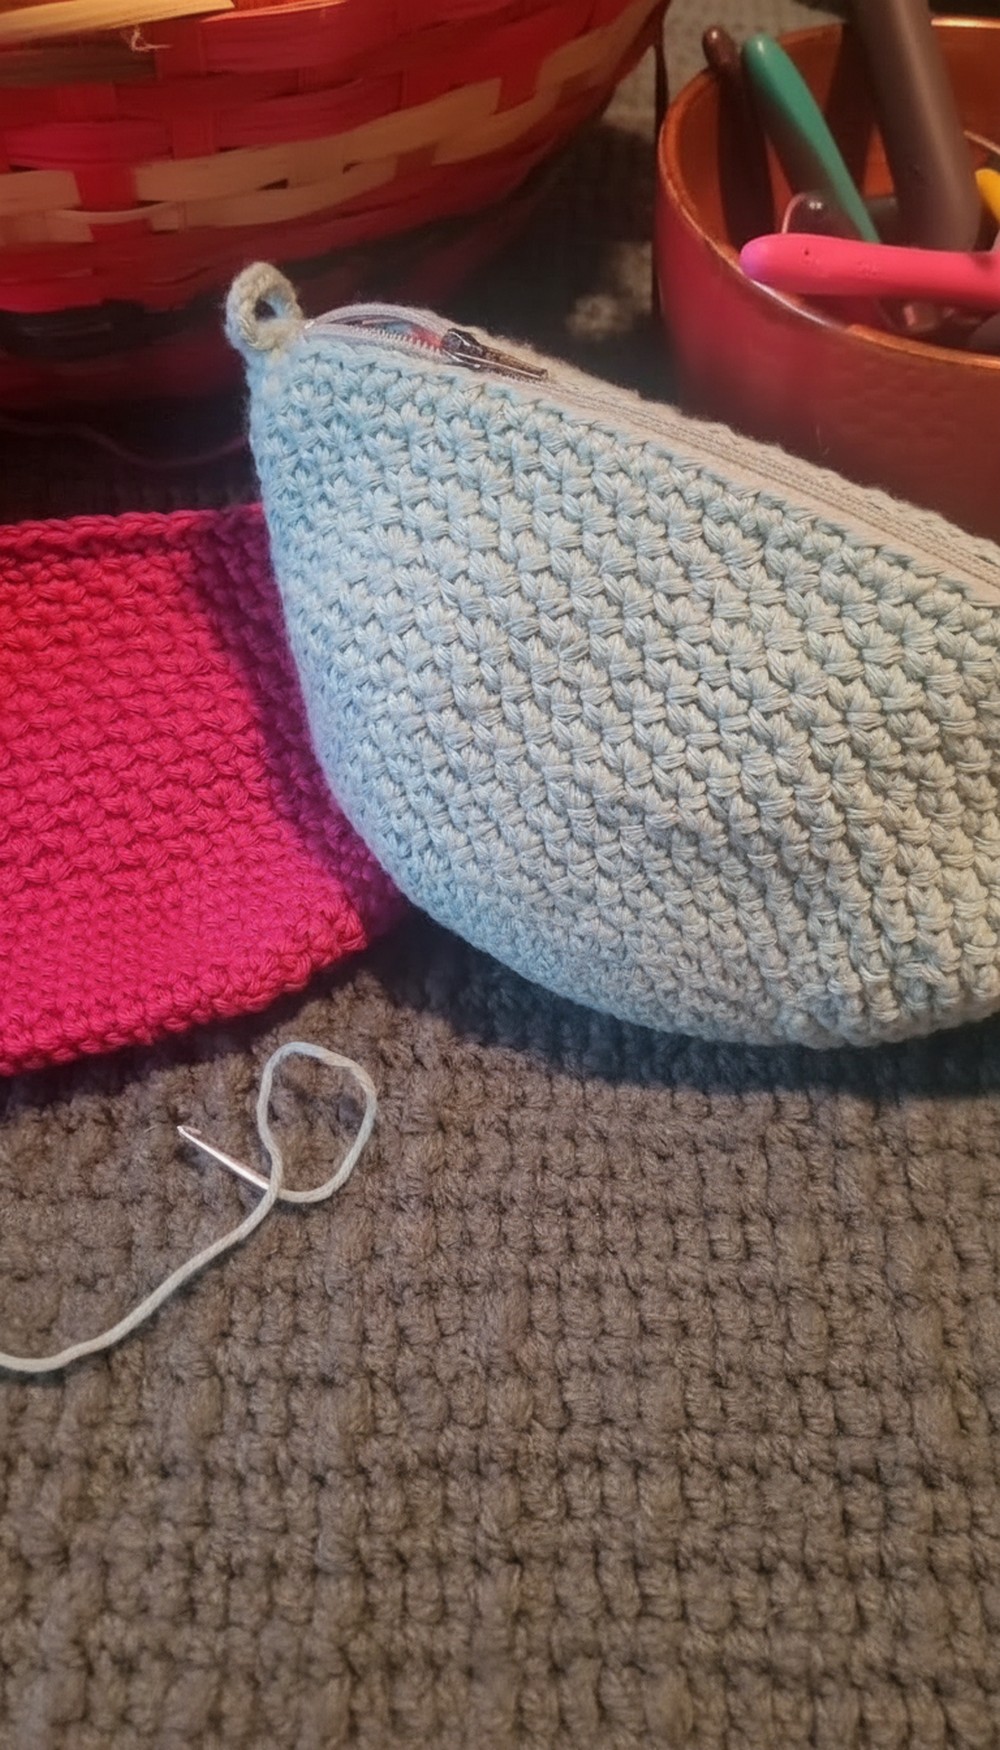
- Add Zipper:
- Stitch a zipper along the opening for secure closure.
- Stitch a zipper along the opening for secure closure.
Tip
For a more structured bag, block your finished piece by gently dampening and pinning it to shape before adding the lining and zipper.
Conclusion
You now have a chic, functional crochet makeup bag—beginner-simple, yet impressive and versatile. Enjoy personalizing yours with color changes, fun linings, or decorative zippers, and carry something unique wherever you go. This bag also makes a thoughtful, handmade gift for friends and loved ones.


Leave a Reply