
This top brings a perfect combination of comfort and elegance to everyday wear while highlighting a handmade appeal. The Crochet V-neck Top Pattern features a flattering neckline and openwork stitches that enhance breathability and ease of movement. Ideal for layering over camisoles, bralettes, or lightweight tops, it transitions effortlessly from casual daytime outings to relaxed evening looks.
Vibrant Crochet V-neck Top Pattern That Adds Handmade Flair
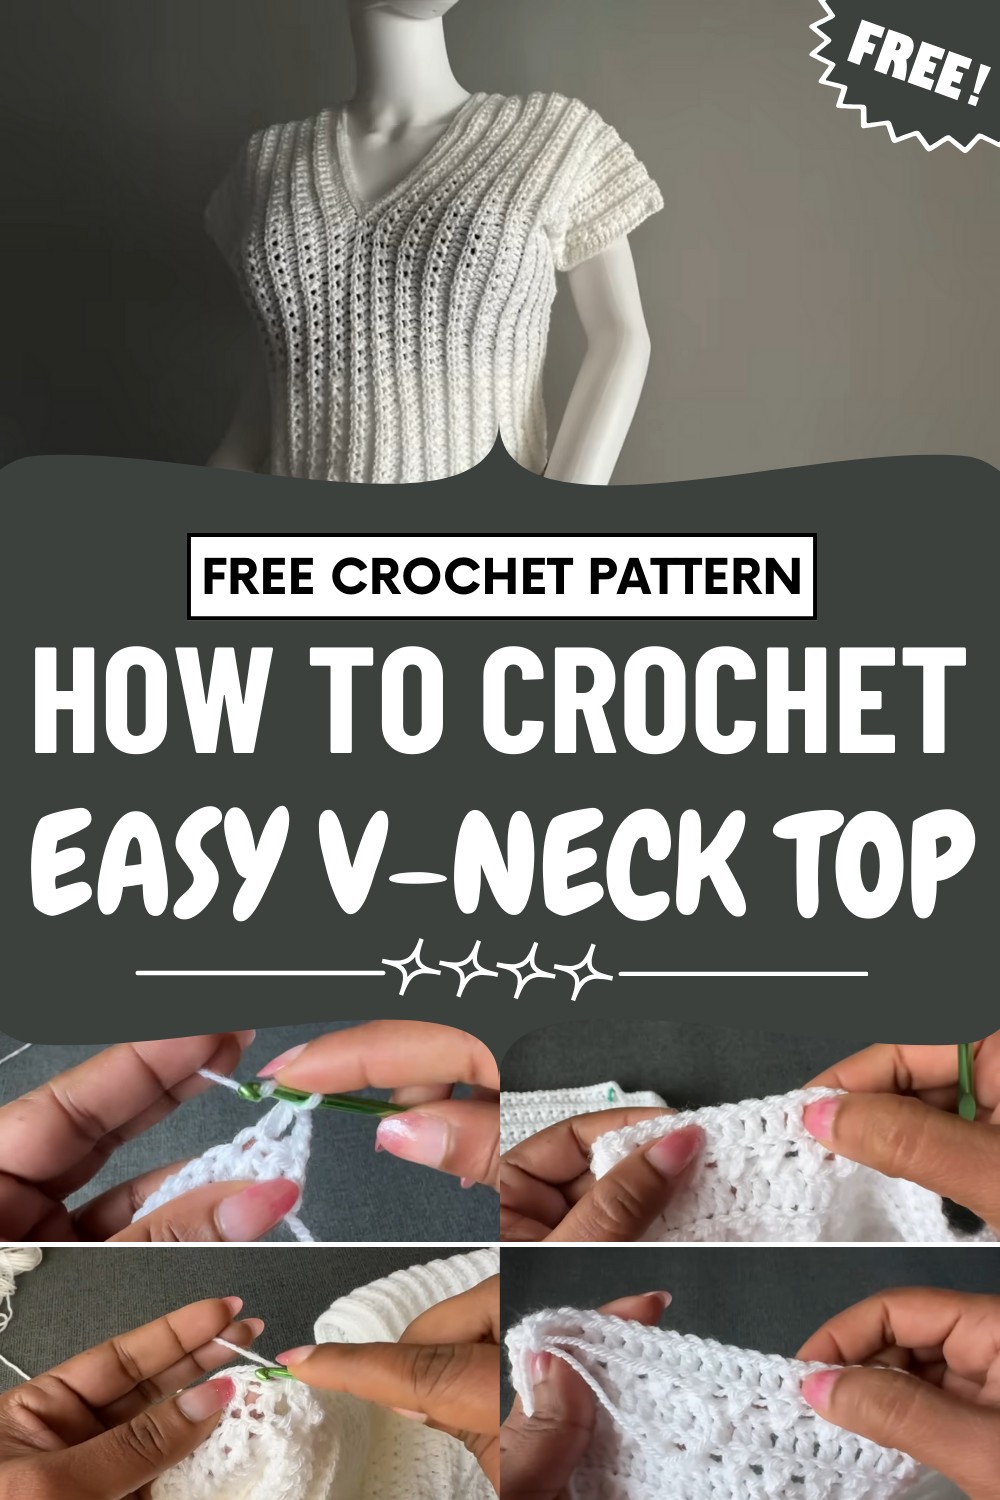
The intricate crochet texture adds depth and visual interest, giving the garment a unique, artisanal charm that complements a variety of styles. Its soft, flexible construction ensures a comfortable fit for different body types while maintaining a modern and polished appearance.
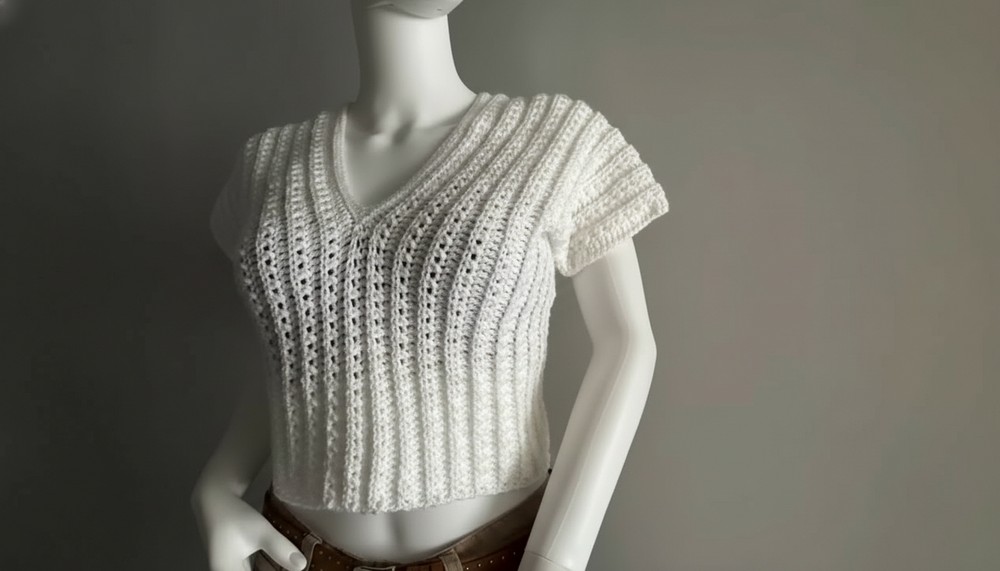
Beyond aesthetics, the pattern allows crocheters to personalize the top through choice of yarn, color, and stitch variations, creating a truly one-of-a-kind piece. Combining style, versatility, and craftsmanship, the Crochet V-neck Top Pattern transforms a simple top into a fashionable, functional, and timeless addition to any seasonal wardrobe.
Special Features
- Beginner-friendly: Only two rows repeat throughout the pattern.
- Size-inclusive: Pattern instructions for Small, Medium, and Large.
- Versatile construction: Adjust the length to customize your fit.
- Clear sizing guidance: Foundation chain and row count guides for each size.
Pattern Level
Beginner.
This pattern uses basic stitches (chain, double crochet, half double crochet, slip stitch, and single crochet) and involves simple shaping and joining.
Uses
- Perfect for casual wear, layering, or gifting.
- Customize with various yarn colors or embellishments for a unique look.
Suggested Materials
- Yarn: Double Knitting (DK weight) yarn (e.g., 100g [330m] balls, Color: White, Code CE 001)
- For Medium: 2 balls
- For Small or Large, adjust as needed
- Hook: 4.0 mm crochet hook
- Scissors
- Yarn Needle
- Stitch Markers
- Measuring Tape
Pattern Notes
- The pattern is worked side-to-side in two flat panels.
- Foundation chain: Multiple of 2, plus 4 (2n + 4).
- Size adjustments are easily achieved by changing the number of foundation chains or row repeats.
Step-by-Step Instructions
1. Foundation Chain
Choose your size and chain accordingly:
| Size | Foundation Chain | Finished Width (approx.) |
|---|---|---|
| Small | 136 | 80 cm (31.5") |
| Medium | 142 | 86 cm (34") |
| Large | 148 | 92 cm (36") |
- Tip: Count your chain stitches carefully to ensure the correct width.
2. Row 1 (Base Row)
- Turn chains to the back.
- Skip first 3 chains (counts as 1 dc), double crochet (dc) into the 4th chain from the hook.
- Dc in each chain across.
- Medium example: You’ll have 140 dc across.
- End row and count your double crochets to confirm stitch count.

3. Row 2 (Cross V-Half Double Crochet Row)
- Chain 2, turn.
- Skip next stitch, hdc in next stitch; repeat * across the row.
- At the end, hdc in the last stitch.
- Tip: Use both loops for best texture.
4. Row 3 (Back Loop Double Crochet)
- Chain 3, turn.
- Dc in the back loop only of each stitch across.
- Maintain the same stitch count.
5. Row 4 and Beyond (Establish Repeat)
- Repeat Rows 2 & 3: Continue alternating these two rows.
- Row 2: Cross (V) Half Double Crochet
- Row 3: Back Loop Double Crochet
- Continue until you reach the desired height/length for your size:
- Small: 17 rows (~8.5" / 21.5 cm)
- Medium: 21 rows (~10" / 25 cm)
- Large: 25 rows (~12.5" / 31.5 cm)

6. Shape Neck Opening
- With your piece laid flat, measure the neck opening:
- Mark 33 dc for each shoulder using stitch markers (approx. 20 cm each; adjust for your size).
- The neck gap (in center) is approx. 23 cm.
- Continue the repeating row pattern only across one marked shoulder section, up to the neck opening.
- Chain the required number of stitches (in the example: 74) to bridge across the neck opening.
- Attach chain to opposite shoulder marker and work back across using established pattern.
- Repeat the remaining rows to match the first side.
7. Finish Panel and Join Shoulders
- When both sides are complete, fasten off, leaving a long tail.
- With right sides facing, align and join tops of both panels at the shoulders with a yarn needle, using back loops only for a neat finish.
8. Create Side and Sleeve Seams
- Try on the top and mark sleeve openings as desired (sample: leave about 23 cm open for armholes).
- Use yarn and a needle to sew side seams from hem to underarm, matching markers for even sleeves.
- Repeat on both sides.
9. Finishing Touches - Neck and Sleeve Edgings
- Neck:
- Join yarn at any shoulder seam.
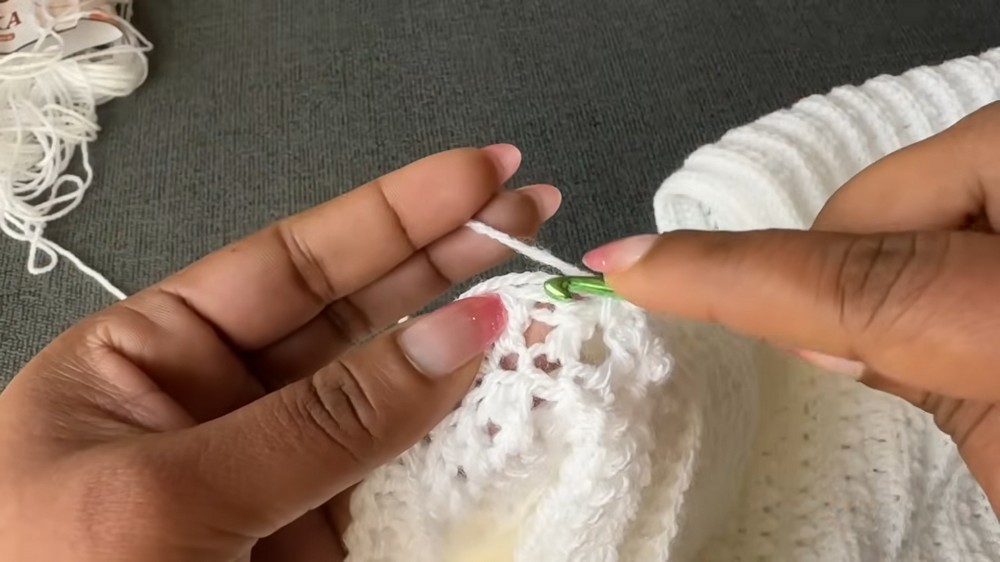
- Work a loose round of slip stitches or single crochet evenly around neck opening.
- For corners, decrease stitches by working two together as needed.
- Work 1–5 rounds for a thicker or thinner edging, as you prefer.
- Sleeves:
- Repeat edging rounds around sleeve openings; use single crochet or slip stitch.

- Repeat edging rounds around sleeve openings; use single crochet or slip stitch.
Tutor’s Suggestions
- Follow the video for extra clarity (find the link in the description).
- Make sure to measure as you go for best personal fit.
- Hide yarn tails with a yarn needle for a polished look.
- If you want a longer top, increase your foundation chain in multiples of 2.
Pro-Tip
For neat edges, always work stitches loosely around openings—this prevents puckering and makes the top more comfortable to wear.
Conclusion
Enjoy your new, soft, and comfortable crochet top! With only two rows to remember, this piece is a relaxing project for beginners. Experiment with colors, add more rounds to the neck or sleeves for your style, and share your project with the community.




Leave a Reply