
Spread love and happiness with this Crochet Heart Amigurumi Pattern, enjoy quick, adorable stitches that result in the cutest gifts and décor.
Elegant charm meets handmade warmth in a design that captures the essence of affection and creativity, making the Crochet Heart Amigurumi Pattern a favorite among crafters. Softly contoured and perfectly plump, this delightful motif instantly elevates its surroundings—whether nestled among gift toppers, brightening a workspace, or strung as meaningful garlands.
Whimsical Crochet Heart Amigurumi Pattern That You’ll Adore
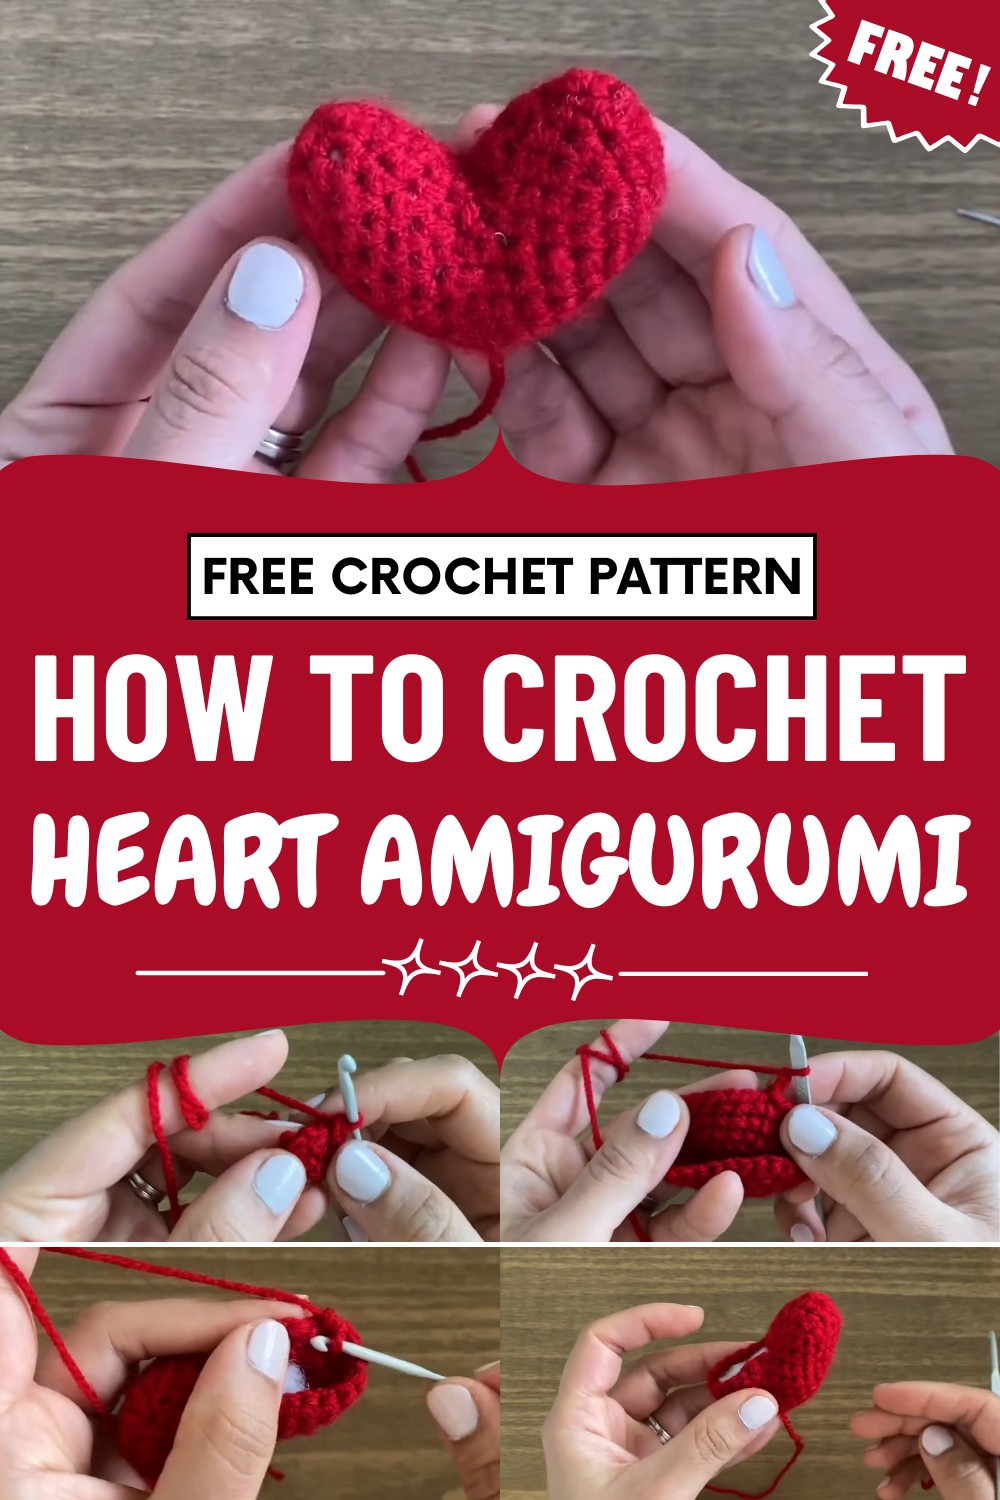
Its versatility makes it a treasured accent for keychains, ornaments, and thoughtful presents, while the plush texture provides a comforting touch, inviting a smile with every squeeze. The Crochet Heart Amigurumi Pattern encourages personal flair through playful color choices and varying sizes, fitting any season or special occasion.
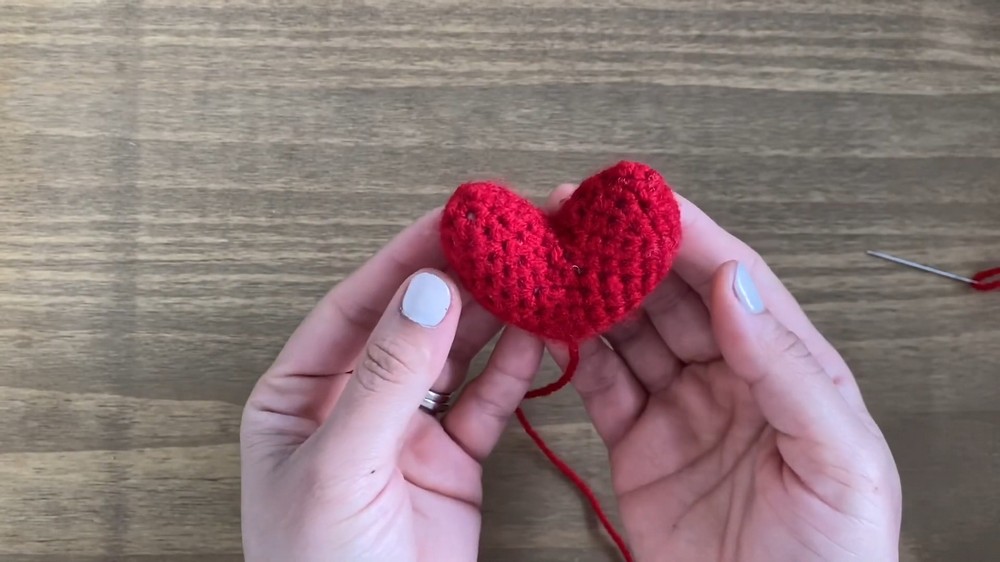
Ideal for beginners and seasoned enthusiasts alike, it offers an accessible way to enjoy the meditative nature of hand-stitching while producing a polished result. Presently, this decorative favorite blends sentimentality with functionality, transforming simple yarn into tokens of love and joy for all to enjoy.
3D Padded Crochet Heart Pattern
Introduction
This delightful 3D padded heart is a charming project perfect for gifts, decorations, or keychains. With its plush shape and easy assembly, it’s suitable for beginners and offers quick gratification. The tutorial uses simple stitches and clear instructions to help anyone achieve a beautiful result.
Features
- Soft, padded shape gives a plump 3D effect
- Beginner-friendly step-by-step method
- Uses basic stitches: magic circle, single crochet, increase, decrease, slip stitch
- Customizable: Fill as firmly or softly as you wish
- Functional: Use as gifts, ornaments, bag charms, or keepsakes
Materials
- Red yarn (or any color of your choice)
- 3 mm crochet hook
- Teddy bear filling (polyester fiber fill)
- Darning needle
- Scissors
Step-by-Step Pattern
1. Start the Heart
- Use the 3 mm hook and red yarn.
- Make a magic circle: Wrap yarn around fingers, insert hook, pull up a loop, keep it loose, yarn over, pull through the loop.
2. Round 1 (Base)
- Work 4 single crochets into the magic circle.
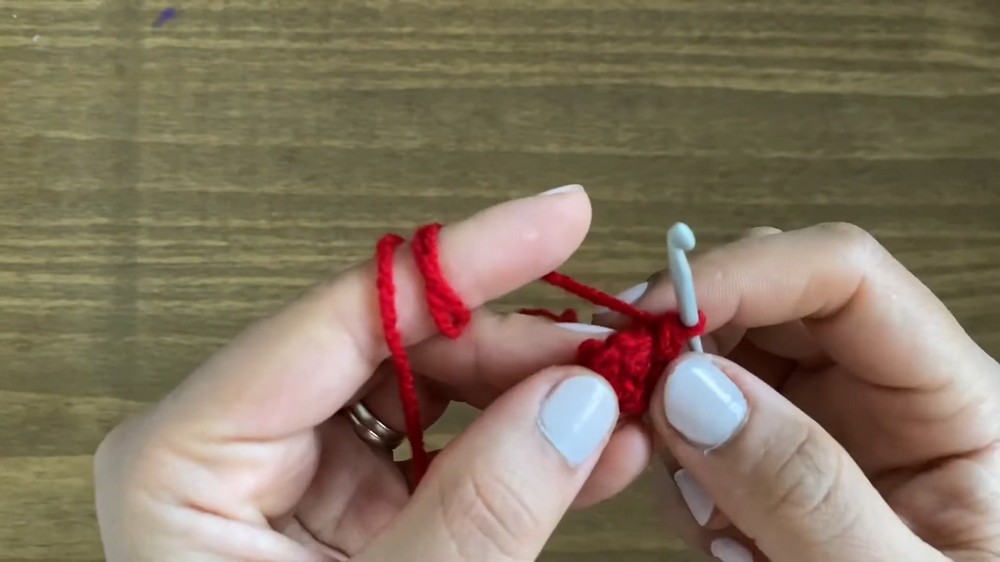
- Tighten the circle.
- Close the round with a slip stitch in the first single crochet.
3. Round 2 (Increase)
- Chain 1.
- Work two single crochets in each stitch (total 8 sc).
- Slip stitch to the first sc to close the round.
4. Round 3 (Alternate Single & Increase)
- Chain 1.
- Work 1 sc in one stitch, 2 sc in the next; repeat around (total 12 sc).
- Slip stitch to first sc.
5. Round 4
- Chain 1.
- 1 sc in next 2 stitches, 2 sc in the next; repeat around (total 16 sc).
- Slip stitch to first sc.
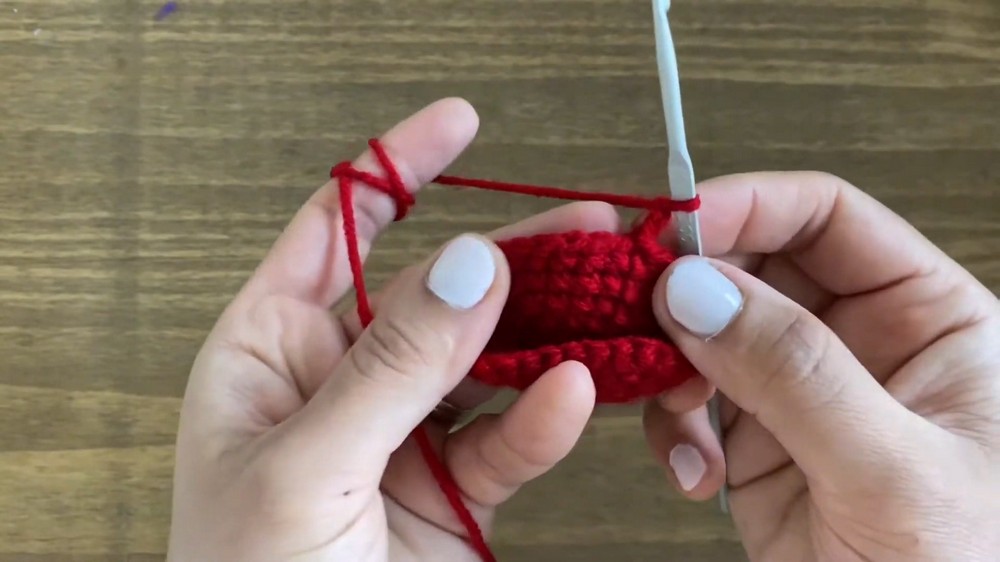
6. Round 5
- Chain 1.
- 1 sc in next 3 stitches, 2 sc in the next; repeat (total 20 sc).
- Slip stitch to first sc.
7. Round 6
- Chain 1.
- 1 sc in next 4 stitches, 2 sc in the next; repeat (total 24 sc).
- Slip stitch to first sc.
8. Round 7
- Chain 1.
- 1 sc in next 5 stitches, 2 sc in the next; repeat (total 28 sc).
- Slip stitch to first sc.
9. Shaping the Top of Heart
- Chain 2.
- Count 13 stitches, attach to stitch 14 with a slip stitch (splits circle for heart lobes).
- Check both sides for evenness.
10. Round 9 (First Lobe)
- Chain 1.
- Work 14 sc around, then 2 sc in chain-2 space (total 16 sc).
- Slip stitch to first sc.
11. Round 10 (First Lobe)
- Chain 1.
- Work 1 sc in each stitch around (16 sc).
- Slip stitch to first sc.
12. Round 11 (First Lobe with Decreases)
- Chain 1.
- 1 sc in next 2 stitches, decrease over next two; repeat around.
- Slip stitch to first sc.
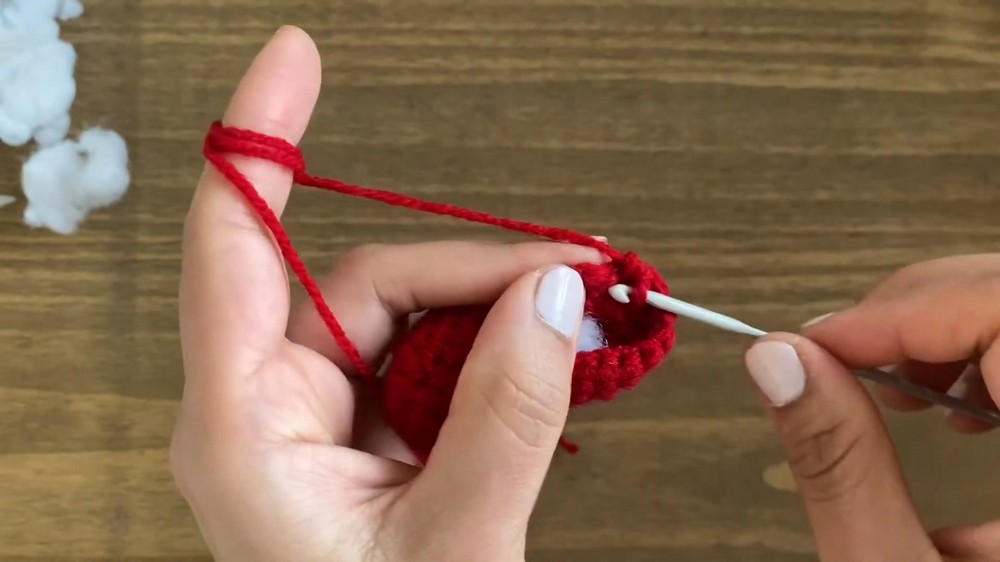
13. Round 12 (Decreasing)
- Chain 1.
- 1 sc, decrease, repeat.
- Slip stitch to first sc.
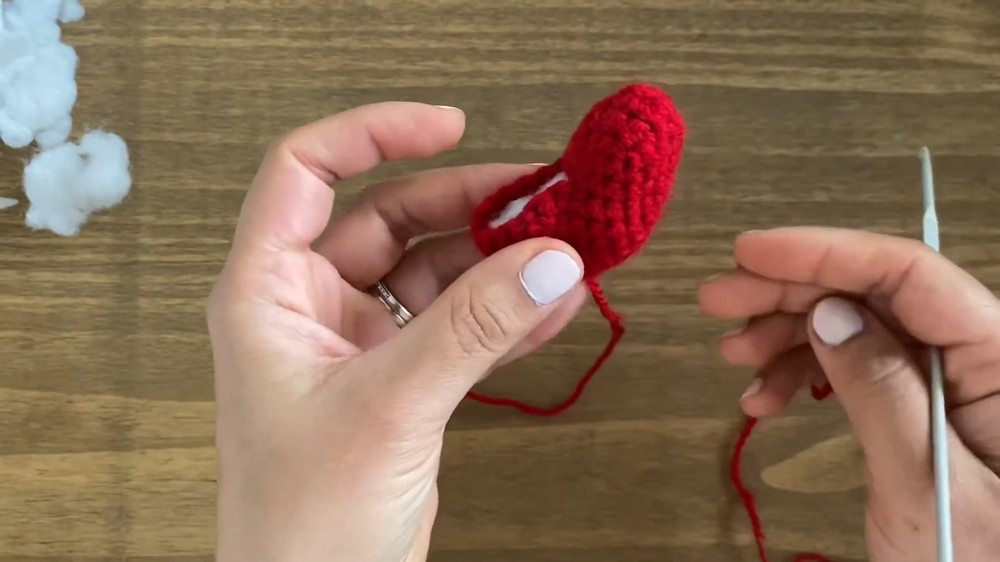
14. Round 13 (Closing)
- Chain 1.
- Work only decreases all around.
- Slip stitch to opposite side to close gap.
- Snip yarn, finish off.
15. Stuff the Heart
- Fill the lobe with teddy bear filling to desired firmness.
- Use hook to pull in any loose ends before closing.
16. Second Lobe
- Attach yarn to the other side, matching up stitches.
- Chain 1, work 14 sc around, 2 sc in chain-2 space (16 sc).
- Repeat same rounds as first lobe, stuffing as you go.
17. Final Closing
- Decrease and slip stitch until gap is closed.
- Snip and pull through, use darning needle to weave in end.
Tutor’s Suggestions
- The tutor recommends keeping magic circle loose at first, helps with easier starting.
- Adjust stuffing according to your preference: more for a firmer heart, less for a softer look.
- Mark your first stitches to avoid confusion.
- Double-check symmetry before joining lobes.
- Use a darning needle to finish for a neat look.
Uses
This 3D padded heart is perfect for Valentine’s Day, weddings, bag charms, toys, or baby mobiles. It makes a wonderful handmade gift or decorative accent.
Tip:
When stuffing, use small amounts at a time and distribute evenly for the best shape.
Conclusion
This heart pattern brings a touch of warmth and whimsy to any project. Its beginner-friendly steps, clear shaping, and customization make it ideal for both new and experienced crocheters.




Leave a Reply