
Spot cheerful charm with this Free Crochet Ladybug Pattern that's offering whimsical colors and fun flair to brighten any little corner.
If you’re looking for a charming and delightful addition to your Crochet Ladybug Pattern, this pattern is truly one of the best choices you can make. With its bright red body and cute black spots, every finished ladybug brings a burst of color and joy. The design is simple and easy to follow, making it perfect for beginners as well as those with more experience.
Sparkly Crochet Ladybug Pattern for Unique Accessories
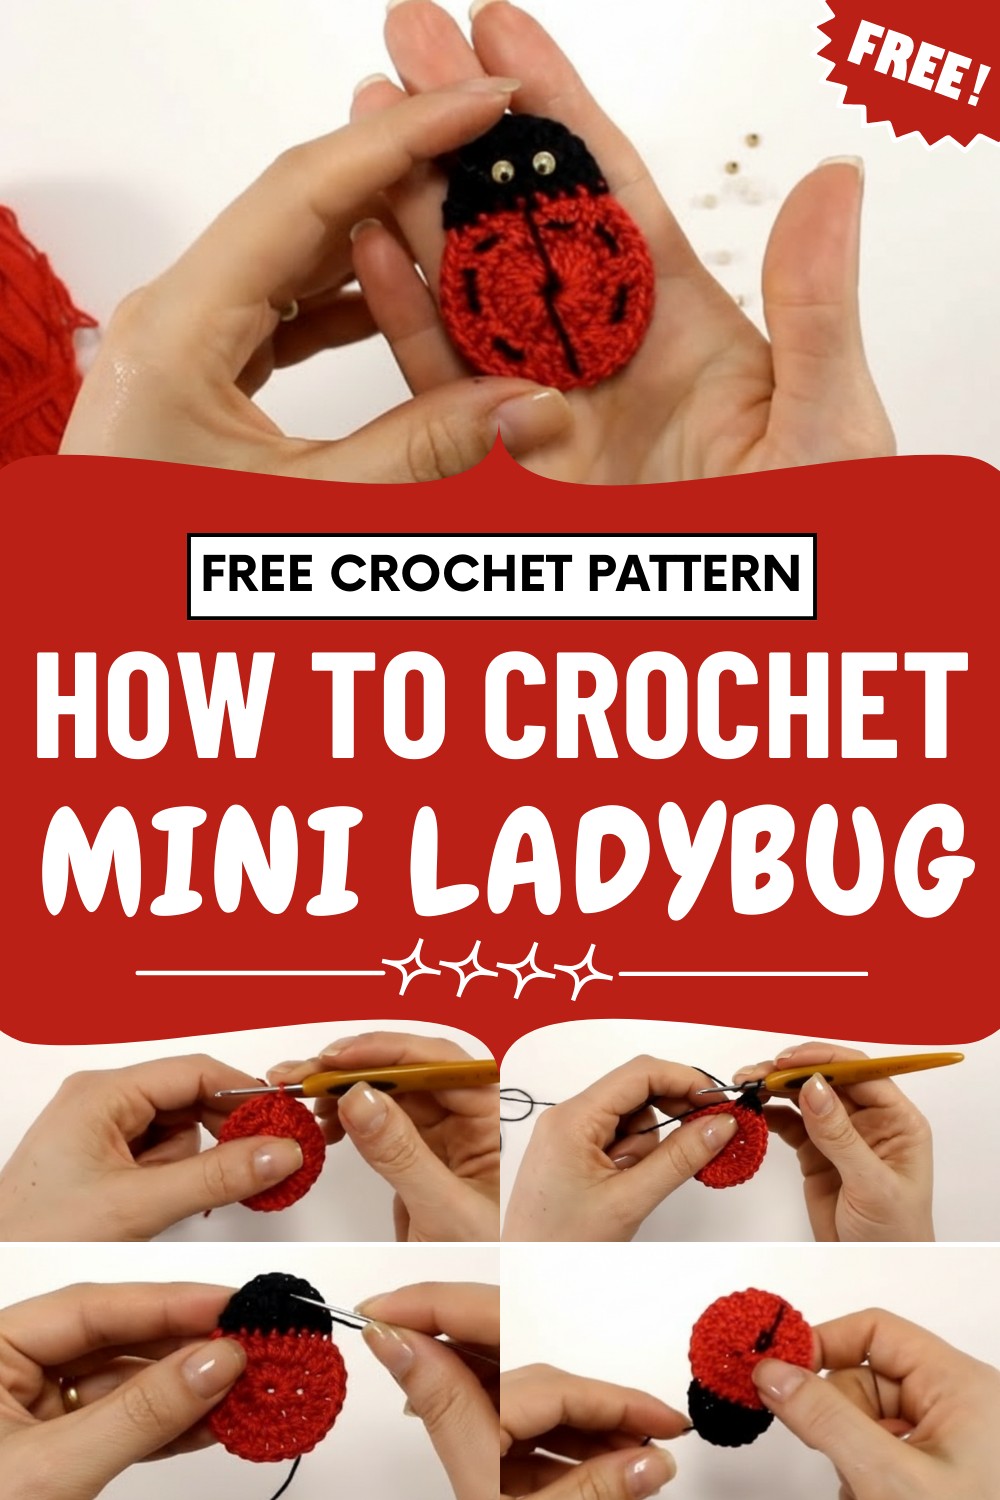
This little ladybug are wonderfully versatile, you can use them to decorate hats, bags, blankets, or turn them into fridge magnets and keychains. They’re quick to make and a great way to use up leftover yarn.
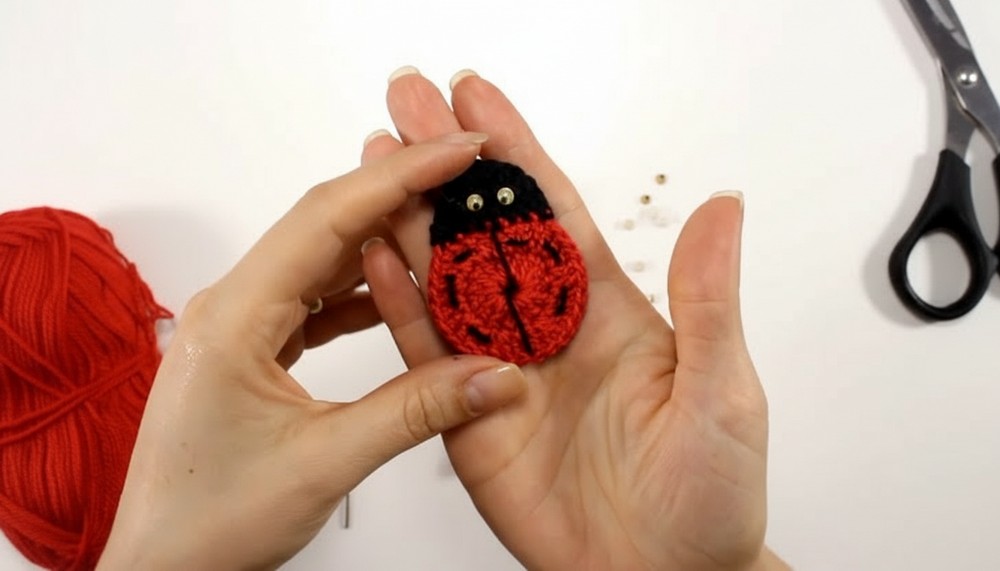
Each ladybug adds a playful touch and homemade charm to any item, making them perfect for gifts or craft sales. Plus, their adorable look is sure to make people smile and bring a bit of nature’s happiness to your creations.
Special Features
- Miniature Size: Perfect for applications from magnets to decorative accents.
- 3D Googly Eyes: Adds playful character.
- Embroidered Details: Realistic division and spots enhance the ladybug look.
- Lightweight: Easy to attach anywhere.
Level of Difficulty
Easy:
This pattern uses basic crochet stitches, with simple embroidery and gluing techniques for finishing. All steps are beginner-friendly.
Materials Needed
- Leftover 100% cotton yarn: red and black
- 1.75 mm crochet hook
- Needle for sewing and embroidering details
- Craft glue
- Two small moveable googly eyes
- Optional magnet backing for refrigerator application
- Scissors
Step-by-Step Instructions
1. Red Body (Ladybug Shell)
- Begin with a slip knot and chain 5.
- Form a ring by joining with a slip stitch to the first chain.
Round 1:
- Chain 3 (counts as first double crochet).
- Work 14 double crochets into the ring (15 total including the chain 3).
- Join with slip stitch to third chain of beginning chain.
Round 2:
- Chain 3 (counts as first double crochet).
- In same stitch, work another double crochet.
- Work 2 double crochets in each stitch around (for a total of 30 double crochets).
- Join and fasten off, leaving a tail long enough to weave in neatly.
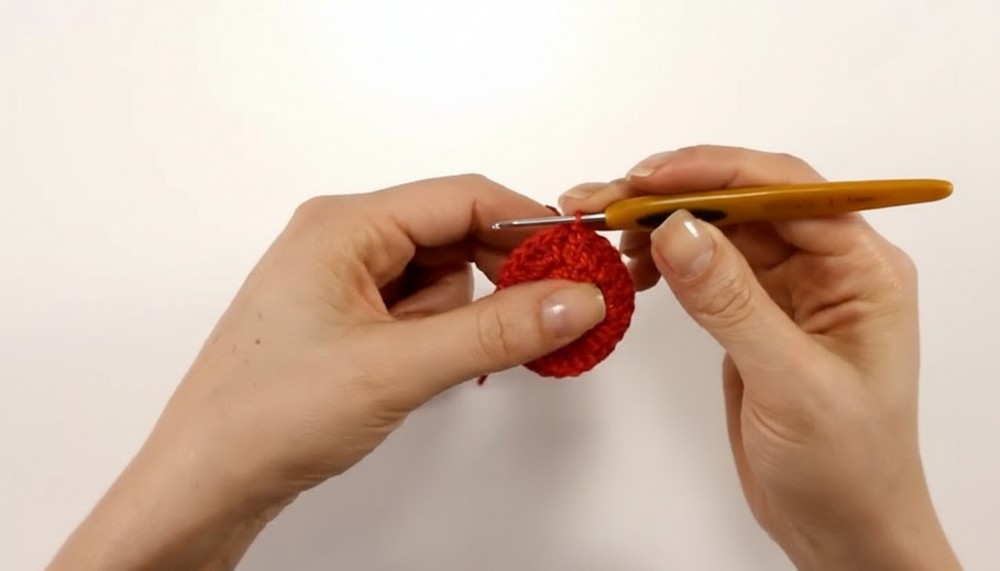
2. Black Head
- Attach black yarn to any stitch on the red circle’s edge.
- Work the following sequence:
- Slip stitch (very low point)
- Single crochet
- Half double crochet
- Double crochet
- Another double crochet
- Half double crochet
- Single crochet
- Slip stitch
- This sequence forms the half-circle head. Turn work, chain 1.
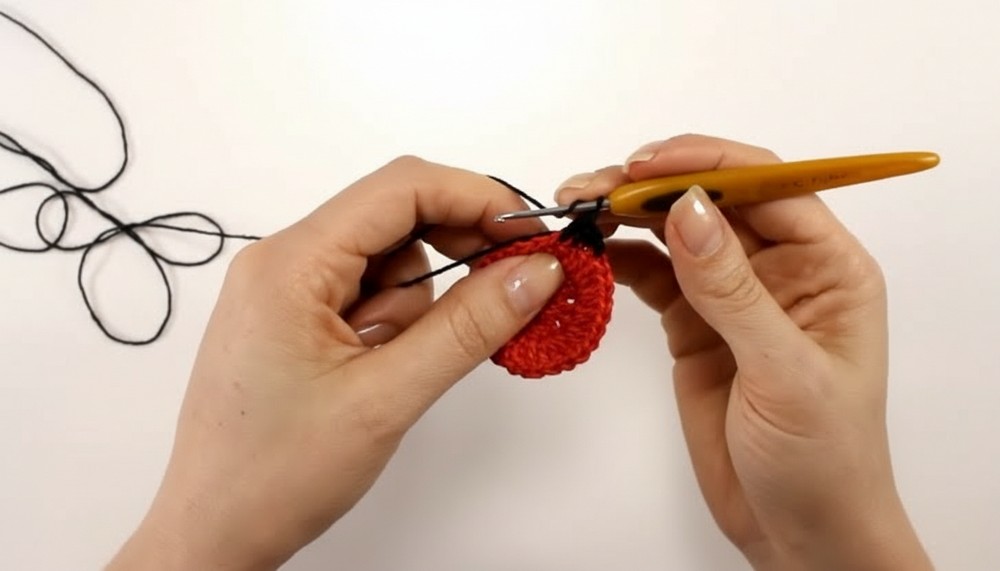
Head Row 2:
Repeat over the previous stitches:
- Slip stitch over slip stitch
- Single crochet over single crochet
- Half double crochet over half double crochet
- Over each double crochet: 3 double crochets per stitch (for added width)
- Half double crochet over half double crochet
- Single crochet over single crochet
- Slip stitch over slip stitch
- Fasten off, leaving a tail to hide under stitches.
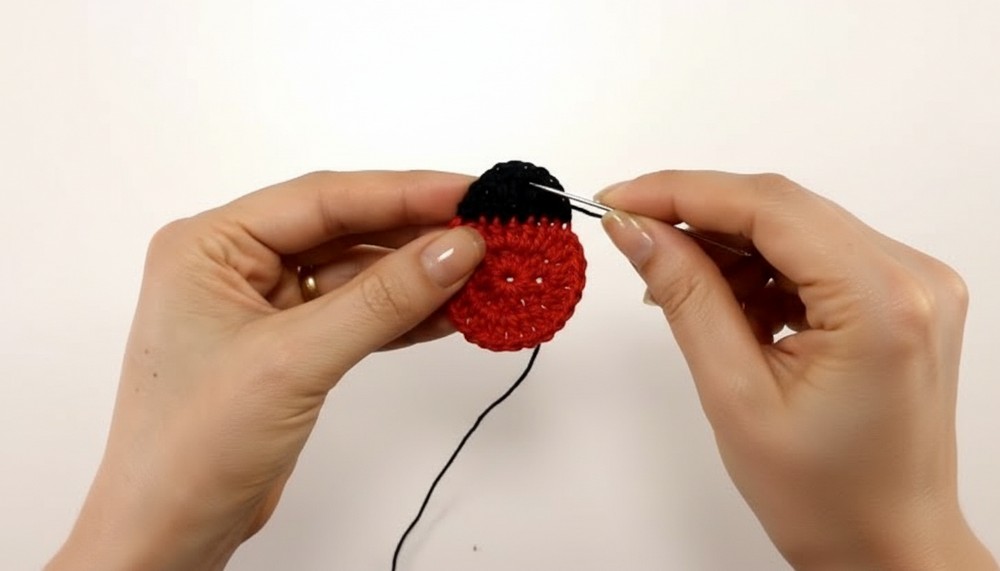
3. Body Division
- Thread needle with black yarn.
- Find the center of the ladybug’s head and run the needle straight down the body, creating a vertical line.
- Secure the ends on the back, hide the thread under stitches.
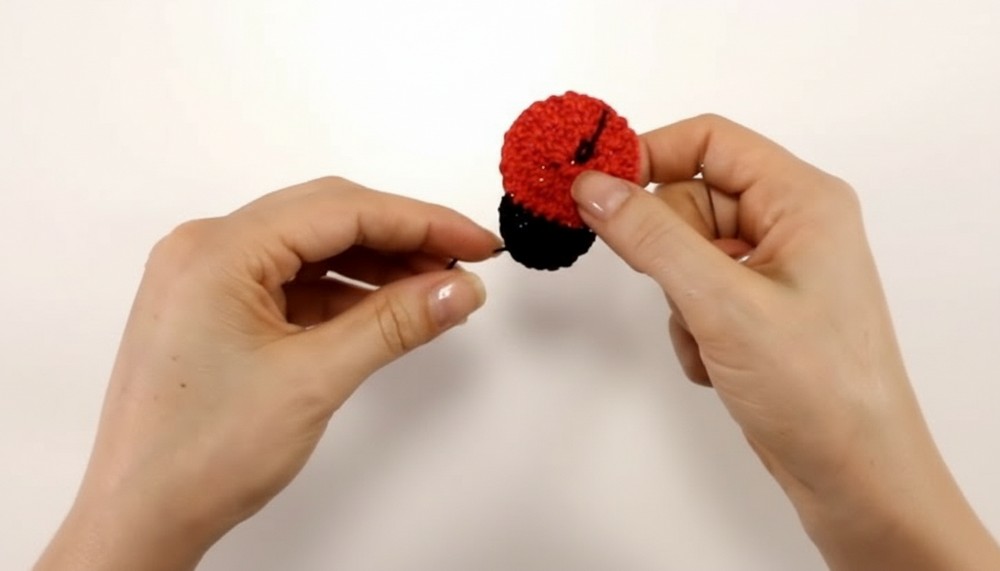
4. Ladybug Spots
- With black yarn and needle, stitch small spots evenly around the red shell:
- Anchor yarn and bring needle up at the desired spot.
- Repeat for 3 spots on each side.
- Secure and hide tails before trimming.
5. Eyes
- Place a small amount of craft glue on the back of each googly eye.
- Attach above the body division line, beside the head.
- If glue tube is thick, use the tip of your needle to apply glue.
- Press gently to secure.
6. Magnet (Optional)
- If you wish to make a fridge magnet, take a magnet scrap from an old calendar or ornament.
- Cut the magnet to size.
- Apply craft glue to the back of your ladybug.
- Press magnet firmly to adhere and let dry.
Uses
- Perfect for fridge magnets
- Decorative touches on carpets, hats, bags, blankets
- Fun trinkets for kids’ crafts and party favors
Tutor’s Suggestions
- Work carefully when hiding thread ends for a neat finish.
- Let glue set fully before moving or gifting.
- Use different colored yarn for spots and body to customize your ladybugs.
- Store eyes, glue, and magnets in a safe place away from children.
Tip
If you don’t have a magnet, reuse one from a fridge calendar or ornament—just cut it to size and glue to the back. Lightweight ladybugs stick perfectly this way!
Conclusion
With this easy pattern, you can crochet cheerful mini ladybugs for countless creative uses. Embellish your items or gift them to friends—you’ll always have a touch of whimsy at hand.




Leave a Reply