
Transform ordinary can tabs with this Free Crochet Flower Can Tabs Pattern, perfect for creative décor, gifting, and charming handmade flair.
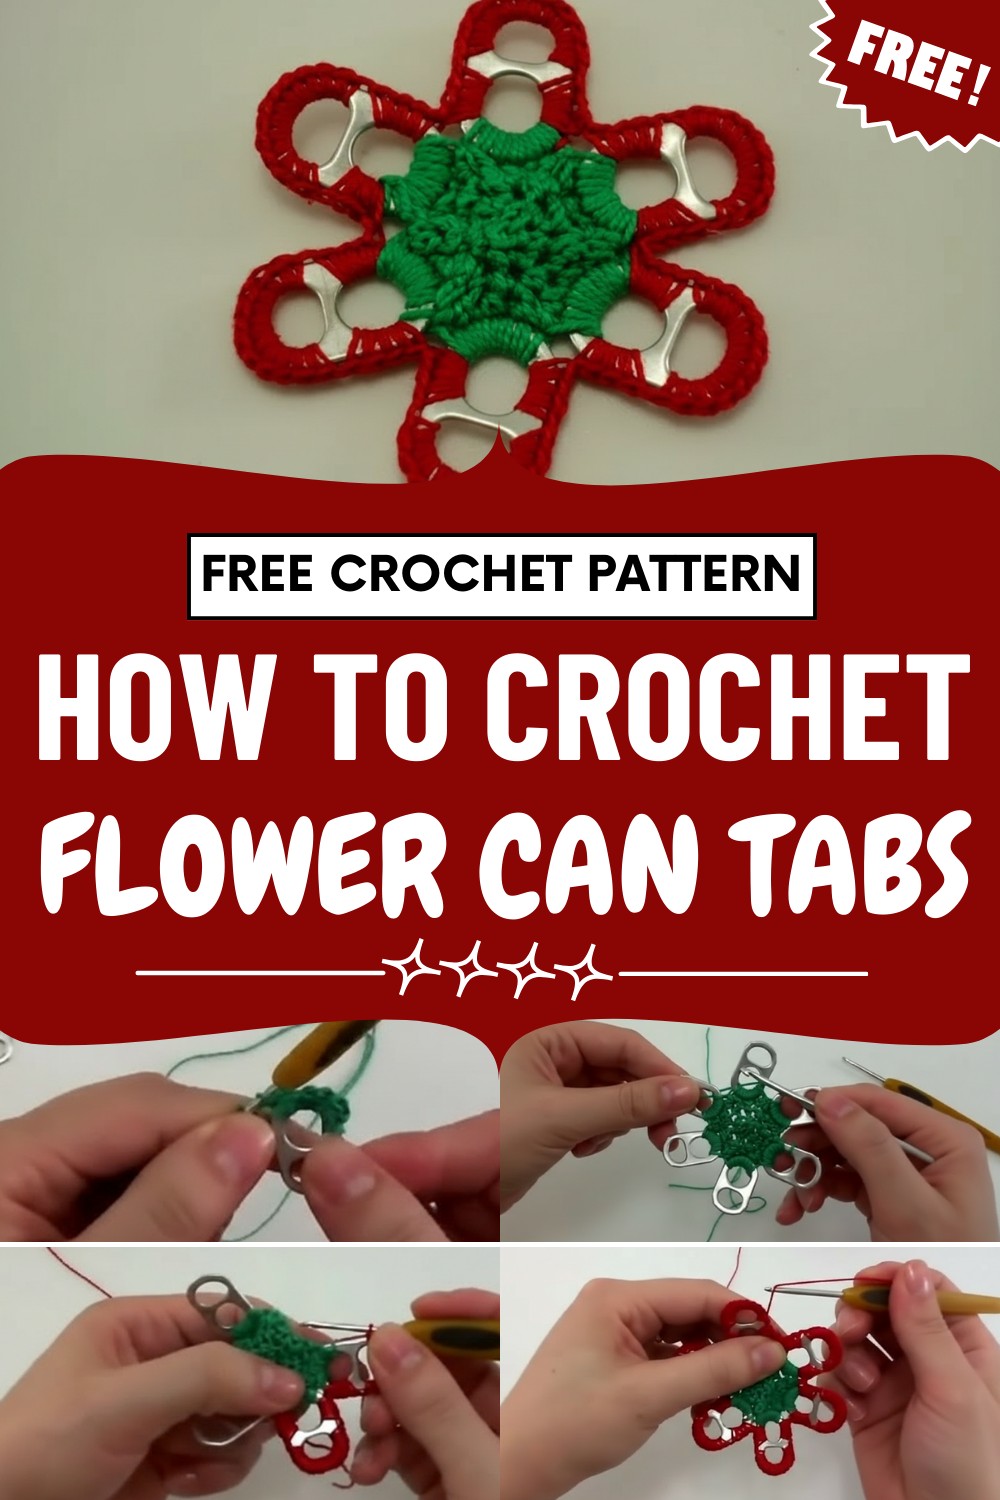
The metallic shimmer of the tabs paired with soft yarn creates a striking contrast, giving each piece a unique texture and modern flair. Its repetitive, structured technique provides a satisfying rhythm while promoting patience, focus, and skill refinement. Lightweight yet durable, the finished motif hold their shape well and adapt easily to different projects, from home décor to wearable art.
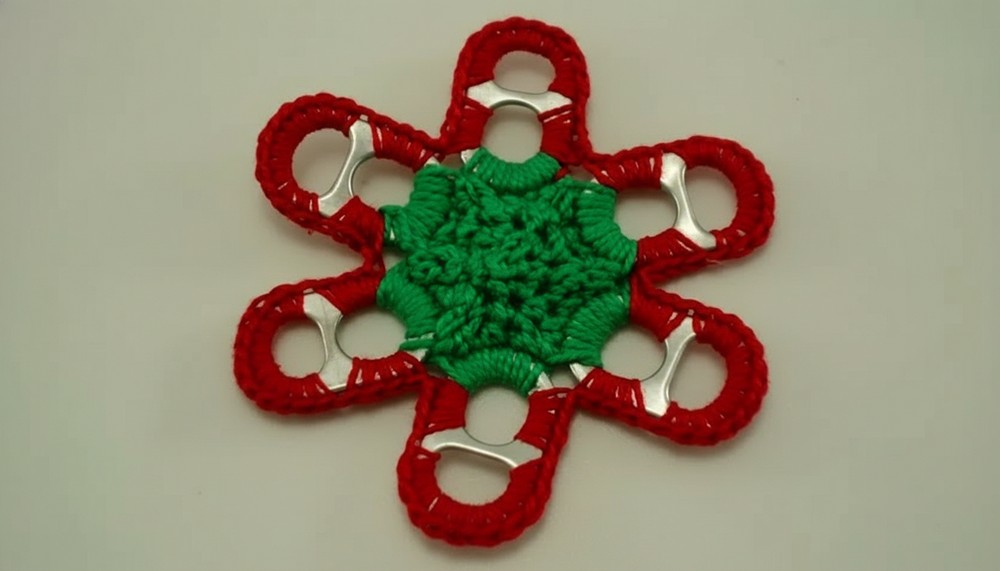
Beyond aesthetics, this pattern encourages resourcefulness and environmental mindfulness, transforming simple scraps into functional designs that brighten living spaces. The combination of color, shimmer, and floral form produces a playful yet elegant look, making every completed piece feel inventive, stylish, and practical for daily use.
Special Features
- Upcycled can seals: Give bottle tabs a new life as stylish, functional motifs.
- Versatile design: Use six seals for a flower, five for a star.
- Durable and washable: Made with 100% cotton or alternative shiny threads for extra sheen.
- 3D petals: Red crochet makes dimensional, lively petals around the seals.
- Strong structure: The seals act as a sturdy base for joining and connecting motifs.
Level of Difficulty
Beginner to Intermediate
If you're comfortable with single crochet, slip stitches, and working in rounds, you’ll manage this project easily. The use of can seals adds a fun challenge, but no advanced stitches are required.
Materials Needed
- 1.75 mm crochet hook
- 100% cotton yarn (green for center and base, red for petals)
- Optional: Silk or polypropylene thread for a glossy look
- 6 aluminum can seals (tabs)
- Scissors
- Pliers (for smoothing seal edges, optional)
- Tapestry needle (for weaving in ends)
Tutor’s Suggestions
- Use good quality, smooth yarn for a neat finish.
- Try shiny threads for festive or decorative projects.
- Make sure seals are flattened and edges are safe (use jewelry pliers if needed).
- Experiment with colors for seasonal or themed pieces.
- Assemble motifs with single crochet on petals for larger items.
Uses
- Table runners, coasters, doilies
- Christmas decorations (stars, flowers)
- Rugs, carpets
- Playful wall hangings or garlands
- Any project benefitting from durable, washable motifs
Step-by-Step Pattern
1. Prepare the Can Seals
- Collect 6 can seals (tabs) and ensure the holes are wide enough.
- Use pliers to flatten any sharp or remaining material on the seals.
- Arrange them so the more vertical holes are oriented upward (these are used for crocheting the base).
2. Crochet the Green Foundation
A. Attaching Yarn to First Seal
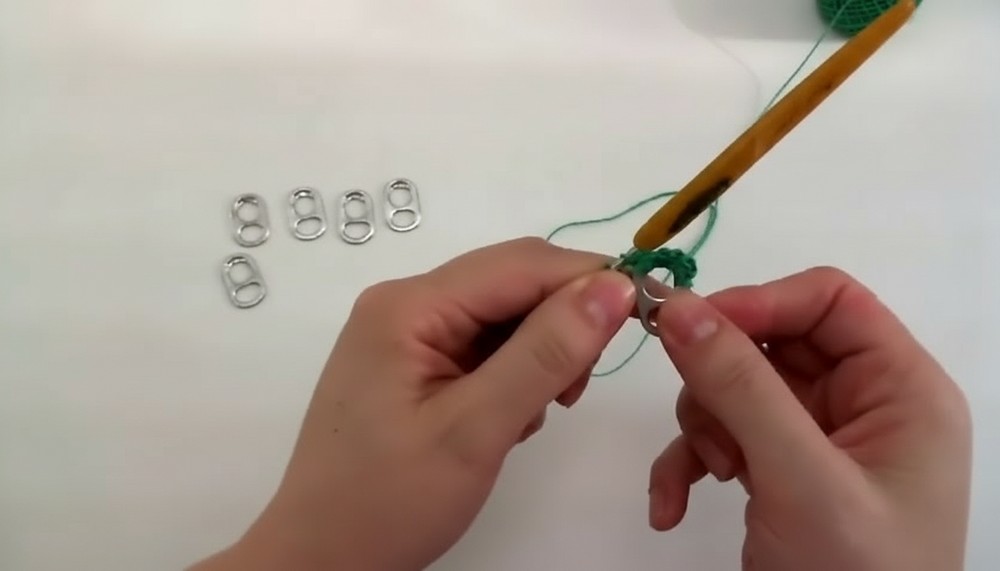
- Tie green yarn securely to the first seal using two knots.
- Insert hook through the wider (vertical) hole.
- Work 6 single crochet (sc) into the hole, pulling the starting end along to secure.
B. Repeat for Remaining Seals
- Attach yarn to the next seal’s vertical hole.
- Crochet 6 sc into each seal’s wide hole.
- Repeat until all 6 seals have 6 sc each.
C. Form a Circle
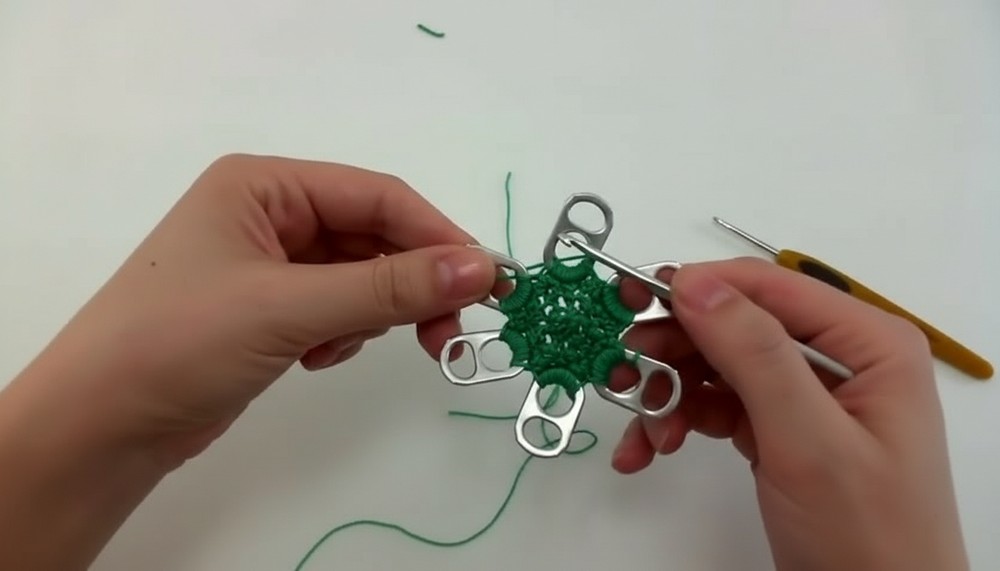
- Arrange all seals in a circle as you work.
- With all seals connected, insert your hook into the first sc made and slip stitch to join.
- Be sure the seals stay aligned and flat, not twisted.
3. Crochet the Center (Green)
A. Start the Center Core
- Chain 2 (counts as the first single crochet of the round).
- Begin decreases:
- Insert hook, pull up a loop (do not finish sc), repeat into next stitch.
- When three loops are on the hook, yarn over and pull through all.
- Continue this decrease (single crochet two together) in each round, reducing the stitch count and shaping a closed center.
B. Continue Rounds
- Each round, decrease in this manner until the center closes.
- Finish last round with a slip stitch in the first stitch.
- Your green center should be tight and neat.
C. Weaving in the Ends
- Pull yarn end through last stitch.
- Thread through wrong side under several stitches to secure.
- Trim excess yarn.
4. Crochet the Red Petals
A. Attach Red Yarn
- Using red yarn, insert hook into any "horizontal" hole (on the side) of a seal, starting at the green area.
- Tie off with two knots for security.
B. Petal Construction
- Chain 2, then work 3 sc along the side green section (total of 4 sc).
- In the empty part at the top (horizontal hole), work 12 sc evenly around.
- Move to the next side green section ("bottom part") and work 4 sc.
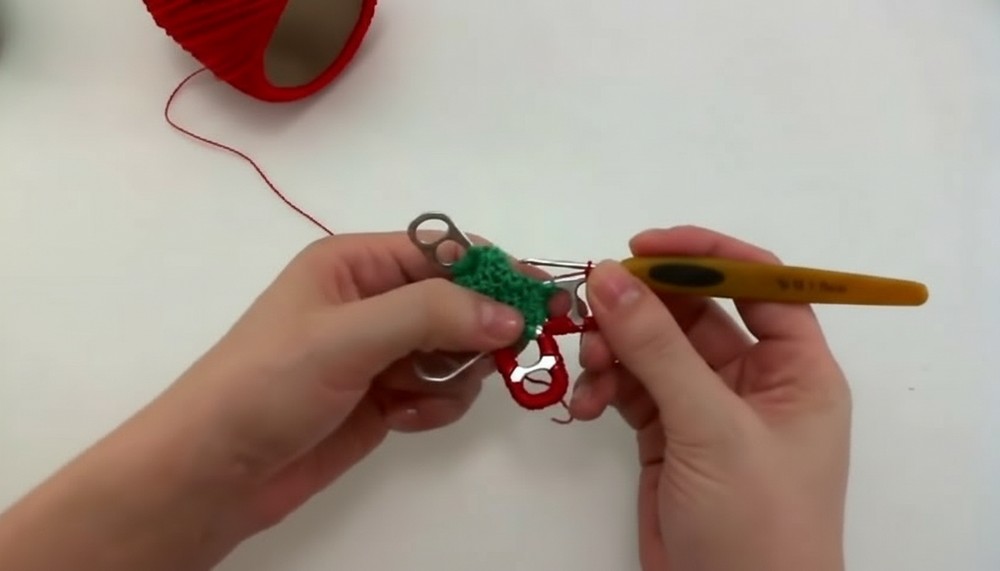
C. Repeat for All Seals
- Continue from one seal to the next, working the same structure:
- 4 sc on green, 12 sc on red (top), 4 sc on green (bottom).
- In total, each seal will have a petal formed with this method.
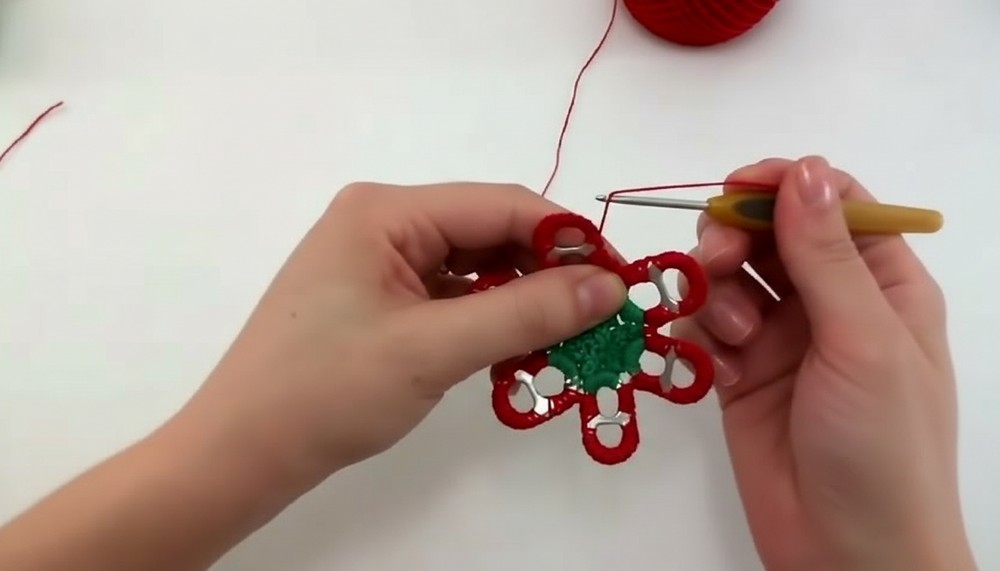
D. Finishing Petals
- Complete all six petals.
- Slip stitch to the first sc at the start to join the round.
- Weave in the red starting and ending yarn under 4–5 stitches on the wrong side and trim.
5. Final Touches
- Check that all yarn ends are securely woven in and trimmed.
- Center the seals neatly around the green core for a beautiful flower shape.
- Repeat the process for more flowers.
Tip
Use your finished flowers as decorative join-as-you-go motifs! You can connect them with single crochet stitches at the petal edges to make larger pieces, such as rugs, blankets, or festive garlands.
Conclusion
Congratulations! You have completed a unique crochet flower using upcycled can seals and basic stitches—an eco-conscious, creative project that turns everyday waste into eye-catching decor. Make several in various colors for a playful, artistic statement or use fewer seals for a star motif.




Leave a Reply