
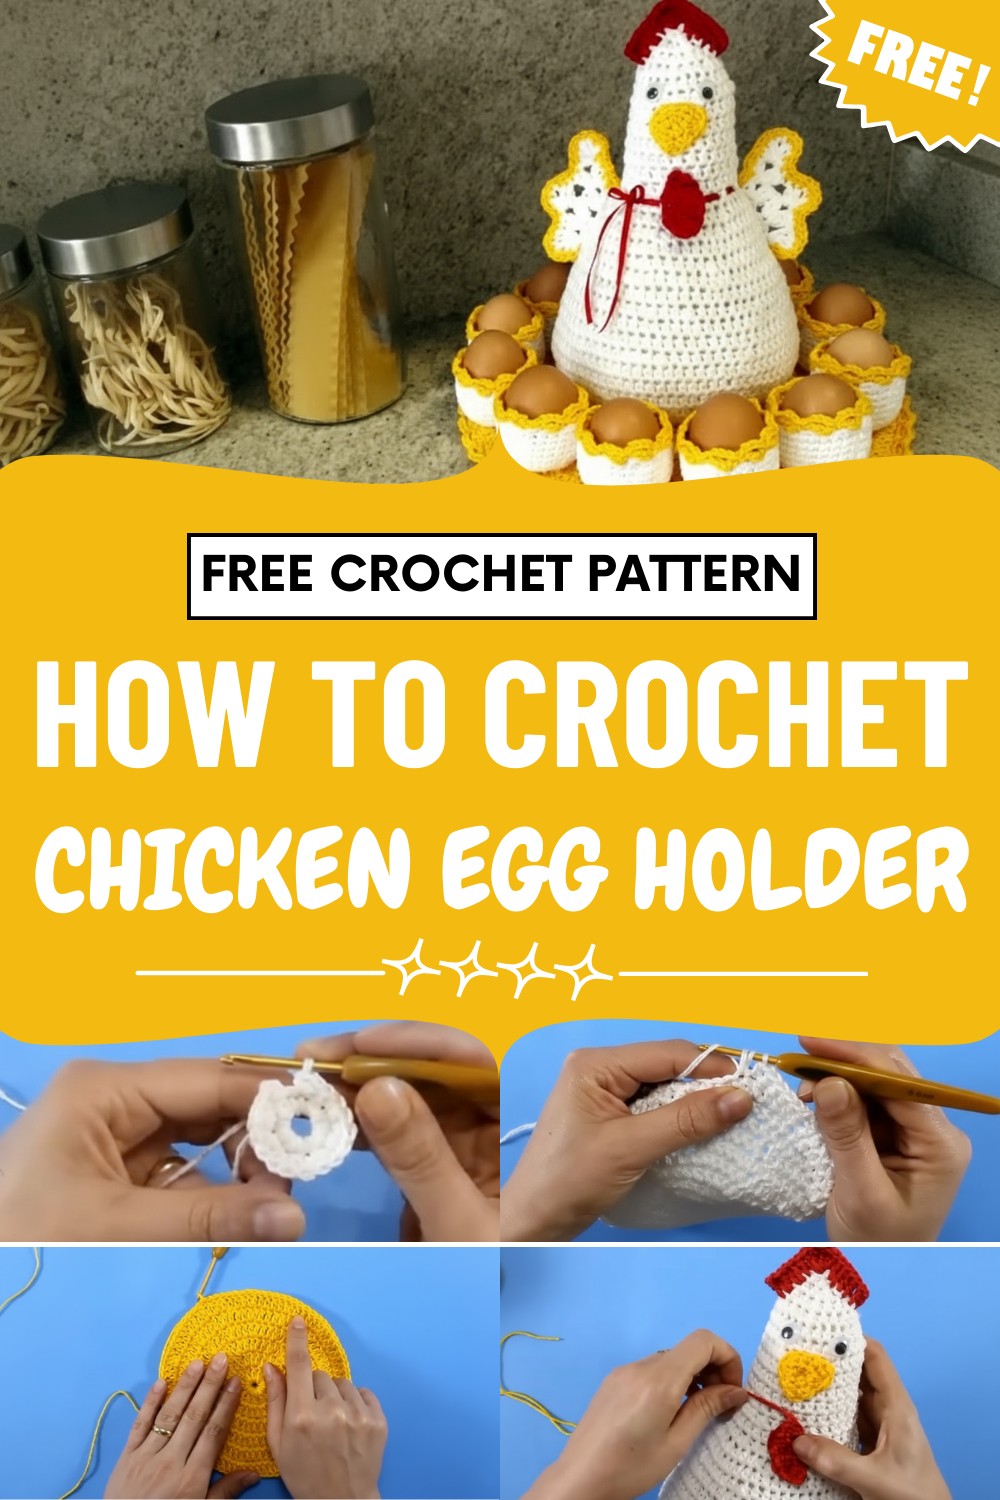
Organize kitchen essentials with this Crochet Chicken Egg Holder Pattern, featuring playful, practical use, and charming farmhouse flair.
Brightening any kitchen or dining table, a crochet chicken egg holder pattern offers both charm and practical storage. Soft, handmade cups cradle a dozen eggs, keeping them safe from rolling and breaking. The playful chicken figure at the center serves as a cheerful and whimsical focal point, often sparking conversation during breakfast or festive gatherings. Customizable colors and patterns make each holder a unique addition to your decor or a personalized gift idea for friends and family.
Whimsical Crochet Chicken Egg Holder Pattern for Fun Decor
Simple enough for beginners yet satisfying for more experienced crocheters, this project is quick to complete and rewarding to display. The cozy, homemade aesthetic adds warmth to your space, making it both functional and visually appealing.
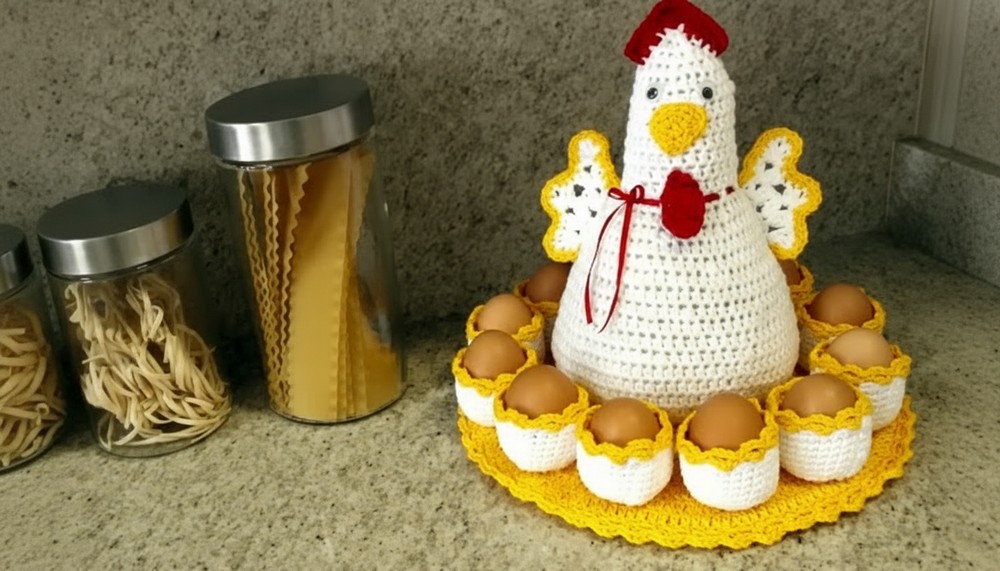
Strong enough to securely hold eggs, yet cute enough to double as a decorative piece, this egg holder stands out as a creative blend of utility and personality in any home.
Special Features
- Holds 12 eggs securely
- Sturdy double base with cardboard for extra support
- Decorative central chicken with wings, tail, and ribbon detail
- Uses a combination of yarn weights for dimension and stability
- Easily customizable colors and embellishments
Level of Difficulty
Intermediate
You’ll need basic knowledge of crochet stitches (single crochet, double crochet, slip stitch) and some experience with increasing and decreasing, working in the round, and simple sewing/assembly.
Materials
- Anne yarn in white (color 8001): 2 skeins, 500m each (used double)
- Duna yellow yarn from Círculo (color 1289): 2 skeins, 170m each
- Small amounts of red yarn for accents
- Craft/crochet glue or cold/hot glue and a brush
- Pair of medium-sized safety eyes
- Tapestry needle
- 1 meter of red satin ribbon (number zero)
- Size 3.0mm crochet hook
- Disposable gloves for glue application
- Synthetic stuffing fiber
- Paraná paper/cardboard, 27cm circle for the base
Tutor's Suggestions
- Wear gloves when handling crochet glue for safety.
- Use synthetic fiber from old pillows as stuffing.
- Apply fixative to make wings and tail firm and shapely.
- Customize with ribbon bows and creative color choices.
Step-by-Step Pattern
Step 1: Egg Cups (Make 12)
- Start Cup
- Use white Anne yarn, doubled.
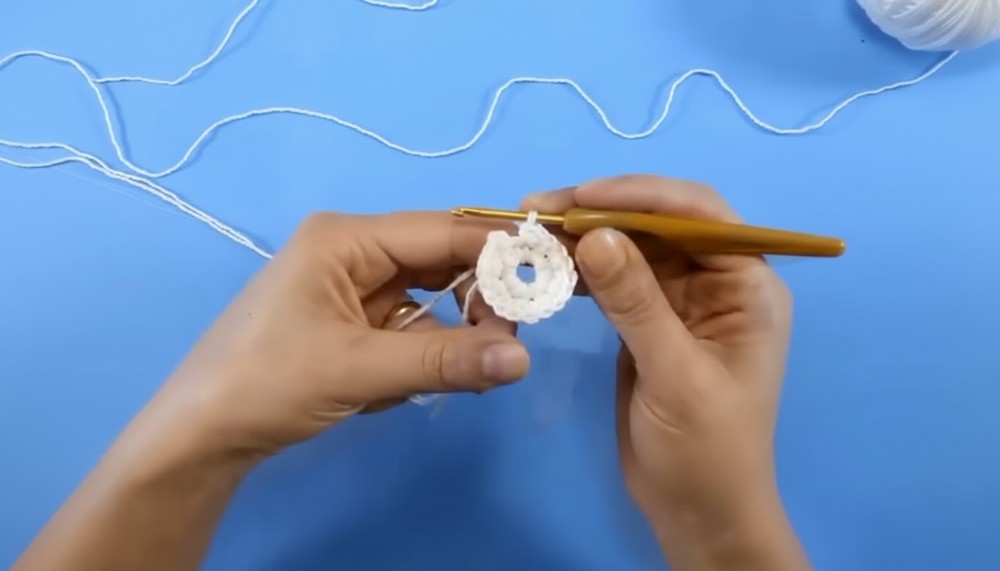
- Make a foundation ring with 5 chains; join with a slip stitch.
- Into the ring, work 9 single crochets. Join.
- Increase
- Chain 2 (counts as first stitch).
- Work 2 single crochets into each stitch (total 18).
- Join with slip stitch.
- Alternate Increases
- Chain 2.
- [1 single crochet, then 2 sc in the next] repeat around.
- Join.
- Form Cup Shape
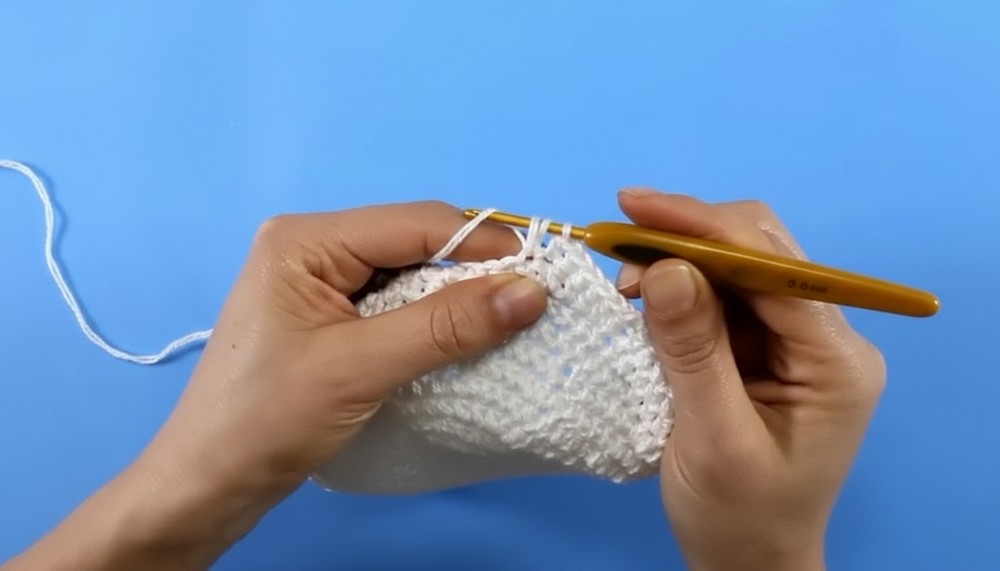
- Work 7 rounds without increases, sc in each stitch.
- Cup will begin to close and shape.
- Finish
- Hide ends, cut excess yarn.
- With yellow Duna yarn (single), add a decorative edge around each cup:
- Attach yarn, chain 2, work double crochet and chain stitches around rim.
- Fasten off and hide ends.
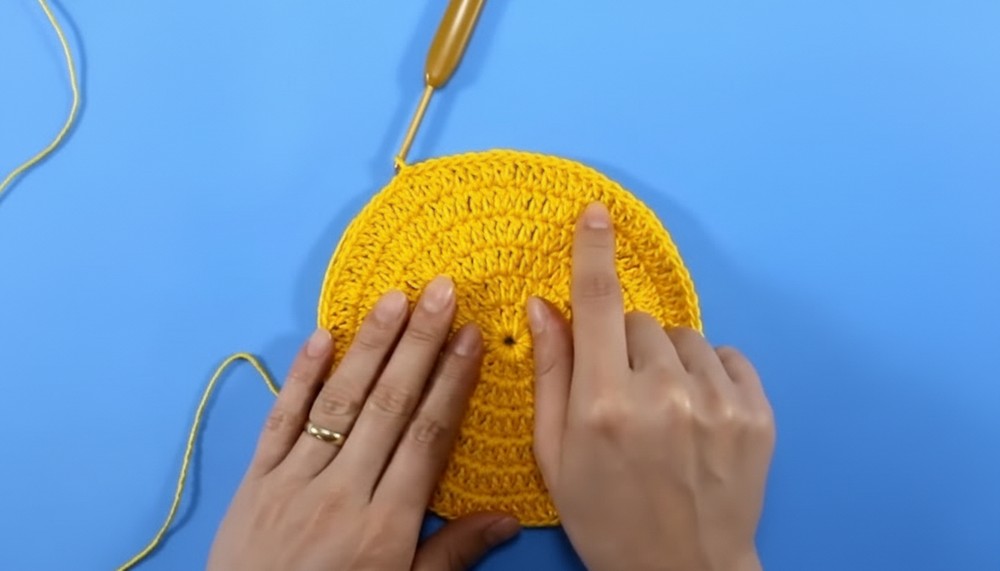
Step 2: Base (Make 2 Pieces)
- Foundation
- With yellow Duna, chain 6 and join into a ring.
- Work in Rounds
- Row 1: Chain 3, work 14 double crochets in ring (15 total). Join.
- Row 2: Chain 3, 2 dc in each stitch (30 total).
- Row 3: [1 dc, then 2 dc in next stitch] repeat (increase every stitch).
- Continue in this pattern, increasing space between increases each row:
- Row 4: [2 dc, inc] around
- Row 5: [3 dc, inc], and so on
- Increase up to 14 stitches between increases (total 11 rows).
- Adjust final round as needed to reach full diameter.
- Assembly
- Hide ends, but do not fasten off one base.
- Sandwich Paraná paper/cardboard circle between the two bases.
- Join edges with yellow decorative crochet as on cups, working through both bases and over cardboard.
- Fasten off and hide ends.
Step 3: Attach Egg Cups to Base
- Layout
- Arrange 12 cups evenly around the edge of the base.
- Use craft glue to affix each cup (apply glue to bottom rim).
- Press and let dry. Insert eggs or fillers to hold shape while drying.
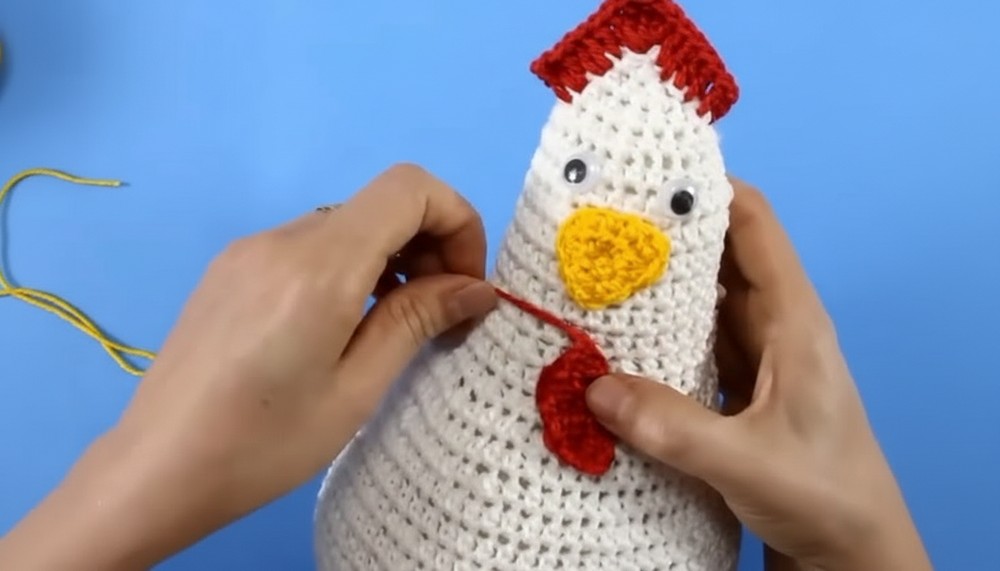
Step 4: Central Chicken
- Body
- Use white Anne yarn, doubled.
- Make a ring with 5 chains, work 9 sc into the ring, join.
- Gradually increase rounds to widen, then decrease to shape neck.
- Alternate increasing and decreasing rows as transcript describes, working down to 3 sc for the head and neck.
- Stuff with synthetic fiber before final closing rounds.
- Crest (Red) and Features
- With red yarn, create a crest by slip stitching and chaining, working picot/double crochet stitches.
- Make small shapes for beak and wattle as described; sew securely to head.
- Wings and Tail
- Use V-stitch patterns with white and yellow yarn, following increases/decreases as described for shaping.
- Outline with yellow, attach to body with tapestry needle.
- Details
- Glue safety eyes in position.
- Tie red satin ribbon around neck, weaving it in and out for decorative effect.
- Attach wings and tail securely.
Step 5: Final Assembly
- Apply Starch/Fixative
- Wear gloves, use a brush to apply crochet glue/fixative to wings and tail for firmness.
- Let dry fully (preferably 24 hours in the sun).
- Attach Chicken
- Use glue to affix central chicken to middle of egg holder base.
- Let set.
Uses
- Holds up to 12 eggs (real or decorative).
- Makes a whimsical centerpiece for breakfast or brunch.
- Cute handmade gift for any special occasion.
Conclusion
This crochet chicken egg holder is a charming combination of utility and creativity, sturdy yet playful. It showcases your skills and brings a handmade touch to your kitchen. With straightforward construction and opportunities for customization, it’s a delight for any intermediate crocheter.
Tip
To keep your egg holder looking fresh, spot clean with a damp cloth, and avoid soaking the cardboard base. For extra stability, let all glued parts dry thoroughly before use.



Leave a Reply