
Decorate your home with this Free Crochet Easter Eggs Pattern and enjoy cheerful, colorful accents that bring festive charm to every corner.
Bringing a splash of bright color to your spring home is easy when you make your own soft decorations. Using a Crochet Easter Eggs Pattern allows you to make charming items that look much better than simple plastic ones. These little eggs are very popular right now because they are friendly to the earth and you can use them year after year. One big plus is that they are soft and safe for kids to play with during a fun hunt.
Vibrant Crochet Easter Eggs Pattern That Brings Joy to Every Corner
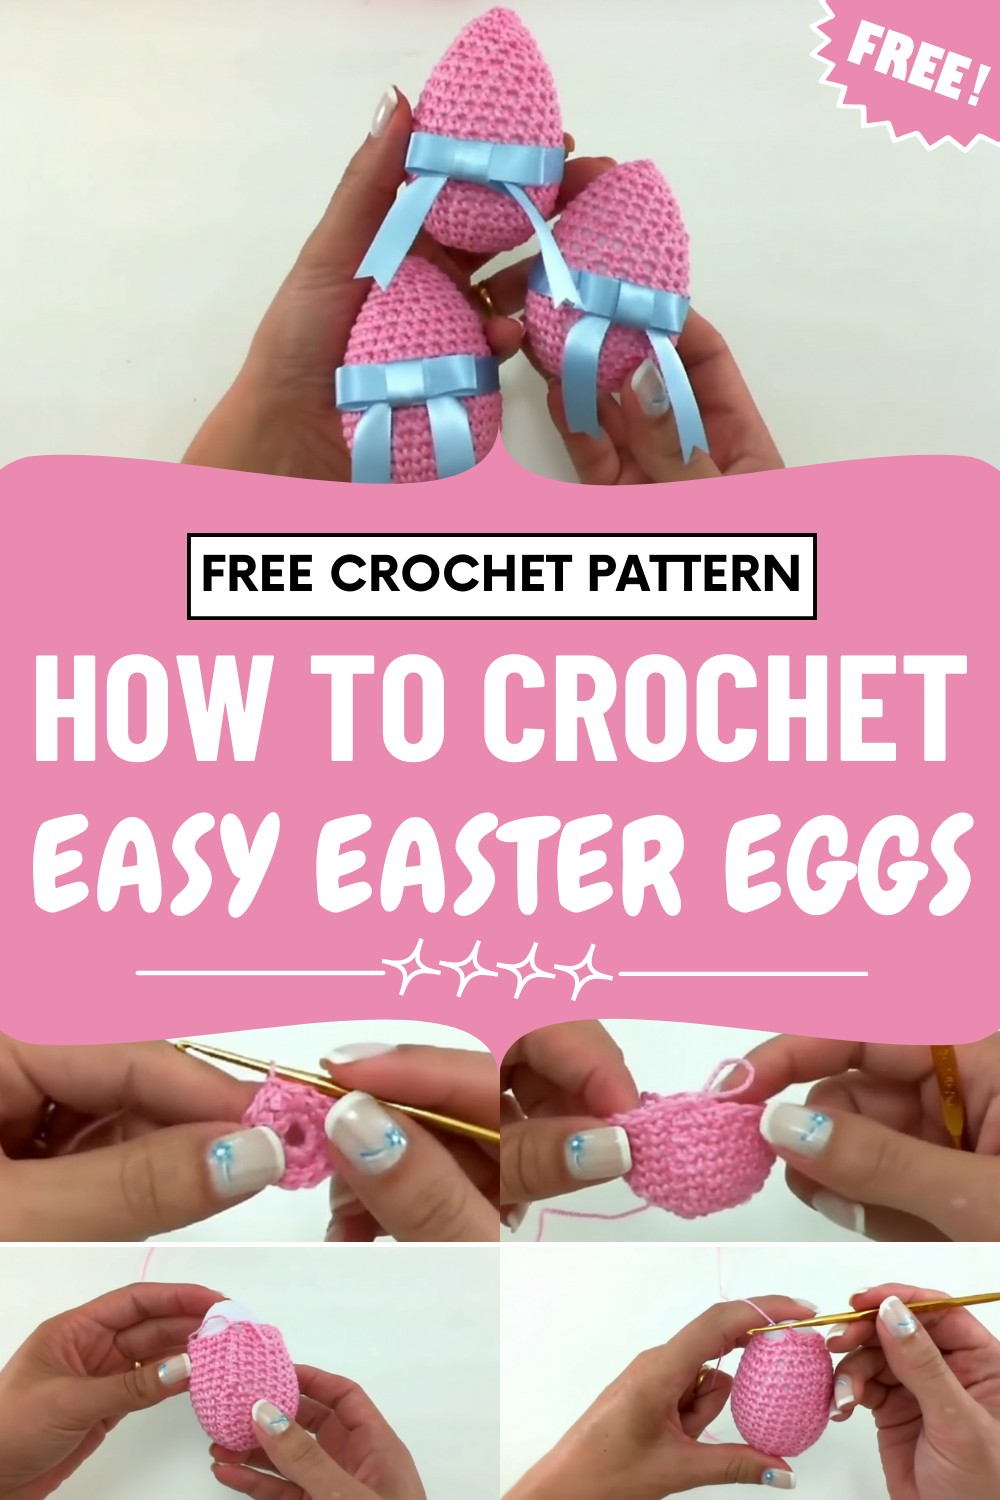
You can also place them in a pretty bowl on your table or hang them from a small tree to make your room look festive. The woven feel gives them a high-quality look that adds a touch of art to your house.
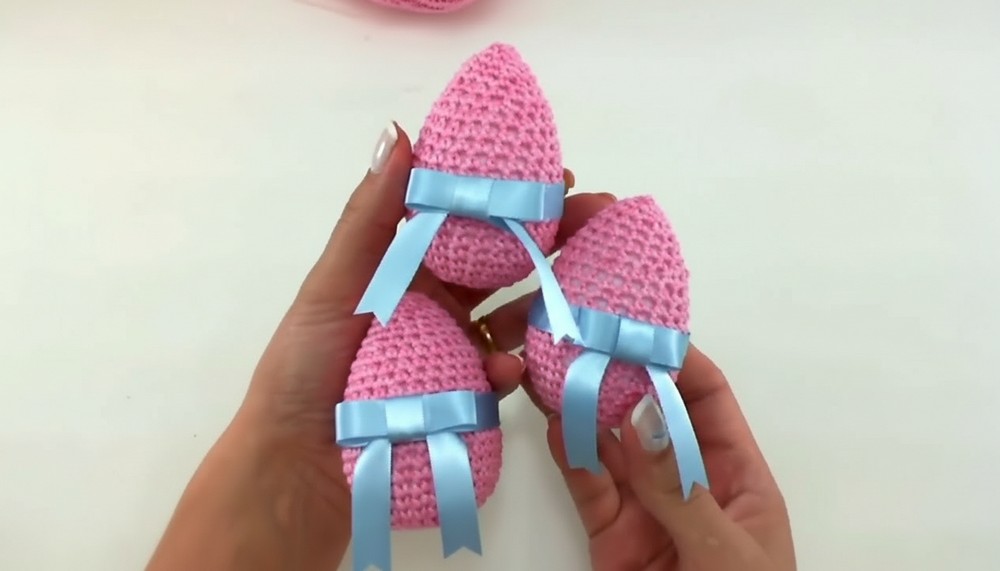
Making these is a fast and fun way to use up small bits of colorful yarn. They bring a happy mood to your holiday and look wonderful in every room.
Special Features
- Uses up yarn leftovers—eco-friendly and budget-wise.
- No-sew, quick project—great for beginners and kids (with adult supervision for hot glue).
- Fits standard-sized plastic Easter eggs (or use fiberfill for stuffed eggs).
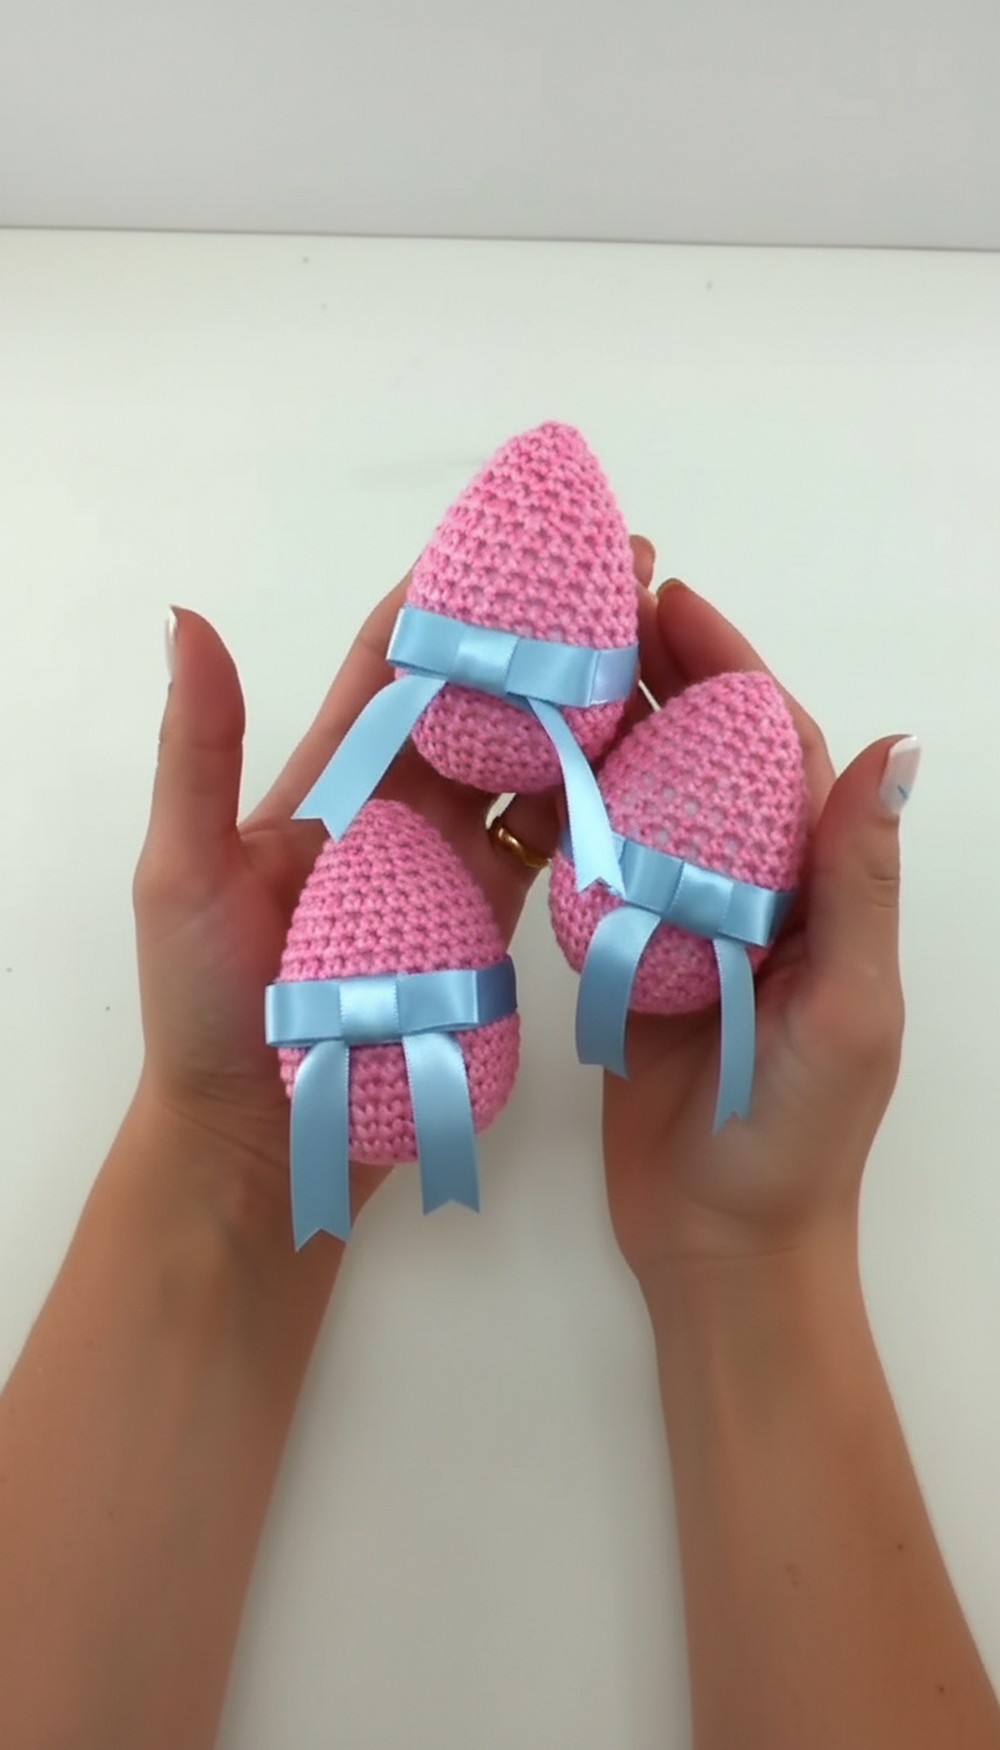
- Decorated with a handmade ribbon bow for an extra festive touch.
- Customizable—choose your favorite colors and ribbon styles.
Level of Difficulty
Beginner – Easy
- Basic stitches (chain, single crochet, increases, decreases)
- Minimal assembly
- Optional: Bow making (simple folding and gluing)
Materials
- 100% cotton medium-weight yarn (pink shown, but any color works)
- 2 mm crochet hook
- Plastic eggs (standard size; alternative: stuff with fiberfill)
- Hot glue gun
- Blue satin ribbon (50 cm x 1.5–2 cm for wrapping; 30 cm for bow)
- Scissors
- Tapestry or crochet needle (for weaving in ends)
- Pen and scrap paper (for career tracking, optional)
Suggested Uses
- Easter table favors and decorations
- Gifts for children and friends
- Spring craft projects or classroom activities
Tutor's Suggestions
- Always try the crocheted cover on your plastic egg as you go to ensure a snug fit.
- Mark off each row on paper to avoid losing count, especially during long rounds.
- If you can't find plastic eggs, stuff your cover with fiberfill for plush decorations.
- Use ribbon with a shiny side facing out for best presentation.
- Be careful when cutting and gluing ribbon for the bow to ensure neatness.
Pattern Instructions
1. Make the Crochet Egg Cover
A. Start the Base
- Chain 5, join with a slip stitch to the first chain to form a circle.
- Inside the circle:
- Ch2 (counts as first single crochet, sc).
- Work 7 more sc into the circle (8 sc total).
- Join with a slip stitch to the top of the starting chain-2.
- Cut and secure your yarn tail.
B. Increase Rounds
- Round 2:
- Ch2.
- 2 sc in each stitch around (16 sc total).
- Join with slip stitch.
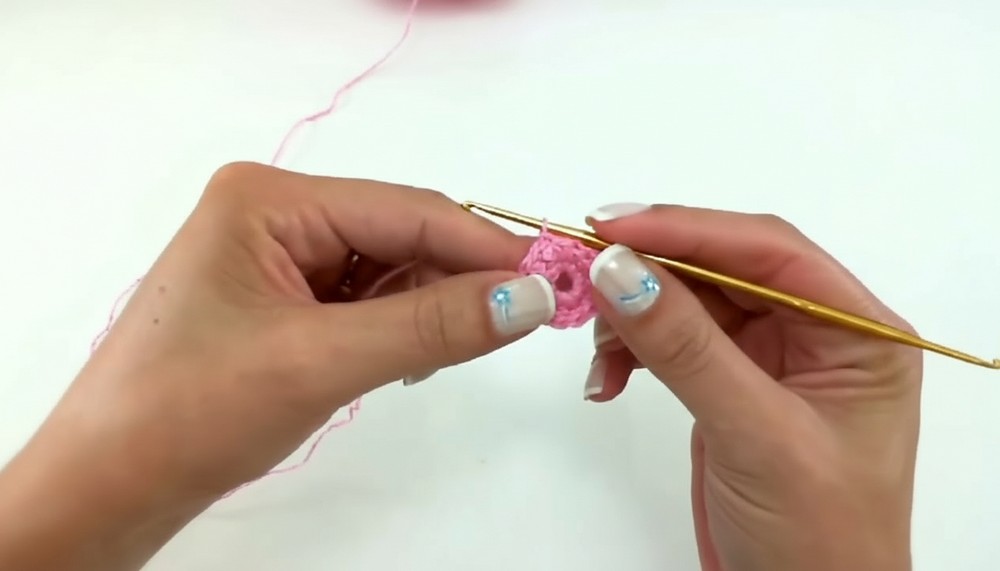
- Round 3:
- Ch2.
- Alternate increases:
- 1 sc in next st, 2 sc in next st; repeat all the way around.
- Join with slip stitch.
C. Build Up the Sides
- Rounds 4–9:
- Ch2.
- Work 6 rounds of sc (1 sc per stitch, no increases).
- Mark rounds on paper if you lose count.
- Your egg cover should start to resemble a small cup. Turn your work right side out.
D. Continue Until Egg Midpoint
- Rounds 10–16:
- Continue 7 more rounds of sc (1 in each stitch), right side facing out.
- Periodically try cover on your plastic egg to check fit.
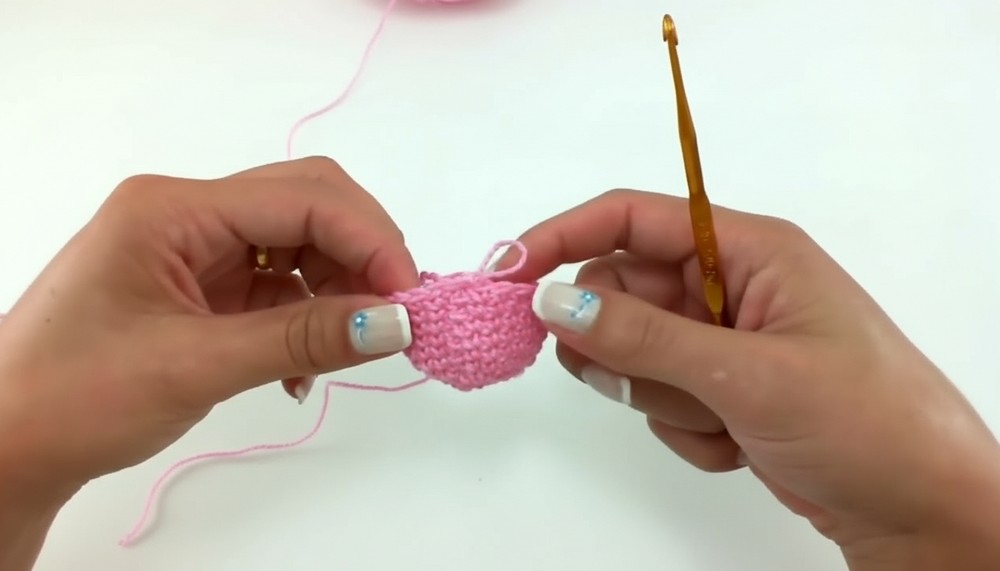
E. Insert the Egg
- After 16 rounds, insert plastic egg into the cover (or stuff with fiberfill).
2. Shape and Close the Top
A. Begin Decreases
- Round 17: (Start with egg inside)
- Ch2.
- Pattern: 2 sc, then decrease over next 2 sts (insert hook in next st, yarn over, draw up a loop; repeat in next st, yarn over, pull through all loops).
- Repeat: 2 sc, decrease; continue around.
- Join with slip stitch.
- Round 18:
- Ch2.
- Sc in each st around (no increases or decreases).
- Join with slip stitch.
B. Last Decreasing Rounds
- Round 19:
- Ch2.
- Pattern: 3 sc, then decrease; repeat around.
- Join with slip stitch.
- Round 20:
- Ch2.
- Sc in each st around (no increases or decreases).
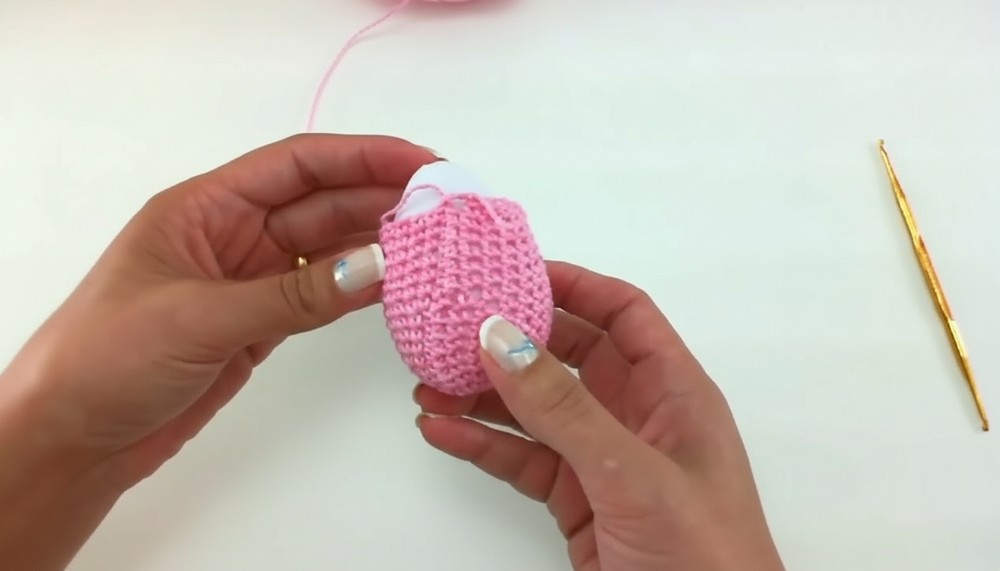
- Join with slip stitch.
- Round 21:
- Ch2.
- Pattern: 1 sc, then decrease; repeat around.
- Join with slip stitch.
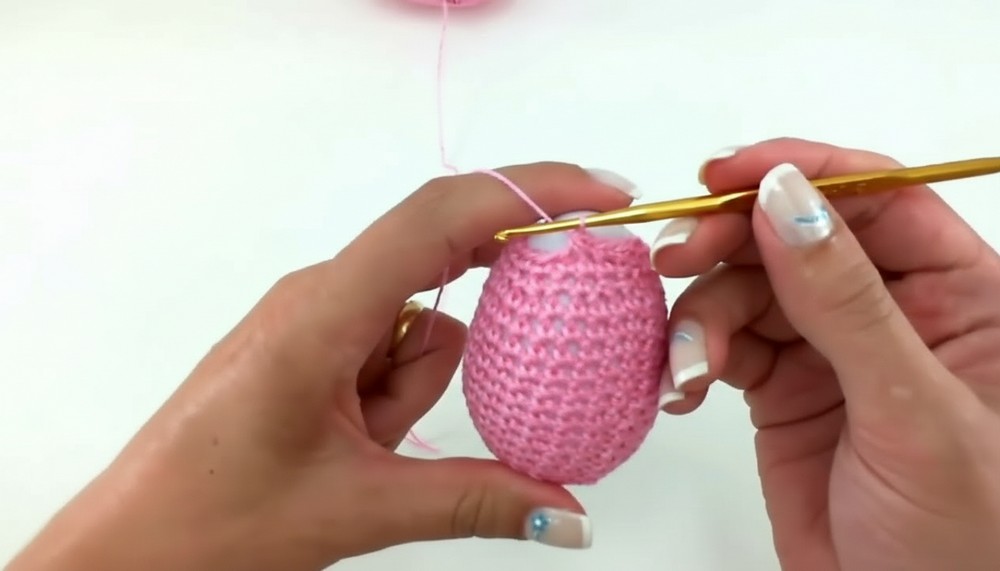
- Round 22 (Final round):
- Ch2.
- Work a decrease in every stitch around (decreasing all the way).
- Join with slip stitch.
- Cut yarn and pull end through.
- Finishing
- Use tapestry/crochet needle to weave in end through a few stitches inside the cover.
- Make sure it's neat and secure, then trim excess.
3. Add Ribbon and Bow
A. Wrap the Ribbon
- Take 50 cm length of satin ribbon.
- Apply a thin line of hot glue around the equator of the egg, avoiding the seam area if possible.
- Carefully press ribbon onto glue, smoothing as you go.
B. Make the Bow
- Take 30 cm length of ribbon.
- Form bow: Fold and shape; secure center with hot glue as needed.
- Make "tails" by folding and gluing ends, or trim into points.
- Attach Bow
- Use hot glue to attach bow to the front of the egg, placing it over any visible seams for a finished look.
- Use hot glue to attach bow to the front of the egg, placing it over any visible seams for a finished look.
Conclusion
Enjoy your beautiful handmade crochet Easter eggs! These decorations bring a warm, handmade touch to your spring festivities and make sweet little gifts. Play with color combinations, textures, and bow styles for a custom result.
Final Tip
Track your rounds on paper as you crochet—this will guarantee symmetry and a snug fit. As you create more eggs, experiment with variegated yarn, beads, or small appliqués for extra flair.

Leave a Reply