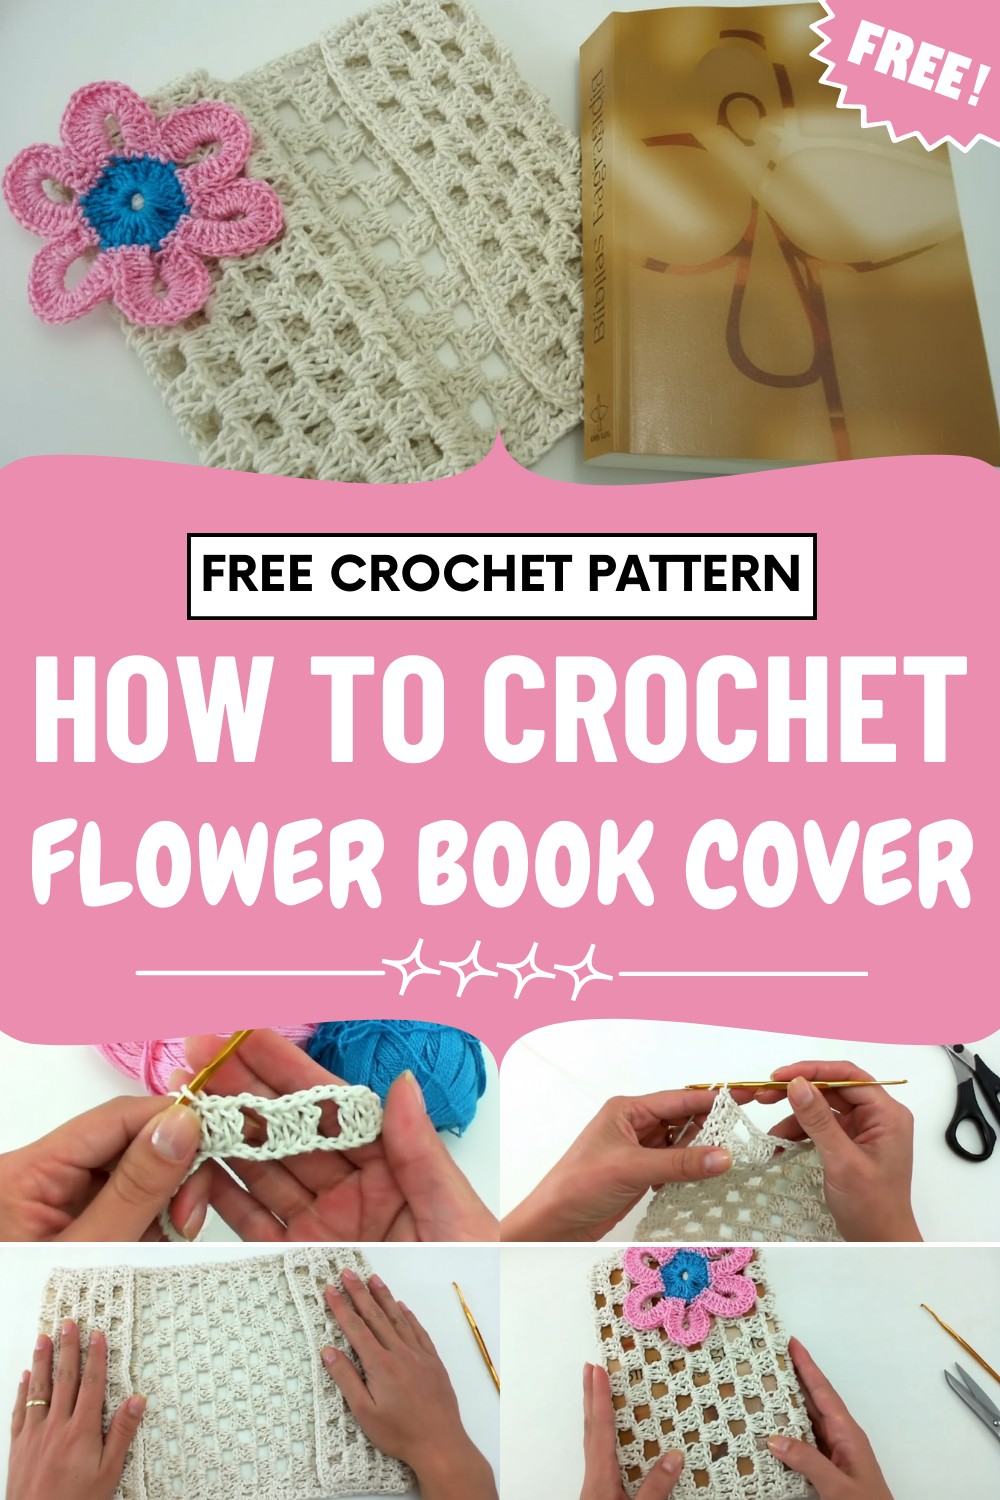
Dress up your reading time with this Free Crochet Flower Book Cover Pattern bringing floral charm and gentle protection to favorite books.
Blossoming flowers and graceful textures instantly elevate the appearance of any book with a crochet flower book cover pattern. Presently, many enjoy dressing up journals, novels, or planners with this elegant accessory, offering both protection and a touch of personal style. Each pattern allows for a range of color combinations and floral designs, giving you the flexibility to match individual preferences or special occasions.
Easy Crochet Flower Book Cover Pattern That Protects Pages
Beyond its decorative charm, the cover helps keep books safe from daily wear and tear, ensuring pages stay clean and corners crisp. Its overall look exudes sophistication and warmth, blending timeless floral elegance with modern practicality.
Perfect for those who value unique details, this cover transforms any book into a cherished piece—ideal for study sessions, gifts, or simply adding loveliness to a bookshelf or desk.
Materials Needed
-
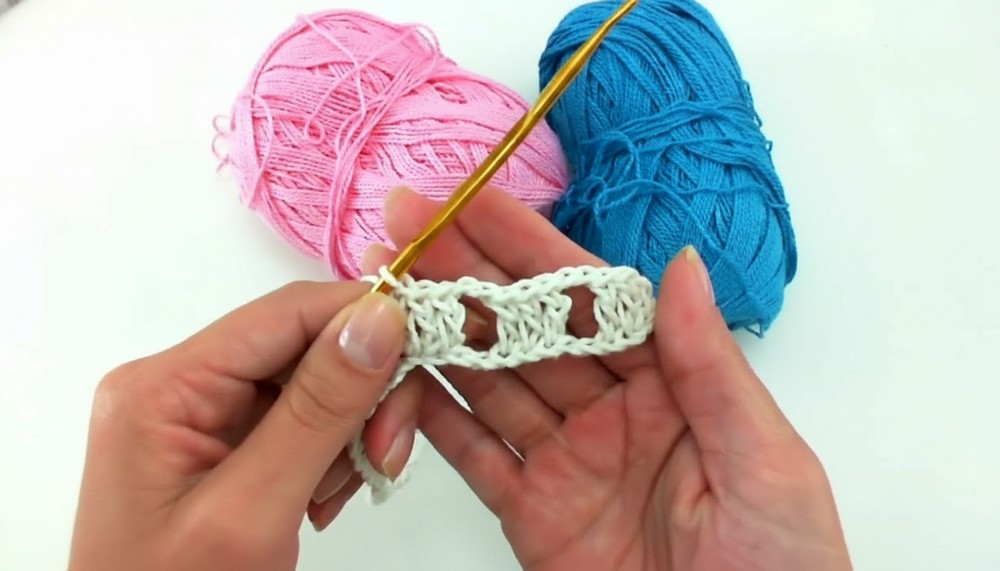
Yarn: Size 4 cotton yarn in a "raw" (natural/cream) color. Leftover cotton twine or thread in pink and blue for the flower.
-
Hook: 2.5 mm (or a size 5) to ensure the work is firm and durable.
-
Tools: Tapestry needle for assembly, scissors, and a measuring tape.
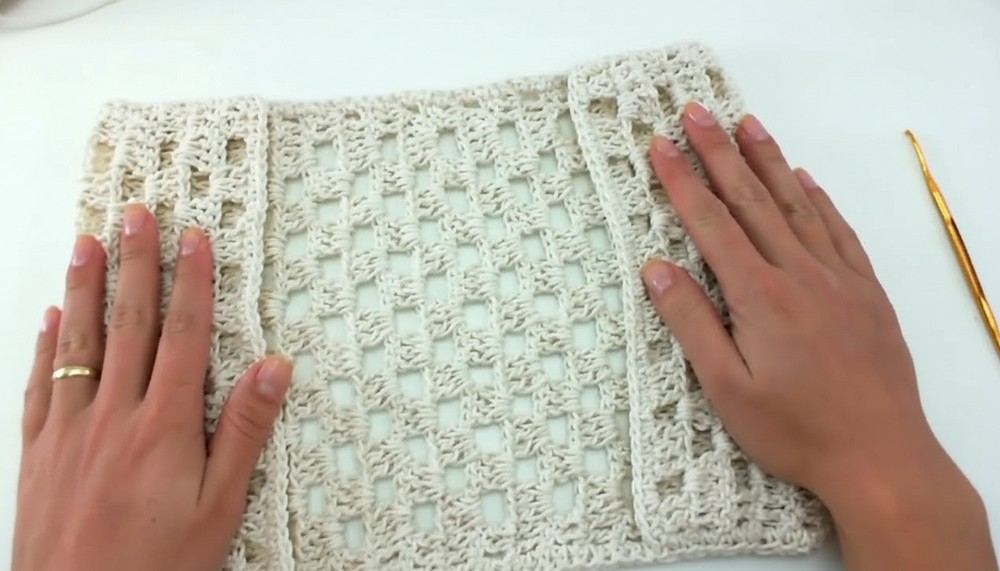
Part 1: The Main Body Panel
The panel is worked flat in rows of alternating blocks.
-
Foundation: Chain 40. (Measurement should be approximately 22 cm wide. If it is too small, increase in multiples of 5).
-
Row 1: dc in the 4th chain from hook. dc in the next chain (this creates your 3-dc border). Ch 2, skip 2 chains, dc in next 3 chains. Repeat from * across. You must end with 3 dc.
-
Row 2: Ch 3 (counts as dc), turn. dc in next 2 stitches (border preserved). Ch 2 over the dc block, 3 dc into the ch-2 space. Repeat across. End with 3 dc (the border).
-
Row 3: Ch 3, turn. dc in next 2 stitches. 3 dc into the ch-2 space, ch 2 over the dc block. Repeat across.
-
Growth: Repeat Rows 2 and 3, always maintaining the 3-dc border on each side. Continue until the piece measures 47 cm in total length.
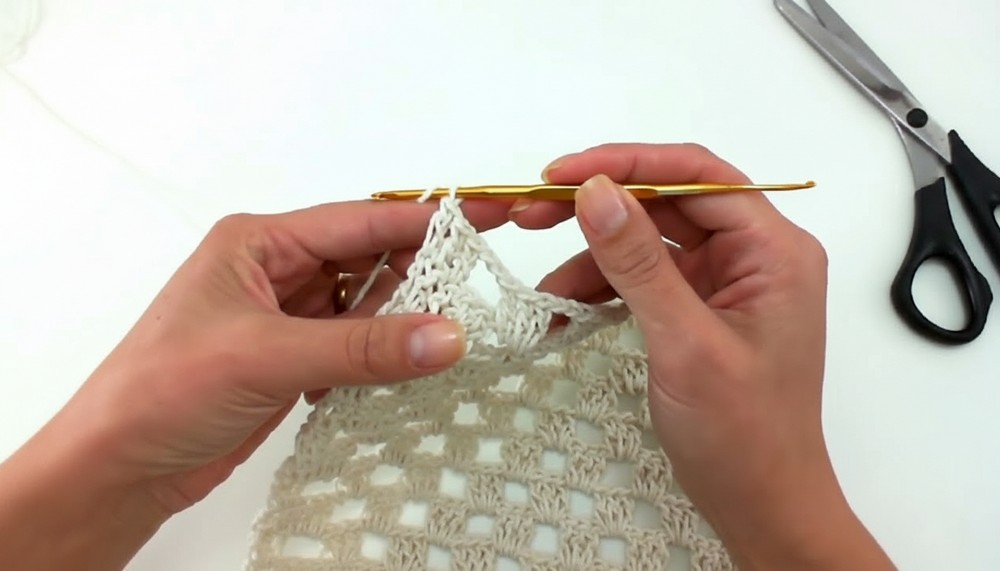
Part 2: The Border Contour
-
Rounding: Ch 2 at the corner of your finished panel.
-
Edge: Work Single Crochet (sc) all the way around the entire rectangle.
-
Work 1 sc in the joints between rows and 1 sc in the middle of each row side.
-
Along the top and bottom, work 1 sc in each dc and 2 sc in each ch-2 space.
-
-
Finish: Join with a slip stitch, fasten off, and leave a long tail for sewing.
Part 3: Assembly (The Pockets)
-
Folding: Lay the piece flat with the "right side" facing down. Fold each end inward toward the center by 5 rows (approx. 5-7 cm). These form the pockets that hold the book cover.
-
Sewing: Thread your tapestry needle with the long tail.
-
Inner Loop Join: Join the edges by sewing through the inner loops only of the sc border. This creates a clean, professional seam.
-
Repeat: Secure all four corners (top and bottom of both folded pockets). Fasten off and hide the yarn ends inside the stitches.
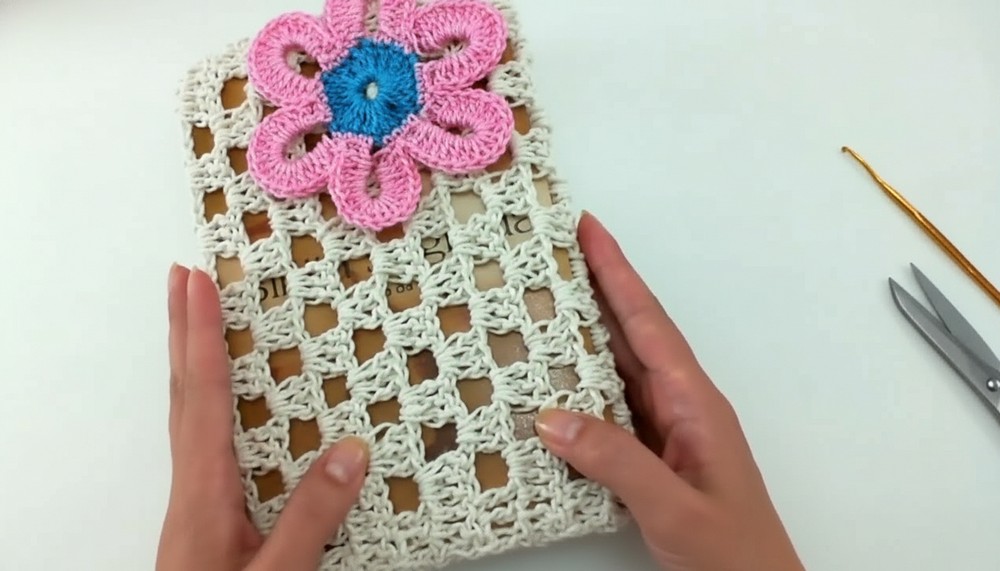
Part 4: The Floral Applique
-
The Flower: Use a "Nature Flower" pattern (or any simple 5-petal flower).
-
Center: Blue thread.
-
Petals: Pink thread.
-
-
Application: Position the flower on the front top corner of the cover.
-
Attachment: Use the blue center thread and a tapestry needle. Stitch through the blue center of the flower and the "raw" yarn of the cover. Ensure the stitches do not show on the inside of the pocket.
Final Adjustments
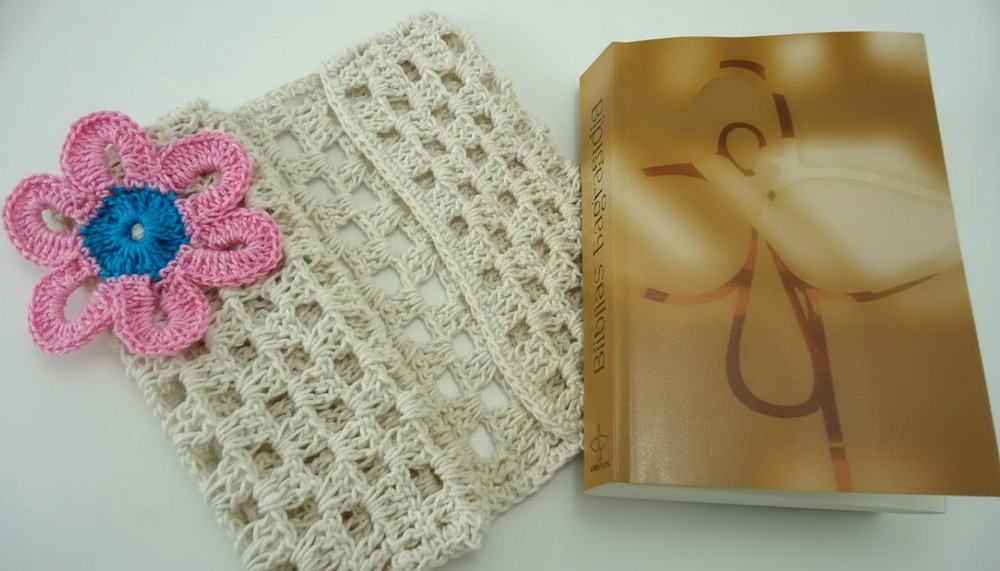
Slide the front and back covers of your Bible into the crocheted pockets. The spine should be protected by the center of the panel.
Would you like me to find a pattern for a matching crocheted bookmark or a button-strap closure to add to this cover?


Leave a Reply