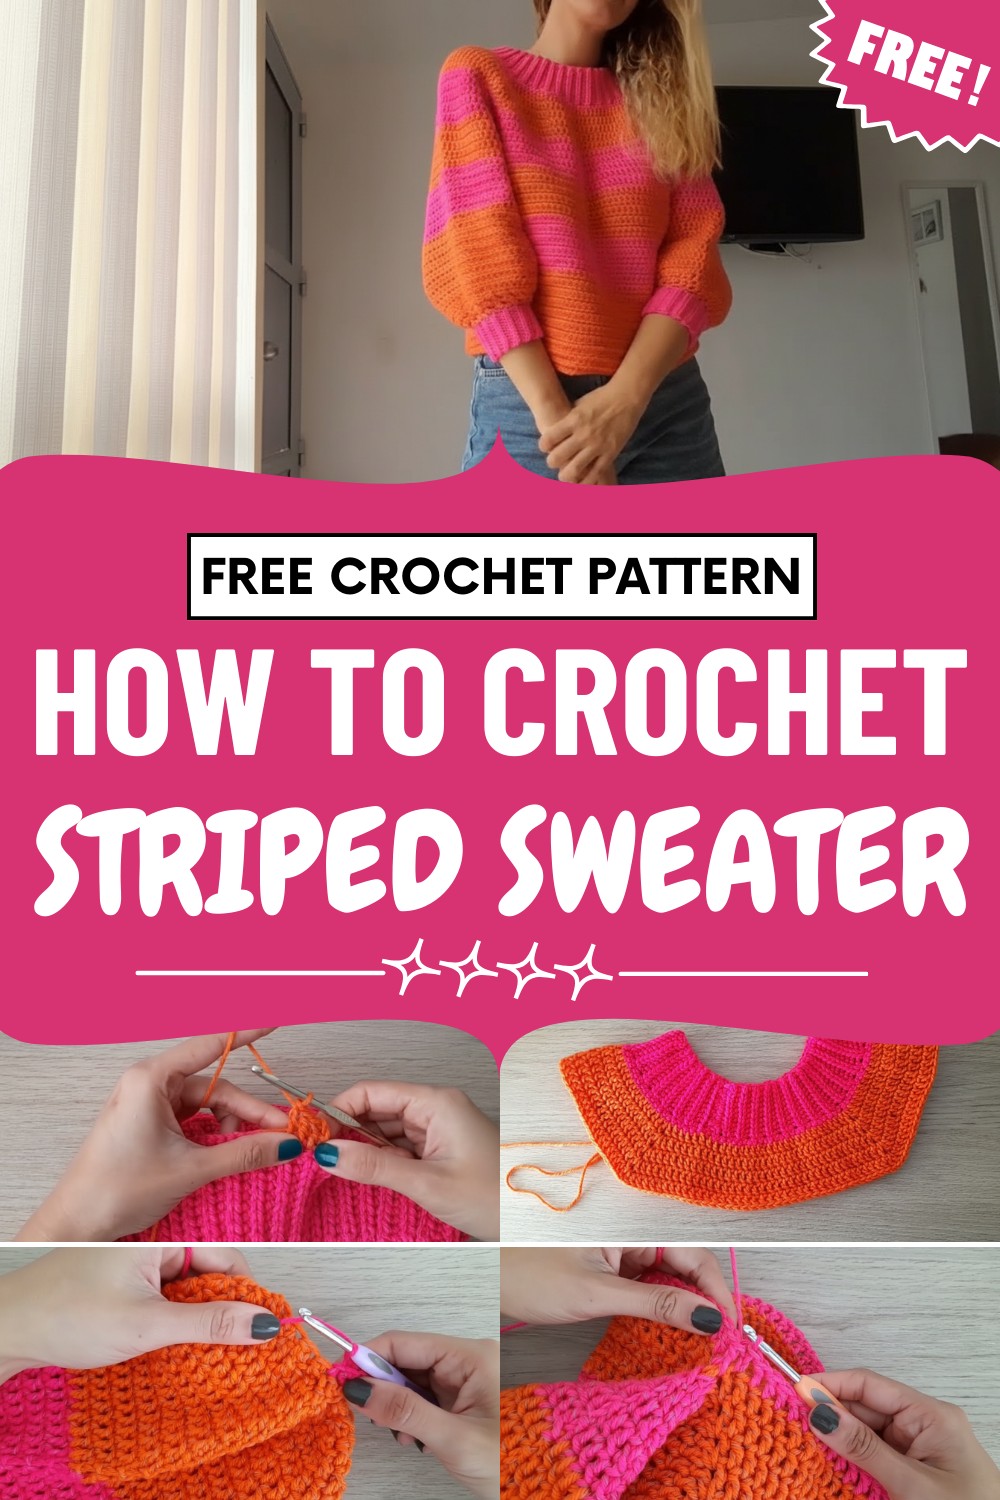
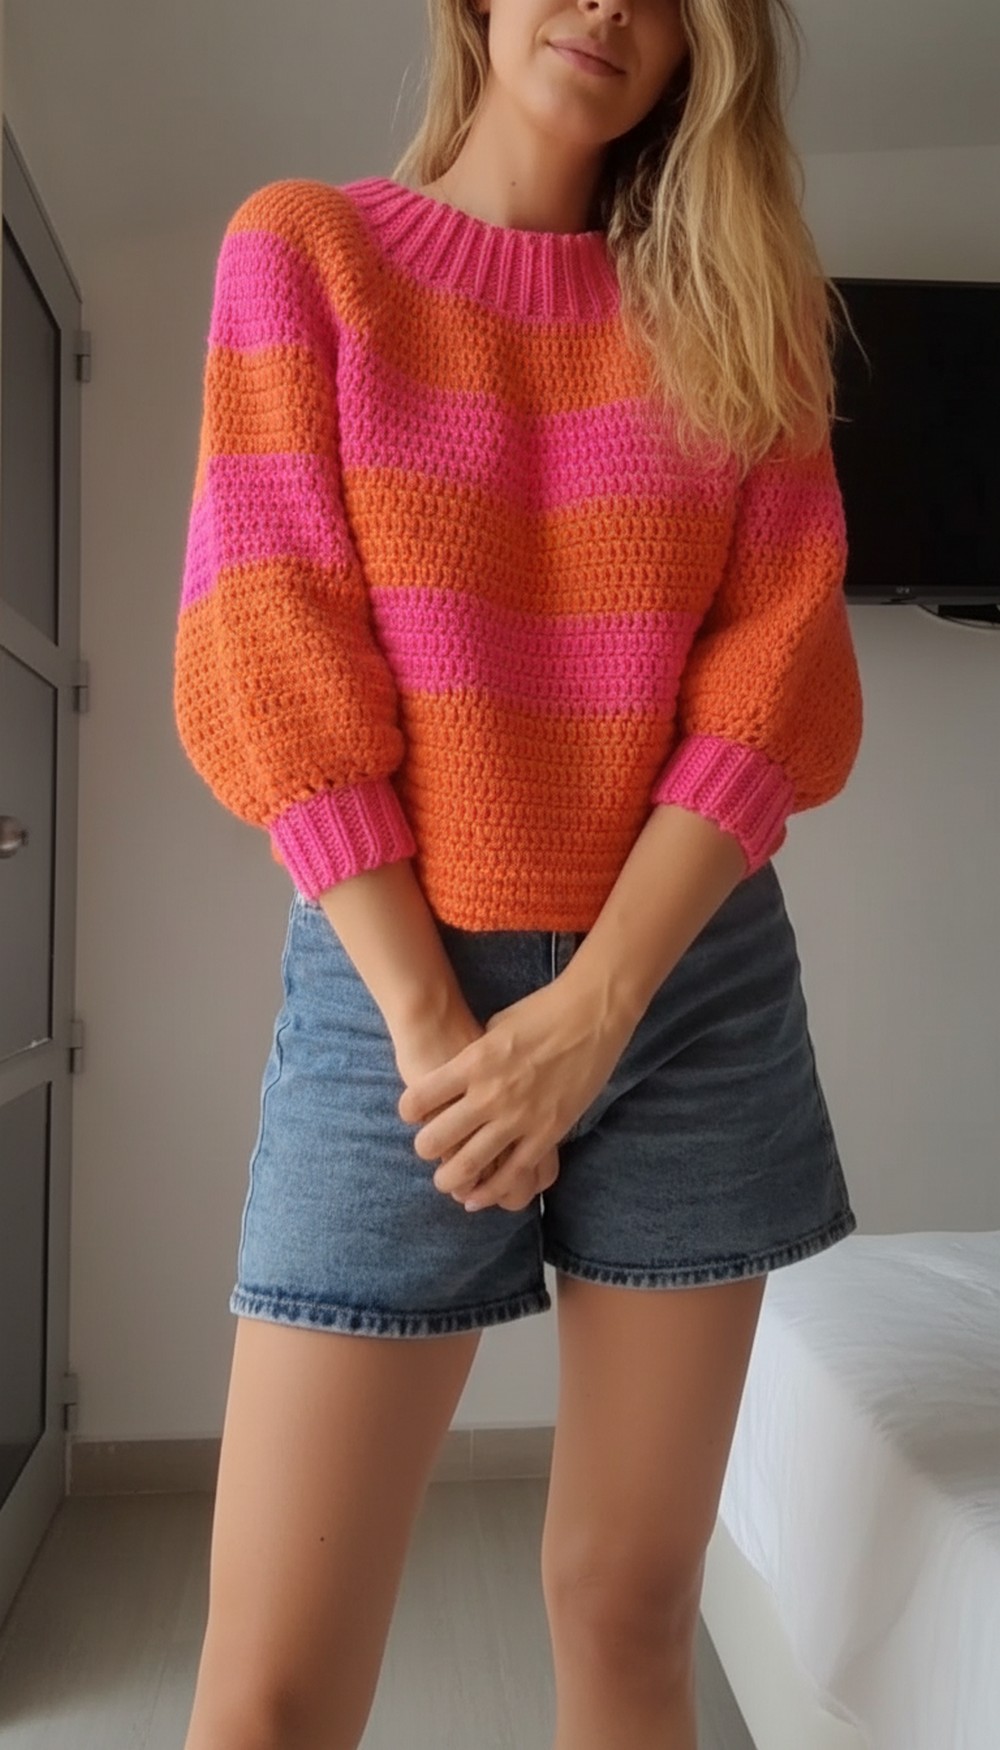
Cozy up in style with the Free Crochet Striped Sweater Pattern, featuring colorful stripes, soft texture, and relaxed fit for casual comfort.
Blending comfort style and handmade charm the Crochet Striped Sweater Pattern brings a timeless touch to any wardrobe. Its classic stripe design paired with detailed crochet stitches creates visual interest while maintaining a soft and breathable texture that makes it ideal for cooler mornings breezy afternoons or layered seasonal outfits.
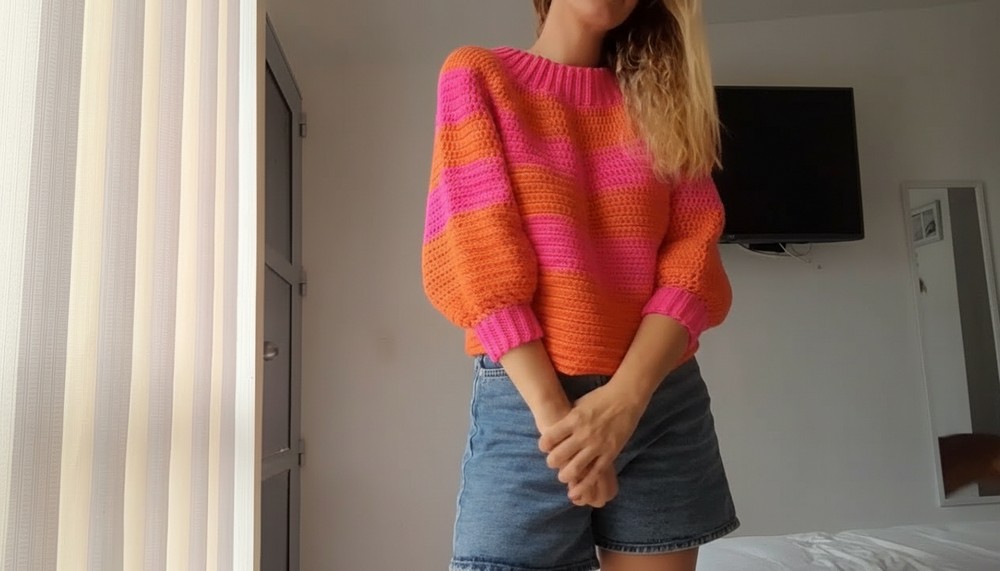
Fresh Crochet Striped Sweater Pattern With Clean Lines
The relaxed yet flattering fit accommodates a variety of body shapes while allowing freedom of movement and ease of wear. Perfect for pairing with jeans skirts or layering over dresses it transitions effortlessly between casual and semi-formal looks. Beyond its practical warmth and elegant design the pattern encourages creative expression by allowing crocheters to experiment with colors and stitch variations to create a unique garment.
Combining artisanal craftsmanship versatility and cozy sophistication the Crochet Striped Sweater Pattern transforms a simple wardrobe essential into a stylish standout piece that elevates everyday outfits.
Special Features
- Seamless construction: You work from the neck downward without joining separate pieces.
- No sewing required: Finish the whole garment using just your crochet hook.
- Customizable fit: Try on as you go and adjust for your ideal size with clear row counts.
- Modern colorblocking: Switch colors every five rows for bold stripes.
Level of Difficulty
Beginner to Confident Beginner. Basic crochet stitches are used, and clear tips are provided for a neat, professional look.
Uses
Perfect as a short sweater for layering, casual wear, or making a statement piece. You can also extend it or add bottom ribbing for a longer, different look.
Materials
- DK/light worsted weight acrylic yarn (Cisne brand suggested) – two contrasting colors suggested (e.g., fuchsia and orange)
- 5 mm crochet hook for main body
- 4 mm crochet hook for cuffs (helps cuffs fit snugly)
- 4 stitch markers
- Scissors
- Yarn needle
Pattern Steps
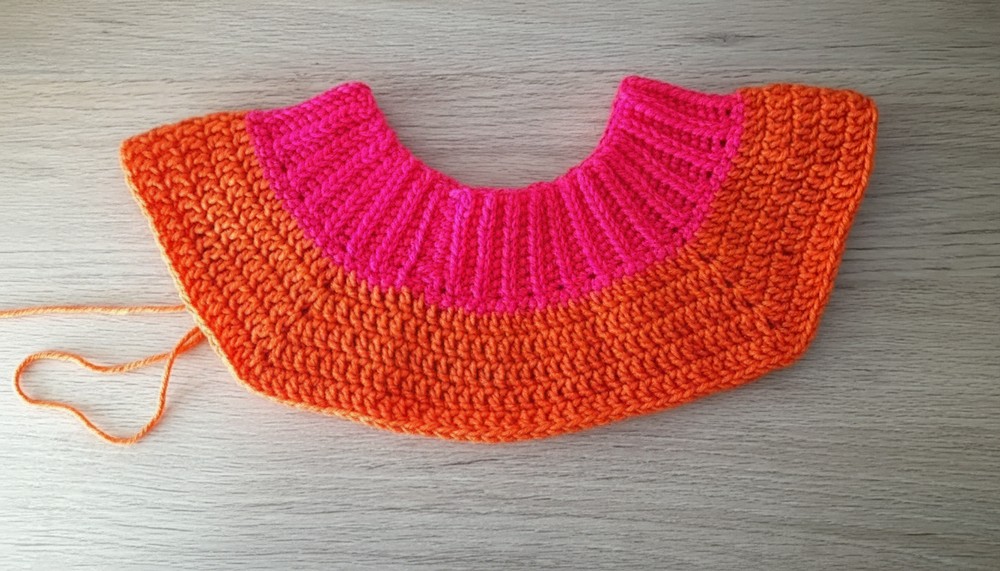
1. Neckline (Collar)
- Foundation Row:
- Make a slip knot and chain 11.
- Starting in the 2nd chain from the hook, work 1 half double crochet (hdc) in each chain (10 hdc).
- Rows 2–80 (approx. for size M):
- Chain 1 and turn.
- Back loop only: Work 1 slip stitch hdc in each stitch across (10 sts per row).
- Repeat for approx. 80 rows, adjusting for your neck size or desired fit.
- Seaming Collar:
- Fold the strip in half so the ends meet.
- Slip stitch through both layers to join, forming a tube.
2. Yoke Foundation
- Work a single crochet (sc) all along the edge of the collar tube.
- Tip: Alternate single sc and increase (2 sc in 1) to create an even edge. Continue around the collar.
- For size M, you should have around 120 sc at the end.
3. Yoke & Raglan Increases
- Set up Color A (e.g., orange) for the yoke.
- Attach yarn to any sc to begin.
- Ch 3 (counts as first dc).
- Work double crochets (dc) evenly around the base, marking each quarter point (front, back, sleeves) with markers. You should have 30 sts per section.
- At each marker:
- Work (dc, ch 1, dc) to increase at each raglan line—these create your corners.
- Continue yoke:
- Work dc in each stitch and increase at each raglan point (always in the chain-1 space).
- After every 5 rows, switch colors.
- Repeat until you’ve completed about 15 rows (3 stripes/sections of yoke: e.g., orange, fuchsia, orange).
4. Body & Sleeve Separation
- Fold the work to separate sleeve sections from front/back.
- Join the first and last stitches at each raglan point with two chains using Color B (fuchsia) to close the sleeve "holes".
- Continue working body:
- Work dc in each stitch for the body, no increases.
- Continue in stripes: 5 rows fuchsia, 10 rows orange (or desired combo), adjusting length as you like.
- End body and fasten off.
5. Sleeves
- Attach yarn at the underarm join.
- Work in rounds: dc evenly around the sleeve opening for 5 rows (fuchsia).
- Work 10 more rows (orange) or your chosen length.
- Shaping Cuffs:
- On the last 2–3 rounds, decrease (as shown in video: double crochet two together) to narrow the sleeve.
- Example: decrease from 60 to 45 sts, then to 28 sts.
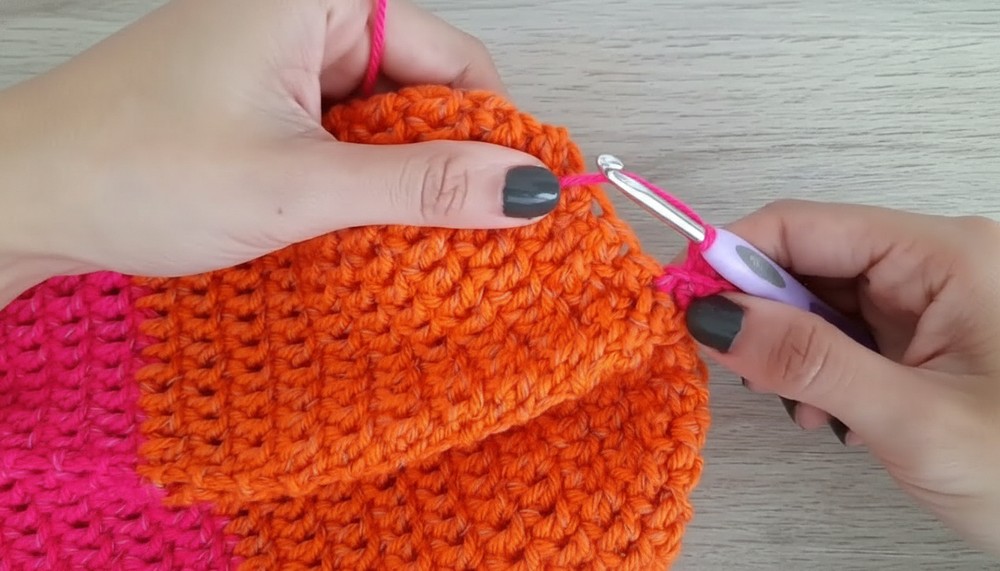
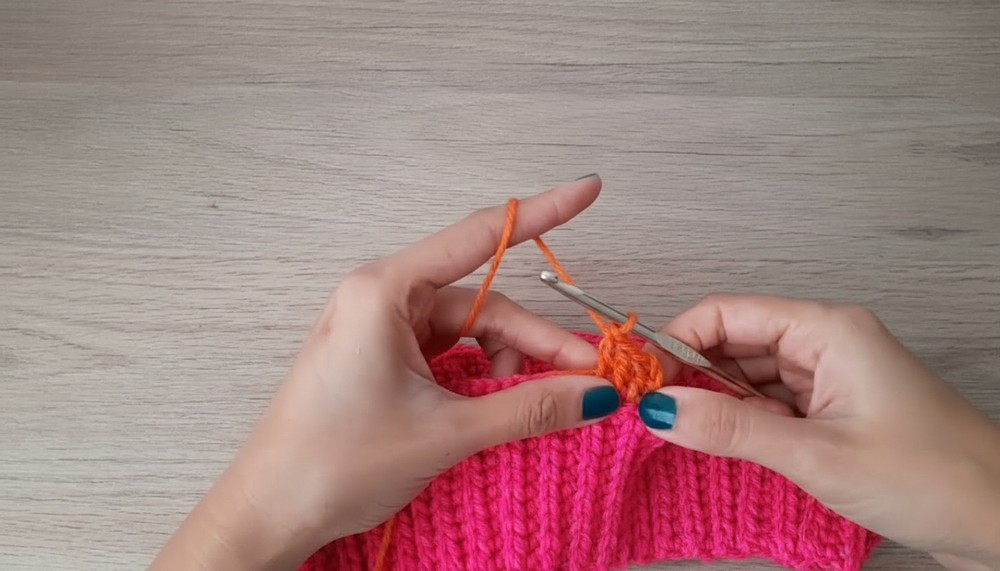
6. Ribbed Cuffs
- Switch to a 4 mm hook for a snug fit.
- Attach Color B (fuchsia).
- Cuff:
- Chain 10.
- Work sc into each chain (10 sts).
- Join to edge of sleeve with a slip stitch.
- Turn, chain 1, work sc in back loops only across.
- Slip stitch again into next edge stitch on sleeve.
- Repeat, working back and forth, attaching each row to the sleeve as you go, until cuff meets in the round.
- Slip stitch both ends of cuff together to close.
7. Finishing
- Weave in all ends securely.
- Block lightly if desired for shape.
- Try on and enjoy your seamless sweater!

Tutor’s Suggestions
- Always measure as you go to get the perfect fit around neck, body, and sleeves.
- Use stitch markers for raglan lines and at beginning of rounds—especially helpful for beginners.
- Hide color changes by crocheting over yarn tails as you switch.
- This pattern is easy to adjust for longer/shorter bodies or sleeves.
Tip
Count your stitches at the end of each major section to avoid surprises! This ensures your stripes match on sleeves and body, and your fit stays consistent.
Conclusion
This seamless top-down crochet sweater comes together with easy stitches and clever shaping, making it accessible to adventurous beginners and fun for seasoned crocheters. Play with colors, try it on as you go, and customize the fit to create a modern, comfortable, and totally YOU sweater.


Leave a Reply