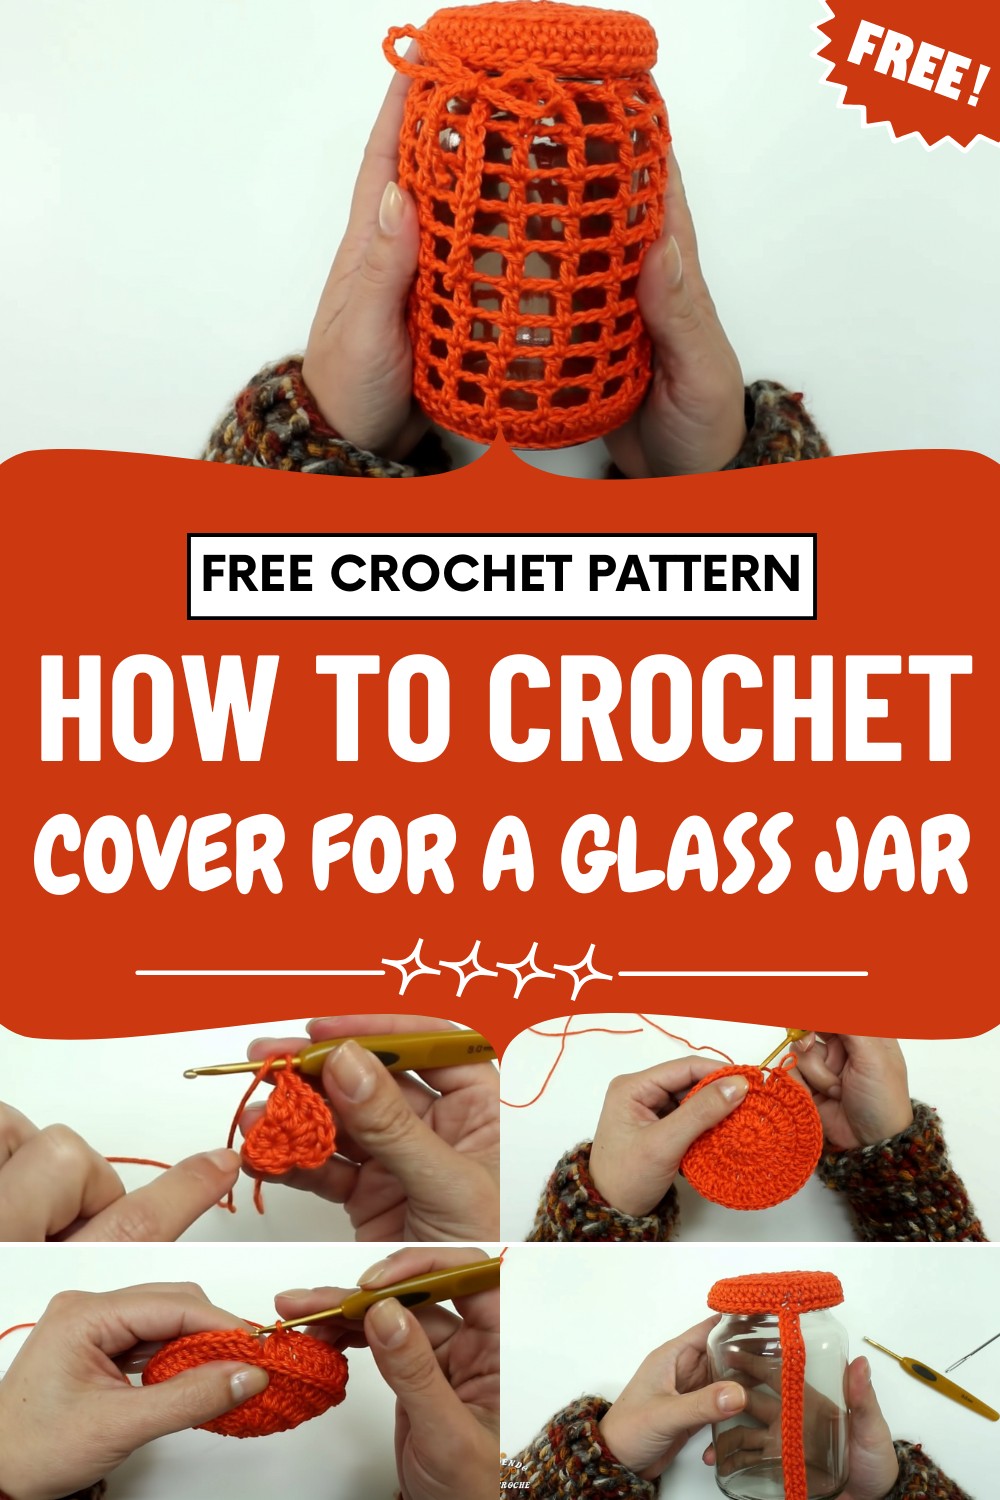
Decorate home spaces with this Crochet Glass Jar Cover Pattern that adds charm and texture, perfect for storage jars, candle, and easy decor.
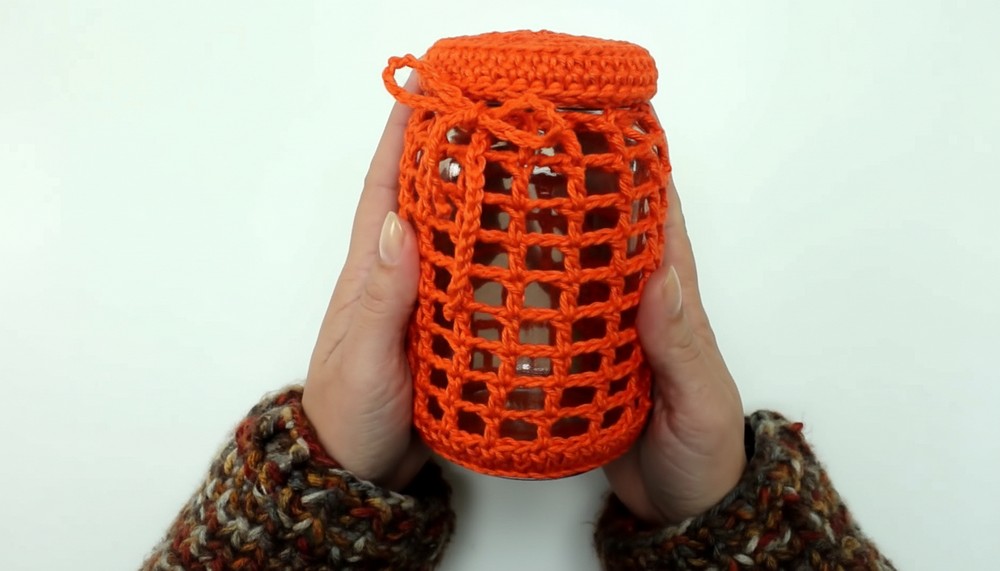
Cozy charm and everyday usefulness come together in a design that enhances simple home accents. The Crochet Glass Jar Cover Pattern adds a soft, textured layer that transforms ordinary jars into eye-catching décor pieces. Its snug fit brings a refined look to storage containers, candle holders, or tabletop displays, making it suitable for kitchens, living spaces, and special occasions.
Practical Crochet Glass Jar Cover Pattern Protecting Glass Surfaces
This pattern helps reduce visual clutter by giving reused jars a coordinated and polished appearance. The detailed surface introduces warmth and character, while allowing light to pass through gently when used with candles or fairy lights. It also supports sustainable styling by encouraging reuse in an attractive way.
Color choices easily match seasonal themes or interior palettes, adding versatility to the design. Overall, it offers a tasteful solution for elevating home décor, blending functionality, elegance, and a handmade aesthetic into one charming accent.
Required Materials
-
Yarn: Amigulove by Cisne (100% Cotton, 100g/170m, Tex 600). Color: Orange (0032) [00:22].
-
Hook: 3.0mm crochet hook [00:33].
-
Notions: Tapestry needle for finishing, scissors, and a glass jar (Dimensions: 8cm bottom diameter, 27cm circumference, 12cm height) [00:44].
Pattern Instructions: Jar Body
1. Circular Base
-
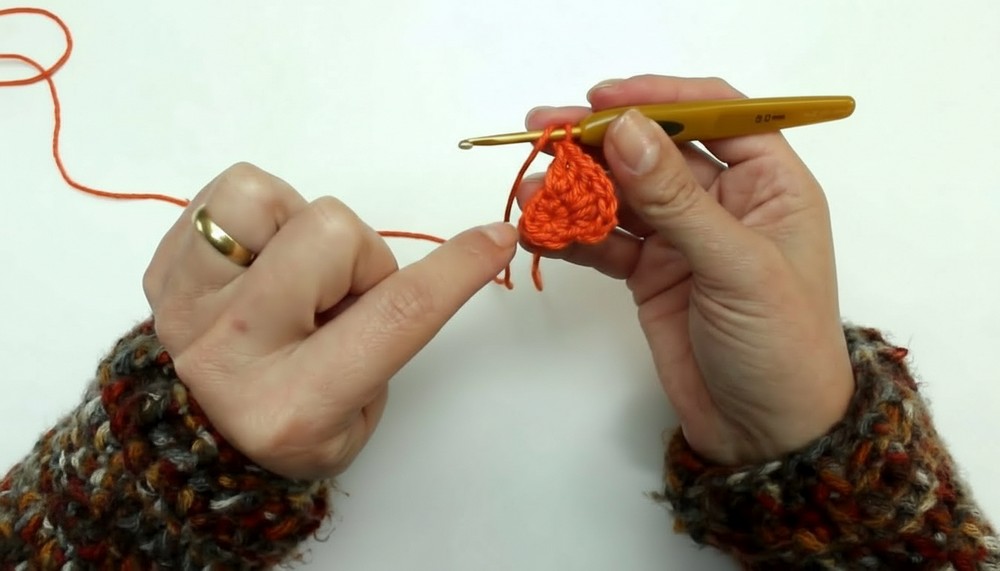
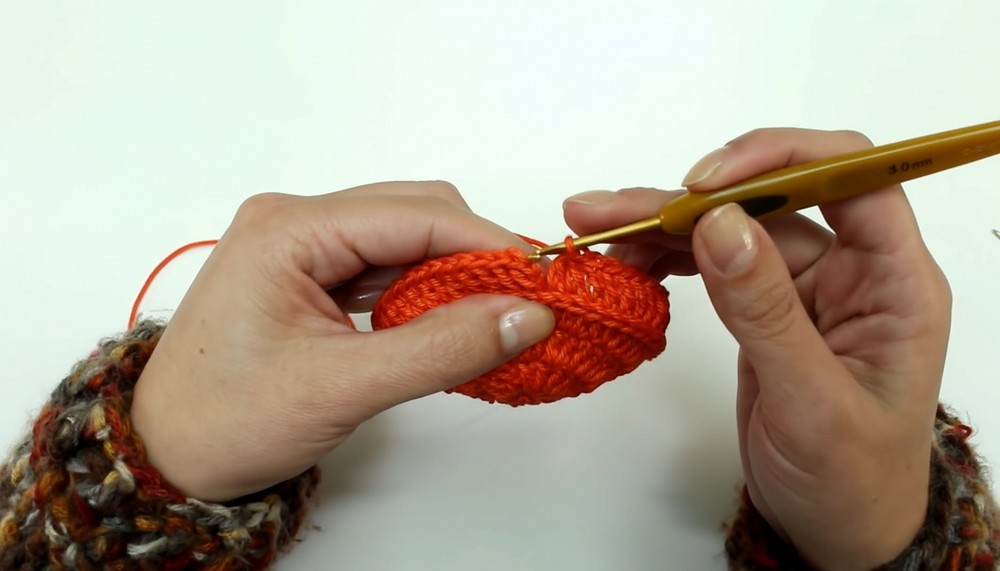
Round 1: Start with a magic ring. Work 8 sc into the ring. Pull tight to close [02:42].
-
Round 2: Ch 2 (does not count as a stitch). Work 2 dc in each stitch around (16 dc total). Join to the first dc [03:59].
-
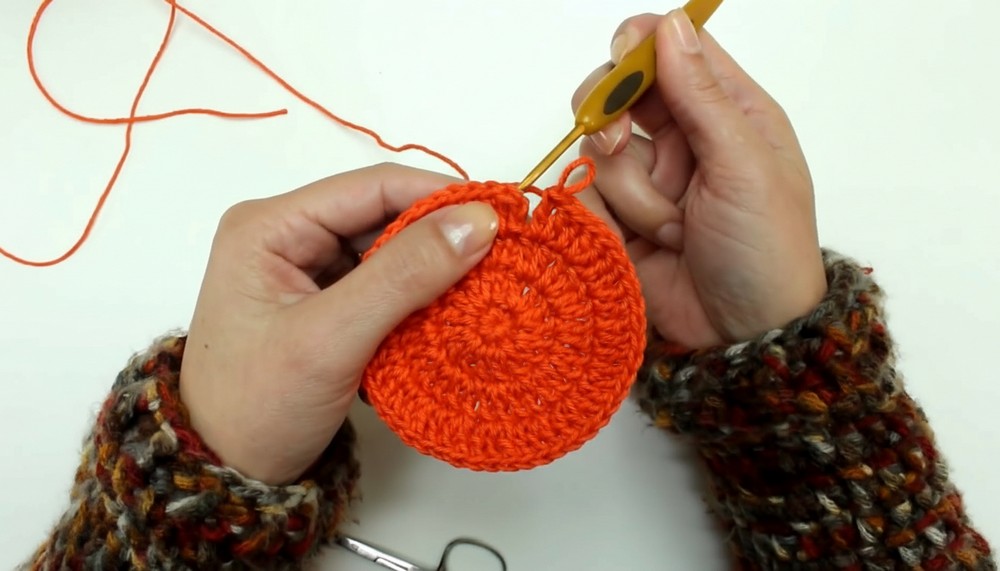
Round 3: Ch 2. Work 2 dc in each stitch around (32 dc total) [05:42].
-
Round 4: Ch 2. 1 dc, 1 increase. Repeat around (48 dc total). Finish with a seamless join to create a perfect edge [06:53].
2. Rising to the Sleeve
-
Transition Round: Work 1 dc in every stitch, but instead of the top loops, insert your hook into the horizontal bar just below the top chains. This leaves the top chains visible as a decorative ridge [11:07].
-
Mesh Pattern (9 Rounds): Ch 5 (counts as dc + ch-2), skip 2 stitches, dc in next. Repeat across. In subsequent rounds, work dc directly over the previous dc and ch-2 over the gaps [14:02].
Pattern Instructions: Lid Cover
1. Lid Top
-
Rounds 1–3: Repeat the first three rounds of the Jar Body to reach 32 stitches [18:14].
-
Round 4 (Sc Border): Ch 1. 2 sc, 1 increase. Repeat around (42 sc total) [19:07].
2. Lid Edge
-
Round 5: Ch 1. Work 1 sc in every stitch into the back loops only to create a sharp turn [20:32].
-
Round 6: Ch 1. Work 1 sc in every stitch normally [20:54].
-
Round 7 (Internal Grip): Work sc stitches using a back-post relief technique. Insert the hook from behind, go over the stitch, and out the other side to pull the yarn. This creates an inward-facing "lip" that grips the lid securely [22:12].
Finishing and Assembly
-
Cinch Cord: Create a chain of 50cm. Use a tapestry needle to weave the cord through the final mesh round of the jar body [25:43].
-
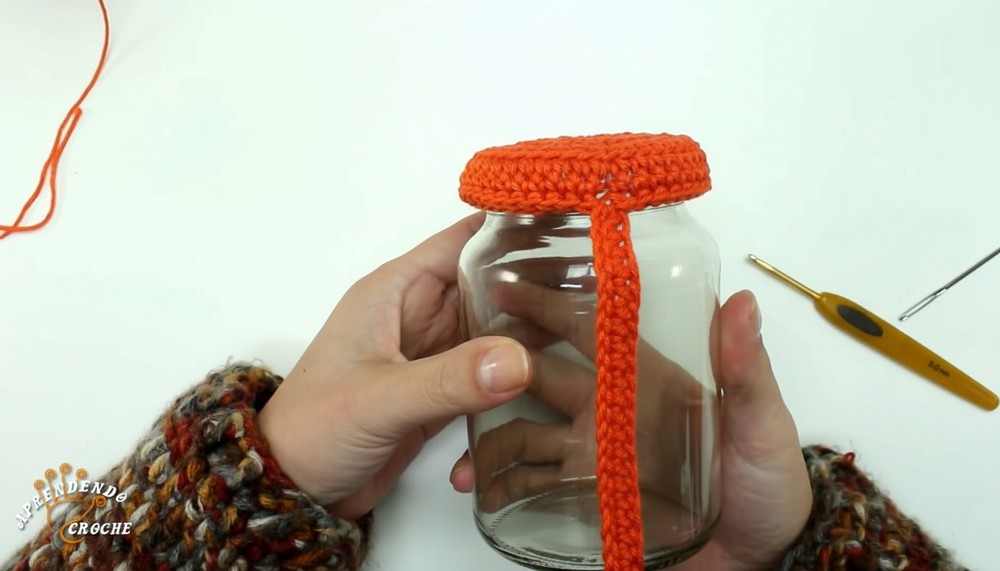
Final Touch: Insert the jar into the sleeve, pull the cord tight, and tie a bow. Snap the crochet cover onto the lid [27:05].
Project Details
-
Special Features: The cover features an open mesh design for content visibility and a specialized "anti-slip" lid cover. It also uses an "invisible join" for a clean, boutique-style finish on the bottom.
-
Level of Difficulty: Beginner to Intermediate. While the stitches are simple, the project requires careful measurement and an understanding of how to transition from flat circles to vertical sides.
-
Tutor's Suggestions: Use two chains at the start of each row instead of three. These "dummy" chains act as a gap filler but don't count as a stitch, which prevents holes from appearing at the start of your rounds. [03:50]
-
Uses: Perfect for organizing office supplies (pens and rulers), kitchen essentials, or as a sustainable gift jar filled with sweets.
-
Materials: * Amigulove yarn (100% cotton or acrylic blend).
-
3mm crochet hook.
-
Empty glass jar (e.g., mayonnaise or preserve jar).
-
Tapestry needle and scissors. [00:15]
-
Conclusion
Finishing your jar cover provides you with a versatile organizing tool that showcases your technical precision. By mastering the transition from base to body and the fitted lid technique, you can now adapt this pattern to any size container in your home. Once you tie the final bow and snap on the lid, your plain jar becomes a stylish, handmade piece of decor.
Pro Tip: To give the jar bottom an extra-crisp edge, work the first row of the side body into the horizontal "third loop" (the bar behind the top V) of the last base row. This leaves the top V-chains visible as a decorative border.


Leave a Reply