Slide into warmth with this Crochet Home Slippers Pattern, perfect for keeping feet cozy while adding a cute and comfy touch to your home.
Making your own slippers at home is a wonderful way to stay warm and comfortable, especially during cooler seasons. These soft, handmade shoes are perfect for wearing around the house, and you can easily choose the colors and designs that best fit your style. With the help of a crochet home slippers pattern, it’s simple to create personalized, cozy footwear even if you are new to crocheting.
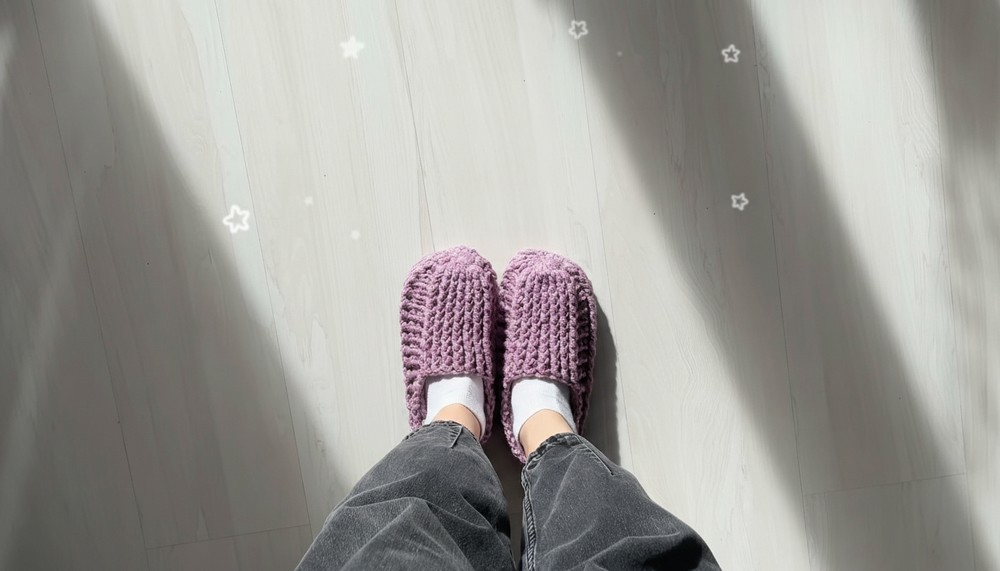
Soft Crochet Home Slippers Pattern Make Every Step Extra Comfy

These slippers are not only enjoyable to make, but they also make great gifts for friends and family, adding a special, personal touch to any occasion. They are easy to care for, durable, and will keep your feet snug throughout the year.
Crocheting slippers is a relaxing and rewarding hobby that lets you enjoy both the process and the finished result, bringing comfort and charm into your daily routine.
Special Features
- Uses front and back post double crochets for extra texture and shape
- Adjustable for different foot sizes
- Quick and simple construction
- No left or right slipper—they’re identical!
Level of Difficulty
- Beginner-Friendly: Clear, straightforward instructions and basic stitches make this pattern accessible to those with little experience.
Tutor's Suggestions
- Choose yarn similar in weight and fiber content if you can't find the exact brand.
- Yarn with some wool helps keep your feet warmer.
- Don’t worry if things aren’t perfect; you can unravel and fix mistakes easily.
Materials
- Yarn: 100g per 100m, preferably with some wool content
- Hook: Size 6 mm
- Scissors
- Needle
Uses
- Everyday home slippers
- Thoughtful handmade gifts
- Easy project for practicing crochet skills
Step-by-Step Pattern
1. Magic Ring Foundation
- Wrap the short end of the yarn around your fingers.
- Hold with one finger, insert the hook under the first loop, grab the second loop.
- Pull the yarn through the loop, forming a magic ring.

2. Row 1: Double Crochet
- Make 13 double crochets inside the magic ring.
- Pull the short yarn end to close the ring tightly.
- Join the last stitch to the first with a slip stitch.
3. Row 2: Increase
- Chain 1.
- Work 2 double crochets into each stitch around (total: 26).
- Join with a slip stitch.

4. Row 3: Texture Row
- Start front post and back post double crochets:
- 7 front post double crochets (FPdc)
- 3 back post double crochets (BPdc)
- 3 FPdc
- 7 BPdc
- 3 FPdc
- 3 BPdc
- Join with a slip stitch.
5. Rows 4–11: Continue Pattern
- Repeat the sequence:
- 7 FPdc
- 3 BPdc
- 3 FPdc
- 7 BPdc
- 3 FPdc
- 3 BPdc
- Work in rounds, joining each with a slip stitch.
- Complete 11 rows in total.
6. Try On and Adjust
- Check fit after row 11.
- If you want the slipper deeper, add extra rows.
7. Row 12: Begin Turning Rows
- Turn your work.
- Chain 1.
- Start FPdc in the second post.
- Repeat the pattern, working back and forth.
8. Row 13: Back Post Start
- Chain 1 and turn.
- Begin BPdc in the second stitch.
- Continue pattern.
- Work a total of 5 turning rows.

9. Decrease Rows (Shaping Heel)
- Next two rows introduce decreases at the heel:
- Chain 1, turn.
- Work pattern as usual.
- At heel, use double crochet decreases to join pairs of stitches.
- Continue until the end, making decreases on both sides of the heel.
10. Finish
- Try on your slipper to check fit. Adjust with rows if needed.
- Leave a yarn tail for sewing.
- Fold slipper inside out and sew the heel shut using your preferred seam.
- Reinforce the seam and weave in the ends.

11. Second Slipper
- Make a second slipper identical to the first.
- There’s no left or right—both slippers match.
Conclusion
These slippers combine warmth, simplicity, and texture. They’re easy to make, customizable, and suit beginners or experienced crocheters looking for a quick project. With straightforward instructions and helpful tips, you’ll enjoy making a cozy pair for yourself or someone special.
Tip:
If the slippers are too tight or loose, add or remove rows before shaping the heel for a perfect, snug fit. Always try on before sewing up the heel.


Leave a Reply