Refresh your fashion collection by using this Crochet Sunburst Sling Bag Pattern to produce a colorful and handy pouch you will use every day.
Carrying a vibrant accessory can instantly brighten your mood and add a pop of color to any plain outfit. This trendy item is lightweight and sits comfortably across the shoulder, making it the perfect companion for a busy day of errands or a fun outdoor festival. Using a Crochet Sunburst Sling Bag Pattern gives you a unique way to show off bold floral textures that look both vintage and modern at the same time.
Sunny Crochet Sunburst Sling Bag Pattern To Brighten Your Day

The sturdy construction, which ensures your phone, wallet, and keys stay safe and secure while you are on the move. The overall look is cheerful and high-energy, making it a favorite for sunny beach trips or casual park dates with friends.

It serves as a practical yet beautiful piece that captures everyone's attention with its intricate round details. This bag is a wonderful addition for anyone who loves a fresh, artistic style that is always in fashion.
Special Features
- Features three-dimensional sunburst granny squares for rich texture and color variation.
- Customizable size and design—adjust panel size, number of squares, and color sequence.
- Includes sturdy lining with optional pockets for structure and durability.
- Strap can be crocheted using granny squares for a cohesive look.
- Option to add zipper or button fastening for security.
Level of Difficulty
Advanced Beginner – Intermediate:
You should be comfortable with making double crochet, treble, half double crochet, puff stitches, cluster stitches, forming magic rings, and basic sewing to assemble the bag and add the lining.
Suggested Materials
- 100% cotton yarn in several colors for squares (suitable for a 3 mm crochet hook)
- 3 mm crochet hook
- Yarn needle
- Scissors
- Fabric for lining (and optional pockets)
- Needle and sewing thread for lining
- Button or zipper (optional, for closure)
- Stitch markers (optional)
Uses
- Fashionable everyday bag
- Statement piece for festivals or casual outings
- Gift for someone who appreciates handmade accessories
Step-by-Step Pattern
1. Make a Sunburst Granny Square
a. Start with a Magic Ring
- Form a magic ring.
b. Round 1: Double Crochet Circle
- Chain 2 (does not count as a stitch).
- Work 16 double crochets into the magic ring.
- Pull the ring tight to close the center.
- Slip stitch into the first double crochet to close the round.

c. Round 2: Puff Stitches
- Chain 2.
- In the same stitch, yarn over, insert hook, pull up to double crochet height. Do this 4 times total (for a 4-yarn-over puff stitch), keeping loops on hook.
- Yarn over, pull through all loops. Chain 1 to secure.
- Repeat puff stitch in each stitch around (16 puff stitches total), each separated by a chain 1.
- At the end, slip stitch into the top of the first puff stitch.
d. Round 3: Cluster Stitches
- Slip stitch to the first space (gap) between puff stitches.
- Chain 3.
- [Yarn over, insert hook into gap, pull up a loop, yarn over and pull through two]—repeat this 4 times (total 5 loops on hook).

- Yarn over, pull through all 5 loops, chain 1.
- Repeat cluster stitch (as above) in each space between puff stitches around (16 clusters). Each one is followed by a chain 1.
- Slip stitch to the first cluster to close round.
e. Round 4: Form the Square
- Slip stitch into the next gap.
- Corners: In next gap, chain 3 (counts as dc), 2 double crochets, still in same gap: 3 treble crochets, chain 1, 3 treble crochets (all in same gap).
- Sides: Next gap: 3 double crochets, next gap: 3 half double crochets, next gap: 3 double crochets.
- Repeat Corner pattern (3 treble, ch 1, 3 treble) in the next gap to form corners.
- Continue the sequence: Sides (3 dc, 3 hdc, 3 dc), then Corner, and so on, until four corners are made.
- Join with slip stitch to top of initial chain.
Tip: Check your square after each round to be sure it’s lying flat and not curling.
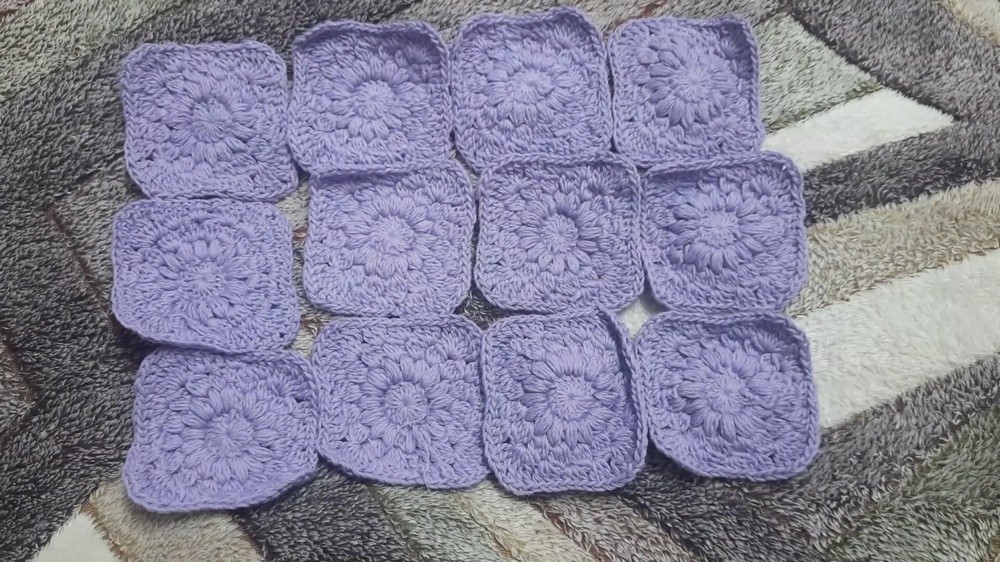
2. Make Multiple Squares
- Create a total of 30 sunburst squares.
- Panel 1: Stitch 9 squares together in a 3x3 configuration.
- Panel 2: Stitch 12 squares together in a 3x4 configuration.
- Panel 3 (Strip): Stitch 9 squares in a straight line.
3. Join the Squares
a. Invisible Seam (Sewing)
- Place two squares right sides together.
- With yarn and needle, insert needle through the space between the first two chains at the corner of Square 1, pull through, leaving a tail.
- Repeat into the matching spot on Square 2.
- Continue going back and forth, always piercing between the edge chains, creating a nearly seamless join.
- Repeat for all panels and strips as needed.
b. Layout and Assembly
- Attach the 9-square panel, 12-square panel, and 9-square strip as shown in the pattern, creating the bag body structure.
4. Lining (Optional but recommended)
- Measure the dimensions of your assembled panels.
- Cut fabric for lining, adding 1" seams on all sides.
- Attach optional pockets.
- Place right sides together, sew around three sides, turn right side out.
- Insert lining into the crochet bag and hand-sew in place using matching thread and small stitches for a neat finish.

5. Create and Add the Strap
- Make a long granny square band (as many squares as needed for your desired strap length).
- Sew the ends securely to the top corners of the bag.
6. Finishing Touches
- Weave in all yarn ends.
- Attach a button or install a zipper as preferred for closure.
- Block bag gently if needed for shape.
Tutor’s Suggestions
- Mix Colors Creatively: Use various color combinations for a vibrant, unique bag.
- Securely Weave Ends: Hide and secure all your yarn tails for durability.
- Block Squares: Steam or lightly block before assembly for best shape and uniformity.
- Sturdy Lining: Lining adds strength and prevents stretching.
Conclusion
Your sunburst sling bag is now ready! It’s a conversation starter, practical accessory, and a testament to your crochet skills. Fill it with essentials and carry it with pride—or whip up another in a whole new colorway!
Tip
When joining granny squares, always line up stitches and chain spaces before fastening off—this keeps your seams tidy and your panels perfectly aligned.


Leave a Reply