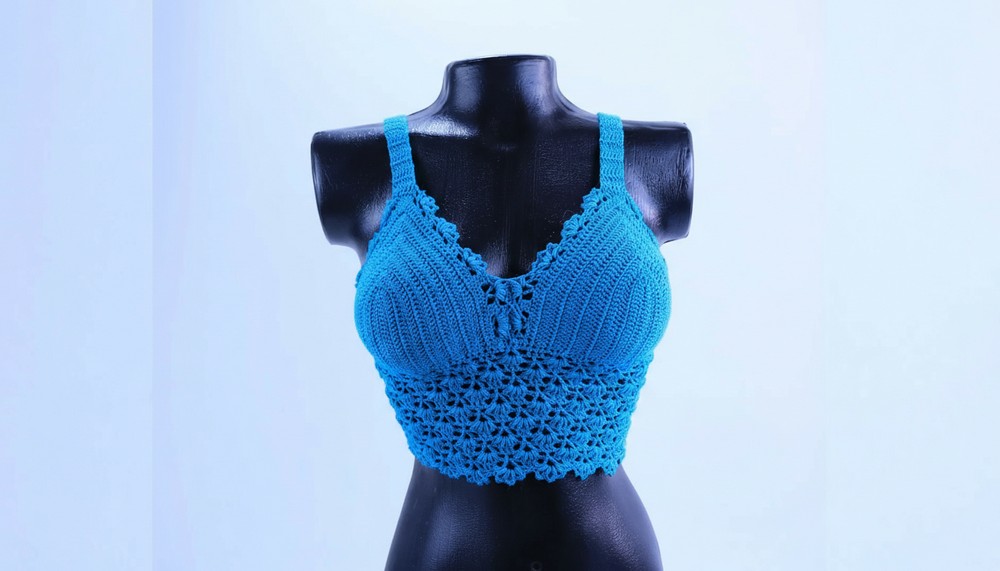
Flaunt effortless style with this Crochet Bralette Crop Top Pattern perfect for breezy outfits, playful summer looks, and chic casual vibes.
Sunny Crochet Bralette Crop Top Pattern for Festival Looks

Using soft yet durable yarn ensures comfort throughout the day, while the adaptable design pairs easily with high-waisted skirts, shorts, or pants for versatile styling. The completed top radiates effortless sophistication and modern charm, transforming basic yarn into a standout garment.
This pattern turns simple materials into a fashionable, wearable piece that combines elegance, functionality, and creativity, making it a must-have addition to any handmade wardrobe.
Materials Needed
- Yarn: Any style and color (here, 100% mercerized cotton is used)
- Crochet hook: 2 mm
- Tape measure
- Yarn needle
- Stitch markers
- Scissors
Special Features
- Customizable cup size for a perfect fit
- Decorative fan and picot stitch edging
- Adjustable shoulder and back straps
- Corset-style tie-back for easy adjustment
- Reinforced buttonholes
Level of Difficulty
Beginner to Intermediate
If you know how to work basic stitches (chains, double crochet) and want to try some decorative stitches and shaping, this project is ideal.
Tutor’s Suggestions
- Count stitches for symmetry and neatness
- Use stitch markers to identify central stitches
- Try on your work as you go
- Reinforce buttonholes for durability
- Leave space for a comfortable neckline
Uses
Wear as a summer top, festival bralette, or layer under shirts/overalls. The adjustable fit makes it ideal for various body shapes.
Step-by-Step Pattern
1. Preparing Your Materials
Gather all your materials. Take key measurements:
- Bust circumference
- Cup height (base to nipple and desired length)
2. Crocheting Cup Bases
- Slip Knot & Chains
- Make chains equivalent to 7.5 cm (use reference for your size; for example, 21 chains for size S).
- The chain length is the distance from bust base to center.

- Base Row
- Add 2 extra chains (don’t count as stitches).
- Starting in the 3rd chain from hook, crochet one double crochet in each chain.
- At the end, you should have the same number of double crochets as chains.
- Identify the Cup Center
- Catch the last chain with a stitch marker; this is your cup center.
3. Building the Cups
- First Row
- Chain 2 (counts as first stitch), turn, and work a double crochet in each stitch.
- When you reach the marker, remove it and make 5 double crochets in the center stitch (this is your cup increase).
- After the third of these 5 stitches, place the marker again to keep the center identified.
- Continue with double crochets on the opposite side (should equal the other side’s number).
- Repeat Rows
- Each row: Chain 2, turn, work double crochets, and always make the increase (5 double crochets) in the central stitch.
- Always keep the same number of stitches before and after the increase.
- Continue until you have the desired width and height according to your size.
- Fit Check
- Try on the cup for fit. The cup should nearly cover the bust; leave some space as you will add two more decorative rows.

- Try on the cup for fit. The cup should nearly cover the bust; leave some space as you will add two more decorative rows.
4. Decorative and Joining Rows
- Determine Right and Wrong Side
- Choose your preferred “right side” for decorative rows.
- Decorative Edging (Fan & Stitch B)
- Row: 2 double crochets, chain, stitch B (double crochet, 2 chains, double crochet in same stitch), chain, skip 2, 3 double crochets in next stitches, chain, skip 2, stitch B … repeat.
- When you reach the center, always place 3 double crochets.
- Work the same pattern on both sides.
- Next row: Start with a chain, turn, and work single crochets, puff stitches (with 3 loops), chains, picot stitches over puff stitches as desired, and single crochet to join cups.
5. Cup Union
- Joining the Cups
- Repeat the cup pattern for the second cup up to the penultimate round.
- Start the final round on the second cup, join it to the first cup as you reach the last two fans (using puff stitches, chains, and joining methods shown).
- Make sure the right side is facing outward during joining.
- Cut yarn, adjust, and secure.

6. Shoulder Straps
- Strap Construction
- Attach yarn at the cup edge and crochet double crochets in rows, decreasing 2 stitches at the cup end each row.
- Continue until you have 3 double crochets left (shoulder tip); crochet 6 more rows with just 3 double crochets.
- Cut yarn and repeat for the second strap on the opposite cup, starting at the top so both threads finish at the band.
7. Lower Band (Body)
- Crocheting Across the Bottom Edge
- Attach yarn at the bottom, crochet double crochets across available stitches (use side spaces; keep count).
- Adjust so the total stitch count is a multiple of 8 + 1.
- Decrease at the Center
- Make three decreases in the very center to ensure good shape.
8. Body Decoration
- Work Four Decorative Rows
- Repeat the cup’s decorative rows with the fan/picot/stitch B pattern for the lower band.
- Alternate double crochet, stitch B, chain, 3 double crochets, etc.
- For the final round, add fans with picot stitches for a neat finish.
- Continue Until Desired Length
- 8 rounds with fans usually measure 12 cm, but you can adjust.
9. Buttonholes for Back Closure
- Attach Yarn at End
- Crochet rows of double crochets for the back buttonholes; about 33 dc.
- Next row: 2 chains, turn, chain of separation, skip 1, 5 double crochets, repeat to create spaced buttonholes.
- Reinforce Buttonholes
- Crochet a row of single crochet over/into double crochets and holes.
10. Shoulder Tie Strap
- Make Strap
- Attach yarn at the crown, work rows of 7 double crochets until strap measures about 32 cm (37 rows).
- Finish with a long tail for sewing.
- Sew Strap to Back
- Use wool needle, sew from the wrong side, connecting end of the strap to back edge of the top, leaving space for buttonholes.
11. Back Tie
- Make Chain Corset Tie
- Use two strands of yarn, make a chain about 100–110 cm long.
- Use a larger hook (5.5 mm) for a chunky braid. Optionally, braid or twist to desired thickness.
- Weave through buttonholes on the back for adjustable closure.

Conclusion
You’ve finished your customizable crochet bralette top! Enjoy wearing your comfortable, stylish handmade piece—with its easy adjustable fit, decorative details, and simple construction, it’s perfect for all crochet levels.
Pro Tip
Always count your stitches and check fit as you go. Reinforcing buttonholes ensures durability, and a corset tie prevents stretching out of shape for long-lasting wear.


Leave a Reply