
Frolic Crochet Chicken with Egg Pattern to Make Kids Smile

With textured feathers, bright accents, and a carefully shaped egg, the finished piece radiates charm and whimsy, instantly drawing attention. Compact yet eye-catching, it can be displayed on shelves, tables, or as part of festive arrangements, and it makes a delightful addition to seasonal décor or playful home accents.
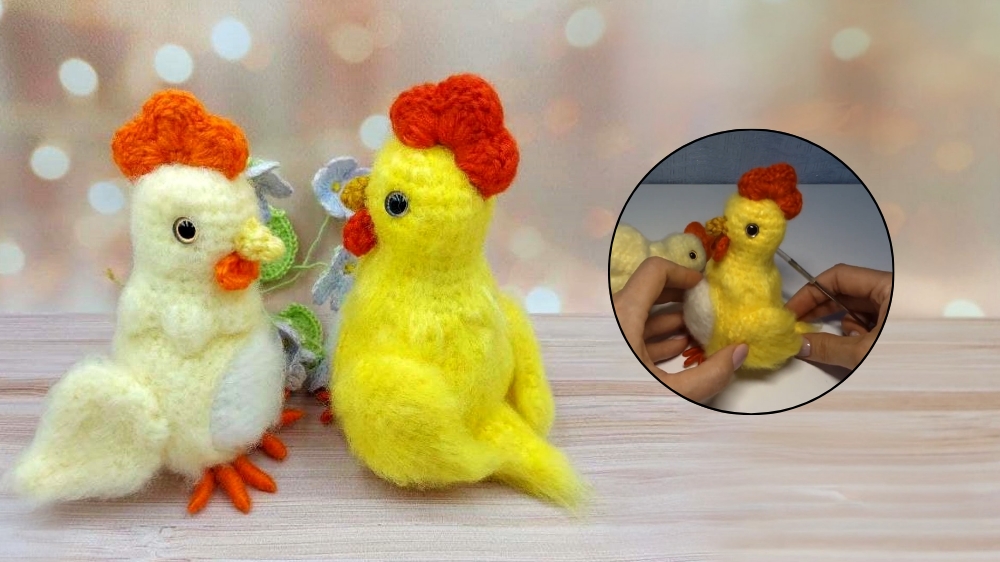
Beyond its decorative appeal, this pattern encourages creativity, mindfulness, and a sense of accomplishment with every stitch. Soft, durable, and visually delightful, it brings personality, cheer, and handcrafted elegance to everyday spaces.
Special Features
- Various Techniques: Includes working in the round, increasing, decreasing, and adding decorative edges.
- Textured Elements: Wings, tail, comb, and beard use different stitch combinations for authentic detail.
- Beginner Friendly: Uses basic stitches and clear instructions.
Difficulty Level
Beginner / Advanced Beginner. This pattern is suitable for those comfortable with single crochet, increasing, decreasing, and some basic shaping.
Materials
- Worsted weight cotton or acrylic yarn (multiple colors)
- 2.5-3.0 mm crochet hook
- Yarn needle
- Scissors
- Stitch marker
- Polyester stuffing
- Optional: safety eyes
Uses
- Home décor
- Kids’ toys
- Keychain accessory
- Gift for festive occasions (Easter, New Year, etc.)
Pattern
Head
- Round 1: 6 sc in magic ring (KA).
- Round 2: inc in each st (12).

- Round 3: (sc in next st, inc) x 6 (18).
- Round 4: (sc in next 2 st, inc) x 6 (24).
- Rounds 5-7: sc in each st (24).
- Round 8: (sc in next 2, dec) x 6 (18).
- Rounds 9-10: sc in each st (18).
- Round 11: (sc in next 5, inc) x 3 (21).
- Round 12: (sc in next 6, inc) x 3 (24).
- Round 13: (sl st, sc, hdc in same st, dc, picot, hdc, sc in same st) x 6 (decorative finish).
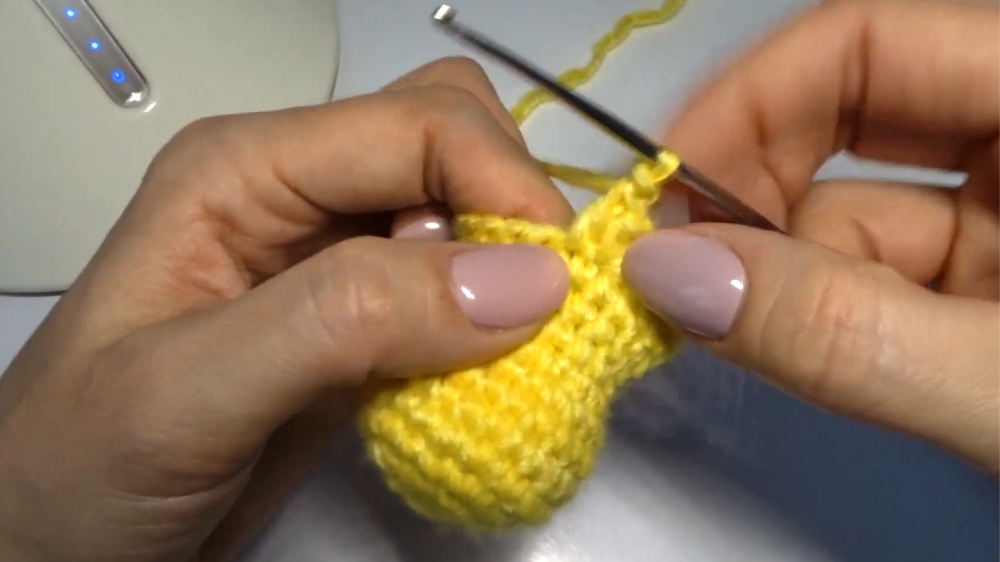
Wing (Make 2)
- Row 1: 5 sc in KA.
- Row 2: sc in next 2, 3 sc in next st, sc in next 2 (7).
- Row 3: sc in next 3, 3 sc in next st, sc in next 3 (9).
- Row 4: sc in next 4, 3 sc in next st, sc in next 4 (11).
- Row 5: sc in next 5, 3 sc in next st, sc in next 5 (13).
- Row 6: sc, inc, sc in next 4, 3 sc in next st, sc in next 4, inc, sc (17).
- Row 7: sc in next 2, inc, sc in next 5, 3 sc in next st, sc in next 5, inc, sc in next 2 (21).
- Rows 8-9: sc in each st (21).
- Row 10: dec, sc in next 6, dec, sc, dec, sc in next 6, dec (17).
- Row 11: dec, sc in next 4, dec, sc, dec, sc in next 4, dec (13).
- Row 12: dec, sc in next 3, double dec, sc in next 3, dec (9).
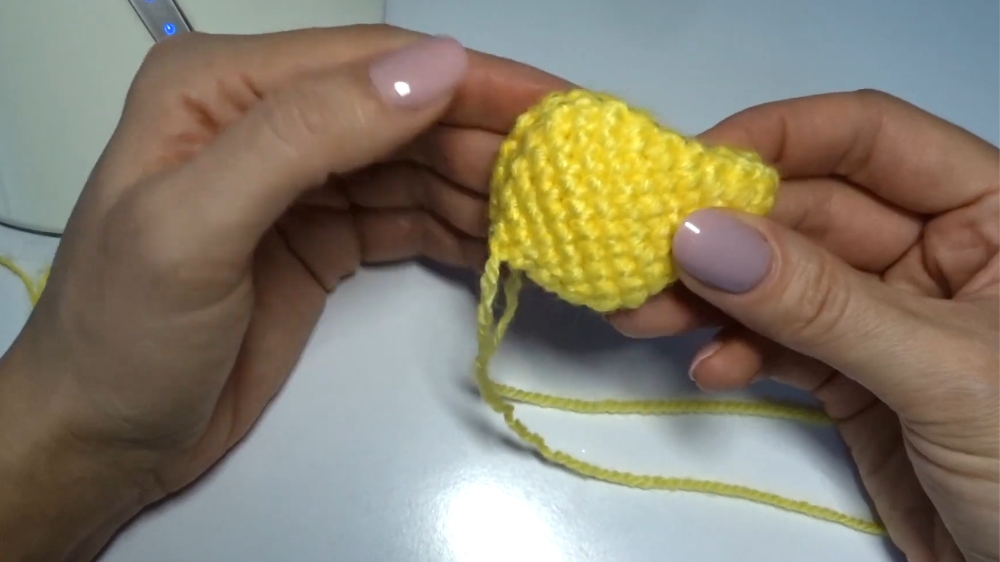
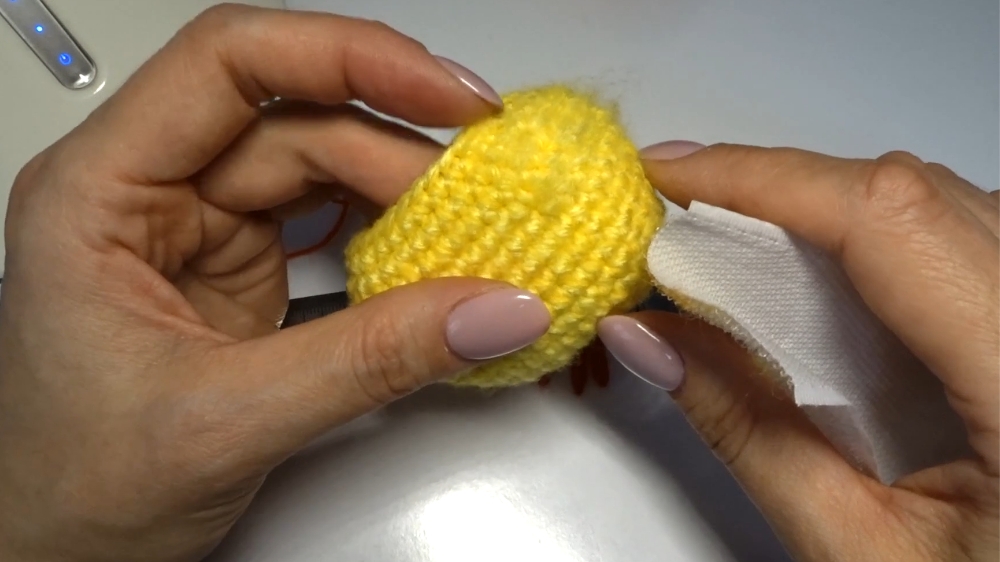
Tail
- Row 1: 5 sc in KA.
- Row 2: sc in next 2, inc hdc, sc in next 2 (6).
- Row 3: sc in next 2, 2 hdc, sc in next 2 (8).
- Row 4: sc in next 3, 2 hdc, sc in next 3 (10).
- Row 5: sc in next 4, 2 hdc, sc in next 4 (12).
- Row 6: sc in next 5, 2 hdc, sc in next 5 (14).
- Row 7: sc in next 6, 2 hdc, sc in next 6, sl st to finish (16).
Comb
- Row 1: 6 sc in KA.
- Row 2: In each st around: sc, hdc, dc, hdc2tog, dc, hdc, sc (repeat for all 6 sts), oss (off stitch).
Beard
- Ch 5, skip 3 ch, dc in next, ch 3, sl st into same, sl st, ch 3, dc in same, ch 3, sl st into same.
Beak
- Row 1: 4 sc in KA.
- Row 2: (inc, sc) x 2 (6), sl st to finish.

Tutor’s Suggestions
- Stuff pieces as you go to maintain firmness.
- Use contrasting colors for head, wings, tail, and features to bring your rooster to life.
- Sew parts on with matching yarn and secure well.
Tip
Use stitch markers to keep track of rounds, especially when working small parts!
Conclusion
This crochet rooster is perfect for both practice and decorative use. The pattern provides a great way for beginners to master basic shaping and stitch variations.
https://www.youtube.com/@HOBBY-MK/videos




Leave a Reply