
Crack the cuteness with this Crochet Egg Amigurumi is the perfect blend of adorable, fun for Easter, spring vibes, or just egg-stra smiles.
A yarn creation takes on a delightful twist with a crochet egg amigurumi, offering a playful way to brighten festive occasions. This small, handmade piece is shaped like an egg and can be used for decorations, thoughtful gifts, or even as a fun addition to events like egg hunts. Its versatility makes it perfect for any springtime celebration while adding the personal charm that a one-of-a-kind item brings.
Versatile Crochet Egg Amigurumi Pattern for Spring Decoration
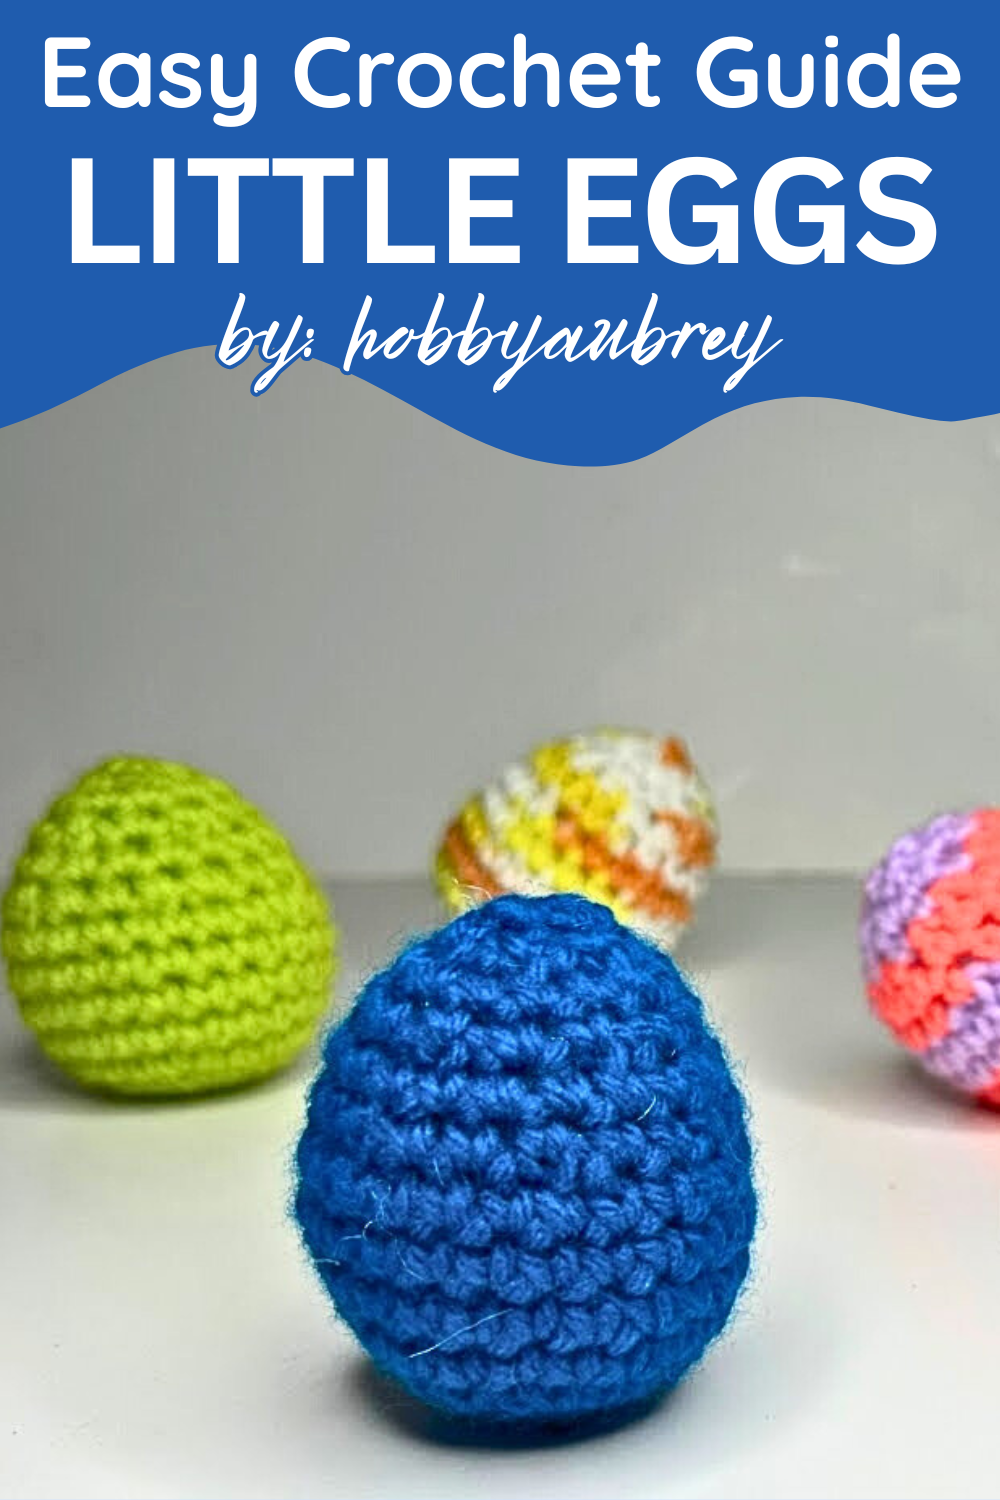
What makes this tiny treasure even more special is its ability to be customized with unique designs. From vibrant colors to intricate pattern, a crochet egg amigurumi lets creativity shine. It’s also a practical choice as a reusable decoration that doesn’t contribute to waste, offering an environmentally friendly option for creating lasting memories year after year.
Alongside its charm, working on this crochet project can be soothing and rewarding. It provides a creative outlet that sharpens fine motor skills and serves as a calming escape from everyday routines. Whether it’s your first time trying crochet or an expert hobbyist, crocheting this small and manageable design brings a sense of achievement and happiness. A crochet egg amigurumi adds personality to homes, parties, and heartfelt gestures, spreading joy wherever it goes!
Materials Needed
To begin this project, you’ll need:
- Acrylic yarn in any color (the video uses one color for simplicity)
- 4 mm crochet hook
- Scissors
- Yarn needle
- Stitch markers
- Stuffing (such as poly-fill)
Introduction
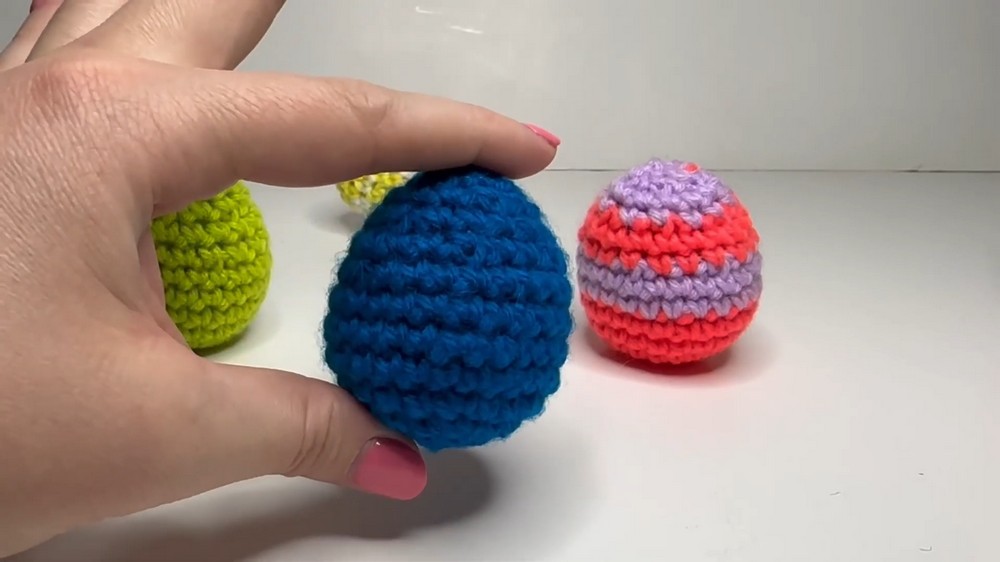
This pattern walks you through creating a charming crochet egg step by step, ideal for beginners looking to tackle a manageable yet fun project. The creator uses clear US crochet terminology and demonstrates techniques such as the magic circle, single crochet, and invisible decreases. The design is versatile, making it perfect as a decorative item, gift, or for seasonal use like Easter.
Step-by-Step Instructions
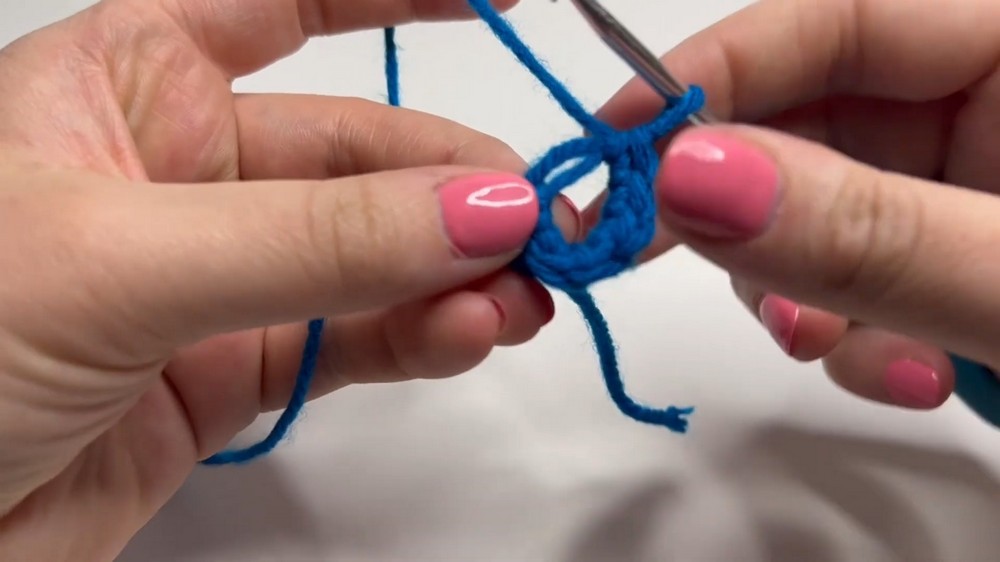
Step 1: Create a Magic Circle
- Start by creating a magic circle that serves as the base of the egg.
- Wrap the "working end" of the yarn around your fingers to form an "X."
- Use your hook to pull the working yarn through, forming a loop.
- Make six single crochet (SC) stitches while working the tail into the stitches.
- Pull the tail to cinch the circle closed, securely fastening it.
Step 2: Round 1 – Single Crochet
Insert your hook into the loop, yarn over, pull through, and complete six single crochet stitches around the circle. This creates the foundation of the egg.
3: Round 2 – Increase
- Work two single crochet stitches into each stitch from the previous round (totaling 12 stitches).
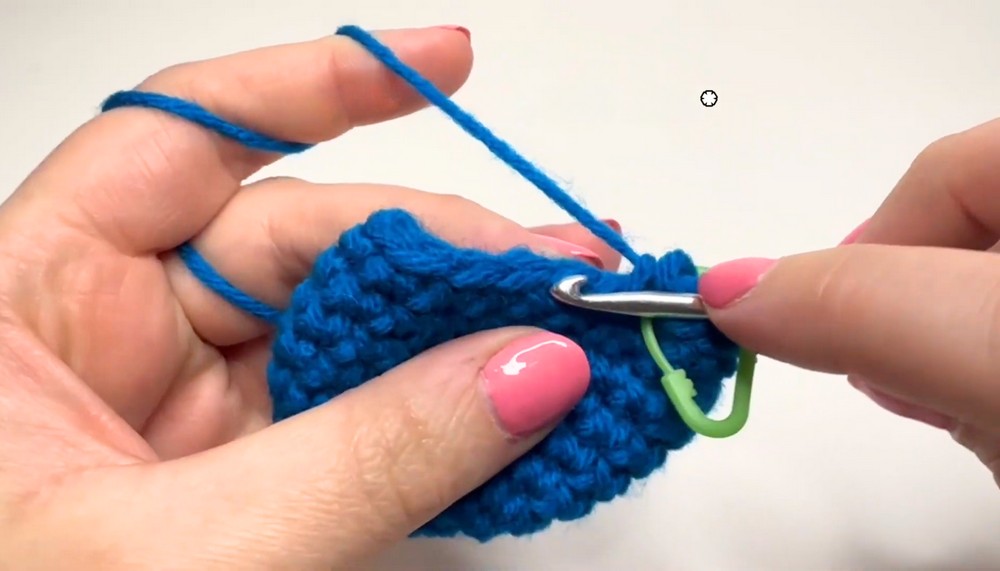
- Use stitch markers to track the last stitch of each round for accuracy.
4: Round 3 to Round 4 – Gradual Width Expansion
- Round 3: Alternate one SC and one increase (SC x 1, Increase x 1) around.
- Round 4: Alternate two SC stitches and one increase (SC x 2, Increase x 1).
5: Round 5 to Round 8 – Maintain Egg Shape
Perform a single crochet stitch in each stitch around for these rounds, which gradually builds the height of the egg.
6: Round 9 – Start Shaping the Egg
- Crochet two SC stitches and then make an invisible decrease:
- Insert your hook into the front loops of the next two stitches, yarn over, and pull through the loops. Then yarn over and pull through both loops on the hook.
- Repeat this pattern to gradually narrow the width.
7: Round 10 – Single Crochets
Perform single crochets in each stitch for this round to maintain balance.
8: Round 11 – Further Decreases
Crochet one single stitch followed by an invisible decrease throughout the round.
9: Round 12 – Single Crochets & Stuffing
Add stuffing to the egg at this stage. Gradually tear and insert stuffing to ensure even filling. Then, work single crochet stitches for the entire round.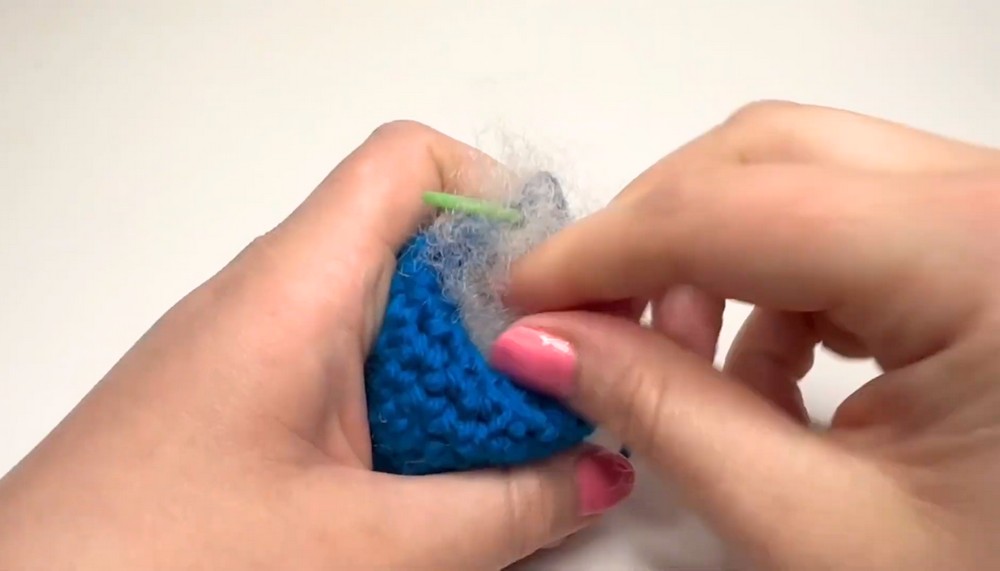
10: Round 13 – Close the Egg
Make invisible decreases all around, leaving six stitches as the final count. Add more stuffing at the top if needed.
11: Fasten Off
- Work a slip stitch into the next stitch.
- Chain one, leave a few inches of tail, and cut the yarn.
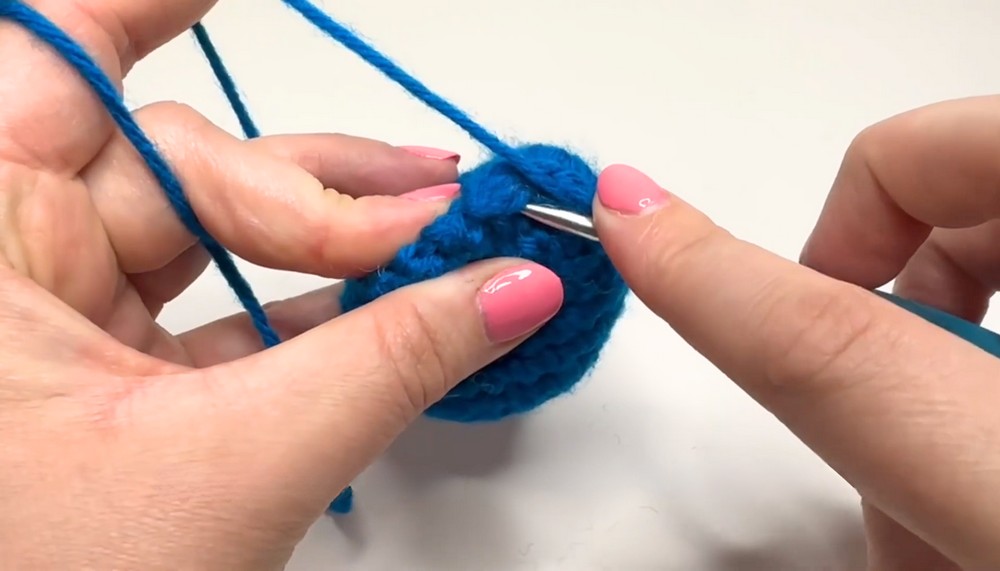
- Use a yarn needle to weave the tail through the tops of the last round's stitches.
- Pull the tail to cinch the egg closed.
- Secure with a double knot and weave the remaining tail into the egg.
Special Features
- Magic Circle Technique: Ensures a clean and seamless start.
- Invisible Decreases: Creates a subtle narrowing of stitches for shaping.
- Versatile Design: Can be used as a seasonal decoration, part of an amigurumi set, or a child's toy.
Tutor's Suggestions and Tips
- Use stitch markers to better track your rounds and stitches.
- Pull apart stuffing to insert it gradually, avoiding lumps.
- Adjust tension if the stitches are too tight. Looser stitches are easier to crochet into at later steps.
- Securely weave the tail at the end to avoid unraveling.
Level of Difficulty
This project is beginner-friendly, especially for those familiar with basic stitches such as single crochets and the magic circle. The invisible decrease adds a slightly intermediate element, but the creator explains it clearly for ease of understanding.
Final Tip
When cinching the magic circle or top of the egg, ensure you pull evenly to avoid distortion in the shape. A gentle touch throughout stuffing helps maintain the egg's balance and round appearance.
Conclusion
Crocheting this egg is a fun and approachable project for all skill levels. With easy-to-follow instructions, step-by-step guidance, and practical tips, this pattern enables you to create a perfect crochet egg that can be used for decoration, gifting, or play. It’s a fantastic way to practice your skills and explore the creative possibilities of crochet.




Leave a Reply