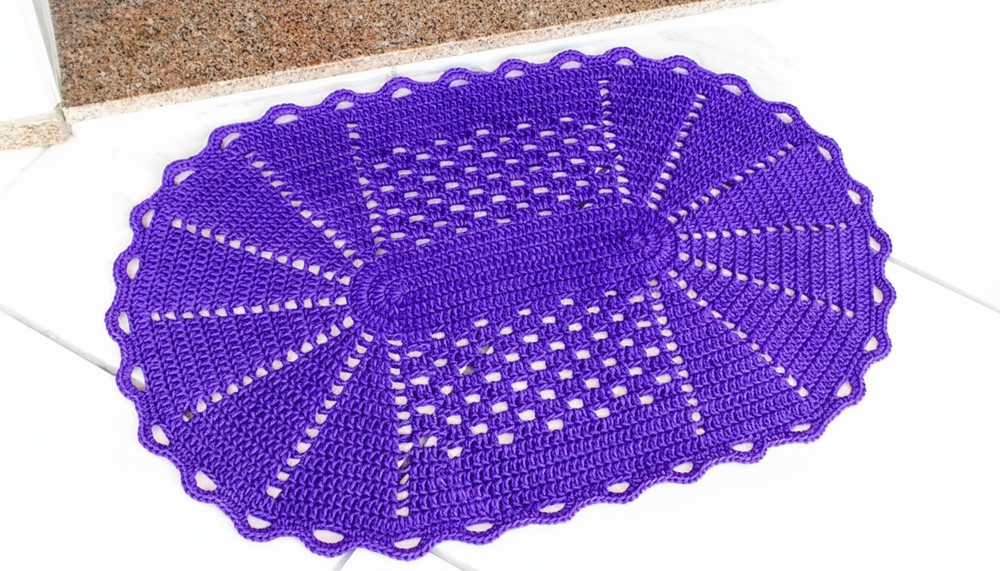
Style your space with this Crochet Oval Rug Pattern perfect for grounding rooms with soft curves, visual, and everyday comfort at home.
Looking for a charming way to elevate your living space while adding warmth and comfort underfoot? Crochet oval rug patterns provide an elegant solution, inviting cozy texture and visual interest into any room. Their graceful curves soften the look of rigid flooring and furniture, while their versatile design allows seamless integration with both traditional and contemporary décor.
Thick Crochet Oval Rug Pattern with Plush Handmade Texture

This rug are highly valued for their durability and simplicity when it comes to cleaning, making them ideal for busy households or high-traffic areas like entryways and kitchens. By adjusting color palettes and stitch patterns, you can echo your unique style, whether you prefer bright, playful tones or understated neutrals.
Presently, many appreciate the soothing ambiance and gentle elegance that a well-placed oval rug brings to a home. With practical benefits and an appealing aesthetic, this timeless décor accent remains a beloved choice for those who want beauty and utility in everyday life.
Simple Crochet Oval Rug Pattern
Level: Easy / Beginner-Friendly
Materials Needed:
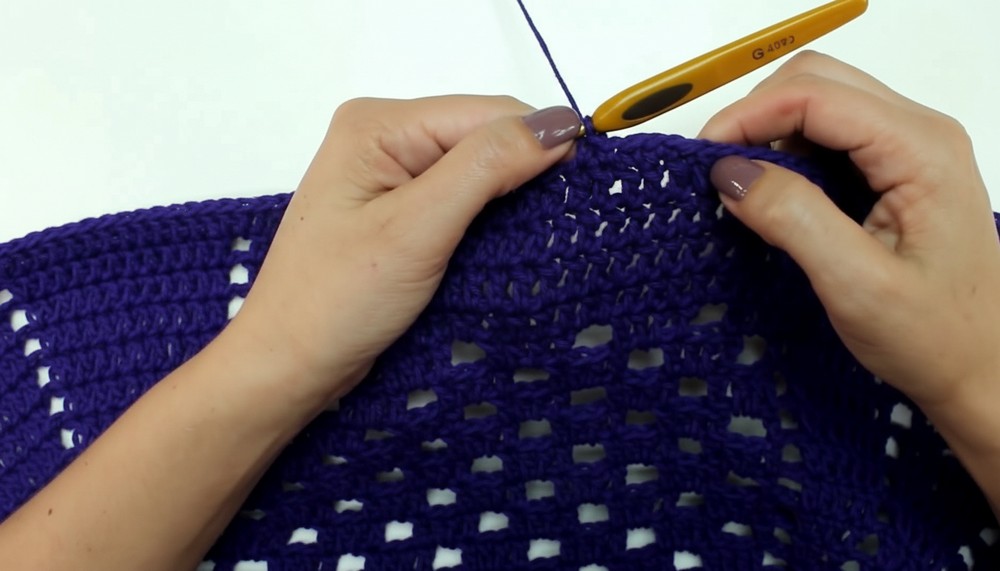
- 6 mm cotton yarn (approx. 717 meters) — Color used in video: Purple (#86)
- 4 mm crochet hook
- Scissors
- Measuring tape
- (Optional) Yarn/cone holder to keep your yarn steady
Special Features
- Beginner friendly: Uses simple stitches throughout
- Customizable Size: Easily adjust the number of chains to change rug size
- Yarn Efficient: Uses less than a full cone for a medium rug
- Quick Project: Simple, repetitive rows build up fast
- Sturdy & Lasting: Size 6 cotton yarn gives durability
- Attractive Edge: Crown edging for a beautiful finish
Step-by-Step Pattern
1. Understand Measurements
- Decide the rug size you want (example in video: 60 cm x 40 cm).
- To calculate starting chains:
- Subtract width from length
- Example: 60 cm (length) - 40 cm (width) = 20 cm
- The starting chain should measure the difference in centimeters (here, 20 cm).
2. Start the Center Chain
- Make a foundation chain that measures your calculated length (e.g., 20 cm).
- In the video, 20 cm = 36 chains (yours may differ).
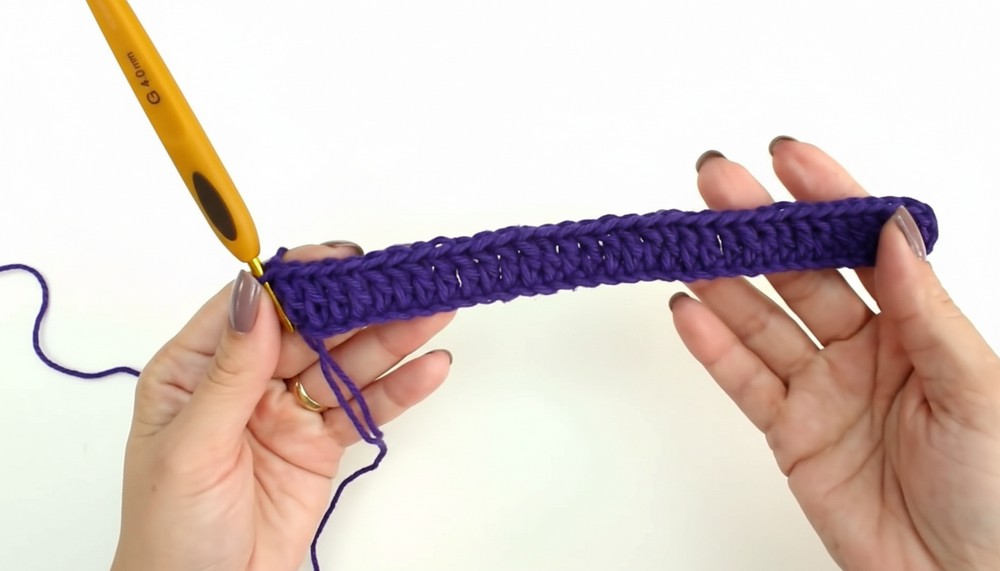
3. First Oval Round
- Skip the first 3 chains (counts as 1st double crochet/dc)
- Row up one side: Dc in each chain across (34 dc)
- First corner: Work 5 dc into the last chain to turn
- Other side: Dc in each chain back down the starting chain (34 dc)
- Second corner: Work 5 dc into the last chain to turn
- Join with a slip stitch to the top of the first 3-ch.
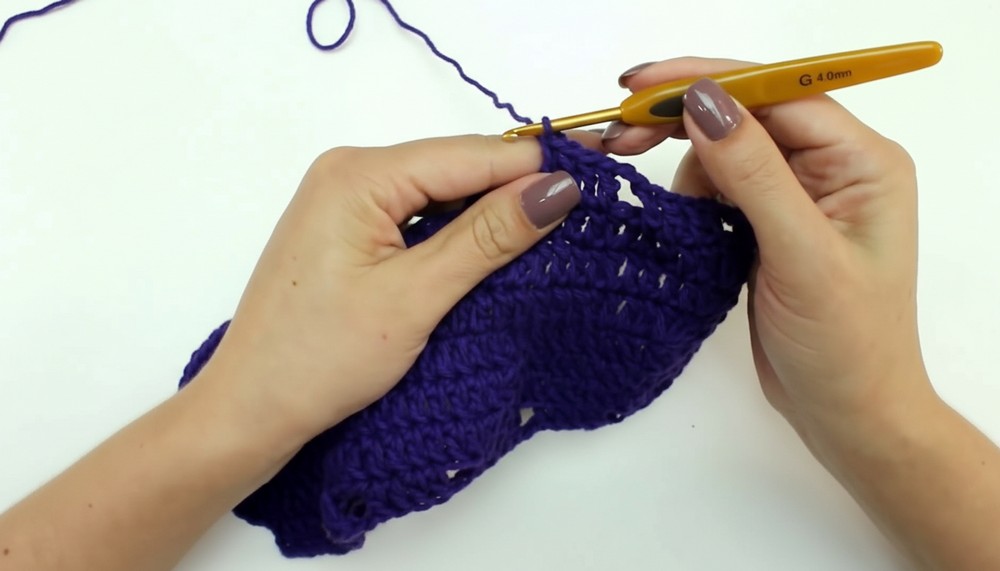
4. Continue Building Rounds
- Second round:
- Ch 3, dc in each dc until corner. At each corner (5 stitches from last round), work 2 dc in each corner stitch (10 corner stitches), then dc along straight sides.
- Third round:
- Ch 3, dc to corner. In each of the 10 corner stitches, work 2 dc in each (20 dc per corner in this round), dc along straight sides.
- Ch 3, dc to corner. In each of the 10 corner stitches, work 2 dc in each (20 dc per corner in this round), dc along straight sides.
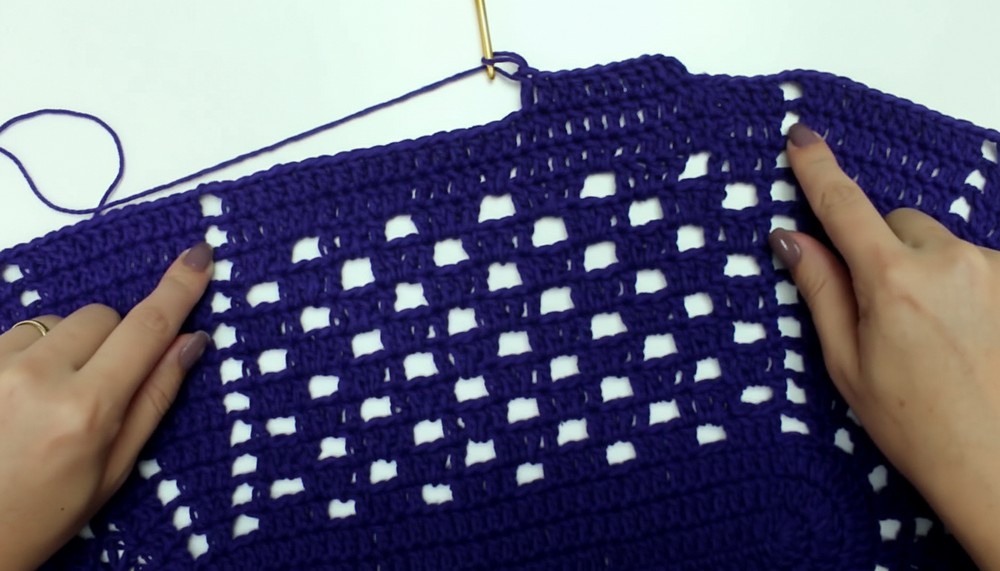
5. Introduce Decorative Rounds
- Fourth round:
- Ch 3, 4 dc, ch 2, skip 2, repeat until corner.
- At corners: Make 6 groups of (2 dc, ch 2, skip 2).
- Continue this pattern, alternating between solid blocks and chains with skipped stitches for openwork effect.
6. Increase in Corners
- On each new round, increase one dc in each corner group so the rug lays flat and the oval becomes larger.
- Example: On the next round after having 4 dc in a corner group, increase to 5 dc, and so on.
7. Continue Until Desired Size
- Work even, following pattern of solid rows and openwork rows, increasing in corners as you go.
- For the last rounds, switch to all double crochet (dc) stitches, working 2 dc in the corners as before.
8. Finishing Edges (Crown Beak Edging)
- After reaching the desired size, add a decorative edge:
- Row 1: Work 5 sc, ch 5, skip 3, repeat around.
- Row 2: Over sc groups, work 4 sc, in ch-5 space work 7 sc, repeat.
9. Invisible Closure Tip
- To hide the seam, try closing your last rounds with an invisible finish by using a tapestry needle to weave in yarn smoothly.
10. Blocking (Optional)
- For extra crisp finish, cover the rug with a damp cloth and steam with a warm iron.
Tutor’s Suggestions & Tips
- Yarn Holder: Using a cone holder will help keep your yarn tidy and makes crocheting faster and cleaner.
- Markers: Place stitch markers at the beginning of each increase section to help keep corners consistent.
- Measuring: Always check the rug’s measurement as you go, especially before finishing rows.
- Finishing: When adding the border, consider how much it will add to the final measurements.
Uses
This rug is perfect for:
- Bathrooms
- Bedrooms
- Entryways
- Kitchens
It’s sturdy, washable, and can be made in any size or color you like. Great for gifts!
Final Tip
Always measure your rug before starting the border to make sure it matches your desired size — and remember to subtract the width of the edging from your final measurement so your rug isn’t too big!
Conclusion
This oval crochet rug pattern is easy, quick, and ideal for both beginners and anyone looking for a budget-friendly home project. With a little yarn, time, and creativity, you can brighten up any space — and once you learn the measuring trick, you can make rugs of any size.


Leave a Reply