Dress your little one with this Crochet Bubble Stitch Baby Frock Pattern that's add soft style while keeping them comfy and adorable all day.
Every baby looks extra charming in a handmade frock that stands out with tiny raised bubbles on the fabric. The unique bubble stitch adds a bouncy texture that is fun to touch and gives the dress a lively, playful appearance. You can dress your little one in it for family gatherings, birthdays, or even casual outings, and it keeps them comfortable while looking stylish. Following the Crochet Bubble Stitch Baby Frock pattern, anyone can turn simple yarn into a colorful, one-of-a-kind outfit.
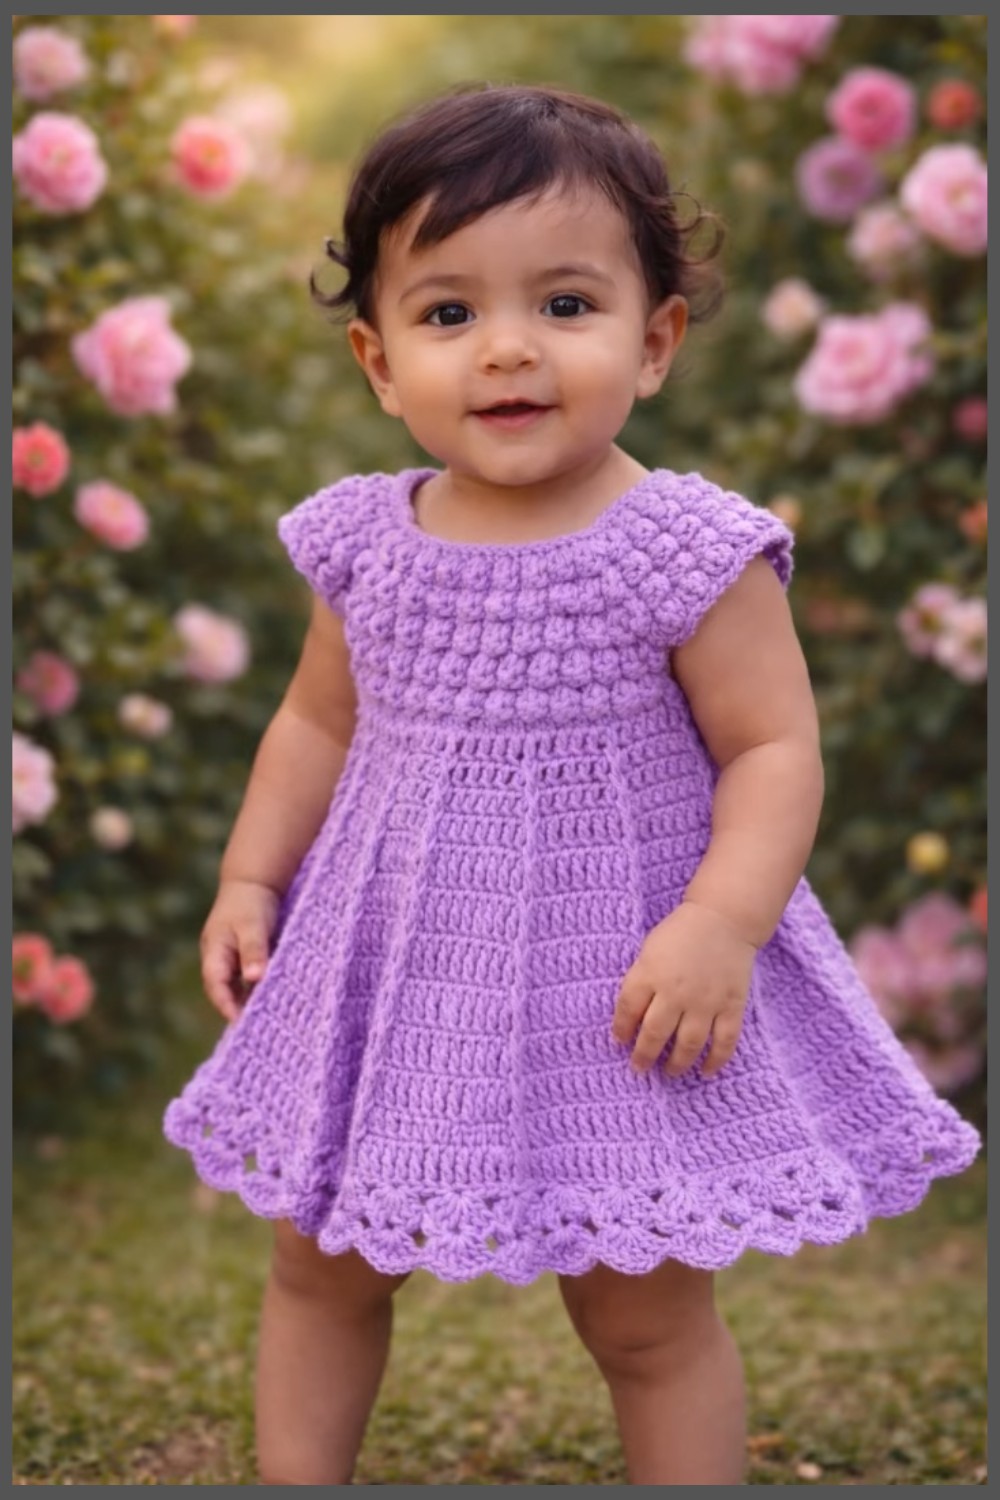
Precious Crochet Bubble Stitch Baby Frock Pattern for Special Days

Each stitch is carefully made by hand, making every frock unique and full of love. The cheerful colors, delicate shape, and raised bubble design catch the eye and make the dress memorable.

Even those who cannot read can enjoy the softness, texture, and beauty of the frock. This small creation is more than clothing—it spreads happiness and warmth wherever it is worn.
Project Overview
-
Difficulty Level: Intermediate (requires knowledge of "Bubble Stitches" and shaping).
-
Special Features: Bubble stitch bodice (texture), square neck design, and customizable armholes.
-
Materials: 4-ply cotton yarn (approx. 2.5 weight), 2.5mm crochet hook, and 4 stitch markers (or safety pins).
Detailed Crochet Pattern
1. Sizing and Foundation
The frock begins at the neck with a foundation chain. Sizes are determined by the initial chain count and how they are divided for the back, sleeves, and front.
-
3–6 Months: Chain 70. Divide: 8 (back) + 19 (sleeve) + 16 (front) + 19 (sleeve) + 8 (back).
-
0–3 Months: Chain 60. Divide: 7 + 16 + 14 + 16 + 7.
-
6–12 Months: Chain 80. Divide: 9 + 22 + 18 + 22 + 9.
2. The Bodice Construction
-
Round 1 (Foundation Row): Work 1 Single Crochet (sc) in each chain. At each "corner" (marked by your markers), work [1 sc, ch 2, 1 sc] in the same stitch. This creates the square neck shape.

-
Round 2 (Bubble Stitch Row - Work on Wrong Side): 1. Chain 1, turn. Work 1 sc.
2. Bubble Stitch: Yarn over (yo), insert hook in next stitch, pull up a loop, yo, pull through 2 loops (2 loops on hook). Repeat this 4 times in the same stitch until you have 5 loops on the hook. Yo, pull through all 5 loops.
3. Work 1 sc in the next stitch to "close" the bubble and push it to the front.

4. Repeat the [1 Bubble, 1 sc] pattern until the corner.
5. Corner Increase: In the ch-2 space, work [1 Bubble, 1 sc, ch 2, 1 Bubble].
-
Round 3 (Sc Row - Work on Right Side): Chain 1, turn. Work 1 sc in every stitch around. In the ch-2 corner spaces, work [1 sc, ch 2, 1 sc].
-
Repeat: Continue alternating between the Bubble Row (Round 2) and Sc Row (Round 3) until the chest measurement is approximately 8 inches (for 3–6 months) or your desired width.

3. Joining the Armholes
Once the bodice is wide enough, you will skip the sleeve sections.
-
Work in sc until the first corner.
-
Chain 7 (adjust this for a chubbier baby).
-
Skip the entire sleeve section and work 1 sc into the second corner.
-
Work sc across the front to the third corner.

-
Chain 7, skip the second sleeve, and work 1 sc into the fourth corner.
-
Continue sc to the end of the row.
4. Finishing the Bodice
-
Continue alternating Bubble and Sc rows over the newly joined chest area for 4 more rounds (creating two more rows of bubbles) to complete the top section of the frock.
Tutor's Suggestions & Uses
-
Texture Secret: Always work the bubble stitches on the wrong side of the work. This ensures they pop out prominently on the right side.
-
Measurement Tip: The tutor suggests taking a chest and armhole measurement of the baby (or a well-fitting garment) before starting, as yarn and hook sizes can vary the final dimensions.
-
Uses: This frock is perfect for special occasions, christenings, or as a high-quality handmade gift.
Pro-Tip
If you find the bubble stitches are "hiding," use your finger to push them toward the front as you work the following single crochet. This secures them in their 3D shape.
Conclusion
The Bubble Stitch frock is a testament to how simple variations in stitch height can create a luxurious, boutique-style garment. By mastering the rhythm of the bubble and sc rows, you'll create a textured masterpiece that is sure to be a cherished keepsake.


Leave a Reply