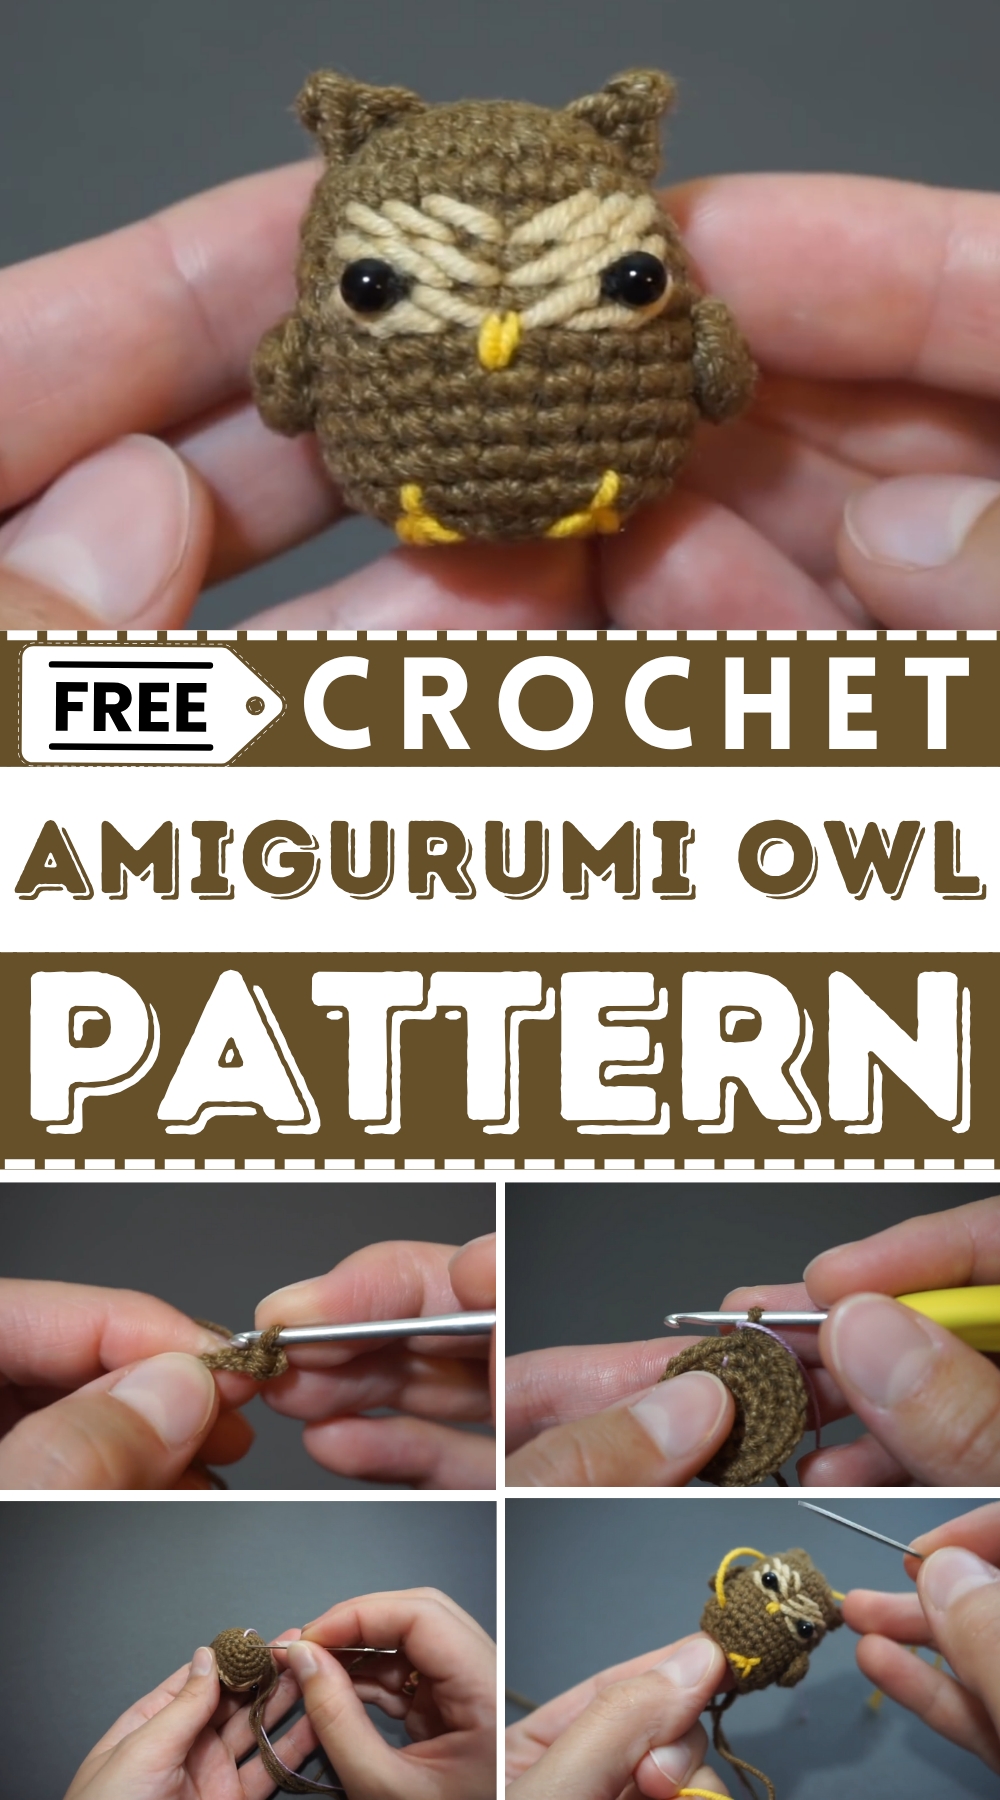
A clever twist on cozy décor, this Crochet Amigurumi Owl Pattern is ideal for charming gifts, woodland themes, and beginner-friendly stitching fun.
Delicately intertwined loops of yarn can turn simple threads into something extraordinary—small masterpieces of charm and detail that spark joy in their every glance. The crochet amigurumi owl pattern takes this art form to new heights, transforming soft yarn into an endearing character that exudes personality and warmth. With their soulful eyes and whimsical textures, these handmade treasures go far beyond decoration, carrying sentimental value and a timeless appeal. Whether perched in a cozy reading nook, adding a magical touch to a baby’s nursery, or shared as a thoughtful gift, they bring a unique blend of creativity and care into any setting.
Turn Leftover Yarn into a Cute Amigurumi Owl – No Waste, Big Impact
The beauty of the crochet amigurumi owl pattern lies in its intricate details, where every stitch plays a part in crafting life-like wings, charming facial features, and a perfectly balanced design. The freedom to experiment with colors, sizes, and textures makes each piece one-of-a-kind, allowing crocheters to add their personal touch. The softness of the yarn combined with the careful arrangement of the owl's features results in a keepsake that feels both luxurious and lovingly handmade. Their understated elegance makes them suitable for nearly all occasions, from cherished gifts to playful home accents.
If you’ve been searching for a craft that combines relaxation with creativity, look no further than crocheting amigurumi owls. The rhythmic motion of stitching is wonderfully meditative, helping crafters find focus and calm. It’s not just about the process, though—the reward is a tangible, charming creation that carries your effort and imagination in every stitch. Whether it’s your first attempt or you’re an experienced crocheter, each completed owl brings a sense of pride, a reminder of the joy that comes from making something with your own hands. So grab some yarn, pick up a hook, and let your artistry transform simple threads into something magical.
Materials Needed
- Brown yarn: YarArt Jeans was used in the video.
- Beige yarn.
- Orange yarn (bright yellow).
- Hook: 2.5mm crochet hook.
- Black beads: Two 4mm beads for eyes.
- Needles and thread for sewing.
- Scissors.
- Contrast thread: To mark the beginning of rows.
- Sintepone: For stuffing.

Step-by-Step Details
1. Making the Ears
- Leave an ending of the yarn for sewing later.
- Chain 3 (ch).
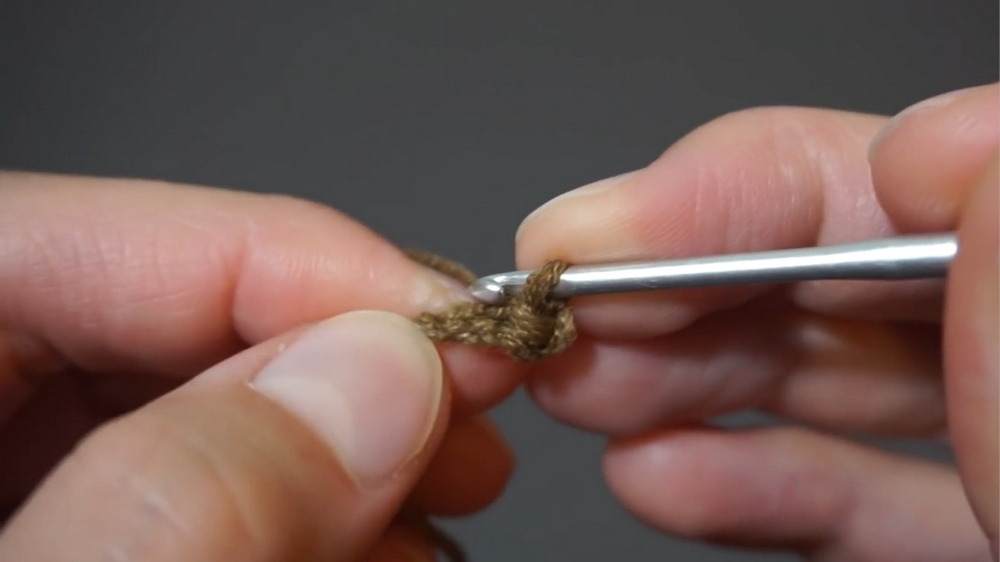
- Slip stitch (sl st) into the second loop from the hook.
- Single crochet (sc) into the next loop.
- Cut the yarn.
- Repeat the same process for the second ear.
2. Crafting the Wings
- Begin with a magic ring.
- Work into the ring as follows:
- Single crochet (sc).
- Double crochet (dc).
- Treble crochet (tr).
- Double crochet (dc).
- Single crochet (sc).
- Tighten the ring and cut the yarn.
- Make a second wing using the same steps.
3. Crocheting the Body
- Start with a magic ring and make 6 single crochets (sc).

- Move to Row 2: Work 6 increases (inc), which involves crocheting 2 sc into each loop.
- For Row 3, follow the pattern: 1 sc and 1 inc, repeating this 6 times.
- For Row 4, alternate 1 inc followed by 2 sc, repeating this 6 times.
- From Row 5 to Row 13, crochet one sc per loop, maintaining 24 stitches per row.
- Fix the endings securely after finishing the rows.

4. Sewing the Face
- Use beige yarn and sew stitched rows diagonally across the front of the owl’s head.
- Create symmetrical rows on both sides for the face details.
- Turn the yarn ends inside, tie knots, and trim excess yarn.
5. Attaching the Eyes
- Sew the black bead eyes into the designated areas on the face.
- Use a needle and thread, fixing the beads securely with knots.
6. Adding the Beak
- Using orange yarn, sew the beak below the eyes with diagonal stitches.
- Tie and hide the ending for a clean finish.
7. Assembling Ears, Wings, and Paws
- Ears: Sew onto the body, ensuring symmetry, with three loops between them.
- Wings: Sew them onto the sides of the body with precision stitching for stability.
- Paws: Use orange yarn to sew small diagonal stitches to form paws in the designated areas.
8. Stuffing the Owl
- Fill the body lightly with sintepone, ensuring room to complete the final decreases.
- Add extra filling afterward, creating a compact and firm shape.
9. Final Decreases
- Work 8 decreases (dec) across Row 14, alternating 1 sc and 1 dec.
- For Row 15, perform 8 decreases to close the body.
- Sew the body shut, tightening the yarn ends.
10. Adding the Tail
- Use stitches at the back for the tail, shaping it neatly.
- Tie and hide the endings to complete the owl neatly.

Special Features
- Compact and lightweight design is achieved using simple yarn and stitches.
- Detailed facial features, such as symmetrical rows, beads, and a stitched beak, add character.
- The project only takes an hour, making it ideal for last-minute gifts or quick practice sessions.
Level of Difficulty
The majority of the project utilizes basic stitches like single crochets and slip stitches, making it beginner-friendly. However, the sewing precision required for facial details may require intermediate-level focus.
Tutor’s Suggestions
Milena advises using contrast thread to mark the start of rows for ease of stitching progression. Additionally, beginners should avoid overstuffing during the filling stage to simplify final decreases and finishing touches.
Uses and Benefits
This owl can be used as:
- A decorative ornament for shelves, desks, or gift packages.
- A thoughtful handmade gift for children, friends, or family members.
- A way to enhance crochet skills by practicing small, detailed elements.
Tip
Always leave a slightly longer yarn ending when sewing elements like ears, wings, and tails. This ensures a secure attachment and allows for easy adjustments during assembly.
Conclusion
This quick and charming owl pattern is a fantastic choice for adding a touch of creativity to your day. creator's meticulous guidance ensures success for crochet enthusiasts of all levels. Following the steps carefully will result in a delightful handmade owl that is sure to bring joy to its maker and recipients alike.


Leave a Reply