Festive sparkle and playful detail come together in this Crochet Xmas Elf Bauble, perfect for to your holiday tree and gifts.
In the heart of every holiday celebration, it’s the smallest details that capture the most joy—a sentiment perfectly embodied in the timeless charm of a crochet Christmas elf bauble. These miniature ornaments are more than decorations; they are an expression of holiday magic. From the delicate curves of their hats to the subtle blush on their tiny cheeks, each one holds an endearing personality that adds character and warmth to any festive display. Whether dangling from a tree branch, adorning a wreath, or embellishing a wrapped gift, these baubles bring a sense of nostalgia and handmade elegance to your home.
Free Crochet Xmas Elf Bauble + How to Make Holiday Decor Extra Special

What makes these creations truly special is their versatility. Easily customizable with colors, textures, and finishes, they can be tailored to fit any holiday theme, from rustic and traditional to sleek and modern. Their thoughtful construction and handmade appeal make them the perfect gift—personal, meaningful, and unique. Beyond their decorative function, they evoke a sense of individuality and artistic flair that store-bought ornaments simply can't replicate, turning your holiday decor into something truly extraordinary.
Yet, their beauty lies not just in the finished piece but in the process itself. Every stitch becomes a moment of mindfulness, an opportunity to step away from the hustle and immerse yourself in the quiet joy of creation. This thoughtful effort transforms simple yarn into something magical, a keepsake brimming with personality, love, and tradition. More than an ornament, the crochet Christmas elf bauble becomes a timeless reminder of the holidays as a season of warmth, connection, and cherished moments.
Materials Needed
To get started with this project, you'll need the following:
- Yarn: Double-knit (8-ply) yarn in green, red, white, and black for the elf's features.
- Hook: A 3.5 mm crochet hook.
- Safety Accessories: Safety eyes and a safety nose (optional, as these can also be sewn).
- Stitch Marker: Helps track the beginning and end of each row.
- Ribbon: For hanging the finished product.
- Scissors
- Sewing/Darning Needle

Steps in the Process
1. Crocheting the Elf Bowl Halves
- Start with a slip knot and chain four to create a magic circle.
- Work in rounds, progressively increasing the number of single crochets in specified patterns:
- Round 1: Two single crochets in each stitch.
- Round 2: Two single crochets in the first stitch, one single crochet in the next, repeat.
- Continue rounds with greater increments (two single crochets in one stitch, followed by an increasing number of standalone single crochets).
- Round 1: Two single crochets in each stitch.
- Repeat this process for the second half of the bowl.
- Fasten off neatly.
2. Making the Eyes
- Use white yarn to chain four and create another magic circle.
- Crochet six double crochets, counting the first chain three as one, to create each eye.
- Fasten off, leaving a long tail for sewing.
- Place the safety eyes in the center of the whites and attach securely.

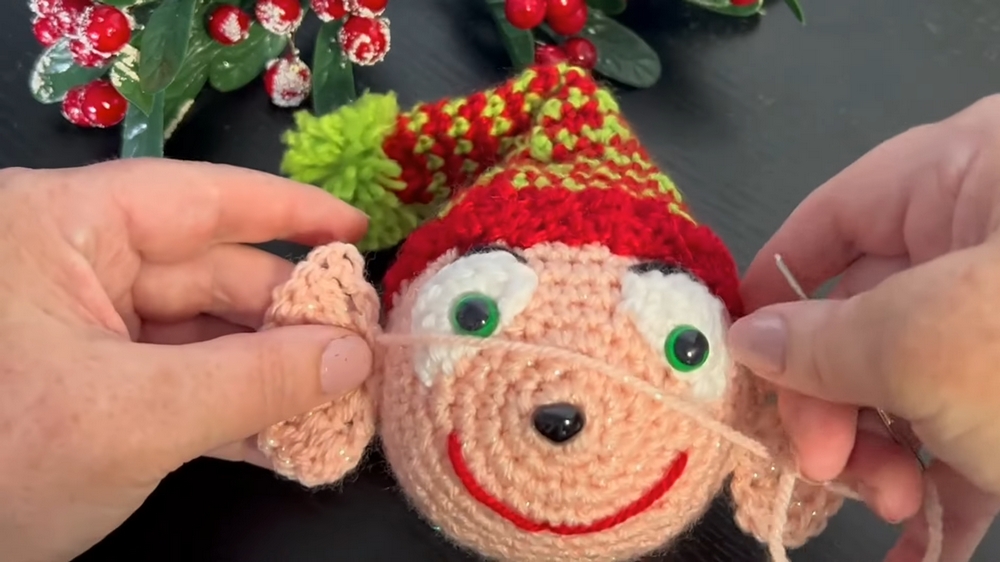
3. Adding Facial Details
- Position and secure the safety nose at the center of one bowl half.
- Sew on the whites of the eyes.
- Use black yarn for the eyebrows and red yarn for a cheerful mouth, stitching everything securely.
4. Sewing the Bowl Halves Together
- Once both halves are complete, sew them together neatly, ensuring all details align properly for the elf’s face.
5. Crocheting the Elf’s Hat
- Start by creating a ribbed band for the base of the hat.
- Chain four and work back-loop-only single crochets until the length is 8 inches.
- Join the ends and crochet a single band in the round.
- Alternate red and green yarn to crochet the hat, incorporating decreasing rows:
- Gradually reduce the number of single crochets between decreases (e.g., decrease, 4 single crochets; decrease, 3 single crochets; etc.).
- When the hat narrows, finish with 10 rounds of single crochet and fasten off.
- Create a pom-pom by wrapping yarn around your fingers, tying it in the middle, and trimming evenly. Attach the pom-pom to the top of the hat.

6. Adding Ears
- For each ear:
- Use white yarn to crochet a small circle base.
- Add double crochets and a triple crochet to shape the ear.
- Securely attach each ear to the sides of the elf bowl.
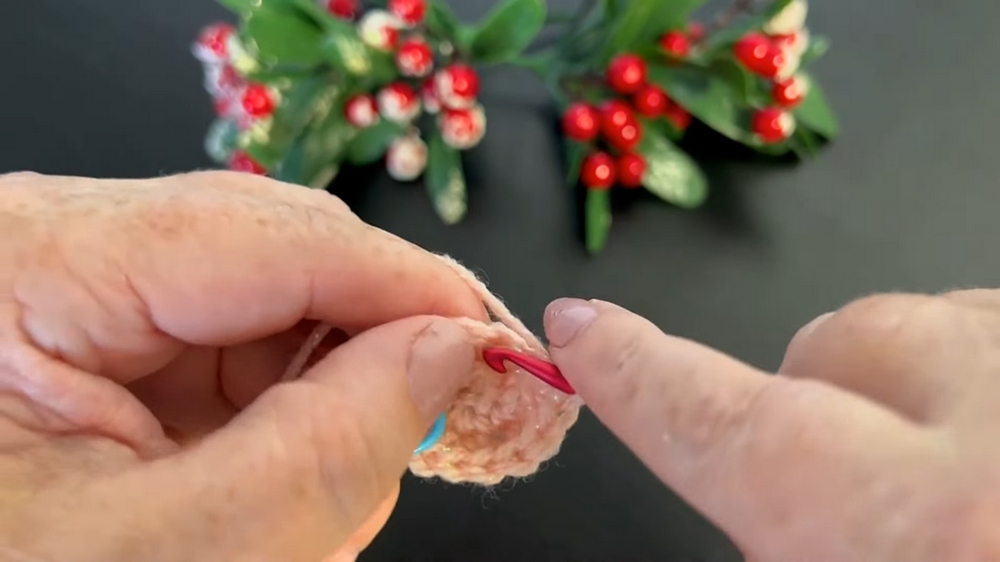
7. Adding the Ribbon
- With a crochet hook, pull a ribbon through the top of the hat and tie a knot at the end. This will allow the finished piece to be hung as a Christmas ornament.
Special Features
- Whimsical Design: The elf comes to life with its expressive face, striped hat, and pom-pom detail.
- Customizable: You can adjust colors, features, or embellishments to make the piece unique.
- Versatile Use: Perfect as a holiday ornament, gift, or even table décor.
Level of Difficulty
The pattern is approachable for intermediate-level crocheters. Beginners with some basic skills (working in rounds, managing increases, and stitching pieces together) will find it manageable with patience and practice.
Tutor’s Suggestions
- Use a stitch marker to keep track of rows and prevent confusion.
- Ensure your stitches are tight and consistent, especially for creating the bowl halves.
- Tailor the elf’s features to suit your own creativity—such as changing the eye placement or adding fun embellishments like sparkly yarn.
TIP
When making the pom-pom, avoid cutting too much yarn during trimming—it’s better to start with minor adjustments and slowly shape it for evenness.
Conclusion
This crochet Christmas Elf Bowl is a fun and festive project that blends creativity with the spirit of the holidays. This pattern provides all the guidance needed to create something truly special, whether it’s for yourself or a loved one. With its cheerful design and personalized charm, this project is sure to become a cherished holiday keepsake.


Leave a Reply