Small but full of character this Crochet Mini Dog Pattern offers an easy and rewarding project perfect for gifts, or collectible amigurumi.
Each tiny stitch comes together to bring forth the essence of a loyal companion, capturing the heartwarming charm of a miniature dog. These crochet creations are exquisite treasures that effortlessly blend artistry with emotion. From the gentle curve of tiny ears to the flick of a playful tail, their intricate details breathe life into every little feature. Small enough to perch on a desk or tabletop, their endearing presence fills any space with warmth, making them delightful keepsakes for animal lovers of all ages.
How to Crochet Mini Dog Perfect for Keychains and Keepsakes Without Fuss

Far beyond simple decoration, these miniature dogs are brimming with versatility and purpose. They can serve as whimsical gifts, charming additions to home decor, or even playful accents for celebrations like birthdays or anniversaries. Their compact size invites creativity in how they’re used, whether attached to keychains, added to gift boxes, or personalized for sentimental moments. These creations not only beautify spaces but also strengthen connections through their thoughtful, handmade touch.
Engaging with this craft offers more than just artistic accomplishment; it fosters a calming, therapeutic experience that soothes the soul. Each finished piece becomes a symbol of patience and dedication, radiating joy wherever it goes. These crochet mini dogs stand as timeless symbols of love, creativity, and the simple things that make life brighter.
Materials Needed
- Yarn: DK-weight yarn in white and additional colors for details (e.g., black yarn for the nose).
- Crochet Hook: 2mm hook for a tight and sturdy finish.
- Keychain Ring (optional): For those making the keychain version.
- Stuffing: Polyfill or any soft filler for the body.
- Safety Eyes (optional): Or embroider the eyes with black yarn.
- Needle and Scissors: For assembling and cutting.
- Stitch Marker: Helps mark the beginning of each round.

Special Features
- Compact Design: Small enough to be used as a keychain or charm.
- Beginner-Friendly: Straightforward techniques like single crochet, increases, and decreases.
- Part of a Collection: This mini dog is part of a series that includes a cat, pig, bunny, and fox.
- Customizable Sizes: By using different yarn weights and hook sizes, you can create smaller or larger versions of the dog.
- Adorable Details: Includes embroidered features, a mini bow, and even a keychain attachment to add charm.
Step-by-Step Instructions
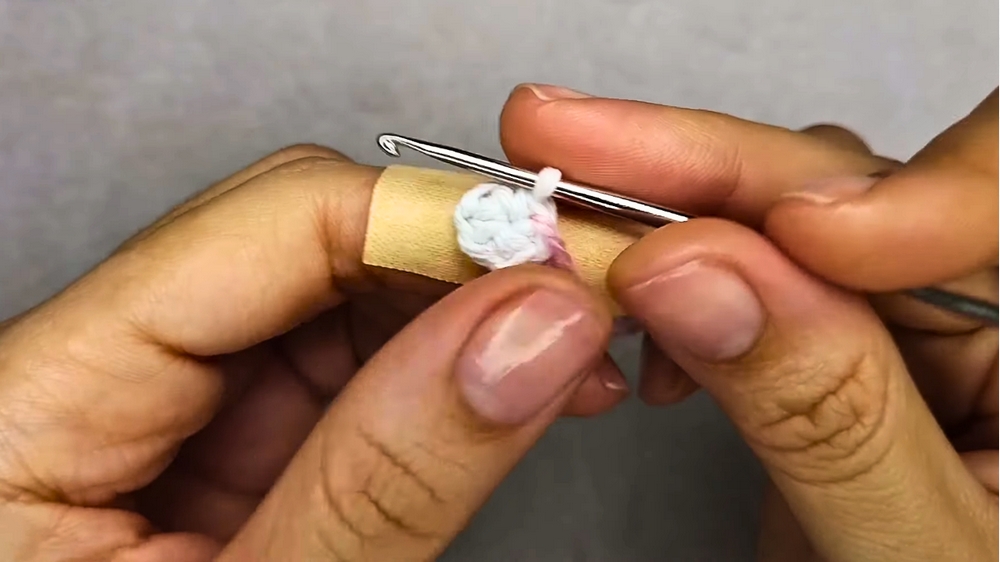
1. Making the Head and Body (in one piece)
- Start with white yarn and create 6 single crochets in a magic ring.
- Gradually increase the rounds:
- Round 2: 6 increases (12 stitches total).
- Round 3: [1 single crochet, 1 increase] repeat 6 times (18 stitches).
- Round 4: [2 single crochets, 1 increase] repeat 6 times (24 stitches).
- Round 5: [3 single crochets, 1 increase] repeat 6 times (30 stitches).
- Round 2: 6 increases (12 stitches total).
- Rounds 6-10: Work 30 single crochets per round.

- Begin decreasing:
- Round 11: [3 single crochets, 1 decrease] repeat 6 times (24 stitches).
- Round 12: [2 single crochets, 1 decrease] repeat 6 times (18 stitches).
- Rounds 13-22: Continue decreasing, fold and close the small hole using a needle at the end.
2. Crocheting the Front Legs
- Create 6 single crochets in a magic ring.
- Rounds 2-5: Work 6 single crochets around.
- Fold the work in half and make 3 single crochets to close the leg. Leave a tail for sewing. Repeat for the second leg.
3. Crocheting the Back Legs
- Start with a magic ring. Chain 1 and make 7 half-double crochets.
- Fasten off and leave a tail. Repeat for the second back leg.
4. Crocheting the Ears
- Create 6 single crochets in a magic ring.
- Gradually increase until Round 7, then decrease in consecutive rounds until you reach 6 stitches.
- Fold and make 3 single crochets to close, leaving a tail for sewing.
5. Crocheting the Snout
- Create a magic ring, chain 2, and crochet 7 double crochets into the ring.
- Use black yarn to embroider the nose and mouth. Leave a tail for sewing.

6. Crocheting the Tail
- Chain 10, skip the first chain, and work 9 slip stitches back to create the tail.

Assembly Instructions
- Sew the Front Legs: Attach them between rounds 14 and 15 of the body, leaving 2 stitches between them.
- Sew the Back Legs: Attach them between rounds 18 and 20.
- Attach the Snout: Sew between rounds 8 and 10 and embroider the facial features.
- Position the Ears: Place them between rounds 5 and 6, leaving about 12 stitches between them.
- Secure the Tail: Attach to the bottom of the body.
- Add Eyes: Sew or attach safety eyes on the 7th round of the head with 3 stitches between them.
- Add Final Touches: Craft a tiny bow with red yarn for the neck and attach a keychain ring to the top of the head (optional).
Tutor’s Suggestions
- Use a stitch marker to easily mark the start of rounds.
- Adjust the size by switching to a thicker yarn and larger hook for a bigger toy.
- Embroider features carefully to give the dog a clean, polished look.
Uses and Benefits
- Decorative Accessory: Perfect as a keychain, bag charm, or small gift.
- Quick Project: Requires minimal time and materials.
- Great for Beginners: Provides practice in essential amigurumi techniques.
Pro Tip
For a neat finish, always sew and weave the tail ends carefully into the body to avoid loose threads. Also, use a sharper needle to pierce the fiber-fill areas smoothly.
Conclusion
This adorable mini dog amigurumi is a fun and rewarding project that makes an excellent gift, accessory, or an addition to your crochet collection. With detailed instructions, minimal materials, and adaptability, it’s perfect for all skill levels. Plus, with each piece of this pattern, you’ll learn and apply amigurumi basics, gaining more confidence for future projects. So grab your hook, yarn, and let the magic unfold stitch by stitch.


Leave a Reply