
Snuggle up soft companion with this Crochet Plush Bunny Pattern and enjoy cuddly accent that adds sweetness to nurseries, shelves, or gifts.
Soft yarn glides through nimble fingers, forming loops that gradually turn into an irresistibly plush bunny with floppy ears and a round, snuggly body. This bunny instantly wins hearts—equally at home in a cozy nursery, offered as a heartfelt gift, or treasured as a keepsake to remember special moments. Charming accessories like tiny outfits or colorful bows highlight its unique personality, making each bunny one of a kind.
Bounce Crochet Plush Bunny Pattern to Add Playful Vibes
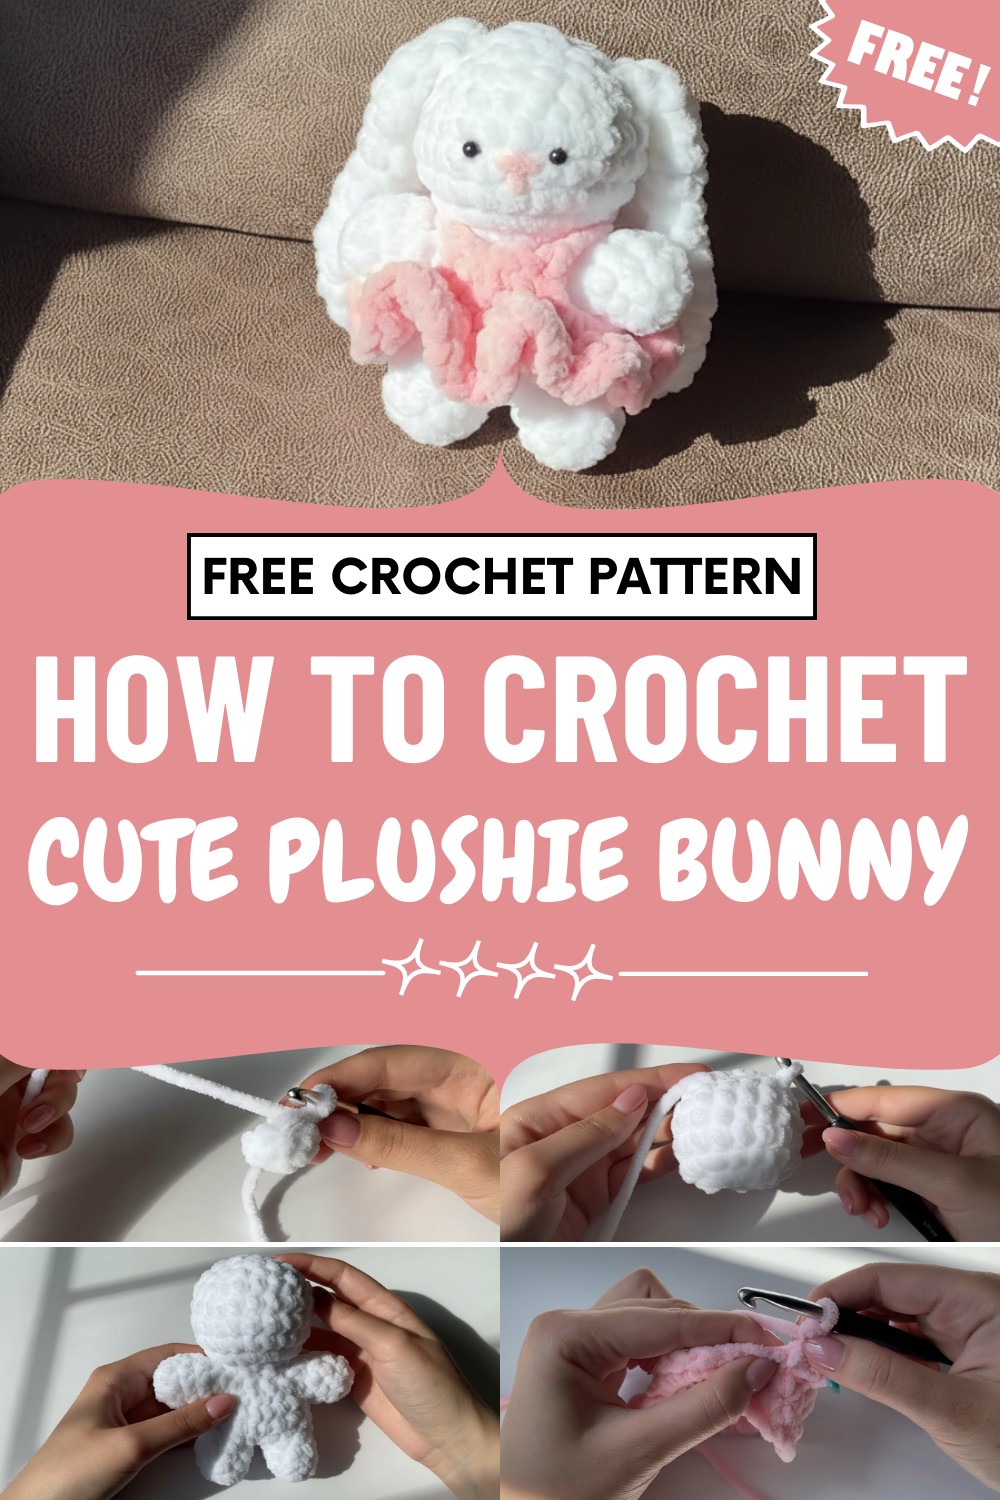
The approachable pattern offers a relaxing, satisfying experience for both newcomers and those with plenty of crochet experience. Gentle enough for endless cuddles and sturdy enough for easy washing, this plush bunny becomes a symbol of comfort and joy wherever it finds a place.
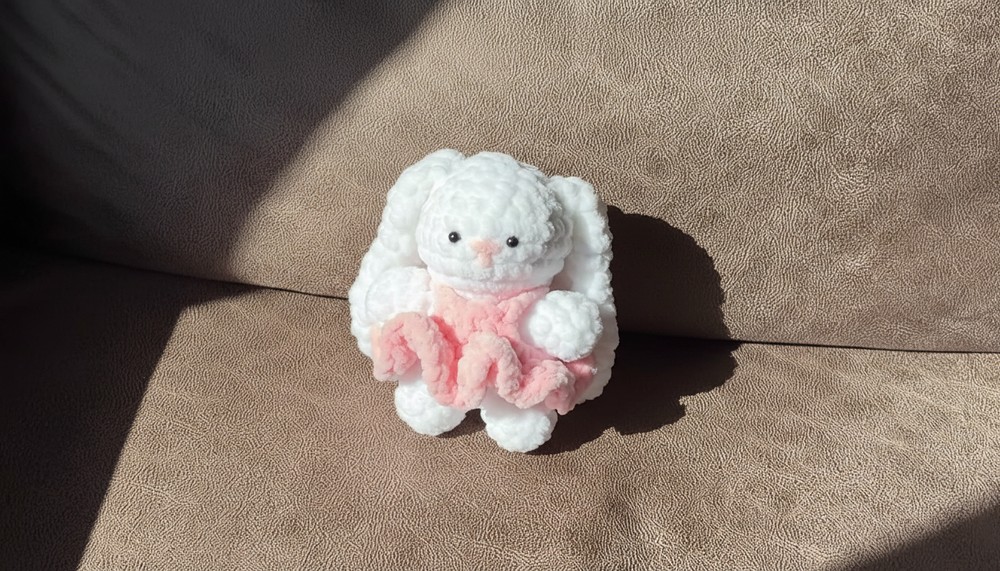
Crochet Plush Bunny with Dress
Special Features
- Removable Dress adds a playful, interactive touch.
- Flat Ears for a sweet, classic bunny look.
- Safety Eyes & Embroidered Face for a gentle plush finish.
- Seamless Joining for a polished, professional look.
Level of Difficulty
Beginner to confident beginner. If you know how to make basic amigurumi shapes and increase/decrease, you’ll find this bunny very approachable.
Tutor’s Suggestions
- Work in a well-lit area and use a stitch marker for rounds.
- Stuff the bunny as you go, especially after closing the legs and before finishing the head.
- You can customize the bunny’s colors and dress for seasons or occasions!
Uses
- Gifts for children and loved ones
- Desk or nursery decor
- Craft fairs and markets
Materials & Abbreviations
Materials
- Worsted or plush yarn (main color for bunny, contrasting color for dress)
- Small amount of pink yarn (embroidery)
- 3.5–4 mm crochet hook (or suitable for yarn)
- Tapestry/yarn needle
- Scissors
- Safety eyes, toy stuffing
Abbreviations
- ch – chain
- sc – single crochet
- hdc – half double crochet
- sl st – slip stitch
- inc – increase (2 sc in one st)
- dec – decrease
- MR – magic ring
The Pattern
ARMS (Make 2)
- Row 1: Make a MR, ch 1. Work 7 sc into ring. Tighten closed.
- Join with a sl st to first sc.

- Row 2-3: In the same stitch, sc. Place marker. 1 sc in each stitch around (7 sc). Join with a sl st to first sc at the end of each round.
- After Row 3, ch 1, cut yarn, leave a small tail. Tuck in yarn ends. Repeat for second arm.
LEGS & BODY
First Leg (Make 1):
- Row 1: MR, 4 sc into ring. Tighten closed, sl st to join.
- Row 2: In same st, sc + sc (inc). Repeat (inc in each st**) – 8 sc. Sl st to join.
- Rows 3-4: 1 sc in each st around (8 sc per row), sl st to join.
- Fasten off, weave tail in.
Second Leg (Do Not Cut Yarn):
5. Repeat as for first leg, but do NOT cut yarn after Row 4.
Joining Legs (Start Body):
6. Ch 1, sc in any st of the first leg, place marker (counts as first sc of new round).
- 7 sc around the first leg (8 total with the first). Sc into the joining ch, 8 sc around the second leg, sc into the joining ch. Sl st to first sc. (18 sc)
- Row 6: 1 sc in each st around (18 sc).
ATTACHING ARMS & BODY SHAPING
Row 7:
- 4 sc on body.
- Take an arm, insert hook through any st on arm (from inside), then into next st on body—make sc to join.
- 8 sc across body.
- Join second arm as before, then finish with 4 sc.
Row 8:
- 7 sc across each arm, 18 sc across body. (32 sc total).
DECREASE TO NECK
Row 9:
- Decrease (use dec in front loop only) in every st (end with sl st).
Row 10:
- Another round of dec in every st (front loop only). End: 8 sc.
HEAD
Row 11:
- Inc in every st (16 sc).
Row 12:
- (1 sc, inc) repeat around (24 sc).
Rows 13–15:
- 1 sc in each st (24 sc per round).
Stuff body well at this stage. Insert safety eyes between Rows 14–15, 3 sts apart if using.
Row 16:
- (4 sc, dec) repeat. End with dec.
Row 17:
- (3 sc, dec) repeat. End with dec.
Row 18:
- (2 sc, dec) repeat. End with dec. (12 sc)
Add extra stuffing to the head if needed.
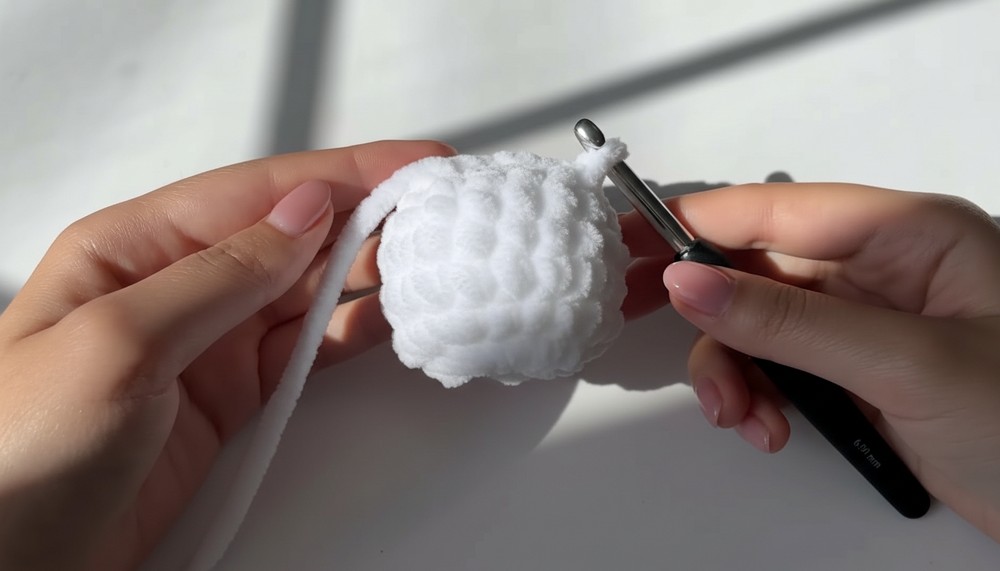
Row 19:
- Dec in every st around (6 sc).
Finish:
- Sl st, ch 1, cut yarn leaving a long tail. Thread needle, pass through all 6 sts, pull tight to close.
- Secure and weave tail through the head. Hide inside.

FACE EMBROIDERY
- Use pink yarn to embroider the nose and simple mouth just below nose. Hide ends inside the head.
DRESS
Dress Panels (Make 2):
- Ch 5. Starting in 2nd ch from hook, 4 sc.
- Ch 1, turn. Make another identical piece, don’t cut yarn.
Row 2:
3. Ch 6. Attach with sc to nearest st of first panel. 3 more sc.
- Ch 6, join two panels into a circle with sc in first st of second panel. 3 more sc across panel.
Row 3:
5. 7 sc around chain. 4 sc across the panel. Another 7 sc around next chain, 4 sc across panel.
Row 4 (Skirt):
6. Ch 1, in same st: 3 hdc. Repeat (3 hdc in each st around).
- At end, sl st to first hdc, ch 1, cut yarn, and weave in all ends.
DRESS STRAPS (Make 2):
- Put dress on bunny.
- Insert hook in front upper corner, pull through slip knot and ch 5.
- Attach at corresponding back corner with sl st.
- Ch 1, cut yarn, and weave in ends.

EARS (Make 2)
- Row 1: MR, 6 sc into ring, tighten. Sl st to join.
- Row 2: Inc in each st around (12 sc).
- Row 3: (1 sc, inc) repeat around (18 sc).
- Rows 4–5: 1 sc in each st (18 sc).
- Row 6: 7 sc, dec, 7 sc, dec (16 sc).
- Row 7: 1 sc in each st around (16 sc).
- Row 8: 6 sc, dec, 6 sc, dec (14 sc).
- Row 9: 1 sc in each st around (14 sc).
- Row 10: 5 sc, dec, 5 sc, dec (12 sc).
- Row 11: 1 sc in each st (12 sc).
- Row 12: 4 sc, dec, 4 sc, dec (10 sc).
- Row 13: 1 sc in each st (10 sc).
- Row 14: 3 sc, dec, 3 sc, dec (8 sc).
- Row 15: 2 sc, dec, 2 sc, dec (6 sc).
- Fold ear flat. Close opening with sl st through both layers along top.
- Ch 1, cut yarn, leave long tail for sewing.
- Make second ear.
ASSEMBLY
- Place ears on top of head, slightly to the back. Sew securely with tail.
- Tie knot and weave yarn inside head.
- Put dress on bunny. Add straps if needed.
- Enjoy your cute plush bunny!
Conclusion
You’ve just completed a sweet plush bunny with a darling dress! This project is quick, customizable, and perfect for gifting. Try different yarns or add accessories for even more fun.
Pro Tip
Stuff your bunny firmly (but not too stiff), especially around the neck, to help it stand nice and tall. Use safety eyes or embroider the eyes for younger children.




Leave a Reply