
Bounce into springtime joy with this Crochet Bunny Pattern, a sweet and whimsical touch for nurseries, décor, or adorable handmade keepsakes.
Delicate stitches and charming details come together beautifully in this crochet bunny pattern, offering a delightful blend of elegance and playfulness. Presenting a finished bunny brings warmth and character to nurseries, living rooms, or festive displays, making it suitable for year-round décor or special occasions like Easter.
Delight Crochet Bunny Pattern for Tiny Huggable Friends

The crochet bunny pattern encourages creativity, skill-building, and relaxation, while the end result makes for a thoughtful gift or cuddly toy treasured by both children and adults. With options for custom colors, accessories, and sizes, this versatile pattern suits a variety of personal tastes, always resulting in an irresistibly cute companion.

Each bunny provides a lasting reminder of care, creativity, and the joy of handmade pieces, seamlessly enhancing the style of any home or collection. Whether displayed on a shelf or hugged at bedtime, the inviting look and charm of a crochet bunny pattern never fails to bring smiles.
Crochet Bunny Amigurumi Pattern
Special Features
- Fully 3D: Includes shaped ears, adorable limbs, and expressive facial features
- Easy to Personalize: Choose your favorite yarn colors and add expressions with embroidery
- Seamless Limbs: Legs and arms are attached as you go for a neat finish
- Perfect Size: Ideal for a plush toy, desk companion, or thoughtful gift
- Detailed Instructions: Includes round counts and stitch totals for clarity
Level of Difficulty
Skill Level: Confident Beginner to Intermediate
If you know how to crochet in the round, increase, and decrease, you’ll find this bunny a joyful project with just enough challenge.
Materials Needed
- Yarn of your choice (DK, worsted, or favorite plush yarn)
- 2mm or 2.5mm crochet hook
- Scissors
- Yarn needle for sewing and embroidery
- Polyester stuffing
- Safety eyes (10mm used in the tutorial) or embroidery thread/yarn for eyes
- Stitch markers (helpful but optional)
- Lighter (optional, for secure safety eye backing)
Step-by-Step Pattern
Ears (Make 2)
- Magic Ring: 6 single crochet (sc) into magic ring. (6)
- Round 2: Increase in every st (12)
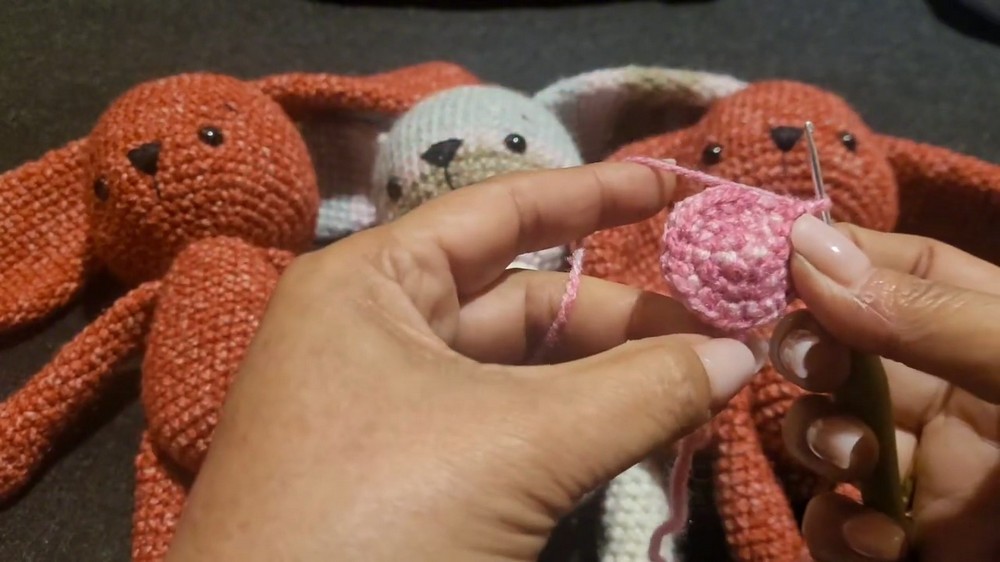
- Round 3: (sc, inc) × 6 (18)
- Round 4: (sc, inc, sc, sc, inc, sc) × 4 (24)
- Round 5: (3 sc, inc) × 6 (30)
- Round 6: (2 sc, inc, 2 sc, inc, 2 sc) × 4 (36)
- Rounds 7-8: sc in each st (36 per round)
- Round 9: (dec, 16 sc) × 2 (34)
- Round 10: sc in each st (34)
- Round 11: (dec, 15 sc) × 2 (32)
- Round 12: sc in each st (32)
- Round 13: (dec, 14 sc) × 2 (30)
- Round 14: sc in each st (30)
- Round 15: (dec, 13 sc) × 2 (28)
- Round 16: sc in each st (28)
- Round 17: (dec, 12 sc) × 2 (26)
- Round 18: sc in each st (26)
- Round 19: (dec, 11 sc) × 2 (24)
- Round 20: sc in each st (24)
- Round 21: (dec, 10 sc) × 2 (22)
- Round 22: sc in each st (22)
- Round 23: (dec, 9 sc) × 2 (20)
- Round 24: sc in each st (20)
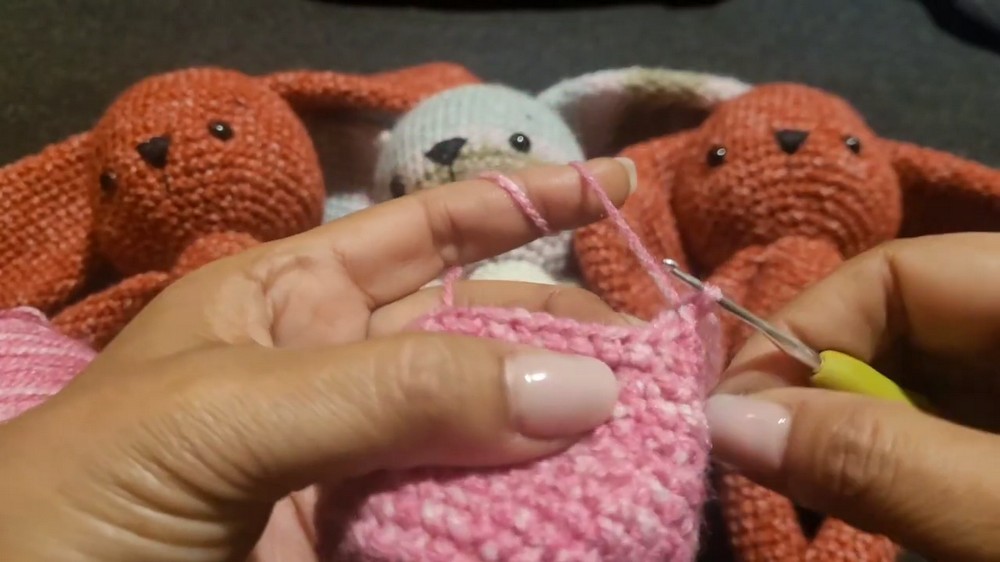
- Round 25: (dec, each sc) × 2 (18)
- Round 26: sc in each st (18)
- Round 27: (inc, 7 sc) × 2 (16)
- Round 28: sc in each st (16)
- Finish with a flat closure across 7 stitches, slip stitch, and leave a long tail for sewing to the head.
Legs (Make 2)
- Chain 7, turn.
- Work across chain (using back bump if you prefer):
- In 2nd chain from hook: inc (2 sc)
- Next 4 chains: 1 sc in each
- Last chain: 4 sc
- Continue around:
- Next 4 ch on opposite side: 1 sc each
- Last ch: inc (2 sc)
- Total: 16 sc in round 1
- Round 2: (sc, inc) × 2, 5 sc, 4 inc, 5 sc, inc (22)
- Round 3: inc, 7 sc, 2 inc, 2 sc, 2 inc, 7 sc, inc (28)
- Rounds 4-5: sc in each st (28 per round)
- Round 6: (sc, dec, 25 sc) (27)
- Round 7: 9 sc, 6 dec, 6 sc (21)
- Round 8: 4 sc, dec, 3 sc, 3 dec, 3 sc, dec, sc (16)
- Round 9: 7 sc, dec, sc, dec, 4 sc (14)
- Add stuffing
- Round 10: 6 sc, 2 dec, 4 sc (12)
- Rounds 11–30: sc in each st (12), for 20 rows
- Finish off and leave yarn tail for sewing or attaching.
Arms (Make 2)
- Magic Ring: 6 sc (6)
- Round 2: inc × 6 (12)
- Round 3: (2 sc, inc) × 4 (16)
- Rounds 4–6: sc in each st (16 per round)
- Round 7: (dec, 2 sc) × 4 (12)
- Round 8: (4 sc, dec) × 2 (10)
- Round 9: sc in each st (10)
- Round 10: 4 sc, dec, 4 sc (9)
- Rounds 11–20: sc in each st (9) for 10 rounds
- Flatten and close with single crochet through both sides. Leave tail for sewing.
Head
- Magic Ring: 6 sc (6)
- Round 2: inc × 6 (12)
- Round 3: (sc, inc) × 6 (18)
- Round 4: (sc, inc, sc, sc, inc, sc) × 3 (24)
- Round 5: (3 sc, inc) × 6 (30)
- Round 6: (2 sc, inc, 2 sc, inc, 2 sc) × 3 (36)
- Round 7: (5 sc, inc) × 7 (42)
- Round 8: (3 sc, inc) × 12 (48)
- Round 9: (7 sc, inc) × 6 (54)
- Rounds 10–19: sc in each st (54 per round, 10 rounds)
- Round 20: (7 sc, dec) × 6 (48)
- Round 21: (6 sc, dec) × 6 (42)
- Insert safety eyes between row 17–18, 11 stitches apart

- Secure backs, optionally melt for safety as in the tutorial
- Insert safety eyes between row 17–18, 11 stitches apart
- Round 22: (5 sc, dec) × 6 (36)
- Round 23: (4 sc, dec) × 6 (30)
- Start stuffing the head
- Round 24: (3 sc, dec) × 6 (24)
- Round 25: (dec, sc) × 8 (16)
- Fasten off and set aside.
Body
- Magic Ring: 6 sc (6)
- Round 2: inc × 6 (12)
- Round 3: (sc, inc) × 6 (18)
- Round 4: (sc, inc, sc, sc, inc, sc) × 3 (24)
- Round 5: (3 sc, inc) × 6 (36)
- Round 6: (2 sc, inc, 2 sc, inc, 2 sc) × 3 (36)
- Rounds 7–8: sc in each st (36 per round)
- Attach Legs:
- sc 6, then join 5 stitches of the first leg as you go, sc 13, join 5 stitches of the second leg as you go, sc 7 (remaining of round)
- Rounds 10–11: sc in each stitch (36)
- Round 12: (10 sc, dec) × 3 (33)
- Round 13: sc in each st (33)
- Round 14: (9 sc, dec) × 3 (30)
- Round 15: sc in each (30)
- Round 16: (8 sc, dec) × 3 (27)
- Round 17: sc in each (27)
- Round 18: (7 sc, dec) × 3 (24)
- Round 19: sc in each (24)
- Round 20: (6 sc, dec) × 3 (21)
- Round 21: Start attaching arms: sc 6, attach arm over 4 stitches as you go, sc 6, attach other arm over next 4 stitches, sc to end.
- Round 22: (2 sc, dec) × 5 (16)
- Round 23: sc in each (16)
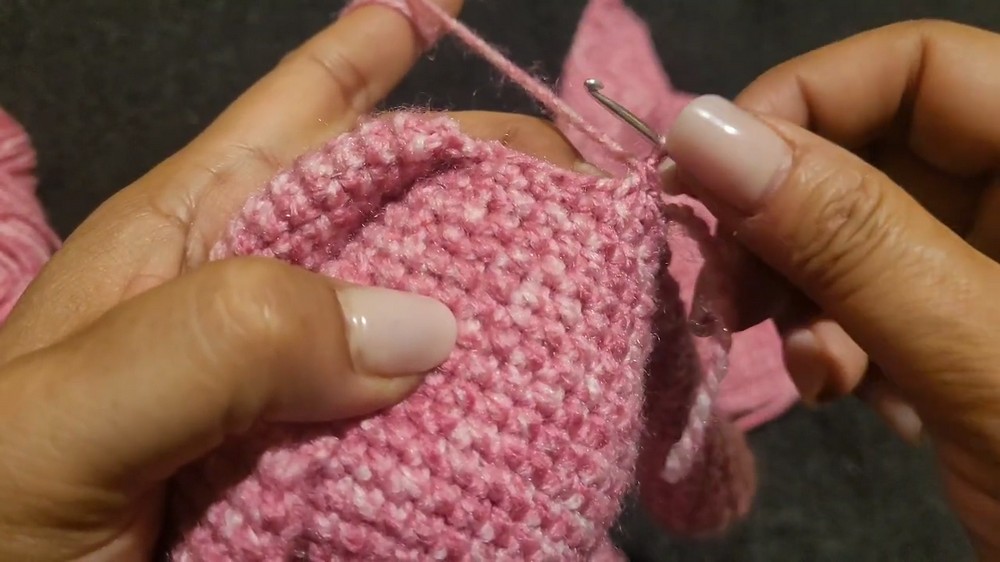
- Fasten off, stuff, and close if needed.
Assembly & Facial Embroidery
- Sew the ears to the head, placing below the 7th row, 3 stitches away from eyes.
- Sew head onto body.
- Embroider nose and eyebrows as preferred:
- Nose: Count down from eyes, place center, and embroider as a triangle or lines.
- Eyebrows: Simple stitch two rows above the eyes.
- Weave in all ends.
Tutor’s Suggestions
- Use your yarn tail to join parts for a neater finish.
- Stuff pieces firmly for shape but not so tight that stitches stretch.
- Use leftover yarn for face embroidery for a perfect color match.
- Try safety eyes or embroider eyes for a baby-safe project.
Uses
- Makes a sweet plush toy or bedtime buddy for children
- Charming gift for baby showers, birthdays, or holidays
- Whimsical desk or home accent
- Can be customized as a bunny family in different colors
Tip
For perfectly symmetrical placement of ears, arms, and legs, always pin them into place before sewing. This prevents last-minute mistakes and keeps your bunny’s shape balanced!
Conclusion
You now have a lovable crocheted bunny to enjoy or gift. This pattern’s stepwise approach, creative assembly, and soft details make it a truly endearing companion.





Leave a Reply