
Loop those adorable sugary treats for your upcoming event with this Crochet Cupcake Pattern to spread massive happiness and bright style.
Spreading a bit of sugary charm throughout any home is easy using this lovely and artistic design. This small, handmade treat features a rich texture and vibrant colors that look incredibly realistic and professional. By choosing a Crochet Cupcake Pattern, you produce an adorable decoration that stays fresh forever and never loses its appeal. It serves as a perfect addition to a child’s play kitchen, a unique party favor, or even a festive pincushion for a sewing room.
Delight Crochet Cupcake Pattern for Fun Gift Ideas
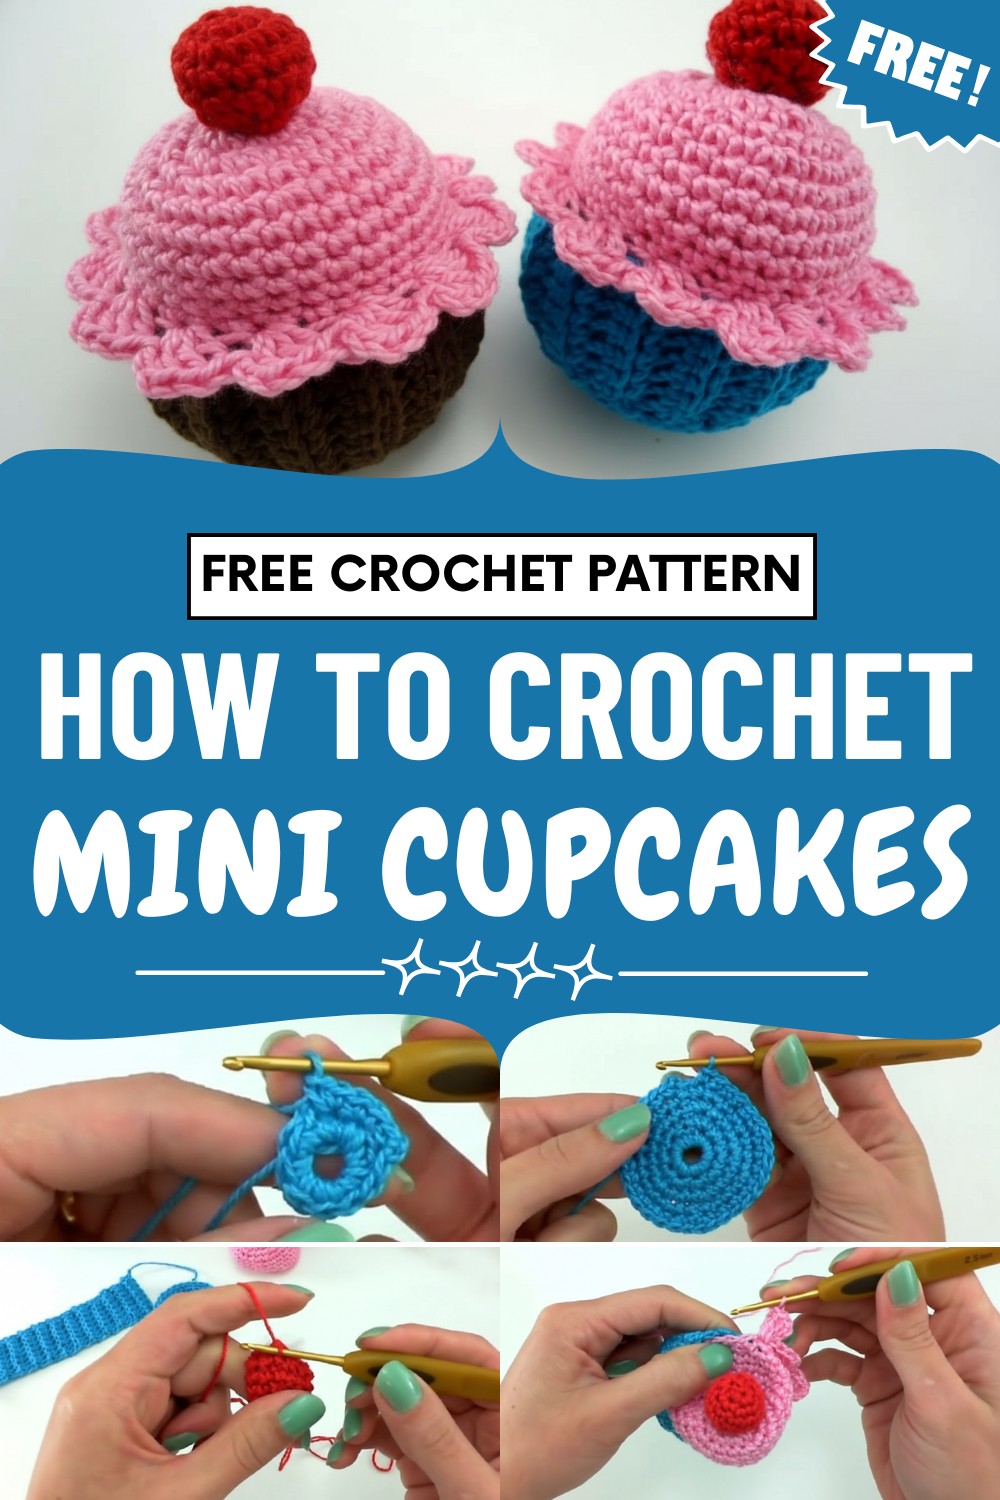
The detailed swirls of "frosting" and tiny "sprinkles" make the piece a tiny work of art that catches the eye instantly. Working on this Crochet Cupcake provides a relaxing escape and a great way to use up a colorful scrap of yarn from a collection.

Because it is so soft and lightweight, it is safe for anyone to enjoy. This elegant project is a wonderful way to make a cheerful and warm gift for someone special.
Special Features
- Realistic layers: Raised single crochet forms a textured cupcake liner.
- Customizable: Play with “flavor” color combinations for cake, icing, and topping.
- All-in-one construction: Top, base, liner, and cherry are crocheted and sewn together.
- Soft, plush finish: Stuffed with fiberfill for a three-dimensional, huggable effect.
- Cute decorative points: "Picot" style edging for that icing swirl.
- Versatile: Use as a keychain, ornament, pincushion, or play kitchen treat.
Level of Difficulty
Beginner to Intermediate
Great for those familiar with basic crochet. Some experience with increases, decreases, and sewing amigurumi parts is helpful.
Materials
- Yarn: 100% cotton, worsted-weight, various colors (leftovers work well)
- Cake base
- Liner
- Icing
- Cherry
- Crochet Hook: 2.5 mm
- Tapestry Needle: For sewing pieces together
- Fiberfill: For stuffing
- Scissors
Step-by-Step Pattern
1. Cupcake Base (Bottom Circle)
- With base color:
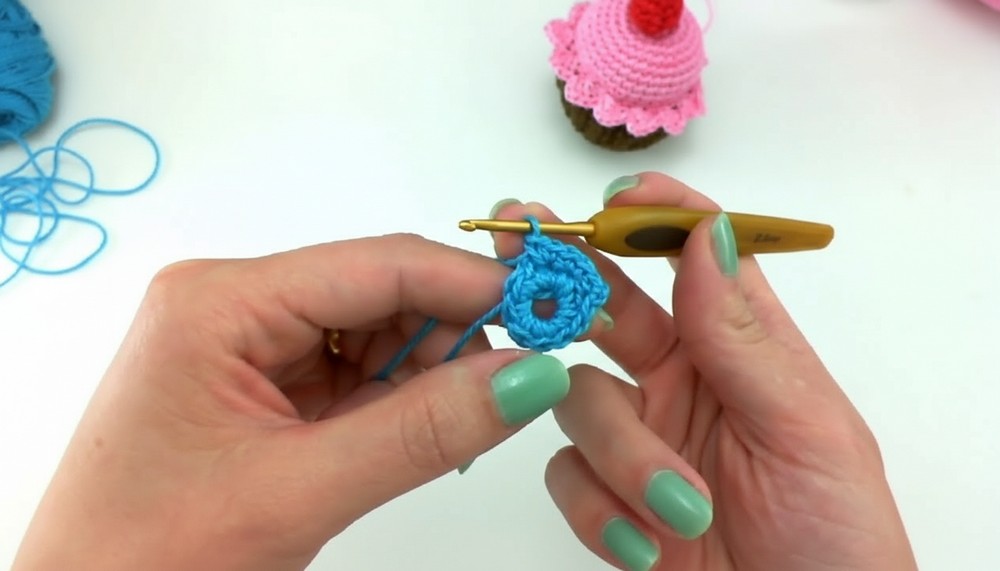
- Chain 5, join with a slip stitch to form a ring.
- Chain 2 (counts as first single crochet), work 9 single crochets into ring (10 sc total).
- Join to 2nd ch at beginning with slip stitch.
- Increase:
- Chain 2, work 2 sc in each st around (20 sc).
- Join with slip stitch.
- Next round:
- Repeat [3 sc, 2 sc in next st] around (25 sc). Join.
- Continue:
- Repeat [5 sc, 2 sc in next st] around. Join.
- Final round:
- Repeat [7 sc, 2 sc in next st] around (increase spacing as described). Join and fasten off. Hide ends.
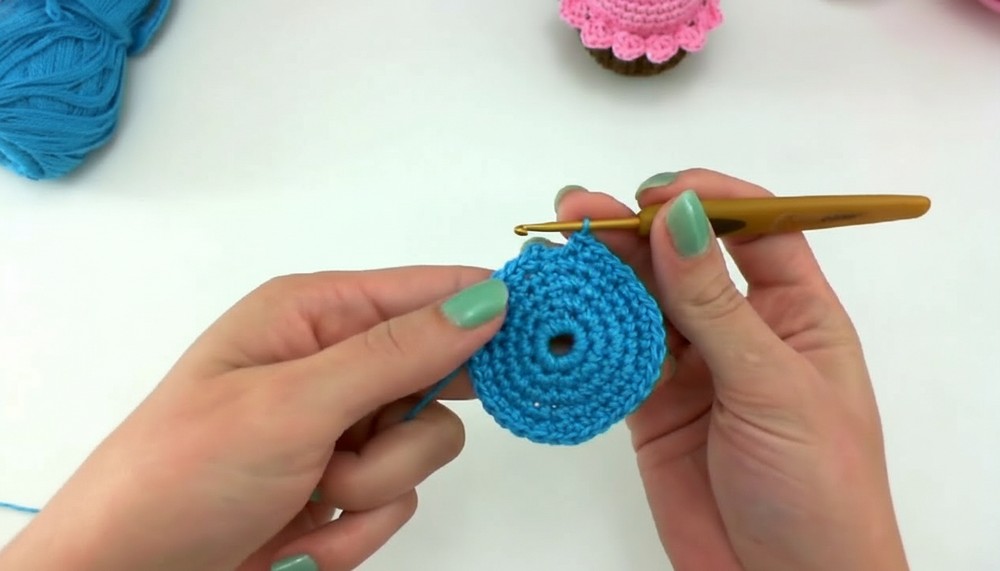
- Repeat [7 sc, 2 sc in next st] around (increase spacing as described). Join and fasten off. Hide ends.
2. Cupcake Liner (Textured Side)
- With liner color:
- Chain 9.
- Starting in 3rd ch from hook, make 8 sc across (counting turning ch as first sc).
- Raised sc (working in back loop only): Ch 2, turn, sc in BLO across (8 sc)—repeat until piece measures about 15 cm in length.
- Leave a long tail, sew short ends together to form a loop.
- Set aside.
3. Icing Top (Frosting Dome)
- With icing color:
- Repeat base circle as above (through increasing rounds).
- Rounds: work up to [7 sc, 2 sc in next st] and join as before (match size to bottom circle).
- Work 3 rounds even (sc in each st around) for height.
- Begin decreasing for dome:
- Work [4 sc, sc2tog] around, join.
- Next round, work even.
- Repeat decrease round (as above), then 1 even round.
- Fasten off, leaving long tail.
4. Cherry
- With red or desired bobble color:
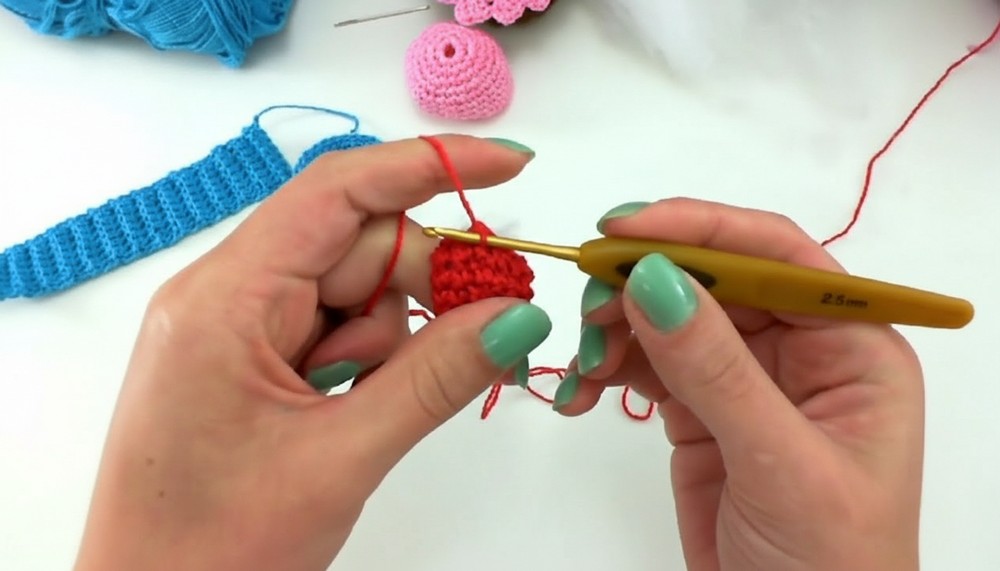
- Chain 3, join.
- Into ring: 2 sc.
- Increase to 12 sc by working two sc in each st around.
- Work 2 rounds even (12 sc each).
- Begin decreases as [sc, sc2tog] around.
- Stuff with fiberfill as you close.
- Continue decreasing as needed, fasten off, leaving tail for sewing.
5. Assembly
- Sew Icing to Base:
- Place icing dome atop base, sew around using tapestry needle and matched yarn.
- Attach Liner:
- Place textured liner around sides, covering seam. Whipstitch together, ensuring the liner's seam is neat.
- Add Fiberfill:
- Stuff cupcake through top or base before final closure, shape as plump as desired.
- Picot Edging (Icing Swirl Effect):
- With icing color, work [sc, ch 3, 3 dc in base of same sc, skip next st] around the icing edge for decorative points.
- Sew on Cherry:
- Attach to center top of icing, securing firmly.
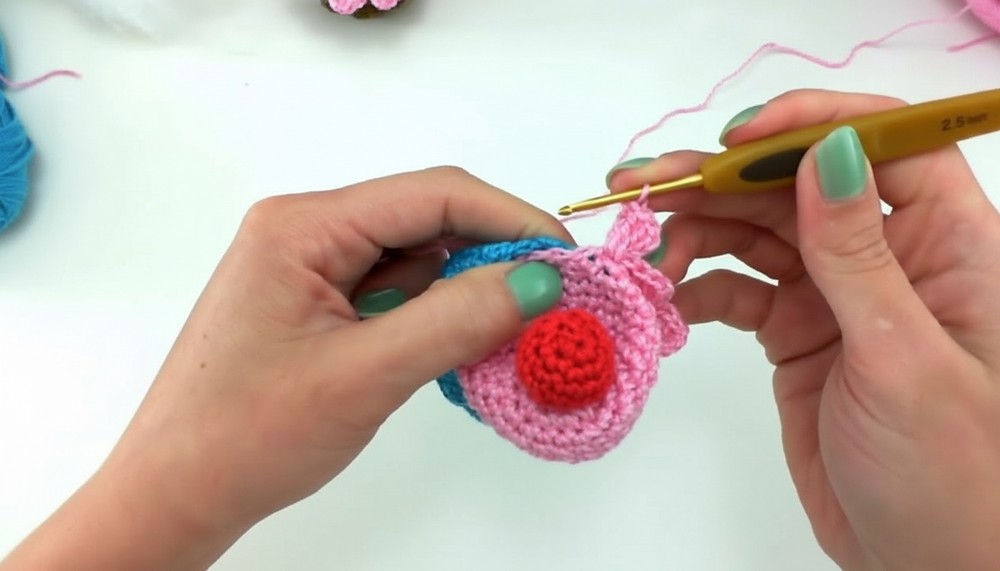
- Attach to center top of icing, securing firmly.
Tutor’s Suggestions
- Make sure all seams are hidden for a polished look.
- Play with color “flavors” for realistic or whimsical cupcakes.
- Stuff firmly, but don’t overfill, to help your cupcake keep its shape.
- Take care with sewing the liner so it stays snug.
Uses
- Cute table decor or party favor
- Pincushion for sewing
- Keychains or ornaments
- Children’s play kitchen
- Gift decoration
Conclusion
Your crochet cupcake is finished—a sweet, calorie-free treat that never goes out of style! This fast project is not only fun to make, but also a delightful addition to your home, gift packages, or craft shows. It’s a creative way to use up leftover yarn and practice amigurumi techniques.
Tip
Use a contrasting colored yarn for the cherry’s “stem” or embroider tiny sprinkles on the icing for extra character.



Leave a Reply