
Radiate summer vibes with this Crochet Tank Top Pattern and enjoy showing off your own breezy, stylish masterpiece on every sunny adventure.
Versatile and effortlessly chic this Crochet Tank Top Pattern wardrobe staple adds a creative flair to everyday outfits without compromising comfort. Its open, breathable construction is ideal for warm weather, providing a lightweight and airy feel perfect for summer days. Easily adaptable, it can be dressed up with accessories or paired casually with jeans or skirts, making it suitable for various occasions.
Floral Crochet Tank Top Pattern for a Fresh Wardrobe Twist
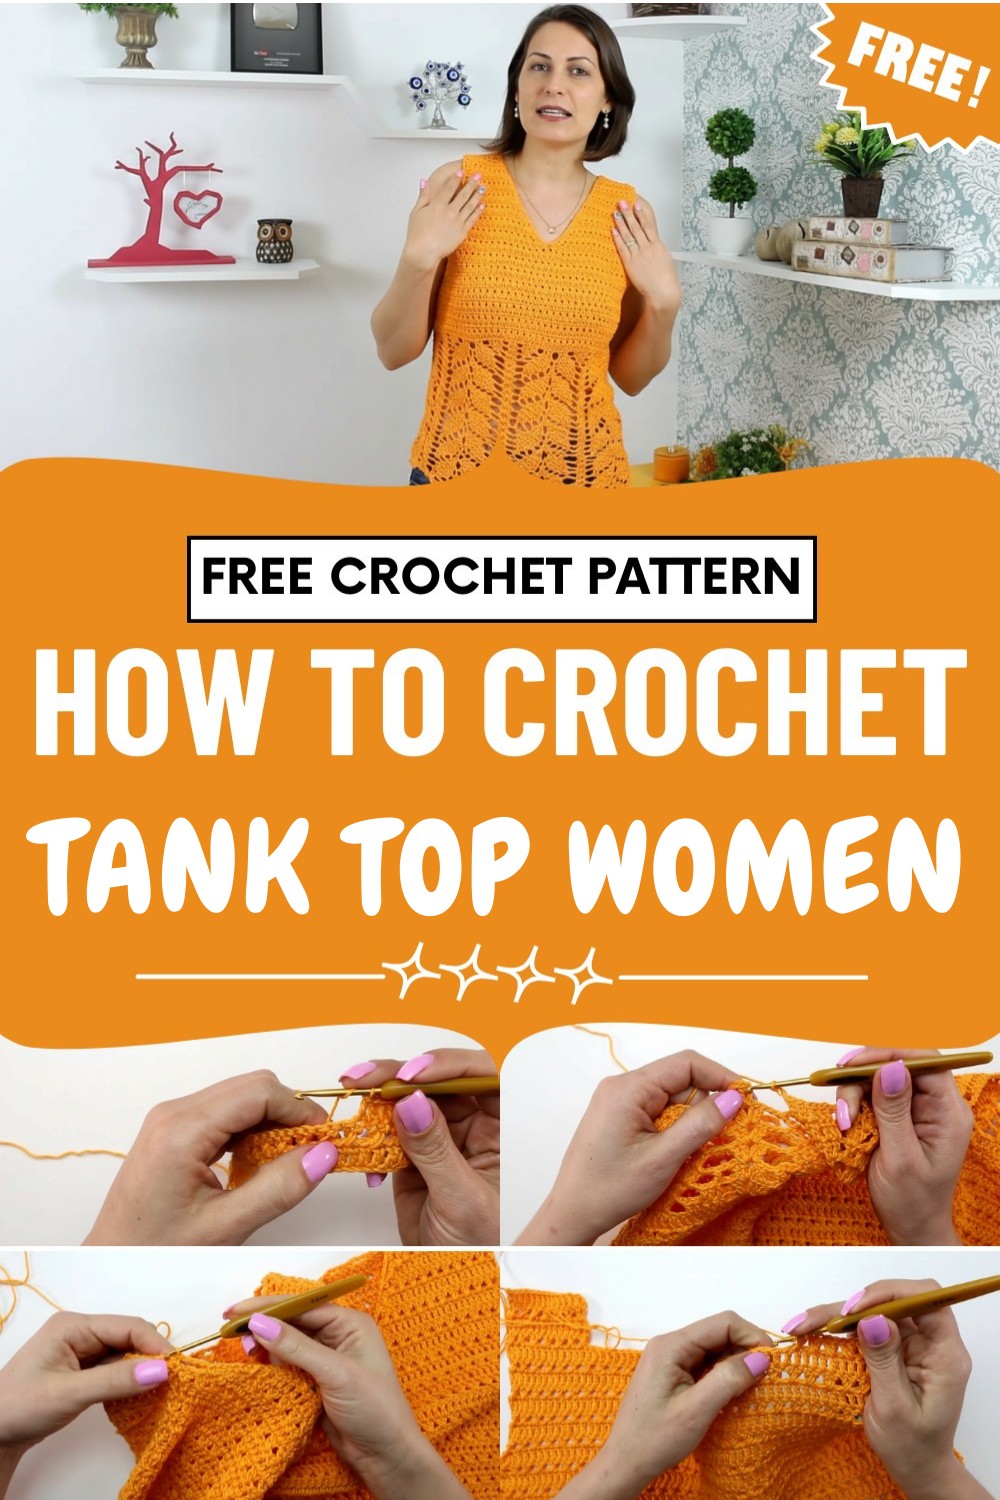
Customization is another advantage, choose your favorite yarn colors and adjust the fit to achieve a piece that reflects your individual style. The finished garment is durable, easy to care for, and holds its shape wash after wash, ensuring long-term enjoyment. Crocheters often appreciate the process of making something both functional and beautiful, and wearing the completed piece brings a sense of accomplishment and personal expression.
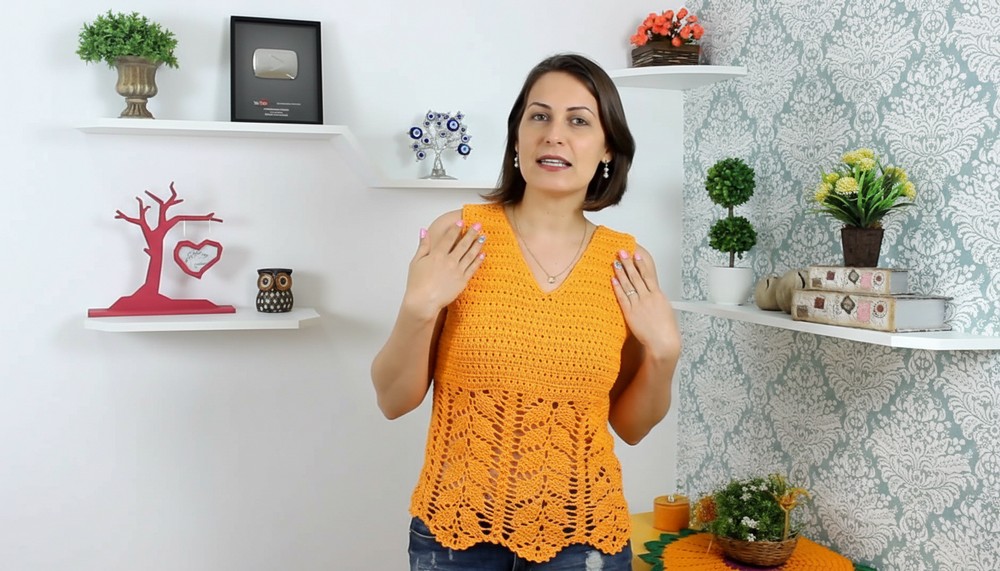
Whether made for yourself or as a thoughtful gift, this unique item seamlessly blends practicality with a stylish, artistic touch, quickly becoming a wardrobe favorite.
Special Features
- Leaf Stitch (Fancy Stitch 9): Eye-catching, lacy pattern for texture and breathability.
- Comfy and Adjustable: Easily customize for sizes and fit preferences.
- Polished Finishing: Includes guidance for seamless sewing and neat edging.
- Versatile: Suitable as a tank top, vest, beach cover-up, or even a dress or cropped top.
Level of Difficulty
Adventurous Beginner to Intermediate
You should be comfortable with basic stitches (chain, single crochet, double crochet), increasing/decreasing, and basic garment shaping.
Materials
- Yarn: 2 skeins of Charme (100% cotton, 396m each), color 4146 recommended for spring/summer (or any color you love)
- Hook: 3 mm crochet hook
- Notions: Measuring tape, tapestry needle, scissors
Sizing & Measuring
- Measure Bust: Wrap a tape around the fullest part of your bust while wearing your preferred bra.
- Adjust Fit:
- For a fitted top: Subtract 4 cm for ease.
- For a looser top: Use exact measurement.
- Divide for Front and Back:
Example: Bust 92 cm – 4 cm = 88 cm. Work 44 cm for each panel.
Step-by-Step Pattern
Back Panel
Foundation & Set-Up
- Chain: Make a chain long enough to reach your desired width without stretching (for size M, 44 cm = about 94 chains; must be an even number).
- Row 1 (Double Crochet): Skip 3 chains, double crochet (dc) in each chain across (about 92 dc).
- Row 2 (Crossed Double Crochet):
- Turn, slip stitch to 2nd st, chain 3.
- Skip a stitch, dc in the next, dc in skipped st (crossed dc); repeat across.
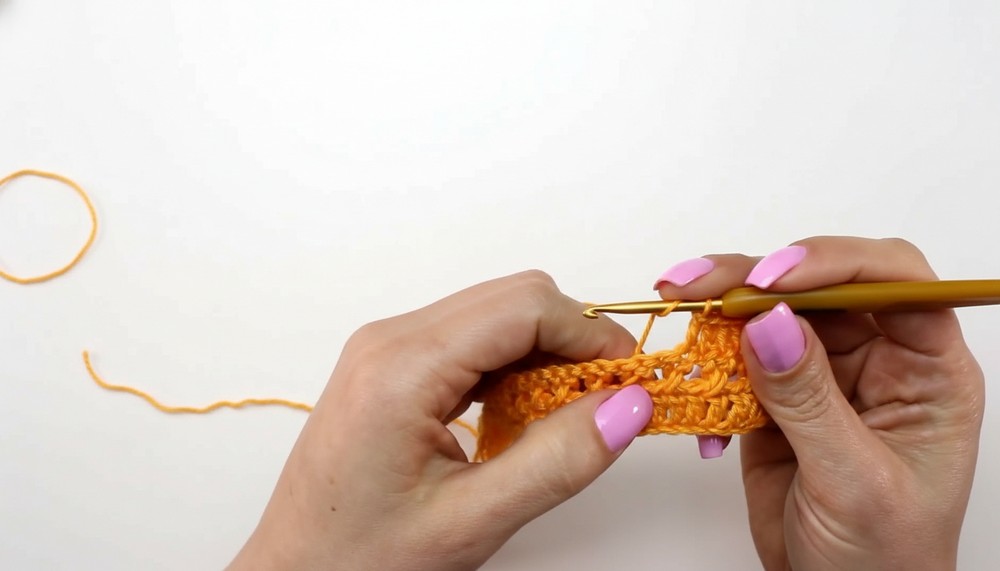
- Alternate Rows: Continue alternating these two rows (dc row, crossed dc row) until your piece measures 12 cm high (approx. 12 rows).
Armhole Shaping
- Begin Decreases:
- At the start of the next row, slip stitch to 4th st, start row there. At the end of the row, leave last 3 stitches unworked.
- Decrease Further:
- Next crossed dc row: Skip the first two, begin at third, cross as before. At end, work final cross using last four stitches and leave two unworked.
- Alternate dc and crossed dc rows, decreasing 2 stitches at each side as described above, until you’ve taken away about 7 cm (~6–7 rows).
- Work Even:
- Continue straight (no more decreases) until armhole section measures ~19 cm tall (or as preferred).
Back Neckline
- Shape Back Neck:
- When 4 cm remain for full back height, count stitches for the shoulder (e.g., 6 cm = ~13–14 sts per shoulder).
- Work each shoulder separately for 4 rows, leaving the central section unworked for the neckline.
Front Panel
- Repeat Above: Work as for the back until you are ready to decrease for the armhole.
Armhole & V-Neck Shaping
- Armhole Decrease: Work as at the back for 4 rows.
- Divide for Neckline: At 4 cm above the start of the armhole, divide the work into two halves for the V-neck.
- Shaping the Neck & Armhole:
- Armhole Side: Decrease as for back.
- Neck Side: At the end of each double crochet row, decrease 2–3 stitches at V-neck side by dc2tog over last 4 sts (see transcript for exact counting).
- Continue only neckline decreases after finishing armhole decreases.
- Work until shoulder section matches back (same number of stitches and rows).
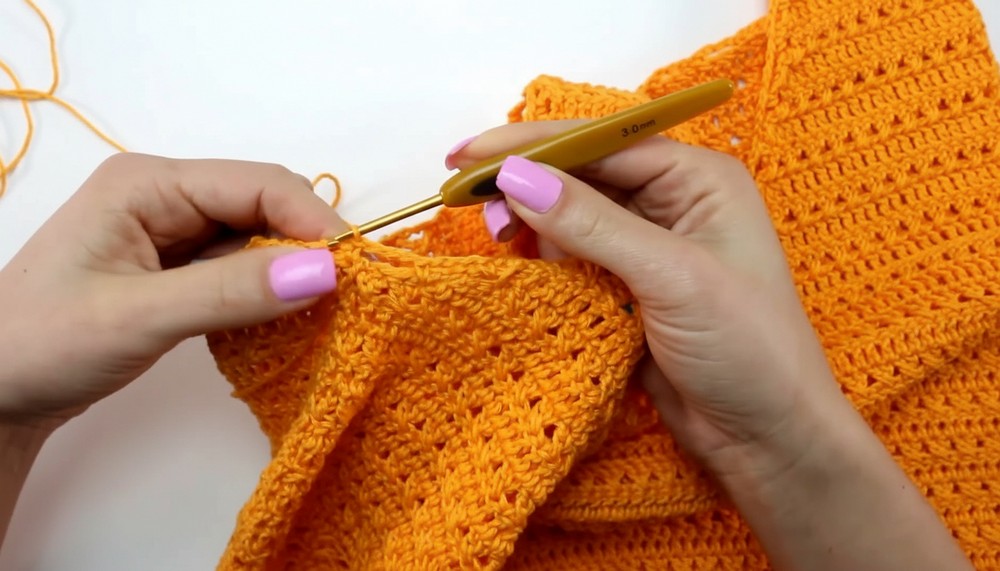
Repeat for Second Side of Front
- Join yarn at outer edge, work as for first side, reversing shaping.
Assembly
- Sew Shoulder Seams: With tapestry needle and matching yarn, sew tops of shoulders together.
- Sew Side Seams: Match side edges; use mattress stitch or whipstitch for neat seams. Line up rows so pattern is continuous.
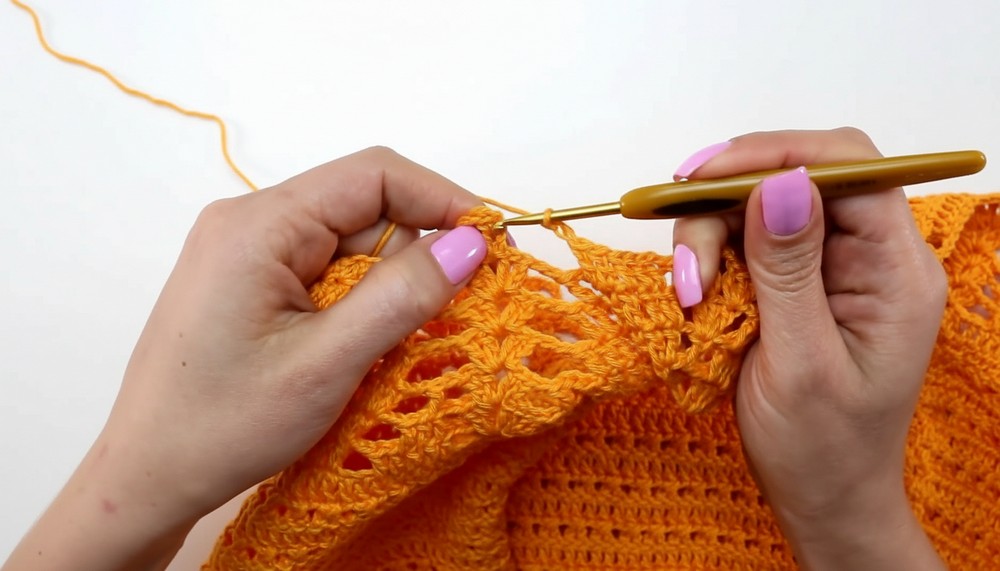
Bottom (Leaf Stitch) Hem
- Attach Yarn at Center Back:
- Work pattern in the round. (You’ll have a visible join at back center.)
- Row 1 (Leaf Stitch Pattern):
- (V-stitch, skip 3, 5 dc in next, skip 2, 3 dc in next 3, skip 2, 5 dc) Repeat across.
- Place V-stitch columns at even intervals. Adjust skips if necessary near side seams.
- Follow Leaf Stitch Rows as Described: Repeat specific increase/decrease and groupings per transcript for 8 unique rows, or repeat rows 3–8 for length as desired (in sample, 24 cm deep).
- Finishing Row:
- Work decorative edging using sc and picots as described.
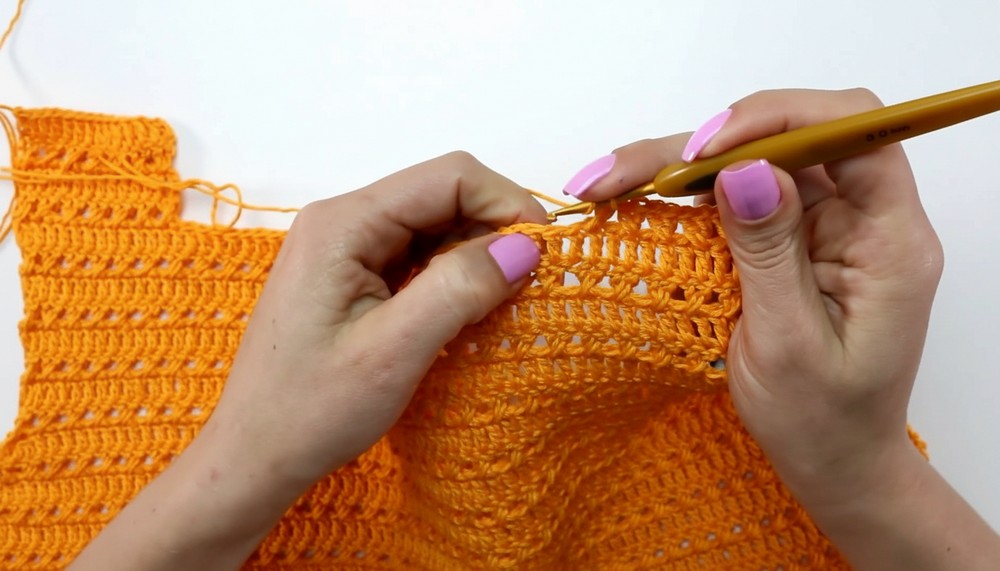
- Work decorative edging using sc and picots as described.
Neckline and Armhole Edging
- Attach Yarn at Back:
- Work 3-chain picot edging evenly around neckline and each armhole.
- (Chain 3, skip 2–3 sts, sc in next, repeat around.)
- Finish Off:
- Weave in all ends with tapestry needle.
- Weave in all ends with tapestry needle.
Tutor's Suggestions
- Check Gauge: Crocheted fabric stretches; check measurement against your body before and after blocking.
- Symmetry Is Key: Pay close attention to shaping instructions for V-neck and shoulders for a neat symmetrical finish.
- Adjust Length: Try on before sewing sides to customize cropped, regular, or tunic length.
- Use Markers: Mark beginning of rounds and key stitch groups for consistent patterns.
Uses
- Summer tops, vests, camisoles
- Beach cover-ups
- Dresses and cropped tops (simply adjust length)
- Layered looks for all seasons
Tip
Before you start sewing pieces together, block your crochet panels. This smooths edges, helps match up lengths, and gives a professional result!
Conclusion
You’ve now completed a unique and elegant crochet tank top with a beautiful leaf lace border and a perfect V-neck! Take a photo of your work to share and remember: with color and finishing customizations, this is a design you’ll want to make again and again.




Leave a Reply