
Snuggle into cozy style with this Free Crochet Arm Warmer Sweater Pattern and enjoy effortless warmth and creativity all season long.
A sweater that envelops you in both warmth and personality, this stylish garment brings sophistication to your cool-weather wardrobe. Its distinctive arm warmer feature provides extra coziness and an on-trend silhouette, ensuring you feel both comfortable and fashion-forward wherever you wear it. With a crochet arm warmer sweater pattern, you can enjoy intricate textures and vibrant color combinations that transform a classic pullover into a standout piece, perfect for any occasion.
Stunning Crochet Arm Warmer Sweater Pattern for Effortless Layers
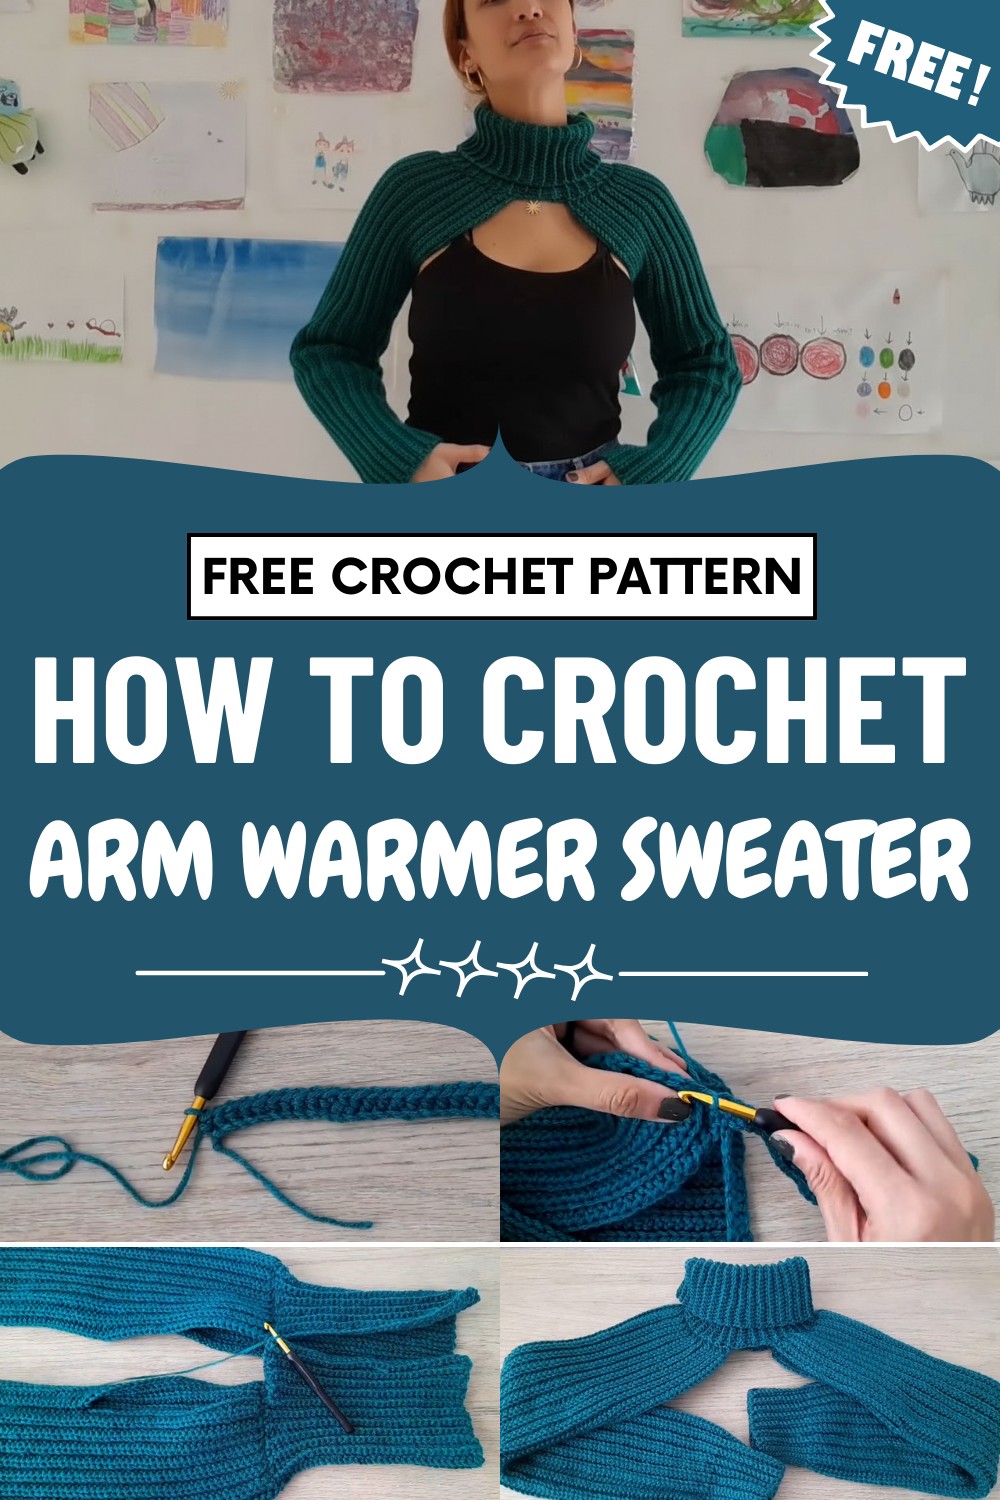
Layer it over dresses for an effortlessly chic ensemble, or pair it with your favorite denim for a relaxed yet polished look. The close-fitting sleeves offer both practicality and elegance, making it ideal for chilly evenings or whenever you crave a little extra comfort.
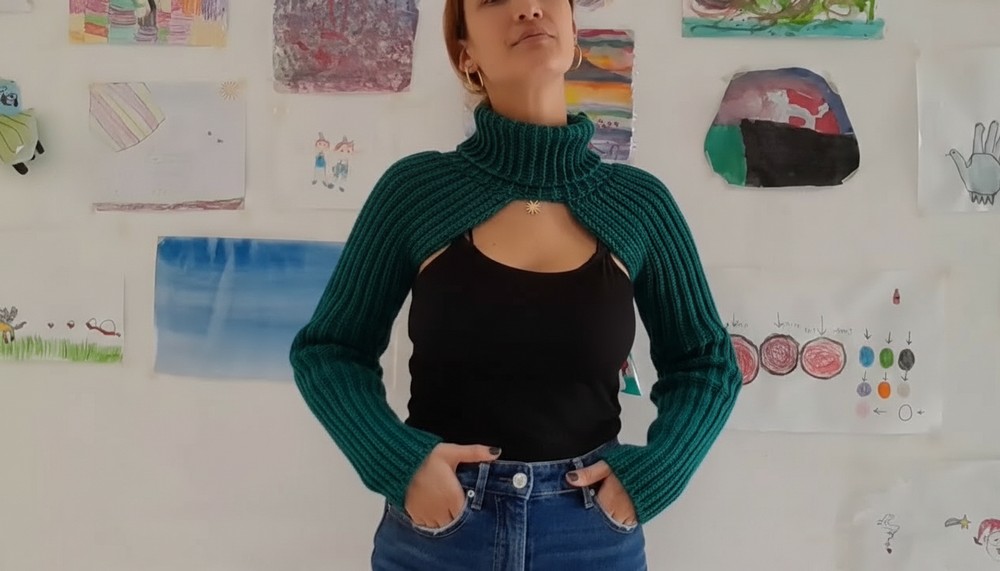
This approach allows for personalized touches through your choice of shades and finishing details, allowing your sweater to reflect individual style and versatility with timeless charm.
Features
- Warm, ribbed texture: Created by working into the back loop only.
- Flexible sizing: Easily adjust the number of chains and rows to fit your measurements.
- Beginner-friendly: Mostly repetitive stitches and clear transitions.
- Customizable: Adjust cuff length, sleeve width, and neck height.
- Useful: Ideal as a layering piece for chillier months.
Skill Level
Easy / Advanced Beginner:
You should know how to chain, single crochet, half double crochet, slip stitch, and work in the back loop only. No complex shaping is required.
Materials Needed
- Yarn: Worsted weight yarn suitable for a 4–5.5 mm crochet hook. The sample uses "With Love" from Swan Brand.
- Hook: 5.5 mm crochet hook (adjust size for tension/preferences).
- Scissors
- Stitch markers
- Yarn/tapestry needle (for sewing and weaving in ends)
Tutor's Suggestions
- Always measure on your own arm and neck for accuracy.
- Use stitch markers to help differentiate between stitch sections and rows.
- Stretch slip stitches gently so that the edge is not too tight when working cuffs and neck.
Step-by-Step Pattern
1. Making the Sleeve (Worked Flat)
a. Start With a Slip Knot and Foundation Chains
- Make a slip knot.
- Chain for Sleeve Length: Chain the length from where you want the sleeve cuff to begin to your shoulder, plus 4-5 cm (for extra room).
Sample size: 90 chains (adjust according to measurement).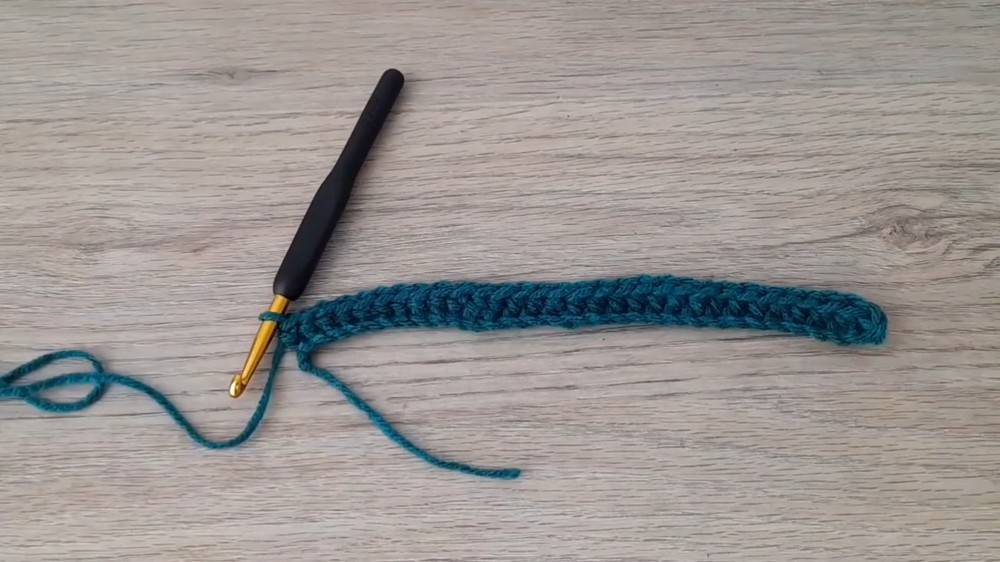
b. Row 1: Establish Stitches
- Sample: For this tutorial, a small sample uses 20 half double crochet (HDC) and 10 single crochet (SC).
- Full Sleeve Example: 76 HDC (sleeve part) + 14 SC (cuff part) per row.
- Chain 1 more for turning.
- In next chain from hook, start working SC for the cuff (front of sleeve).
- After finishing SCs for the cuff, switch to HDC for the remaining chains for the main sleeve portion.
c. Working in Rows: Create Ribbing
- Turn your work.
- Continue working back and forth, always working all stitches (both SC and HDC) into the back loop only for ribbed effect.
- Maintain the same number of stitches for cuff and sleeve sections each row.
- Use a stitch marker at the transition between SC and HDC to keep track.
- Repeat until the work can wrap fully (snugly) around your wrist.
Eg: 33 rows for the sample (try it on as you go).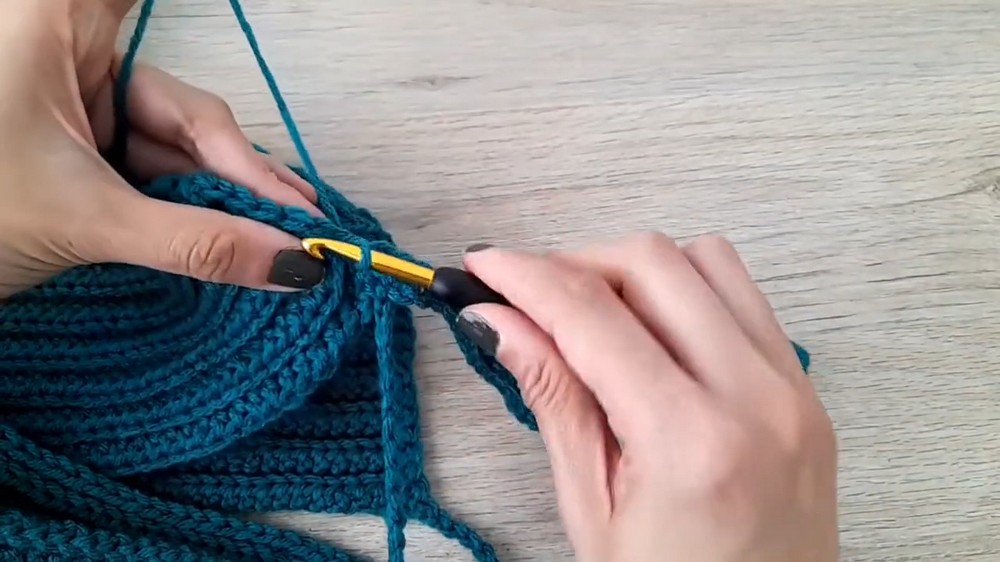
d. Adjust the Cuff (Fit to Arm)
- As sleeve lengthens, you may notice tightness up the arm.
- Tutor's suggestion:
- Continue HDC for the sleeve section.
- Switch to slip stitches (SL ST) instead of SC for the cuff portion to prevent the cuff from becoming too wide.
- Stretch slip stitch loops slightly so they are not too tight.
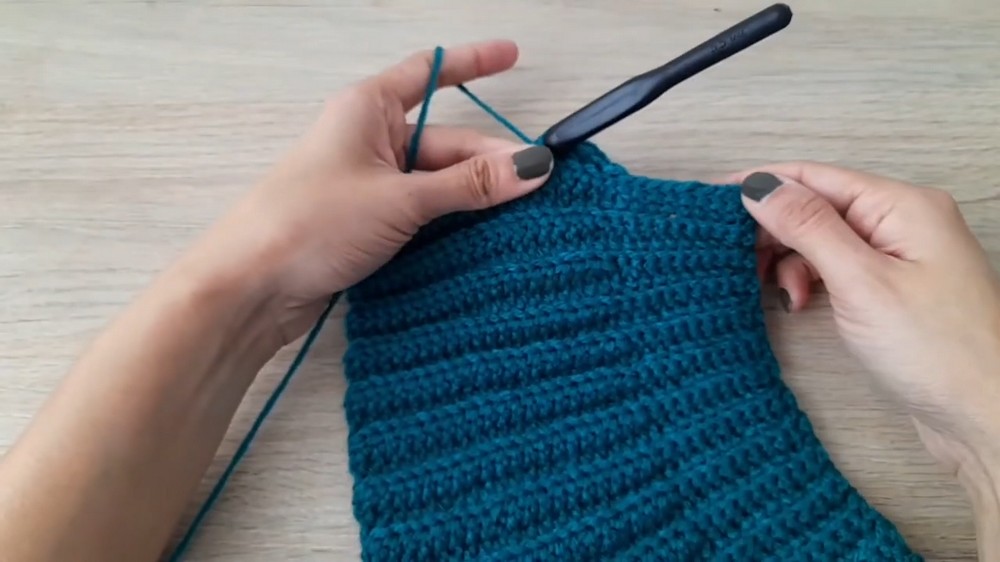
e. Join Sleeve Into a Tube (Leaving Armhole)
- Lay piece flat.
- Decide on the armhole opening: Leave unstitched at sleeve top for arm to pass through.
- Eg: Leave ~10 stitches at the top open for wrist; close the rest.
- For a larger sample: 60 stitches closed, 30 left open.
- Join the sleeve edges (using slip stitch or sewing) from bottom (cuff) up to the armhole opening.
- Repeat for the second sleeve.
2. Preparing to Join Sleeves and Form Neck
a. Add Edge Row to Sleeve Top
- Work single crochet stitches around the open edge at the top of each sleeve to tidy and prep for joining.
(Number of SCs = Number of rows you made on sleeve, e.g., 38).
b. Bridge Between Sleeves
- Chain 10 at the front to connect between the two sleeves’ tops.
- Join to the next sleeve’s top with SC, working SC evenly across.
- Chain 15 at the back for the neck gap, then join to the first sleeve to form a full round.
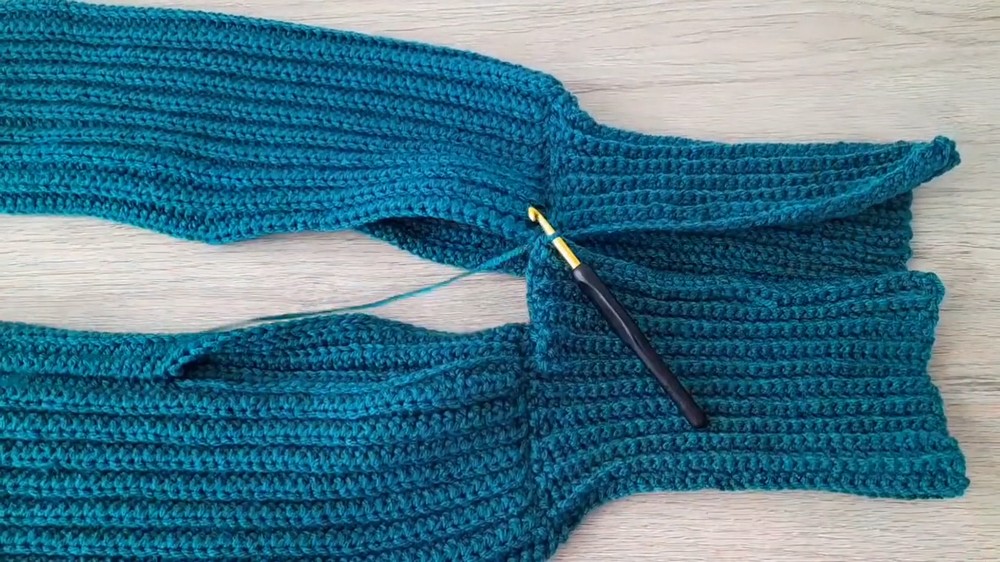
3. Constructing the Neck (Worked Flat; Joined in Round)
a. Chain Neck Height
- Chain 35 (for neck height; adjust as desired).
- SC in second chain from hook and across (34 SC).
- Join:
- Work a decrease across the next two SCs at the edge of the sleeve, simulating a decrease.
- Work a slip stitch into the next stitch on the sleeve.
- Chain 1 and turn.
b. Continue Working Neck Ribbing
- Work 34 SC back down (in BLO) to edge.
- Skip the simulation decrease and slip stitch stitches when turning.
c. Repeat for All Around the Neck
- Continue working rows (as many as the number of SCs made around the neck opening), with decreases at each side where you join to the sleeve or chain section.
- Work the neck ribbing into the chains at the front and back, also decreasing at the join.
- Repeat until completed all around the neck.
d. Join Neck Edge
- Fold the neck ribbing and join the starting and finishing edges with slip stitch or sewing, so it sits neatly, matching all the way around.
Final Steps
- Weave in all ends using a tapestry needle.
- Turn your work inside out if you want the seam less visible.
- Try on your collar with sleeves—enjoy the warmth and style!
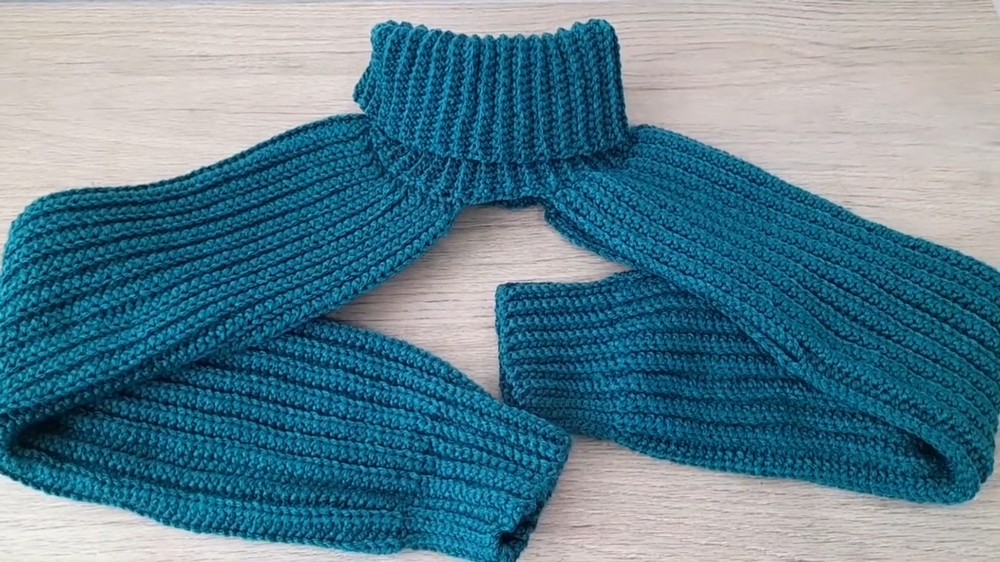
Conclusion
This collar with sleeves is a super cozy, functional accessory to protect you from the cold, and looks great layered over other clothes. It’s beginner-friendly, highly customizable, and offers a trendy ribbed texture. Adjust the length, width, and height to fit your style and comfort.
Usage Ideas
- Layer over a sweater or shirt for extra warmth.
- Use as a statement accessory with sleeveless tops or dresses.
- Make in various colors for different outfits.
Tip!
When working slip stitches in ribbing, always stretch the loop gently.
This avoids tight edges, making the finishing more comfortable and professional.




Leave a Reply