
Enjoy playful moments with this Crochet Bee Amigurumi Pattern while shaping an adorable buzzing friend perfect for gifts and cheerful décor.
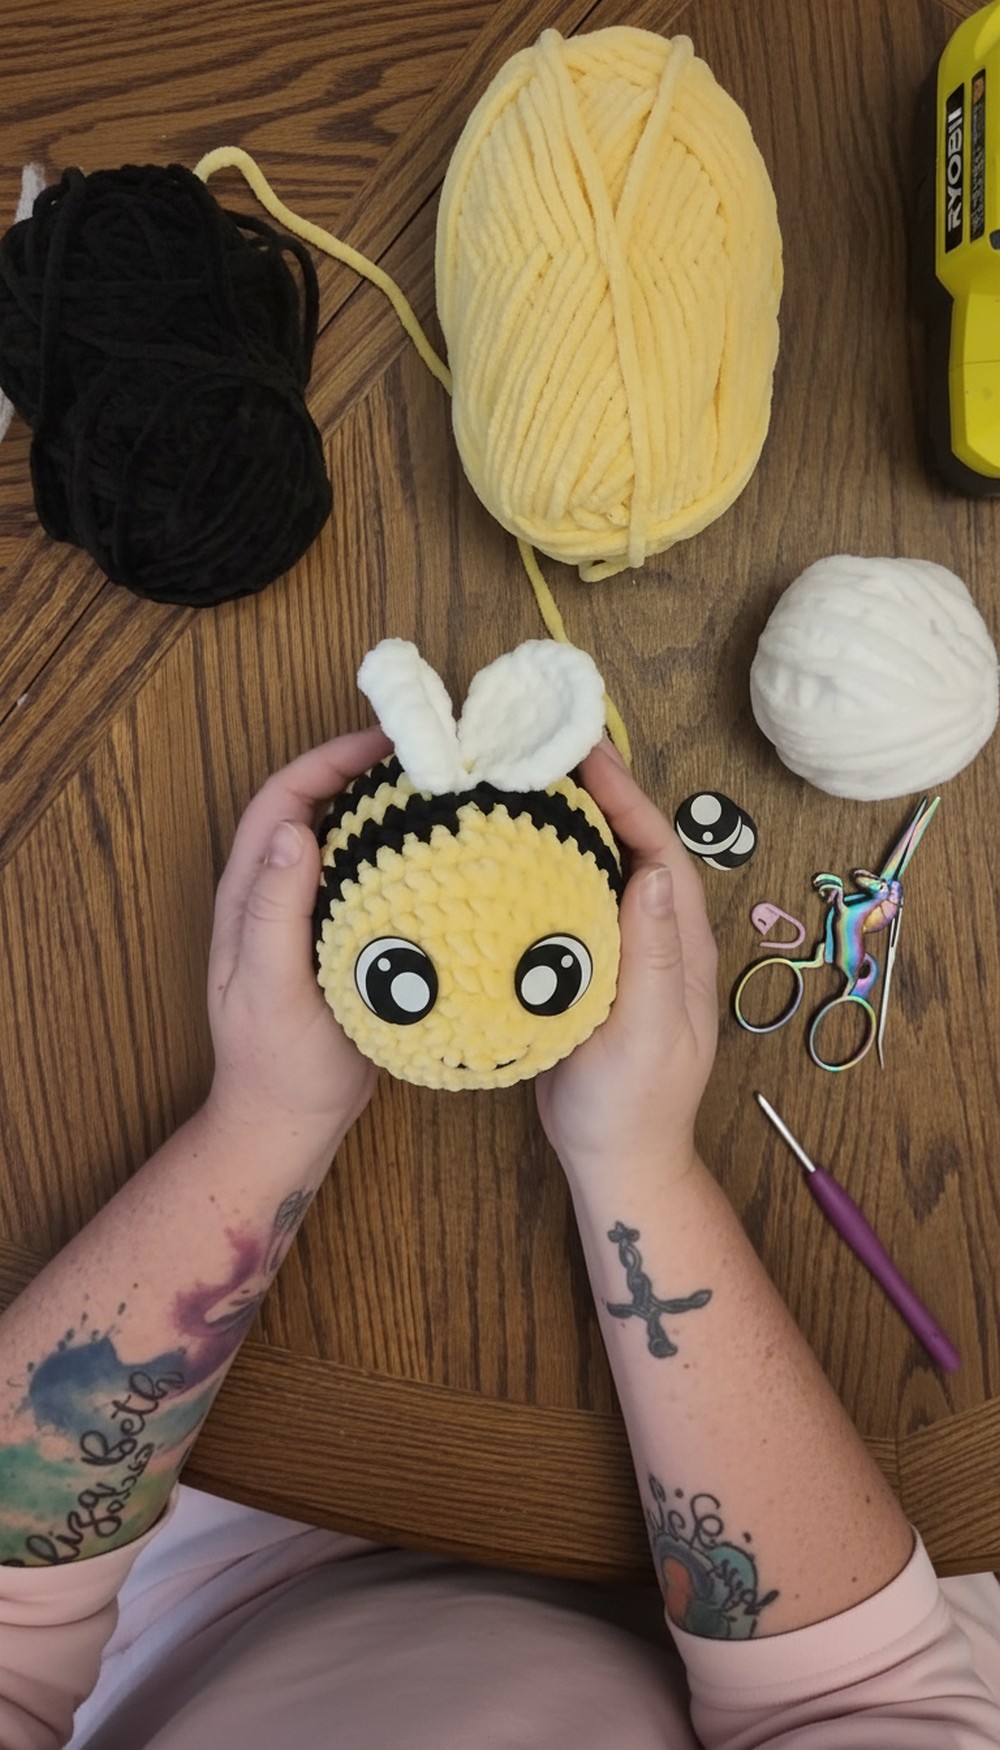
Looking for a delightful plush that’s both easy to make and sure to bring smiles? This cheerful bee plush, with its bright yellow stripes and friendly face, works beautifully as a playful companion or decorative accent for any space. Its rounded, squishy shape is perfect for little hands to hold, while the soft yarn gives a gentle, comforting feel. The Crochet Bee Amigurumi Pattern is beginner-friendly, so even those just starting with yarn projects can follow along with ease.
Realistic Crochet Bee Amigurumi Pattern with Stunning Details
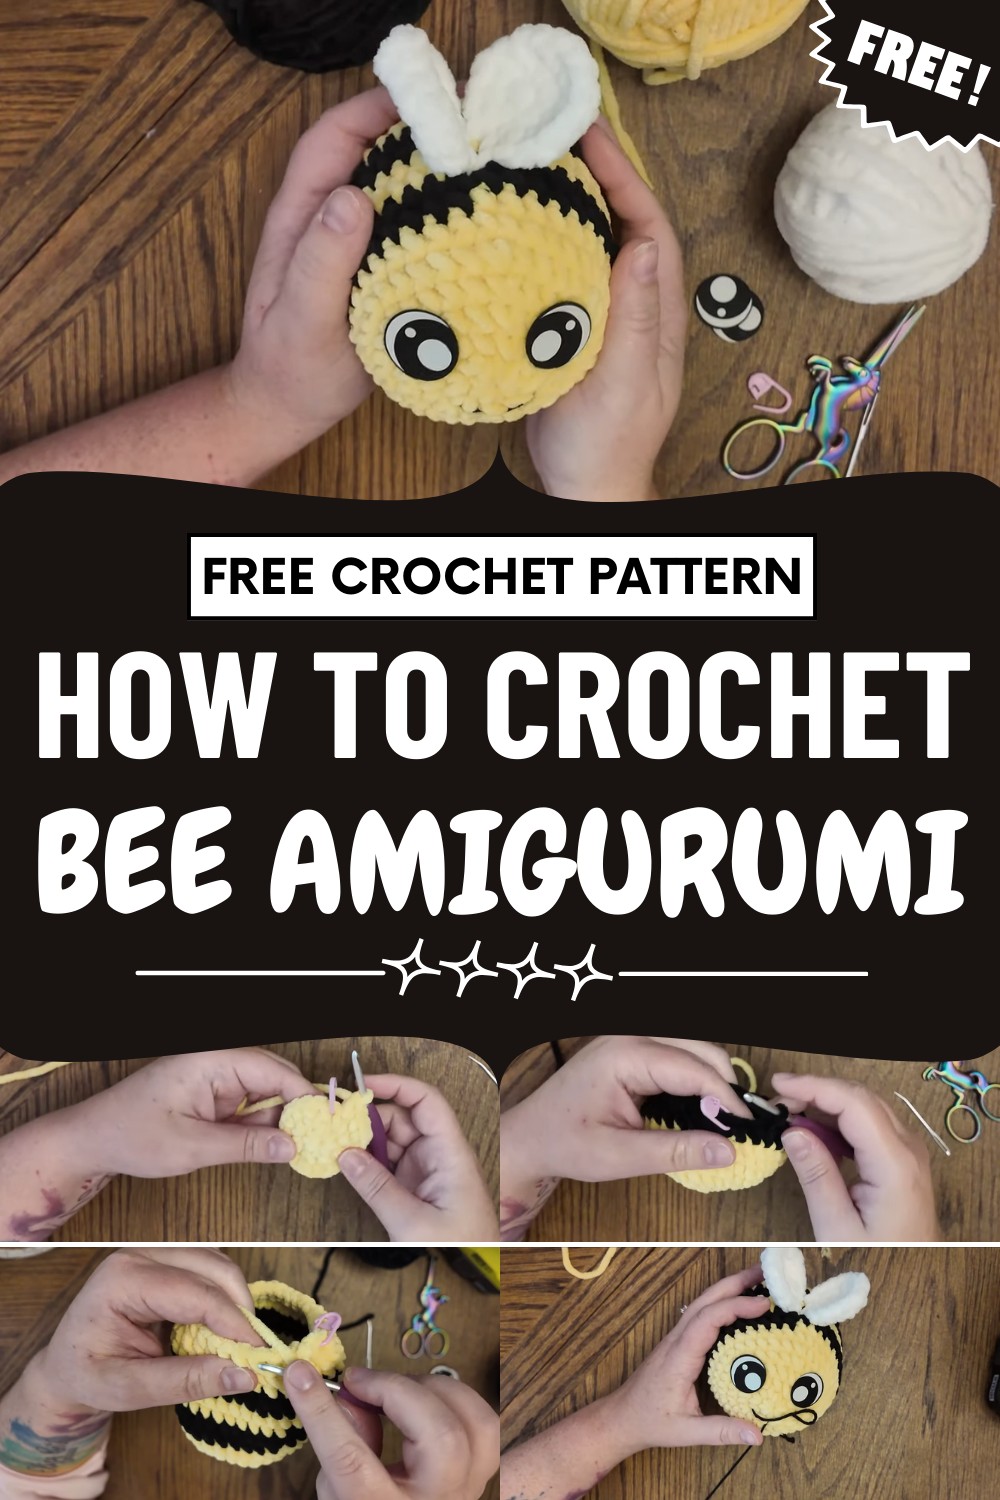
For younger children, felt eyes offer a safe alternative to plastic pieces, making the bee suitable for all ages. Customization is simple—adjust colors, add details like a ribbon or a tiny accessory, or change the size to suit your needs.
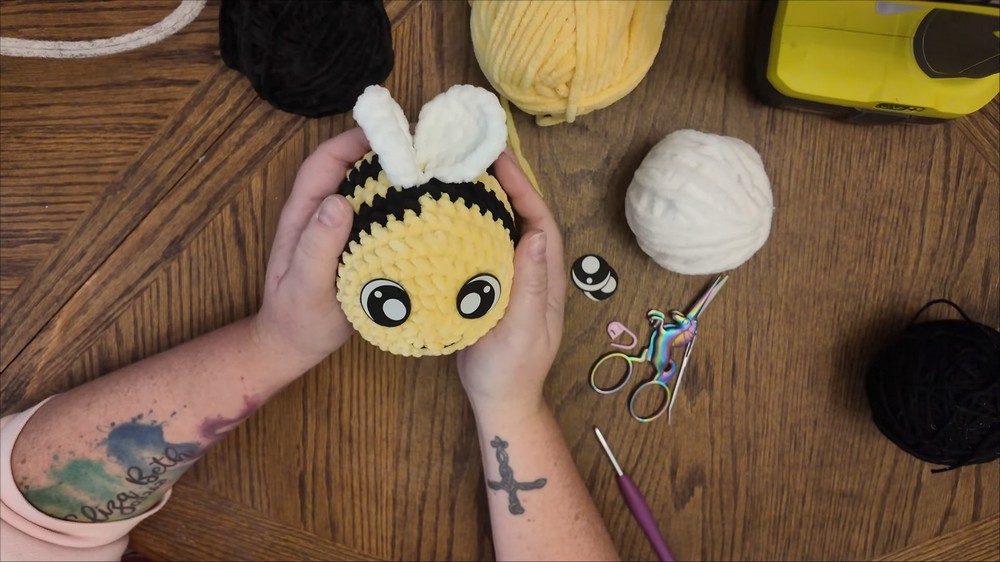
Whether it finds a home as a cute desk buddy, a thoughtful handmade gift, or a cozy bedtime friend, this bee plush spreads happiness wherever it goes, brightening days with its sweet and whimsical appearance.
Special Features
- Beginner-friendly: Clear instructions and basic stitches make it accessible for all levels.
- Chunky and squishy: Uses Parfait Chunky chenille yarn for an ultra-soft feel.
- No safety eyes needed: Felt eyes are glued on, making it safe for all ages.
- Minimal sewing: Main body is worked in the round; only wings are sewn.
- Perfect for markets and gifts.
Supplies Needed
- Parfait Chunky yarn in Sunshine (yellow), Black, and White
- Worsted weight yarn in Black (for mouth)
- 4mm crochet hook
- Felt eyes (handmade or purchased)
- Hot glue gun
- Stuffing
- Scissors
- Yarn needle
- Stitch marker
Bee Body
1. Start with Yellow Yarn:
- Make a magic ring.
- Work 8 single crochets (sc) into the ring.
- Pull tail to close the ring.
2. First Round of Increases:
- Work 8 increases (2 sc per stitch) around (16 sts).
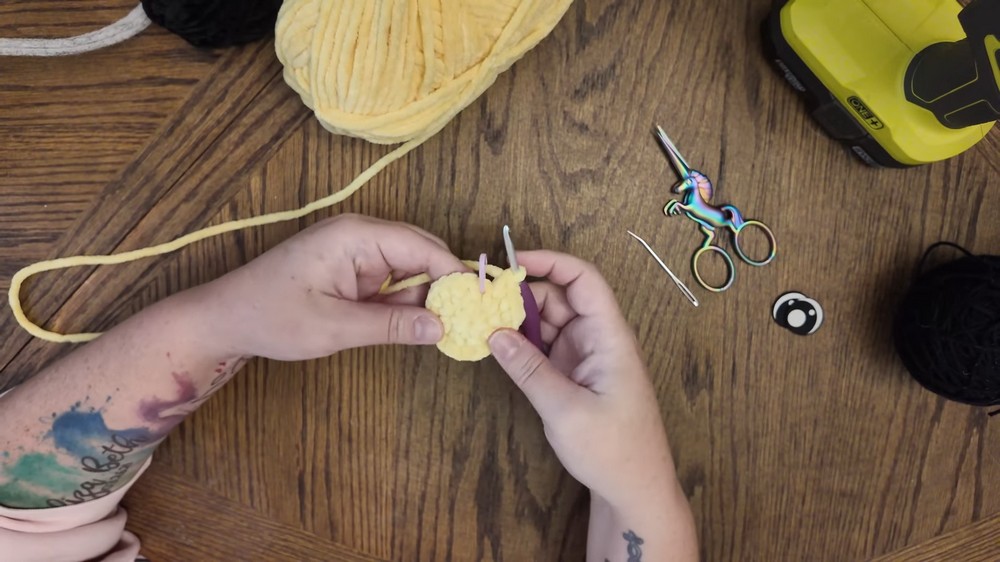
3. Next Round:
- [1 sc, increase] around (24 sts).
- Place a stitch marker at the start of each round.
4. Next Increase Row:
- [3 sc, increase] around (30 sts).
5. Last Row of Increases:
- [4 sc, increase] around (36 sts).
6. Work Even:
- Crochet 2 rounds of 36 sc each.
Stripe Color Changes
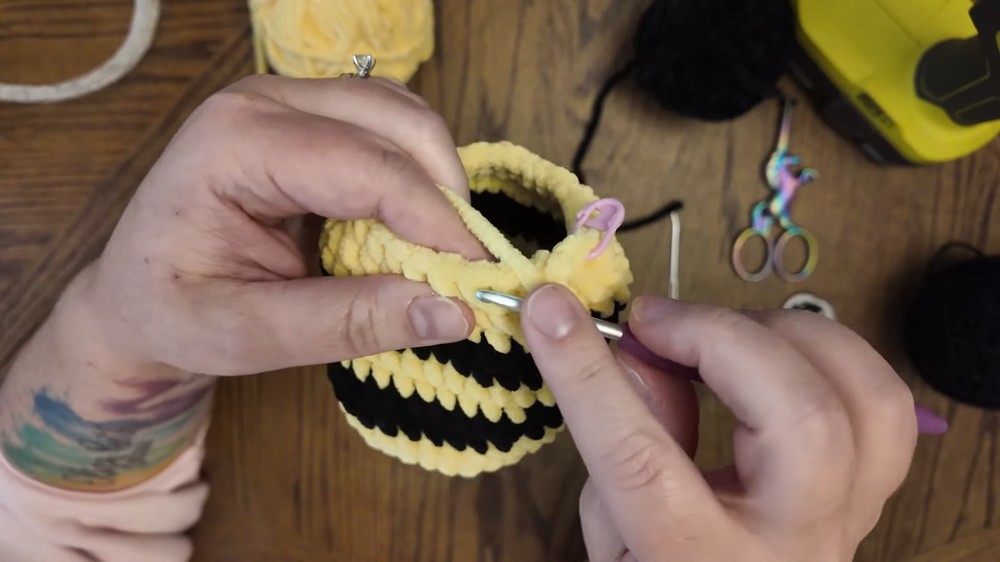
7. Switch to Black:
- On last stitch of yellow, change to black chenille yarn.
- Leave a tail for security.
- Work 2 rounds with black (do not cut yellow; carry inside).
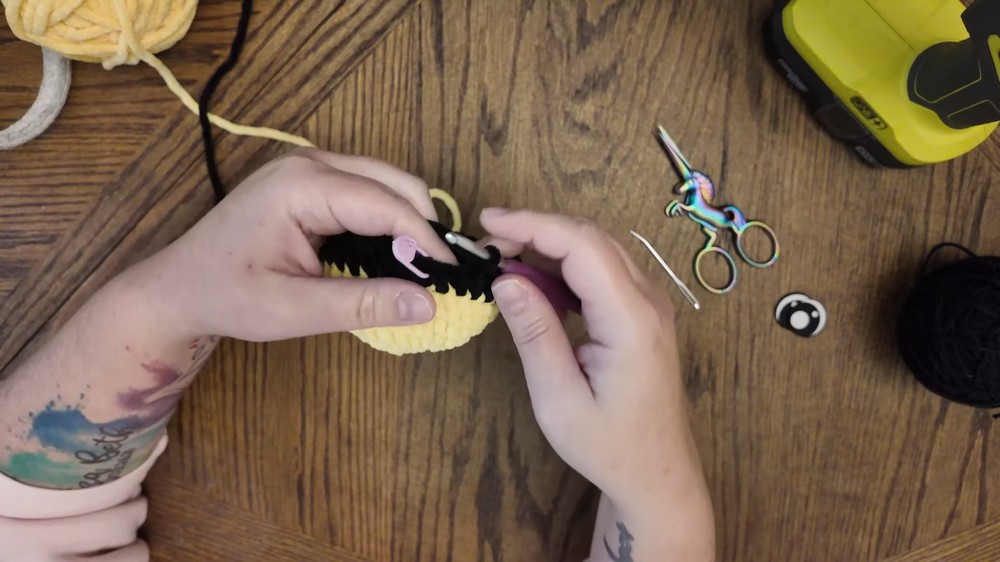
Tutor’s Tip:
If you struggle to see black stitches, work under a lamp or strong light.
8. Switch Back to Yellow:
- Pull yellow through last stitch to change color.
- Work 2 rounds in yellow.
9. Repeat:
- Switch to black, do 2 rounds.
- Last time, switch to yellow for 2 final rounds (cut and secure all ends inside).
Shaping and Closing
10. Start Decreases:
- [4 sc, decrease] around (30 sts).
- [3 sc, decrease] around (24 sts).
11. Start Stuffing:
- Gently add stuffing, don’t overstuff or under-stuff for best shape.
12. Final Shaping:
- [1 sc, decrease] around (16 sts).
- Add more stuffing if needed.
- 8 decreases (8 sts).
13. Close:
- Cut a tail.
- Use yarn needle to thread through front loops of remaining stitches.
- Pull to close.
- To fasten off, insert needle back through body, knot, and weave in yarn.
Wings (Make 2)
1. With White Yarn:
- Make a magic ring.
- Work 8 half double crochet (hdc) into ring (place marker in first stitch).
2. Increases:
- 8 hdc increases (2 hdc in each) around (16 sts).
- Hide the starting tail inside your stitches as you go.
3. Finish & Attach:
- Cut a tail long enough for sewing.
- Sl st to finish, pull through.
- Make a second wing.
4. Sew On:
- Attach wings on top of the bee’s body, covering any color changes.
- Knot off and weave in ends inside the bee for security.
Face Details
1. Attach Felt Eyes:
- Use hot glue to secure felt eyes to front of head, a few rows from center.
2. Add a Smile:
- Thread a short piece of black worsted yarn on your needle.
- Stitch a smile between the eyes. Use the yarn to shape a gentle curve and tack into place from the inside.
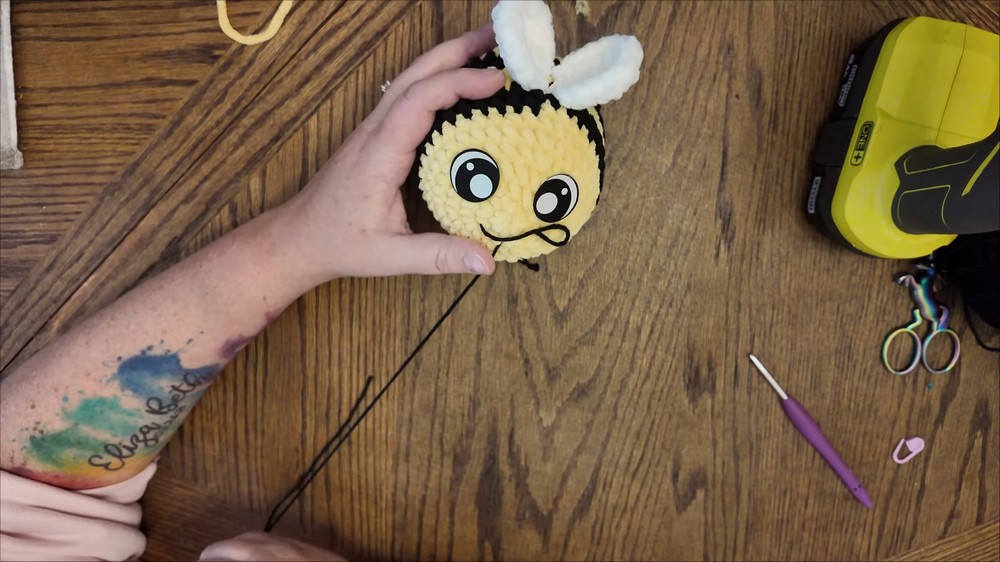
- Knot and hide ends.
Difficulty Level
Beginner. If you know basic stitches (magic ring, single crochet, half double crochet, increase/decrease), you’re set!
Tutor’s Suggestions & Uses
- This bee is perfect for selling at markets, gifting to kids, or as cute nursery decor.
- Use a lightweight yarn for a smaller bee, or super bulky for an XL plush!
- Felt eyes are kid-safe, making it suitable for all ages.
Tip for Success
Lighting is your best friend! When using dark yarn like black, have a lamp or light source handy to help see your stitches clearly.
Conclusion
Now you have a bumblebee that’s as sweet as honey! This project is fast, fun, and highly giftable. Enjoy your new crochet companion—or make a hive full! Don’t forget to experiment with color and expressions for even more cuteness.




Leave a Reply