
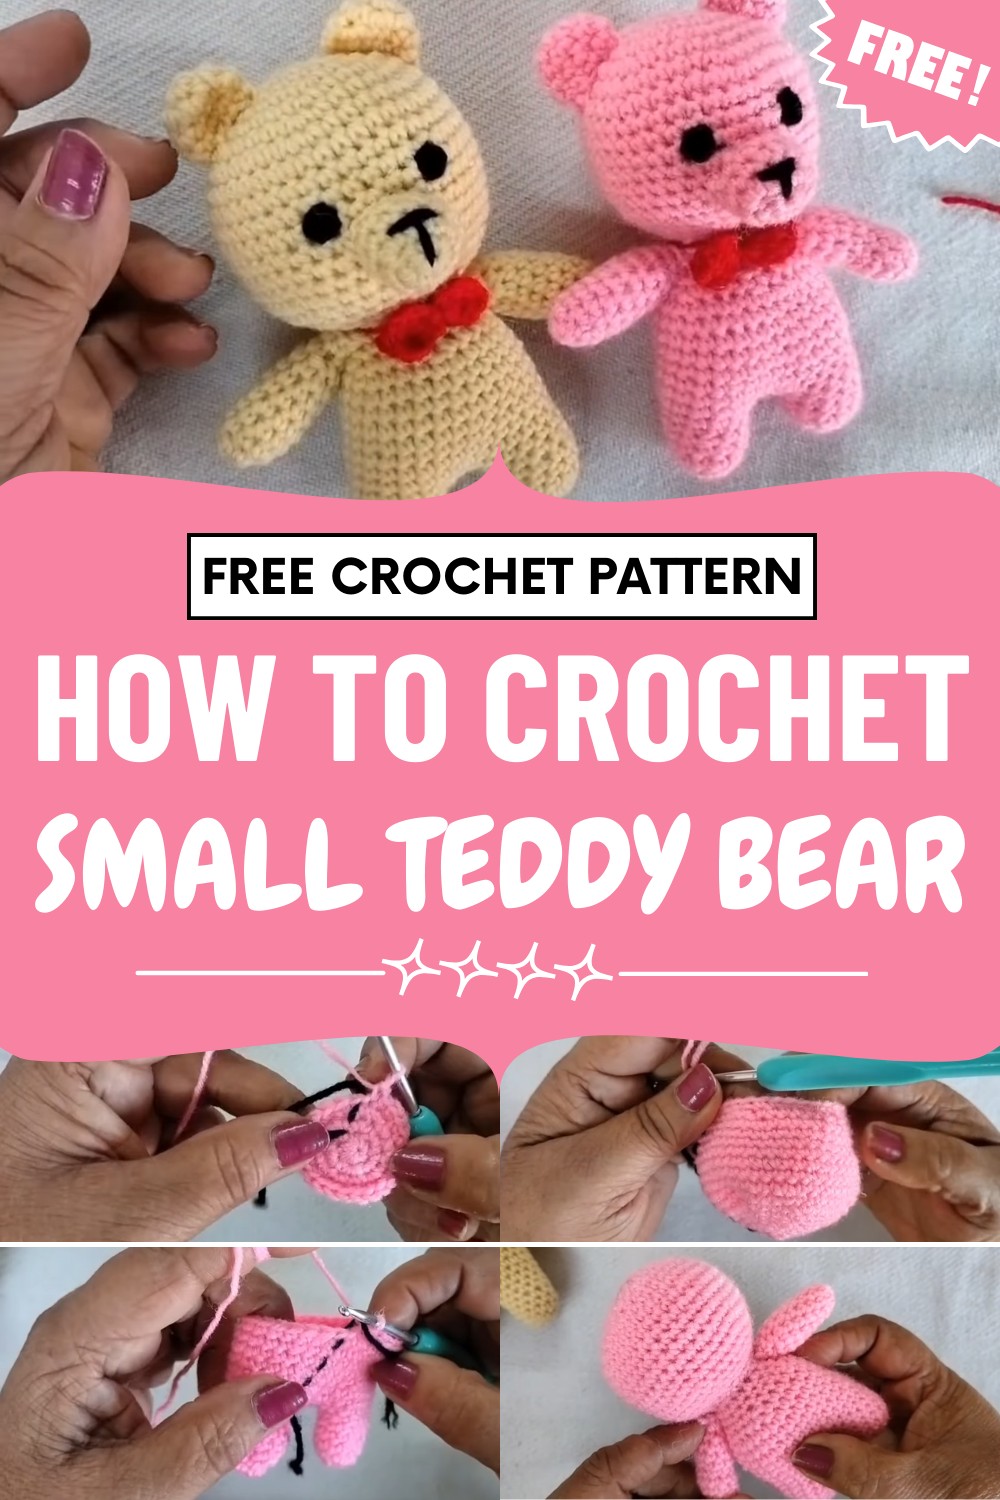
Stitch your way to cuteness and fun with this Free Crochet Teddy Bear Pattern—perfect for heartfelt gifts, cozy décor, and memorable moments.
Infusing affection and creativity into every stitch the crochet teddy bear pattern allows crafters to make a plush companion that is both heartwarming and functional. Its versatility makes it perfect for thoughtful gifts, charming nursery décor, comforting toys, or sentimental keepsakes that delight people of all ages. Each bear can be easily personalized with unique color choices and accessories, ensuring that every creation is truly one-of-a-kind.
Charming Crochet Teddy Bear Pattern Must-Haves for Handmade Joy
As you work through the pattern, you’ll find that the process encourages relaxation and nurtures your crochet skills, making it enjoyable for beginners and experienced makers alike.
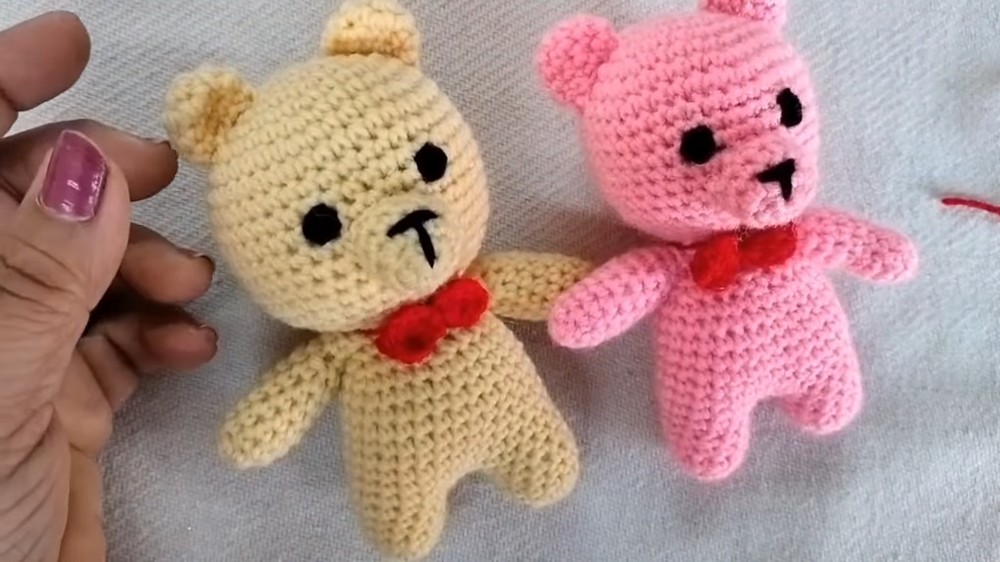
The finished teddy bear features a huggable form, expressive face, and irresistible softness that capture the essence of handmade artistry. Whether presented as a special gift or cherished as a cozy addition to home décor, this pattern brings warmth, joy, and a touch of whimsical charm to any setting.
Special Features
- Expressive face and stitched eyes
- Movable arms and legs for hugging
- Mini bow that can also be used as a hairpin or on garments
Skill Level
Beginner-friendly: The instructions use basic stitches and techniques like single crochet, increasing, decreasing, and magic ring.
Tutor's Suggestions and Uses
- Make it for children, as a gift, or for baby nurseries.
- Sell online or at craft fairs for extra income.
- The pattern encourages you to use your favorite colors and customize expressions.
Materials Needed
- Four-ply acrylic yarn (3 colors: main body, for bow, for eyes)
- 3mm crochet hook
- Yarn needle
- Scissors
- Stitch markers
- Stuffing fiber (polyfill)
Step-by-Step Pattern
1. Head
- Make a magic ring, crochet 6 single crochets (sc) into the ring.
- Pull the ring tight, join with a slip stitch (sl st).
- Round Increases:
- R2: 2 sc in each st (12 sts).
- R3: (2 sc in next st, 1 sc) around (18 sts).
- R4: (2 sc in next st, 1 sc in next 2 sts) around (24 sts).
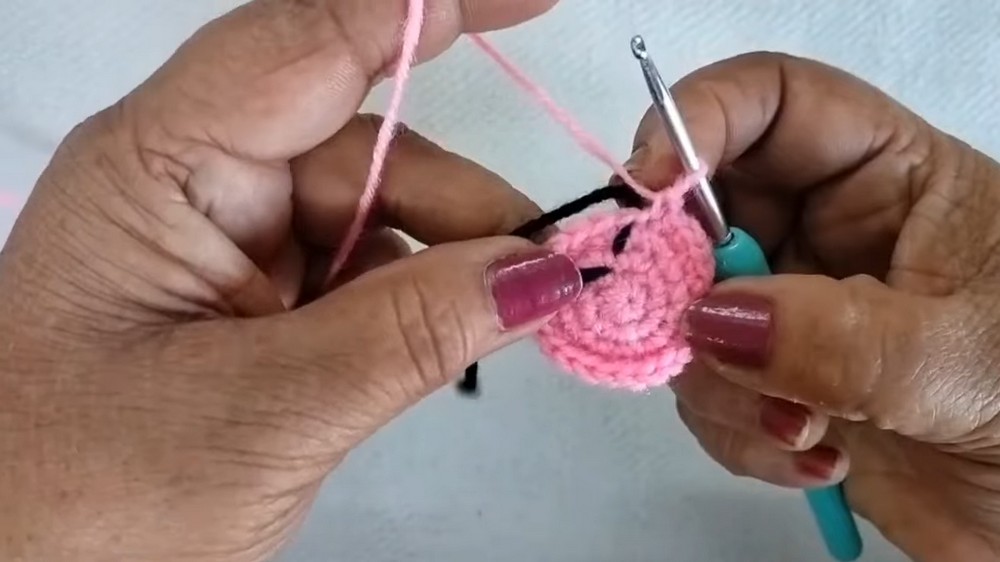
- R5: (2 sc in next st, 1 sc in next 3 sts) around (30 sts).
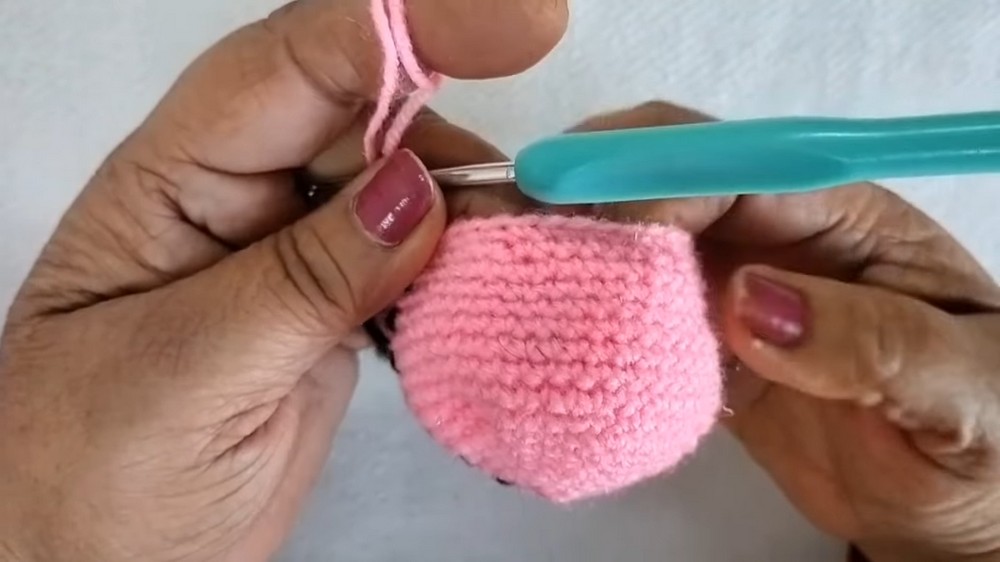
- R6: (2 sc in next st, 1 sc in next 4 sts) around (36 sts).
- R7: (2 sc in next st, 1 sc in next 5 sts) around (42 sts).
- R8–R15: sc in each st (42 sts/8 rows).
- Start Shaping:
- R16: (decrease, sc in next 5 sts) around (36 sts).
- R17: (decrease, sc in next 4 sts) around (30 sts).
- R18: (decrease, sc in next 3 sts) around (24 sts).
- R19: (decrease, sc in next 2 sts) around (18 sts).
- Finish off, leave a yarn tail for sewing.
2. Arms (Make 2)
- Magic ring, 5 sc in ring.
- Pull tight, join with sl st.
- R2: 2 sc in each st (10 sts).
- R3–R8: sc in each st (10 sts/6 rows).
- R9: (decrease, sc in 4 sts) twice (8 sts).
- R10: sc in each st (8 sts).
- Finish off, leave yarn tail for sewing.
3. Ears & Muzzle (Make 3 pieces: 2 ears, 1 muzzle)
- Magic ring, 6 sc in ring.
- R2: 2 sc in each st (12 sts).
- R3–R4: sc in each st (12 sts/2 rows).
- Finish off, leave tail for sewing.
4. Legs (Make 2)
- Magic ring, 6 sc in ring.
- R2: 2 sc in each st (12 sts).
- R3–R6: sc in each st (12 sts/4 rows).
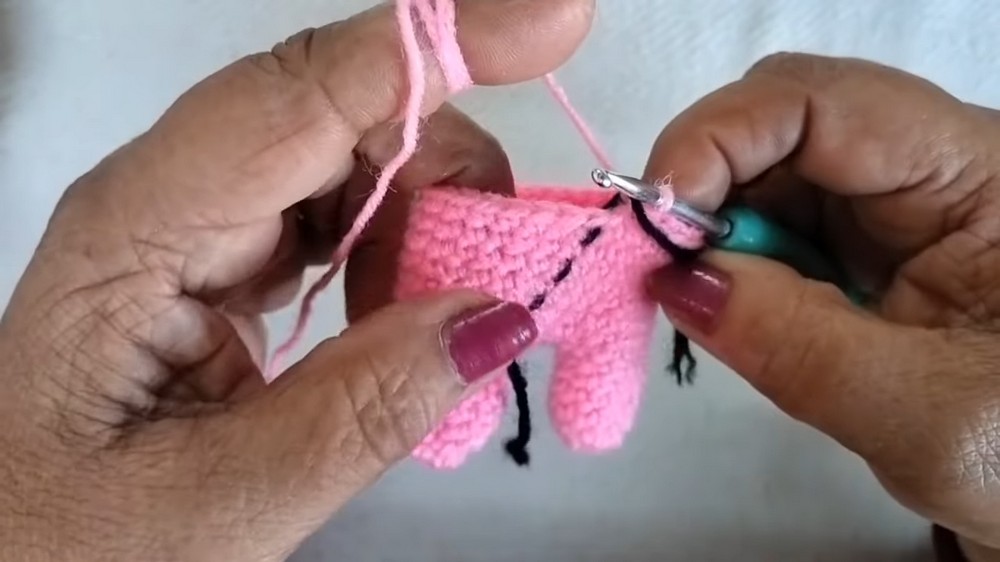
- Join with sl st, finish off first leg. Do not cut yarn after the second leg.
5. Body
- Attach yarn to first leg and sc around (12 sts).
- Chain 3, join to second leg, sc around (12 sts), sc in each chain across (3 each side), forming a round (30 sts).
- R2–R15: sc in each st (30 sts/14 rows).
- R16: (decrease, sc in next 3 sts) around (24 sts).
- R17: (decrease, sc in next 2 sts) around (18 sts).
- R18–R23: sc in each st (18 sts).
- Finish off, leave tail for sewing.
6. Bow
- Make a magic ring, chain 3.
- Make 3 double crochets (dc), chain 1, 3 dc, join with slip stitch.
- Repeat one more petal (chain 3, 3 dc, ch 1, 3 dc, sl st).
- Finish off, cinch the ring, wrap the yarn around the center to form the bow shape.
- Attach to teddy’s neck.
7. Assembly
- Stuff all parts firmly.
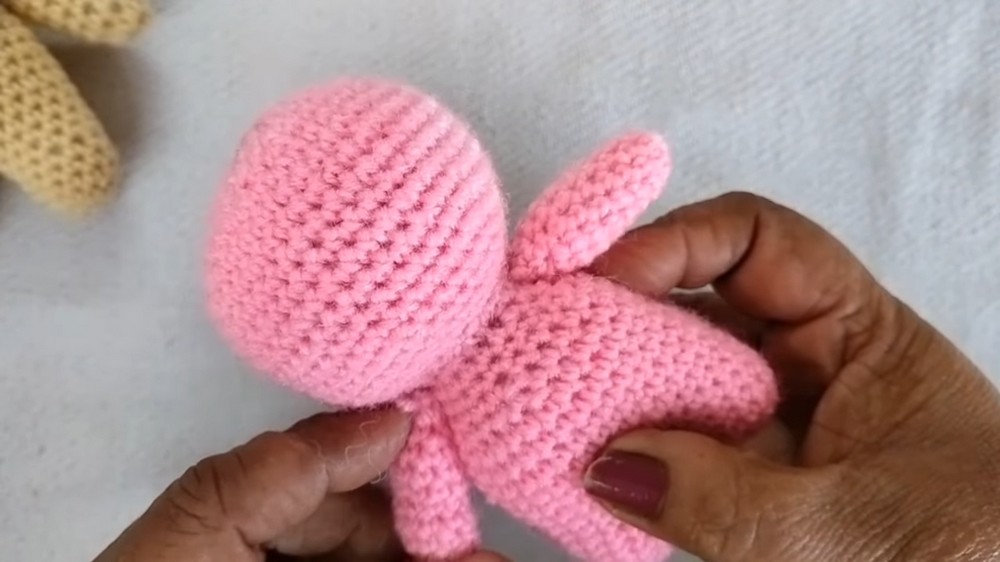
- Sew head to body, arms to sides, legs (if separate) to base.
- Attach ears and muzzle to the head.
- Sew on the bow.
- Embroider eyes and a nose using black yarn/thread.
- Add a simple mouth and optional moustache as shown in the video.
Tip:
Use a stitch marker at the start of each round to keep track. Secure all knots tightly and weave in ends for a neat finish.
Conclusion
This easy and fun teddy bear pattern transforms simple stitches into a lovable companion. Personalize with different colors, accessories, or facial details. Enjoy the process and share your handiwork—it’s perfect for beginners and brings smiles to all ages!




Leave a Reply