
Jump into a bubbly and happy new task right now with this Crochet Mini Whale Pattern to build a tiny and sweet sea buddy that cheers everyone.
Finding a small and cuddly ocean buddy brings a giant splash of joy to your workspace or a child's bedroom. This charming Crochet Mini Whale Pattern helps you shape a plump and smooth little body that feels very squishy and fits perfectly in the palm of your hand. Because it is so tiny and fast to finish it makes a wonderful quick gift for a friend or a sweet surprise for a school student.
Magical Crochet Mini Whale Pattern That Turns Every Day Cute
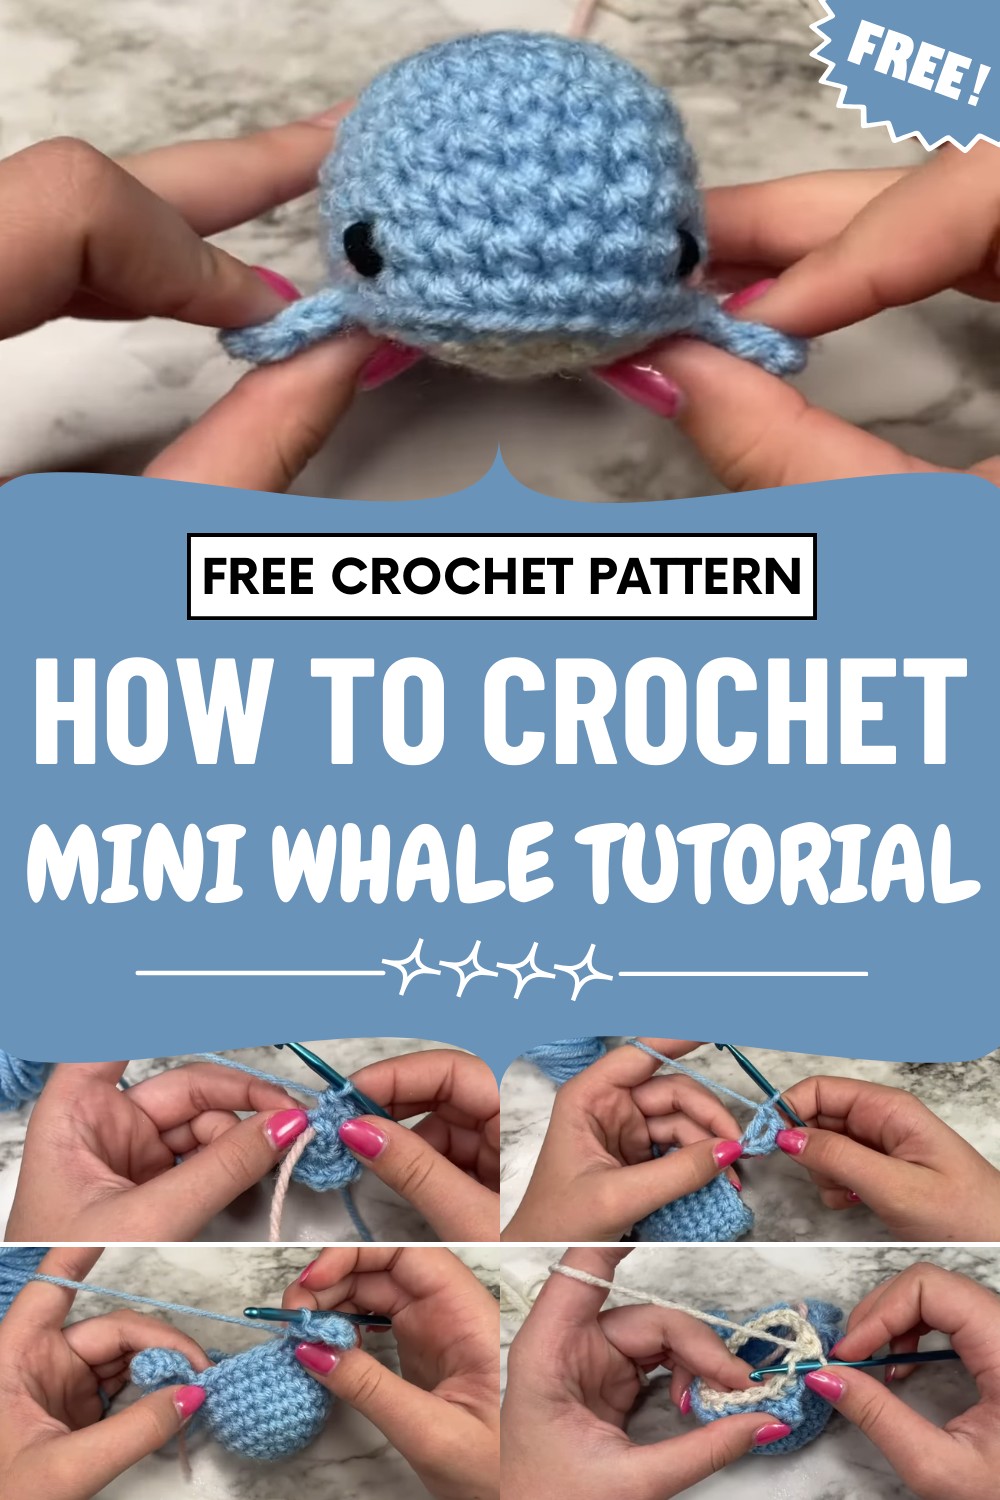
You can clip it onto a set of keys or let it sit on a windowsill as a peaceful piece of decor. Twirling the yarn into these soft curves is a very calming way to spend your quiet time and feel happy. This Crochet Mini Whale Pattern is a smart way to turn leftover bits of blue or white string into a valuable and cute treasure.
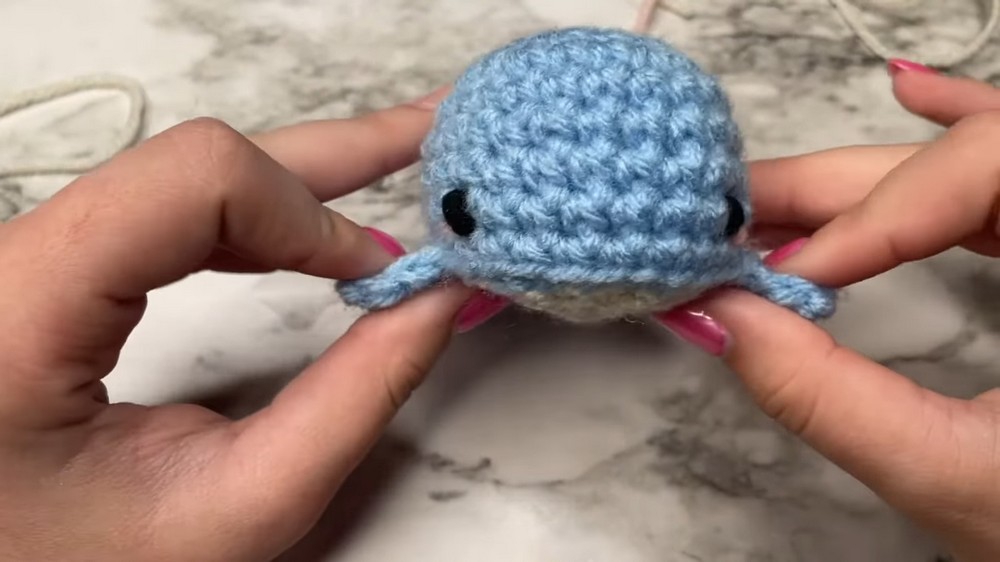
The final appearance is very neat and professional which makes every tiny detail look high-end and special. It is a lovely way to feel relaxed and bring a bit of sea magic to your day.
Special Features
- True no-sew design: Fins and tail are crocheted directly onto the body for seamless finishing.
- Quick & easy: Complete the project in under 20 minutes.
- Beginner friendly: Uses only basic stitches and techniques.
- Customizable: Easily adjust size, colors, and facial expressions.
- Minimal sewing: Just add facial details at the end (or use safety eyes for total no-sew).
Difficulty Level
Beginner.
If you’re new to crochet, this is a great introduction to amigurumi. The only slightly advanced techniques are the magic ring and simple decreases (all explained in detail).
Tutor’s Suggestions
- Use a stitch marker or a contrasting strand of yarn to keep track of rounds.
- Stuff firmly for a plump shape, but don't overstuff or you'll have trouble closing.
- If you struggle with the magic ring, try chaining 2 and crocheting into the first chain as a beginner alternative.
- If you have safety eyes, use those instead of embroidering for a fully no-sew project.
Suggested Uses
- Market/bazaar stock
- Gifts for children or friends
- Keychains (just add a split ring!)
- Desk buddy or shelf decoration
- Party favors
Materials
- Yarn: Blue (body), white/cream (belly), small amount pink (optional for blush), and black (for eyes).
- Hook: Sized to match your yarn (commonly 3.5–4 mm for medium weight).
- Stuffing: Polyfil or yarn scraps.
- Yarn needle: For sewing eyes/blush and closing the belly.
- Stitch marker: Or scrap yarn.
- Scissors.
Step-By-Step Pattern
Body
1. Make a Magic Ring:
Wrap yarn twice around your fingers. Insert your hook under the first loop, grab the second, and pull through. Pinch to hold your ring.
2. Chain 2.
3. Round 1:
Work 6 single crochet (sc) into the ring. (6)
- Pull tail to close the ring.
4. Place a stitch marker at the start of the next round and move it up each round.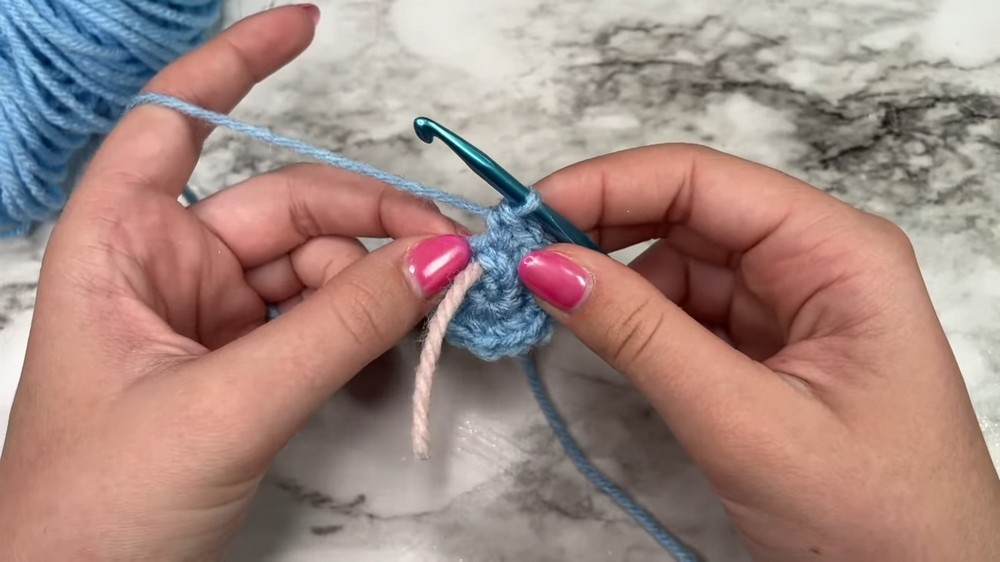
5. Round 2:
Increase in every stitch (2 sc in each).
- [12 stitches]
6. Round 3:
(1 increase, 1 sc) repeat around (i.e., 2 sc in first st, 1 sc in next st), continue to end.
- [18 stitches]
7. Round 4:
(1 increase, 1 sc in next two stitches) repeat around.
- [24 stitches]
8. Rounds 5-8:
1 sc in each stitch around. Work for 4 rounds.
- The work may start to curl—just push it to right side out (tail inside).
Tail and Fins
9. Tail (Begin in next round after body):
- In first stitch, make a slip stitch (sl st) in the front loop only.
- Chain 6.
- In the third chain from hook: 1 double crochet (dc).
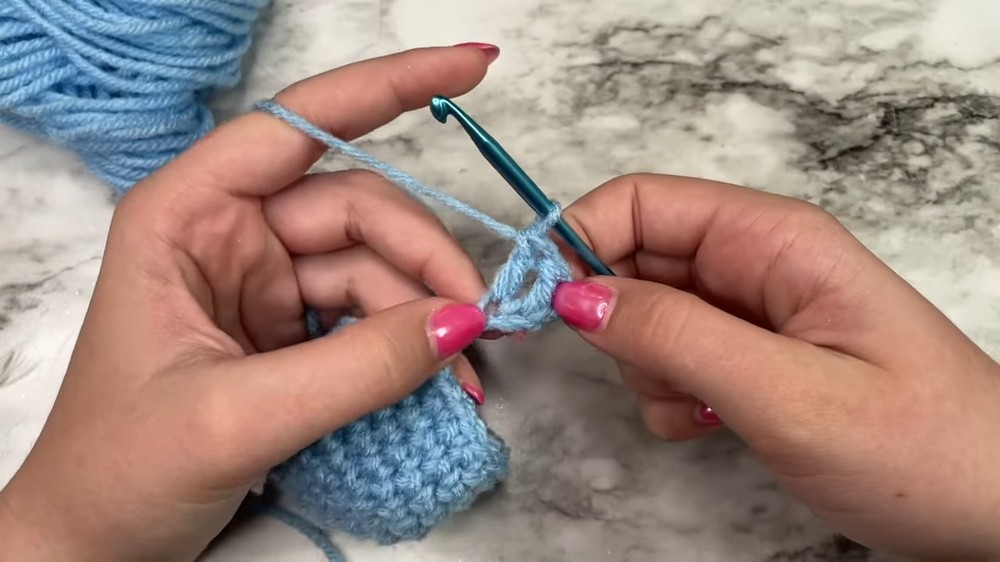
- In next chain: 1 dc.
- In next chain: 1 half double crochet (hdc).
- In last chain: 1 sc. This completes one tail lobe.
- In the same front loop on the body, sl st again.
- Chain 6 and repeat the sequence above for the second tail lobe (dc, dc, hdc, sc starting from 3rd ch from hook).
- Sl st in same front loop to finish.
10. Five sc across next stitches (body, after tail).
11. Fin #1:
Sl st in front loop only, chain 4.
- In 3rd chain from hook: 1 dc
- In last chain: 1 hdc
- Sl st back to same stitch on body.
12. 11 sc across next stitches (body, after first fin).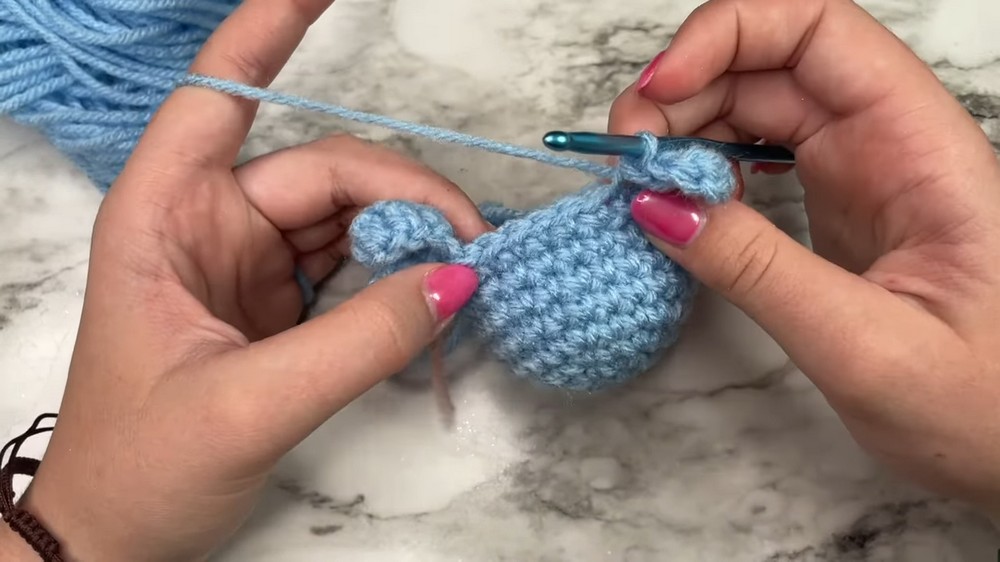
13. Fin #2:
Sl st in front loop only, chain 4.
- In 3rd chain from hook: 1 dc
- In last chain: 1 hdc
- Sl st back to same stitch on body.
14. Five more sc to finish round.
Belly & Close
15. Switch to White/Cream Yarn (Belly):
- Attach yarn to the back loops left from tail/fins round.
- Crochet 1 sc in each back loop around, using decreases as indicated below.
16. Belly Closing Rounds:
Pattern: [sc in next 2, decrease]—work only in back loops for the first of these rounds.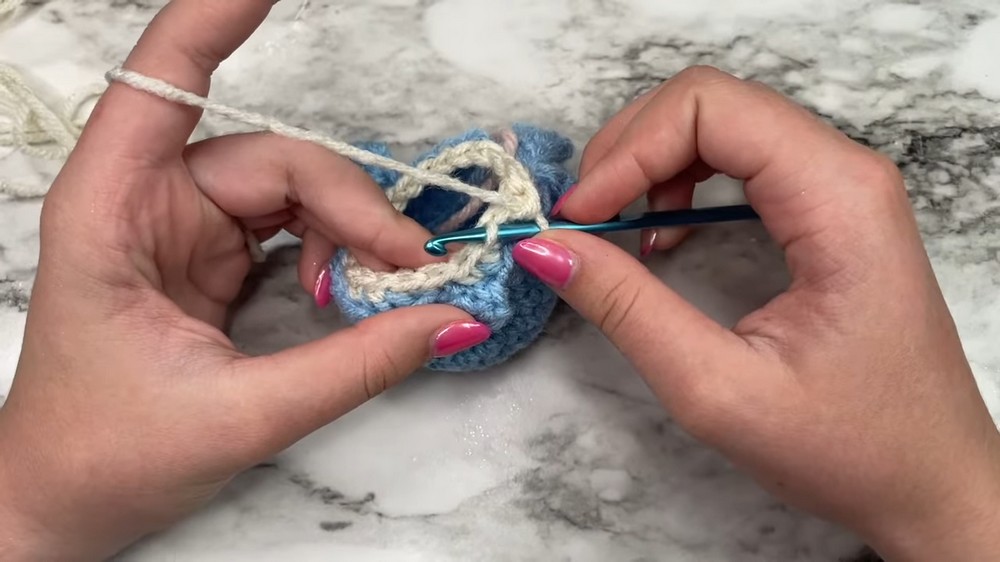
Repeat around, moving your stitch marker up as needed.
- In following round(s), [1 sc, then decrease] around, working in both loops.
- Stuff the body with fiberfill.
17. Final Closing:
Continue making decreases around (sc2tog), stuffing as needed until you can close the hole. Fasten off, leaving a long tail.
18. Use yarn needle to sew last stitches together and weave in the end.
Eyes & Blush (Details)
19. Eyes:
- Use black yarn and the yarn needle to embroider eyes (or attach safety eyes before closing if you wish).
- Place eyes symmetrically, usually on the second or third round from the top.
20. Blush (optional):
- Use pink or blush-colored yarn to add a small stitch on each cheek.
Conclusion
Celebrate your speedy, squishy success! This tiny no-sew whale is an ideal beginner amigurumi and makes an instantly lovable companion. Now you can quickly crochet gifts, market items, or a whole pod in every color.
Tip
Using safety eyes instead of embroidery will make this whale 100% no-sew. Position all add-ons before closing the belly for easier placement.




Leave a Reply