
Charm tiny tots with this Crochet Tiger Rattle Pattern, a joyful and simple way to brighten nurseries or surprise with adorable keepsakes.
Playful Crochet Tiger Rattle Pattern that kids will love

Detailed stripes, expressive eyes, and textured features give the finished tiger a lively, friendly personality that instantly delights. Ideal for nurseries, playrooms, or thoughtful baby gifts, this rattle combines playfulness, comfort, and visual charm in one endearing piece.

Beyond its cute appearance, the pattern inspires focus, creativity, and mindfulness with every stitch. Soft, durable, and full of whimsical energy, this tiger rattle brightens daily moments, making playtime memorable while adding a charming accent to any collection of baby toys.
Special Features
- Noise-making insert for sensory play (uses a ping pong ball and dry beans/popcorn).
- Soft and safe—no glued or hard small parts.
- Ideal for infants: sewn or embroidered details won't detach.
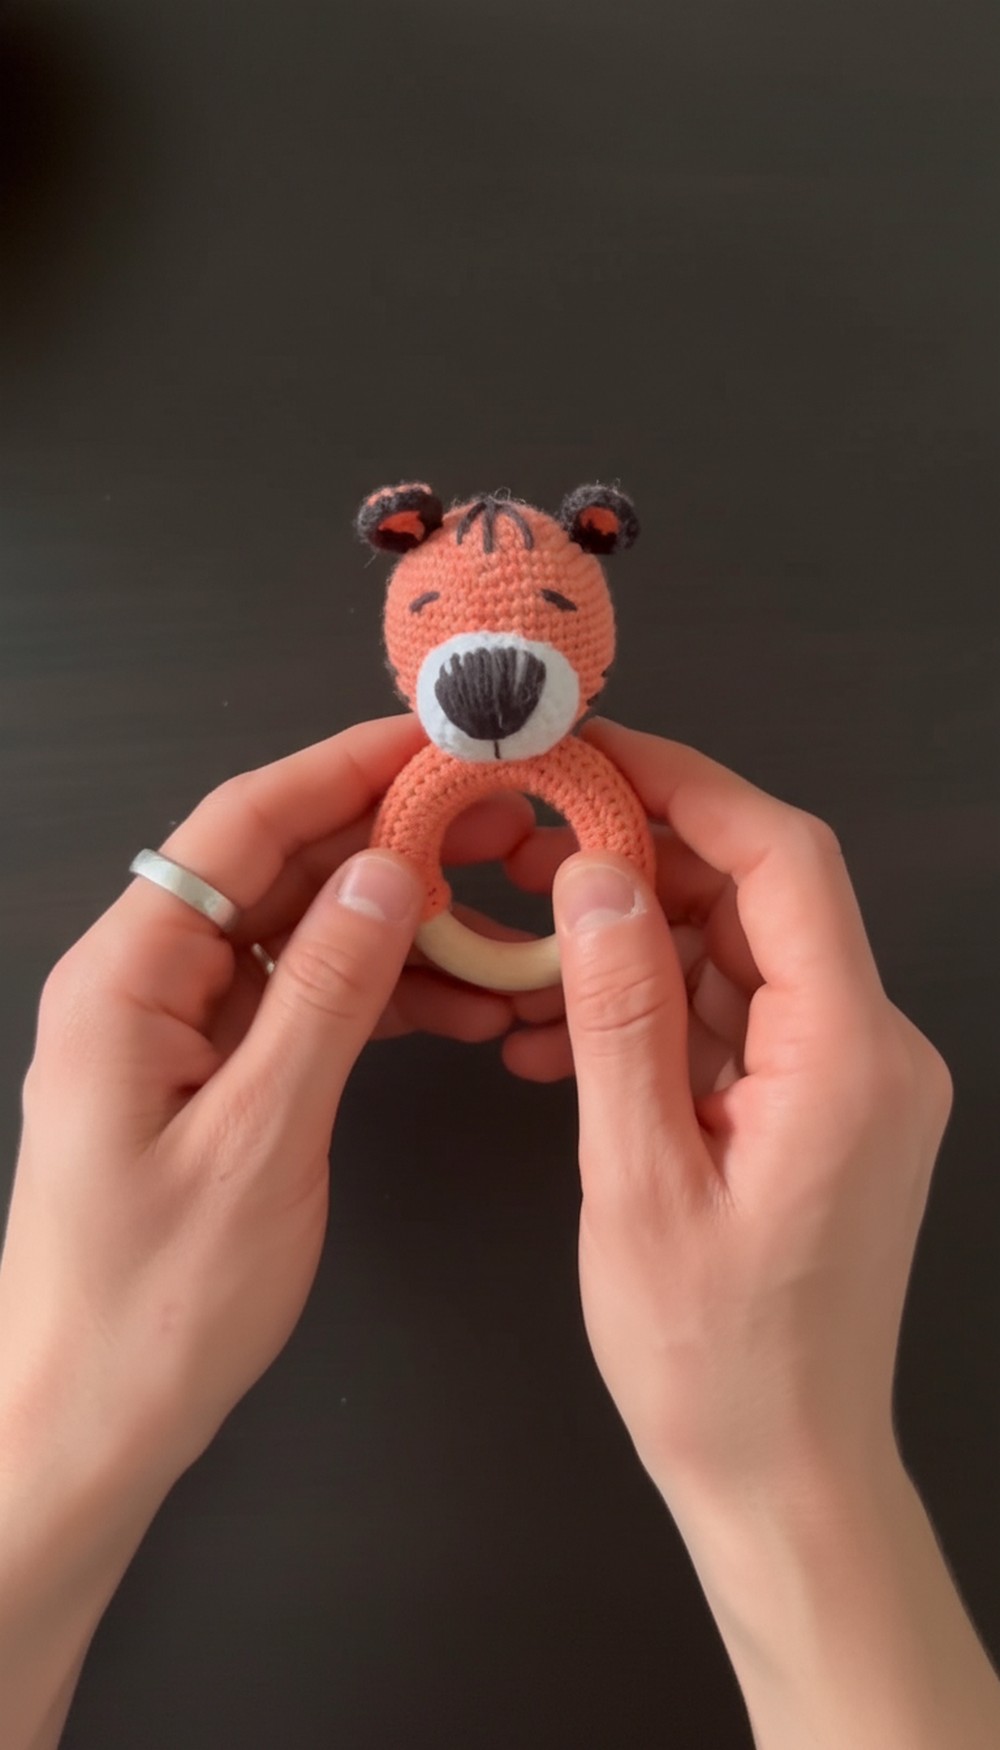
- Eye-catching tiger face, complete with stripes, ears, and cute sleepy eyes.
Level of Difficulty
Upper Beginner – Intermediate
- Involves making a tube, amigurumi sphere, simple increases and decreases, basic sewing, and embroidery.
- Video instructions help clarify trickier steps.
Tutor’s Suggestions
- Ensure the rattle is assembled tightly so the insert stays secure and the cover doesn’t slip.
- Embroider all facial features for additional safety.
- Adjust the number of rows for the ring cover depending on your ring’s size.
- Add stuffing around the ping pong ball for an even, soft shape.
Uses and Materials
Uses
- Baby/toddler toy (sensory and auditory play)
- Nursery decoration
- Thoughtful handmade gift for baby showers or holidays
Materials
- Orange, black, white yarn (suggested: soft acrylic DK; tiger shade preferred)
- Wooden ring (size variable—measure as you go)
- Ping pong ball
- Dry beans/popcorn/peas (for rattle sound)
- 2 mm crochet hook
- Yarn needle
- Scissors
- Stuffing/filler
Step-by-Step Pattern
1. Crochet Ring Cover
- Make a foundation chain: Chain enough stitches to tightly wrap around the wooden ring.
- Rows: Turn and work single crochets back-and-forth, adding one chain at the end of each row for turning.
- Continue for about 10 rows (adjust to cover your ring snugly; do not make it loose).
- Test fit: The crochet should fit tightly around the ring so it doesn’t slide.
- Set aside.
2. Tiger Head (Rattle Insert Section)
NOTE: Use the ‘magic ring’ technique.
- Round 1: Magic ring, work 6 single crochets (SC).
- Round 2: 6 increases (2 SC in each st) = 12 stitches.
- Round 3: [1 SC, 1 inc] x 6 = 18 stitches.
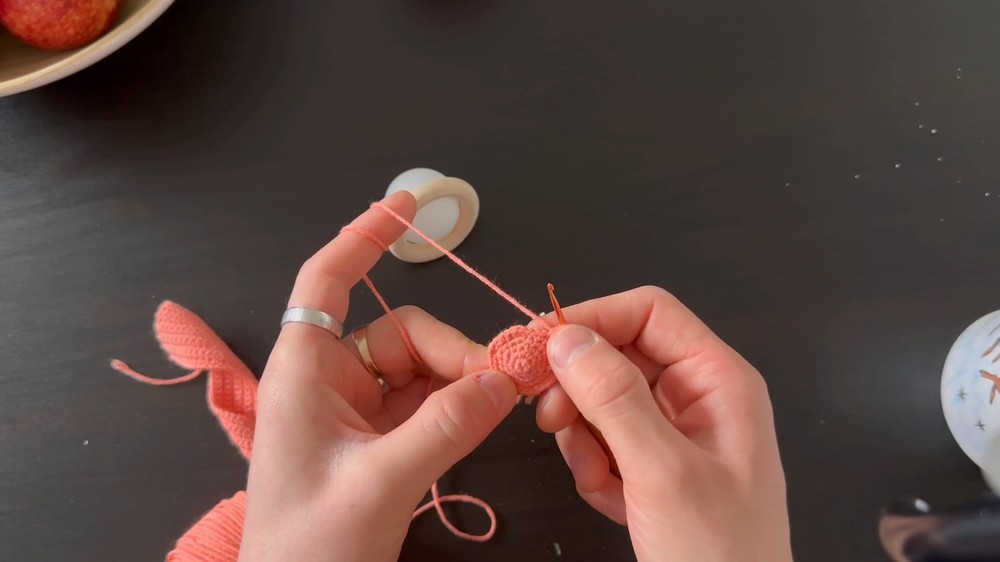
- Round 4: [2 SC, 1 inc] x 6 = 24 stitches.
- Round 5: [3 SC, 1 inc] x 6 = 30 stitches.
- Round 6: [4 SC, 1 inc] x 6 = 36 stitches.
- Round 7: [5 SC, 1 inc] x 6 = 42 stitches.
- Round 8: [6 SC, 1 inc] x 6 = 48 stitches.
Work Upward:
9. Rounds 9–21 (13 rounds): SC in each stitch (48 stitches each round).
Insert the Rattle & Stuffing:
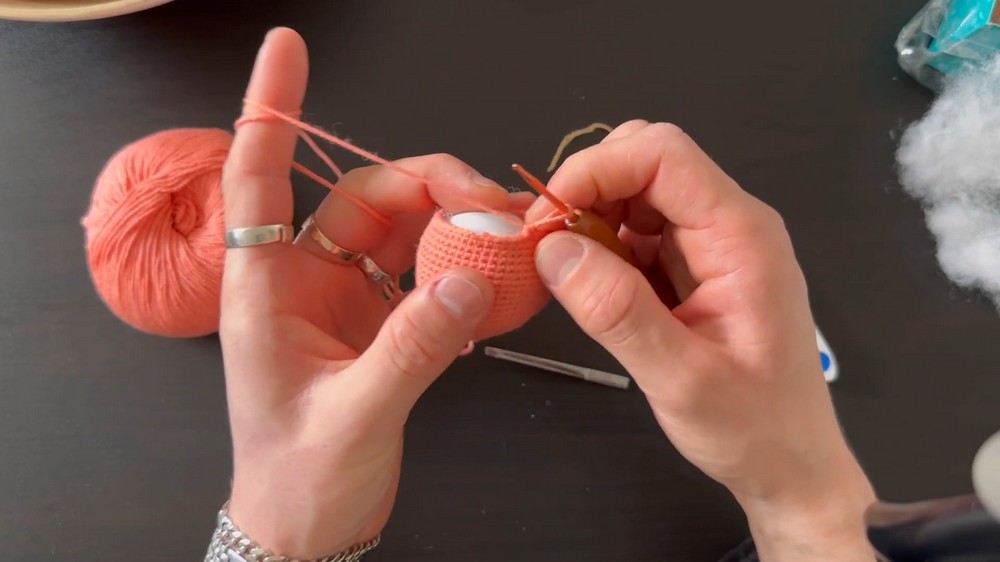
10. Cut a slit in your ping pong ball, fill with dry beans/popcorn, and close.
- Place in head and add fiberfill around it for softness and shape.
3. Close the Head
- Decrease rounds: [SC2tog (decrease)] around to halve the stitch count each round.
- First round: 24 decreases (24 stitches remain).
- Second round: 12 decreases (12 stitches remain).
- Final round: Slip stitch to close, leave a long tail for sewing.
- Finish stuffing, if necessary, before completing closure.
4. Assemble: Attach Head to Ring
- Position head with seam centered on ring, between the doubled lengths of the cover.
- Securely sew base of head to the ring cover (between the rows so it sits flat and doesn't twist).

5. Sew Ring Cover Around Wooden Ring
- Wrap crocheted cover around wooden ring.
- Stitch sides together, hiding loose ends as you sew.
- Ensure the cover remains snug and secure with no loose gaps.
6. Tiger Ears (Make 2)
- Round 1: Magic ring, 6 SC.
- Round 2: 6 increases (12 SC).
- Last increase: switch to black yarn in final step for the ear tip.
- Round 3: SC in each stitch (12 SC around).
- Final round: Slip stitch to finish, leave yarn for sewing.
7. Muzzle/Snout Area
- White yarn, magic ring: 6 SC.
- 6 increases: 12 SC.
- [1 SC, 1 inc] x 6: 18 SC.
- [2 SC, 1 inc] x 6: 24 SC.
- [3 SC, 1 inc] x 6: 30 SC.
- 2 rounds SC: (30 SC each).
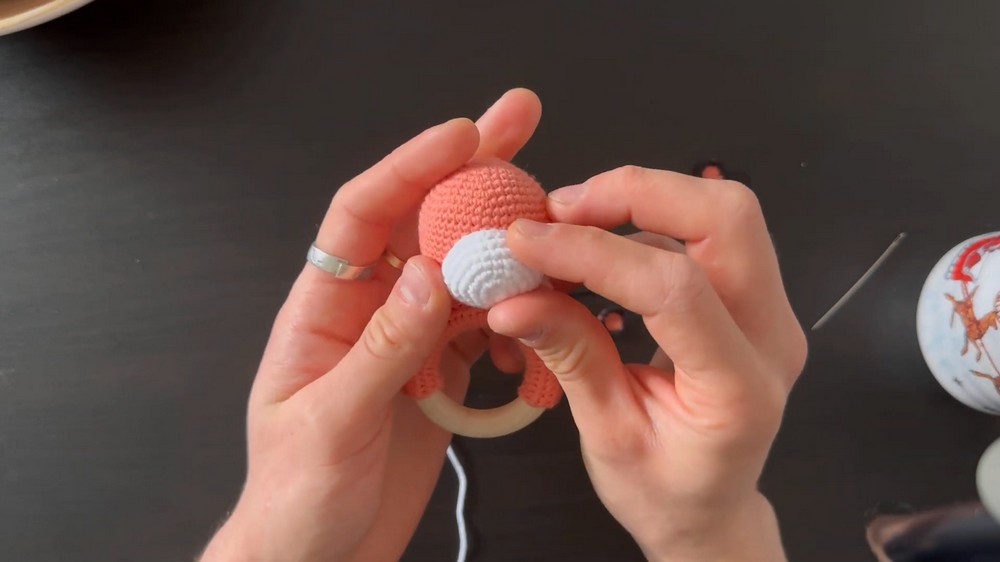
Slip stitch to close, leave yarn for sewing.
8. Assembly – Position and Sew Ears & Muzzle
- Place muzzle on lower half of head, fill lightly, sew around edge.
- Sew ears approximately between 4th and 5th row from top of head, spaced evenly on each side.
9. Embroider Face and Stripes
- With black yarn, embroider nose, mouth, closed sleepy eyes, and symmetrical tiger stripes based on video placement.
- Use white for additional details if desired.
- Secure all ends inside head so nothing comes loose.
Tip
Hide all knots and yarn tails securely inside the toy for safety. Double- or triple-knot at end points, especially if the toy will be used by infants. Always embroider or sew on features—never glue or use plastic safety eyes for babies.
Conclusion
This crochet tiger rattle combines tactile interest, pleasing sound, and adorable looks while remaining completely safe for babies. By following these detailed steps, you can produce a special keepsake that’s sturdy, washable, and guaranteed to bring joy and comfort.




Leave a Reply