
Hug a cuddly friend with this Crochet Teddy Bear Pattern that's an adorable, soft companion bringing warmth and joy to your cozy moments.
A tiny bear with a heartwarming presence instantly brightens any corner of a room. This Crochet Teddy Bear Pattern transforms soft yarn into a lovable companion with round ears, a gentle smile, and expressive eyes that make it feel almost alive. Perfect for adorning a nursery, decorating a workspace, or gifting to someone special, it combines charm with functionality effortlessly.
Kawaii Crochet Teddy Bear Pattern Too Sweet to Resist
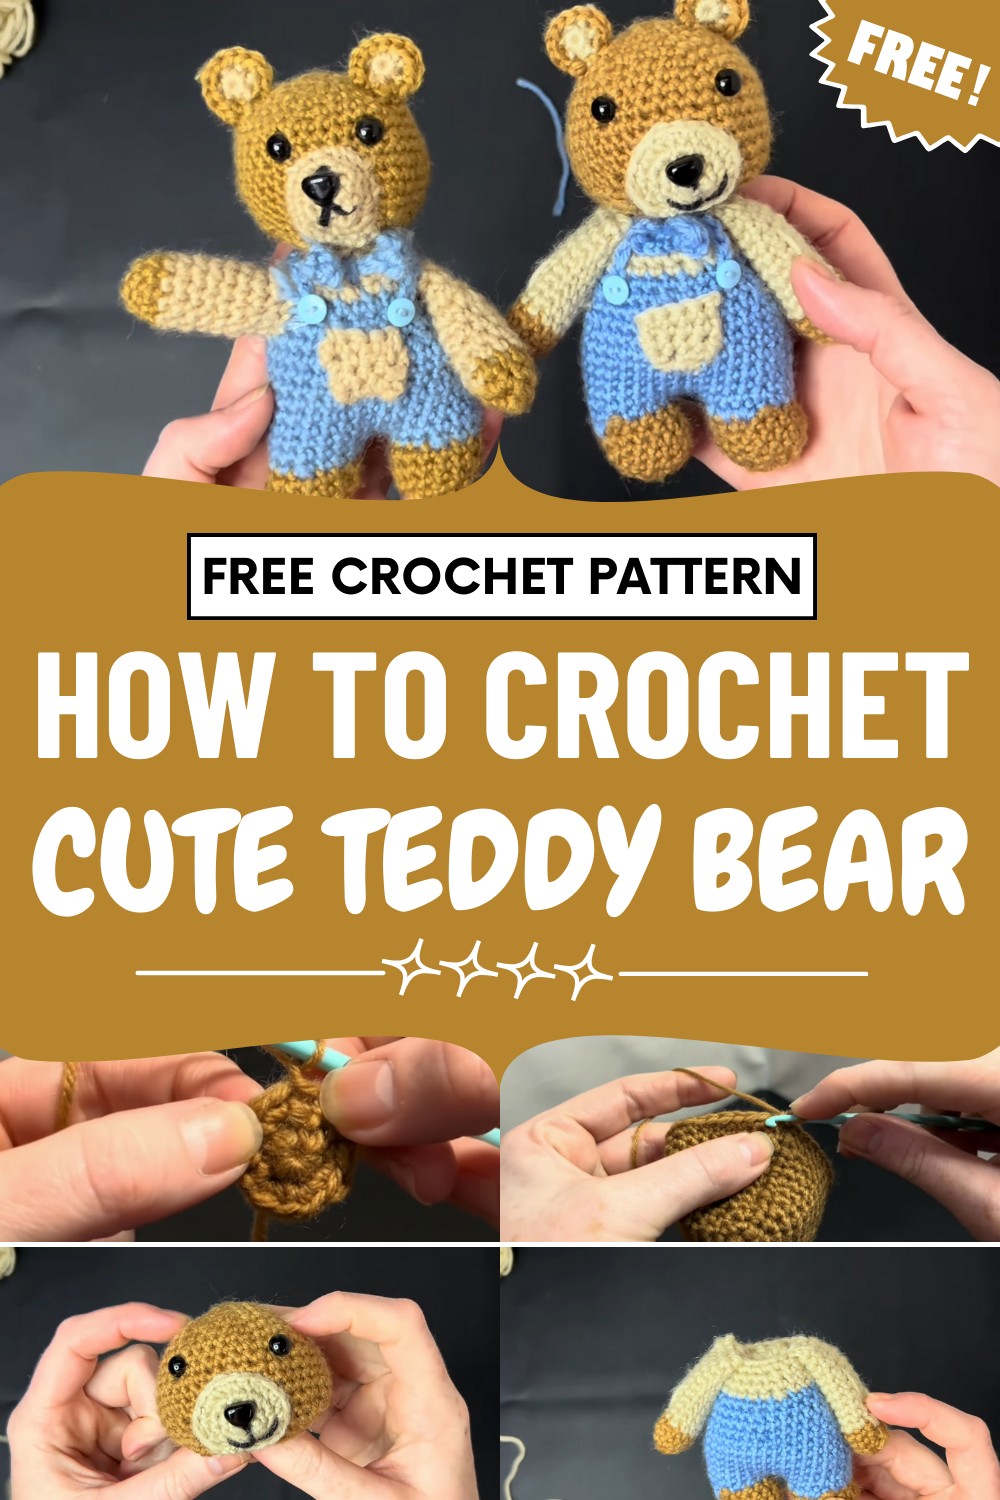
The design emphasizes smooth shaping, secure assembly, and even stitching, ensuring a polished and lasting finish. Each bear can be customized with different colors, scarves, or tiny accessories, giving it a personal touch that reflects style and creativity.
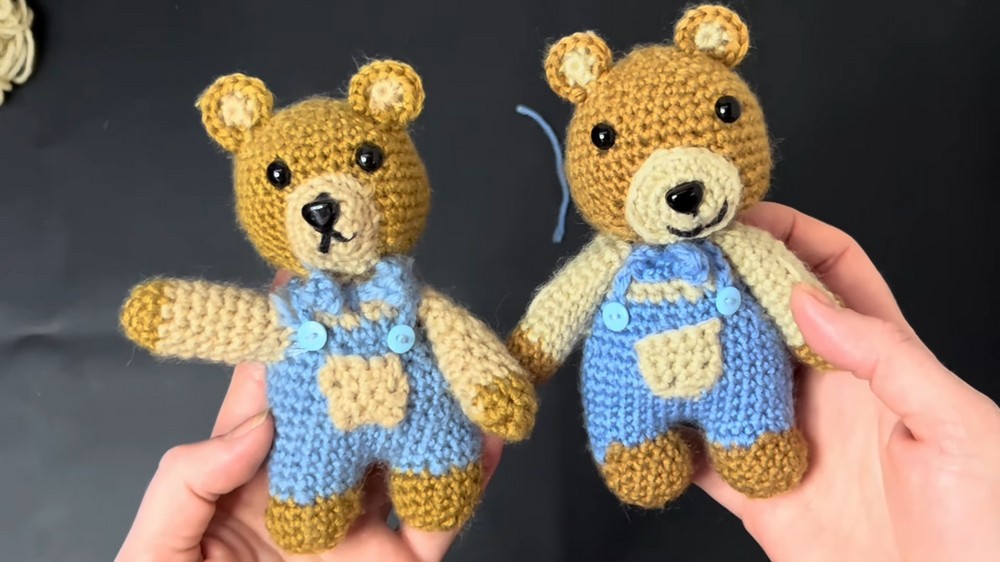
Soft to the touch yet firm enough to hold its shape, it works beautifully as a keepsake or a gentle playmate. Blending elegance, practicality, and whimsical appeal, this miniature bear offers a comforting presence and a joyful accent to any space, making it a timeless treasure.
Special Features
- Includes magic ring, color changes, basic shaping, and attaching parts
- Accessories: Bow tie, pocket, suspender straps
- Safety eyes and nose
- Customizable features
- Beginner-friendly with clear instructions and tips
Level of Difficulty
Easy / Beginner
Perfect for those just starting crochet! Basic stitches (single crochet, double crochet, slip stitch), simple increases/decreases, and easy shaping.
Materials Needed
- Brown, tan, blue yarn
- Crochet hook (provided in kit)
- Safety eyes and nose
- Stuffing
- Tapestry needle
- Stitch markers
- Scissors
Pattern Steps
HEAD
- Magic Ring
- Using brown yarn, make a magic ring.
- Place 6 single crochets in the ring ([SC] x 6).
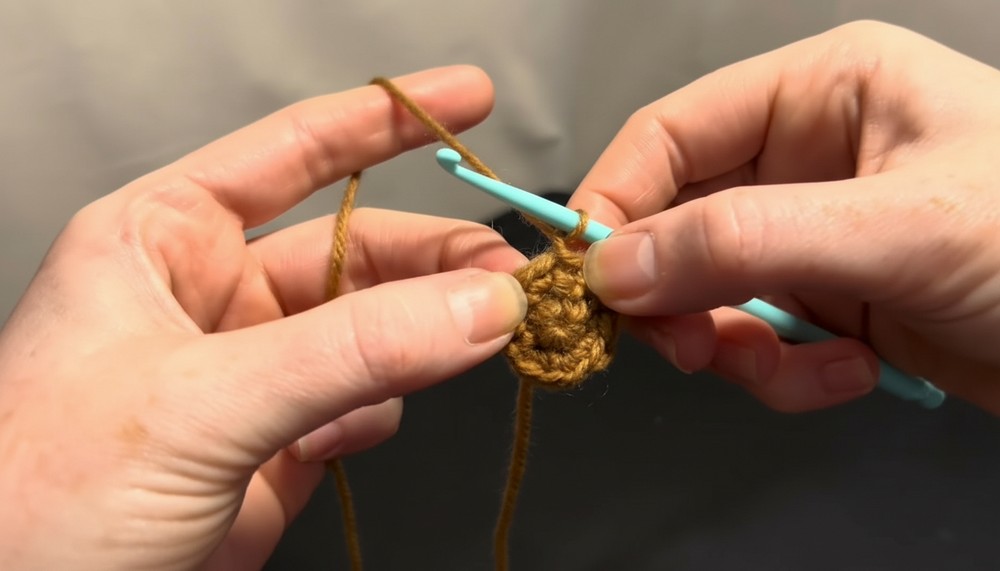
- Rounds 2-6 | Increasing
- Round 2: 2 SC in each stitch around (12 sts).
- Round 3: (1 SC in next st, 2 SC in next st) repeat around (18 sts).
- Round 4: (1 SC in next 2 sts, 2 SC in next st) repeat (24 sts).
- Round 5: (1 SC in next 3 sts, 2 SC in next st) repeat (30 sts).
- Round 6: (1 SC in next 4 sts, 2 SC in next st) repeat (36 sts).
- Slip stitch at end of each round, chain 1 to begin next round.
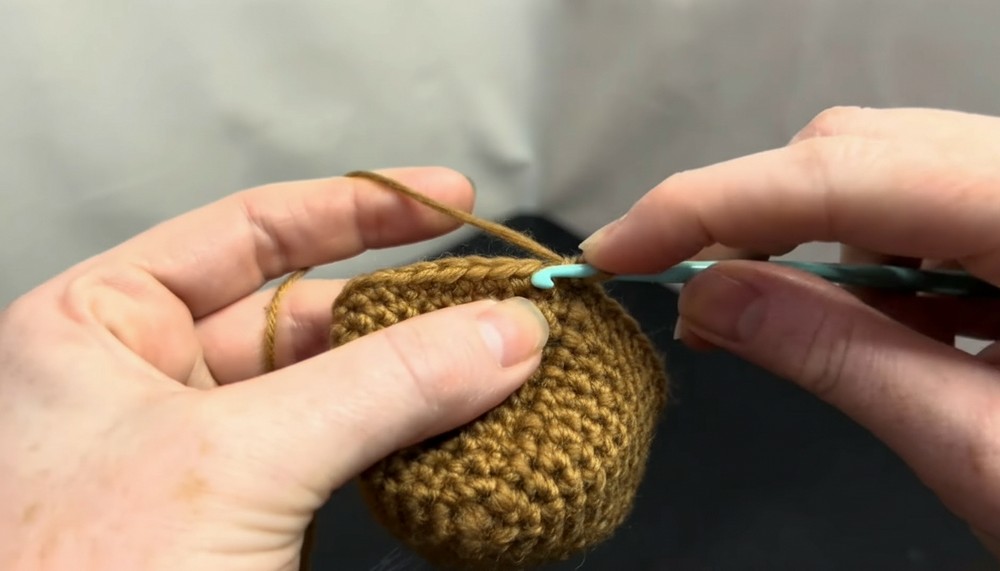
- Rounds 7-8
- Round 7: Single crochet in each stitch (36 sts).
- Round 8: SC for first 14 sts, place stitch marker for eye placement, SC next 6 sts, place stitch marker for other eye, SC next 16 sts.
- Rounds 9-12
- SC in each stitch around (36 sts), slip stitch and chain 1 after each round.
- Rounds 13-17 | Shaping Head
- Round 13: (5 SC, decrease) repeat (36 sts).
- Round 14: (4 SC, decrease) repeat (30 sts).
- Round 15: (3 SC, decrease) repeat (24 sts).
- Round 16: (2 SC, decrease) repeat (18 sts).
- Round 17: SC in each stitch (18 sts).
- Leave a tail for sewing.
- Attach Eyes
- Insert safety eyes at marked positions. Fasten backs.
EARS
- Magic Ring
- Using tan yarn, create a magic ring.
- SC x 6 into ring.
- Color Change
- Slip stitch into first SC, change to brown yarn, chain 1.
- Round 2
- 2 SC in each stitch (12 sts).
- Chain 1 and leave a long tail for sewing.
NOSE
- Foundation
- Using tan yarn, make a slip knot and chain 2.
- Row 1
- 4 SC in second chain from hook.
- Join Round
- Slip stitch to first chain.
- Rounds 2-4
- Round 2: 2 SC in each stitch (8 sts).
- Round 3: 2 SC in each stitch (16 sts).
- Round 4: SC in each stitch (16 sts).
- Detailing
- Use black thread and tapestry needle to embroider nose.
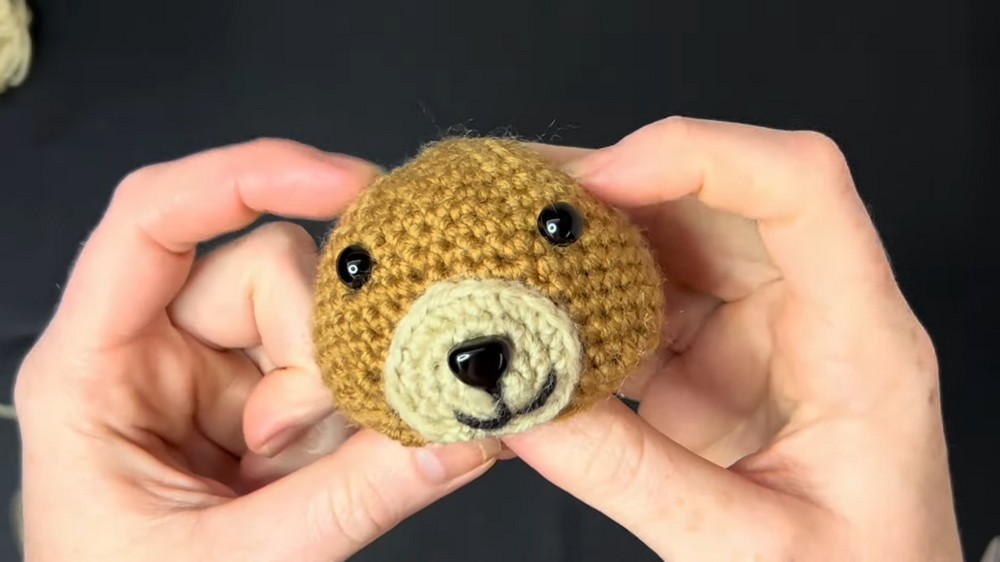
- Use black thread and tapestry needle to embroider nose.
LEGS & BODY
- Legs (Make 2)
- Magic ring with brown yarn, SC x 6.
- Round 2: 2 SC in each (12 sts).
- Round 3: (1 SC in next 2, 2 SC in next) repeat (16 sts).
- Round 4: SC in each stitch.
- Color Change (Blue)
- Switch yarn color on last SC of round 6.
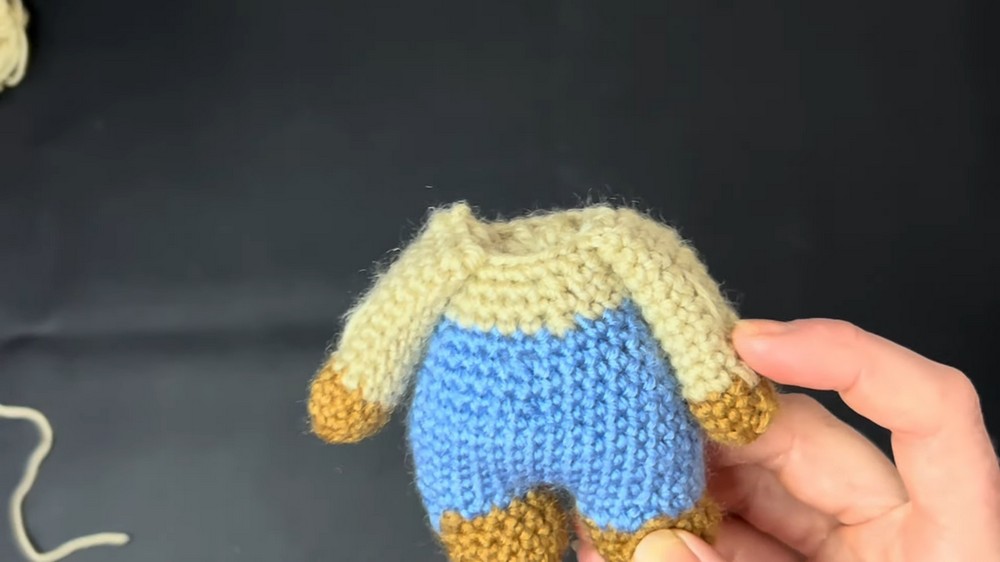
- Leg Join & Body
- Round 7: Begin with blue, chain 1, increase, 4 SC, join legs with single crochet, crochet around both.
- Rounds 10-15: SC all around for overall effect.
- Round 16: 5 SC, decrease x 4, then 4 SC and decrease (total 29 sts).
- Round 17: SC around.
- Round 18: 4 SC, decrease x4, 3 SC, decrease.
- Color Change (Tan) for Shirt
- Switch to tan yarn for top of overalls.
- Round 20: 6 SC, decrease x3.
- Round 21-23: SC all around, slip stitch, chain 1, finish.
BOW TIE
- Chain 4 and slip knot with blue yarn.
- Double Croix
- 2 double crochets into 4th chain from hook, chain 3, slip stitch into same chain.
- Repeat for other side, chain 1, leave tail for sewing.
SUSPENDER STRAPS (Make 2)
- Chain 13 with blue yarn, chain 1 to secure.
- Cut yarn, make another.
- Chain 2 with tan yarn.
- Row 1: 4 SC in second chain from hook.
- Rows 2-4: Chain 1, turn. SC in each stitch across. Repeat for desired depth.
- Attach to body, leaving top open if desired.
ASSEMBLY
- Stuff head and arms.
- Sew nose and ears to head, stitch arms to body, secure with extra stitches for desired arm position.
- Sew pocket, bow tie, and suspenders.
- Attach head to body; use back stitches for sturdy hold.
- Weave in any loose yarn tails.
Tutor's Suggestions
- Don’t worry if your bear looks different from the picture. Crocheting is unique and improves with practice!
- Use stitch markers to help keep track of increases, eyes, decreases, and joining rows.
- Personalize with accessories and facial expressions!
Uses
- Makes a wonderful gift, keepsake, or cuddly toy
- Great for learning basic crochet techniques
- Display your finished bear or give it for birthdays and baby showers
Tip
For neat color changes when making overalls or shirt, switch colors on the final yarn-over of a stitch—that way the transition is smooth and hidden.
Conclusion
This teddy bear crochet kit is perfect for beginners, offering cute results with easy-to-follow steps. Take your time, make it special, and enjoy the process—practice makes perfect!




Leave a Reply