
Welcome autumn vibes with this Free Crochet Pumpkin Pattern, a cozy seasonal accent that adds warmth, texture, and festive charm to any space.
Rich with seasonal charm and warmth, this delightful handmade project brightens any space with its cozy and inviting look. Soft textures, plump round shapes, and a playful stem make each crochet pumpkin a treat for the eyes, easily transforming your home for autumn or festive occasions like Halloween and Thanksgiving.
Festive Crochet Pumpkin Pattern perfect for Halloween accents
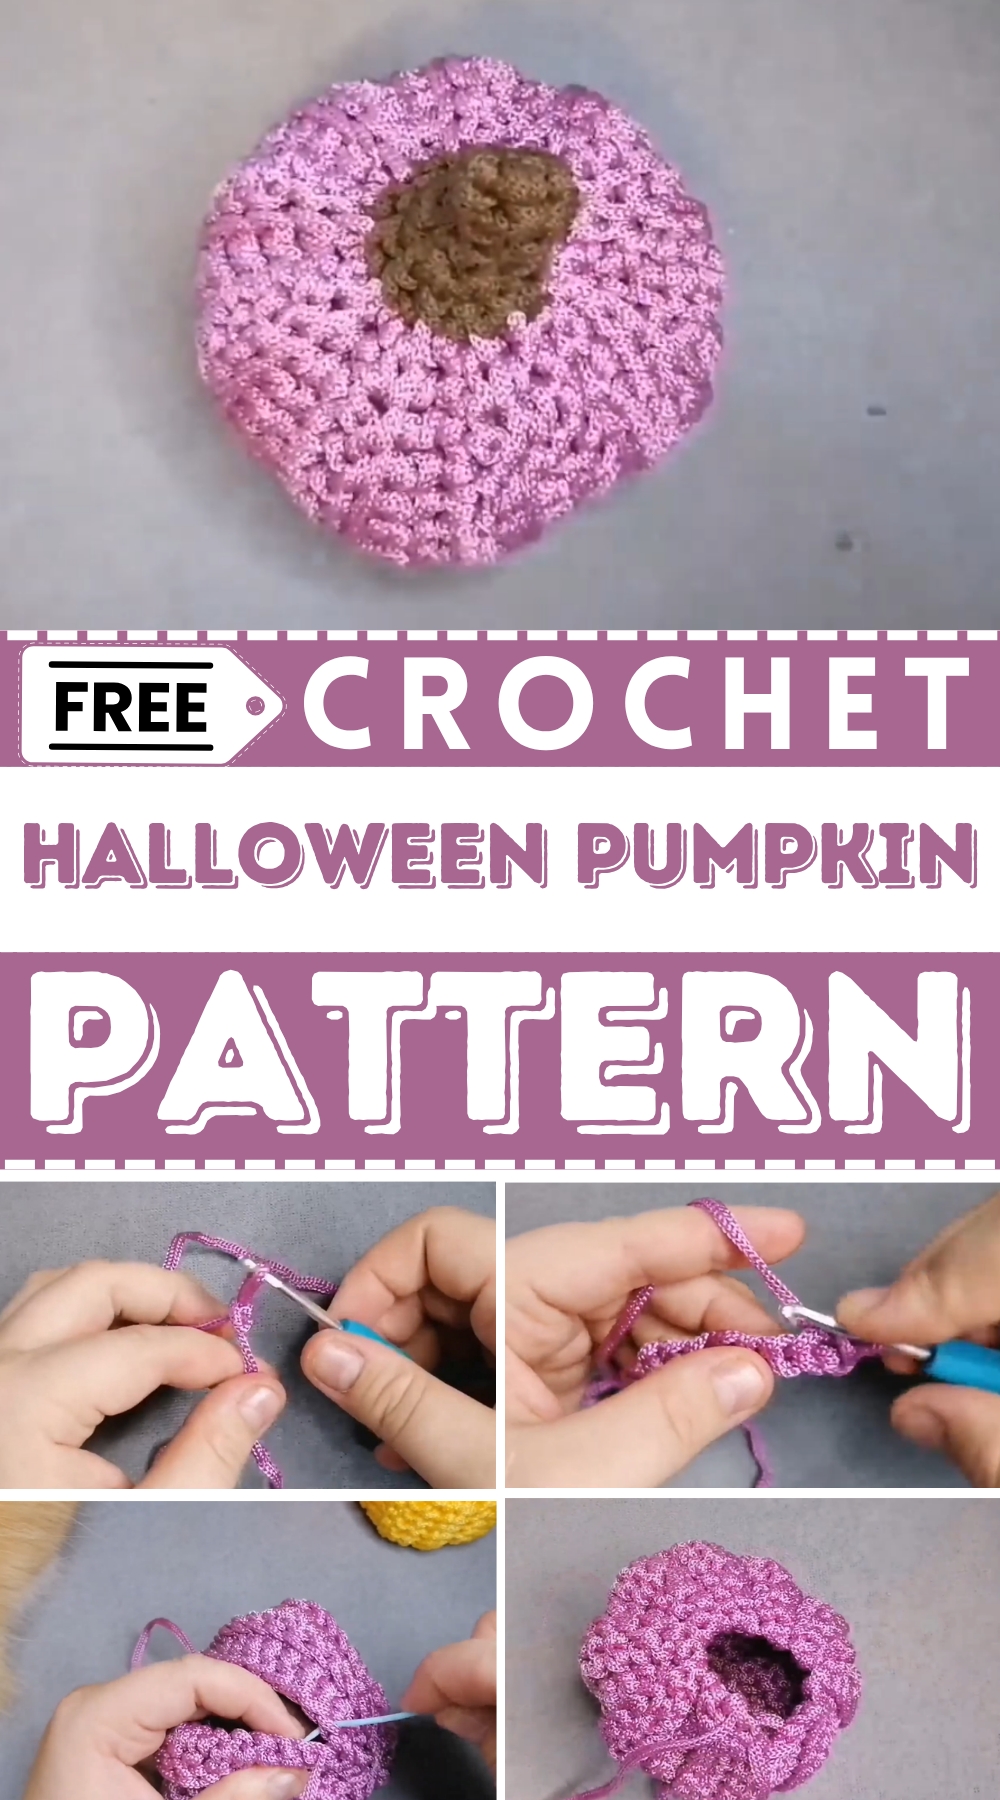
Crocheters today enjoy how quick and versatile this pattern is—perfect for creating table decorations, unique centerpieces, or thoughtful gifts for friends and family. The beauty lies in its simplicity; even beginners can follow along and achieve impressive results with just a hook, some yarn, and a little creativity.
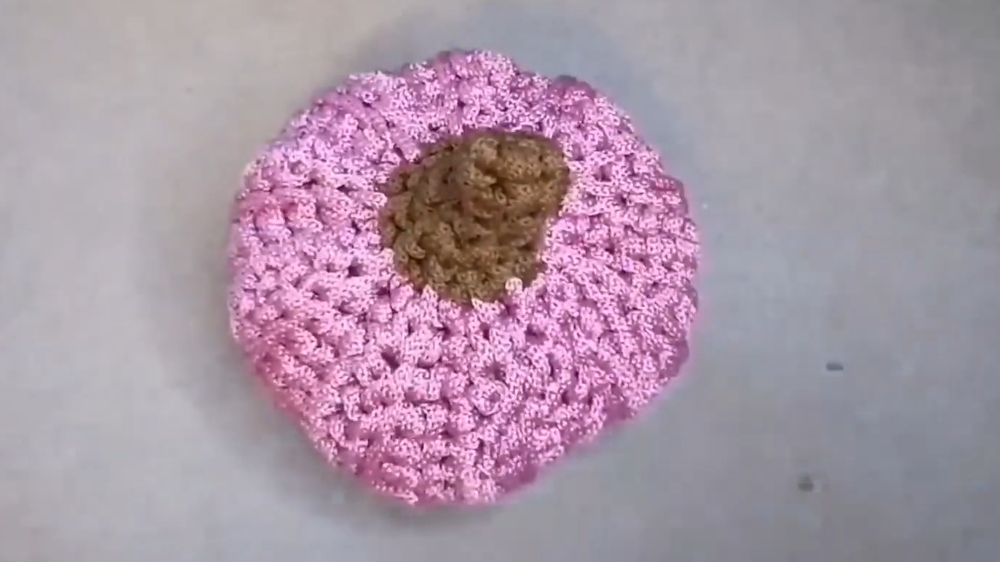
Customizing sizes and colors allows for endless creative combinations, whether you prefer classic orange or something with a modern twist. Durable and reusable, the finished pumpkins bring smiles year after year, offering a sustainable, handmade touch that feels both timeless and uniquely personal in any season.
Materials
- Yarn in two colors (main color for the pumpkin and brown for the stem; Lena uses lavender and brown)
- 4mm crochet hook
- Yarn needle with a large eye
- Scissors
- Polyester cord (4mm recommended)
- Polyester stuffing/filler (like synthetic fluff)
- Stitch marker (optional)
Special Features
- Adjustable size—make small or large pumpkins by changing the number of starting chains
- Simple, easy-to-follow instructions for beginners
- Quick to assemble
- Versatile—decorate for Halloween, fall, or as cute gifts
Level of Difficulty
Beginner: The pattern uses basic stitches (slip stitch, single crochet, half-double crochet, double crochet) and easy assembly steps. Perfect for learning or relaxing!
Tutor’s Suggestions
- Use a longer tail at the start for easy assembly.
- Adjust the number of chains; fewer for small pumpkins, more for big ones.
- Use stitches as shown for different effects and shapes.
- Hide yarn ends inside for a neat finish.
Step-by-Step Pumpkin Crochet Pattern
1. Foundation Chain
- Leave a yarn tail about 15–20 cm long.
- Chain 15 (or more for a bigger pumpkin—make sure it’s an even number).
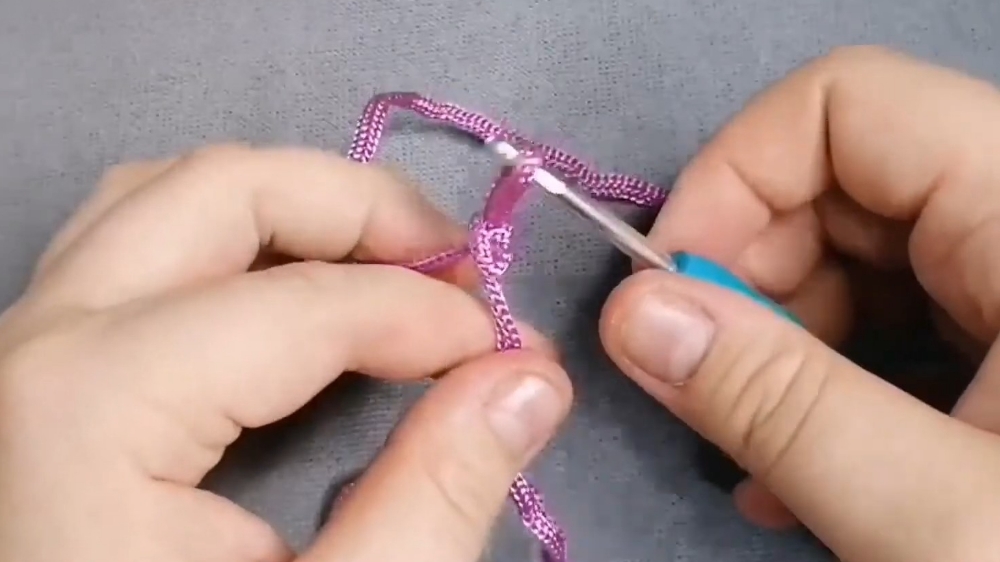
2. First Row
- In the second chain from the hook, work the following:
- Slip stitch
- Single crochet
- Half-double crochet
- Then, work 8 double crochets (make a yarn over, insert hook, pull through, then work off two loops at a time).
- In the last three chains, reverse the starting sequence:
- Half-double crochet
- Single crochet
- Slip stitch
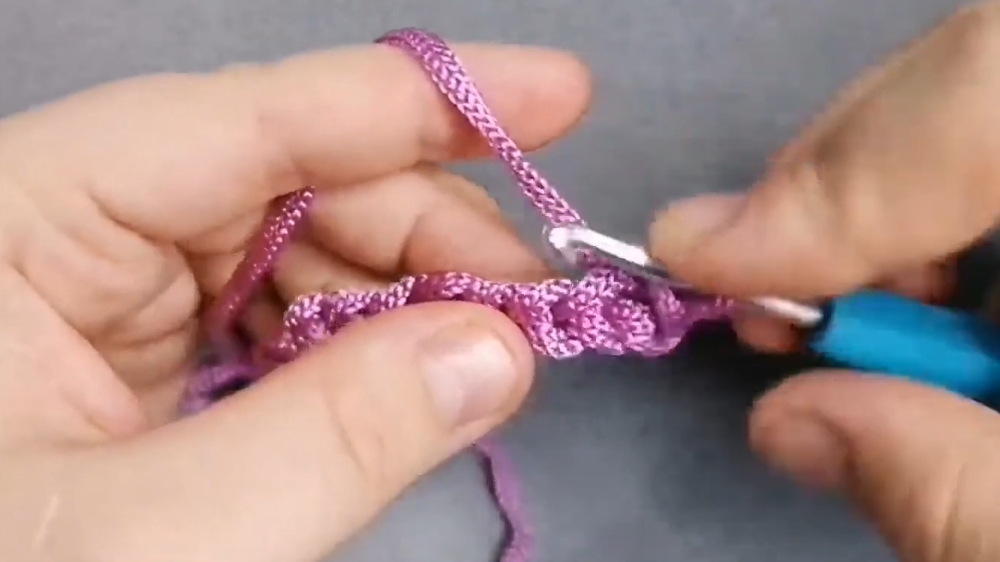
3. Subsequent Rows
- Chain 1, turn.
- Always skip the first chain at the edge.
- Work only in the back loop (for more texture):
- Slip stitch
- Single crochet
- Half-double crochet
- 8 double crochets
- Half-double crochet
- Single crochet
- Slip stitch
- Repeat until your rectangle measures the desired height (Lena made 18 rows for her pumpkin).
4. Shape the Pumpkin
- Using your yarn needle, thread the long tail through the edge stitches at the end of your rectangle.
- Pull tight to gather and form one side of the pumpkin.
5. Seaming
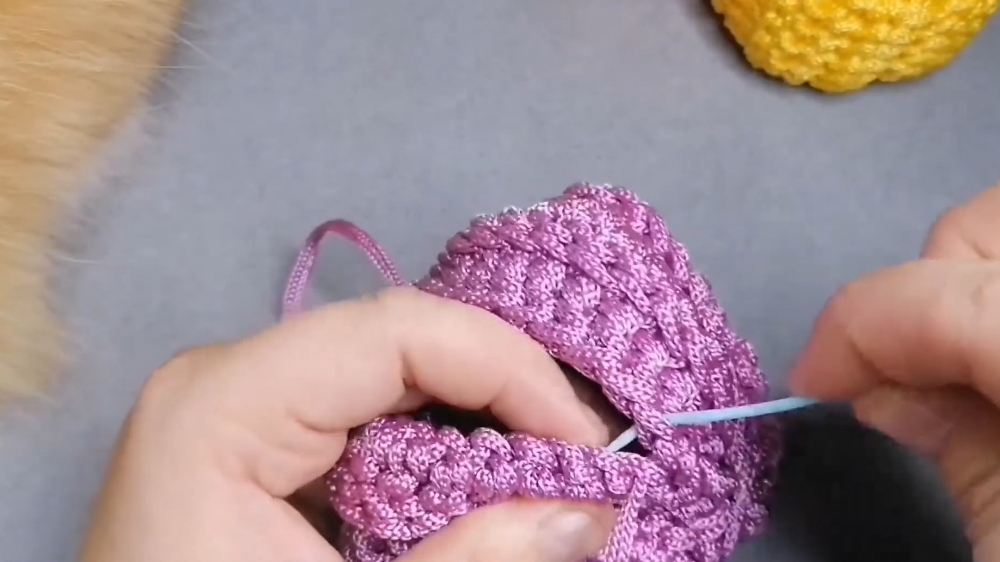
- Sew the rectangle's side edges together: use half loops on one side and the full loops on the other.
- Before closing, stuff the pumpkin with polyester filling.
6. Close the Pumpkin
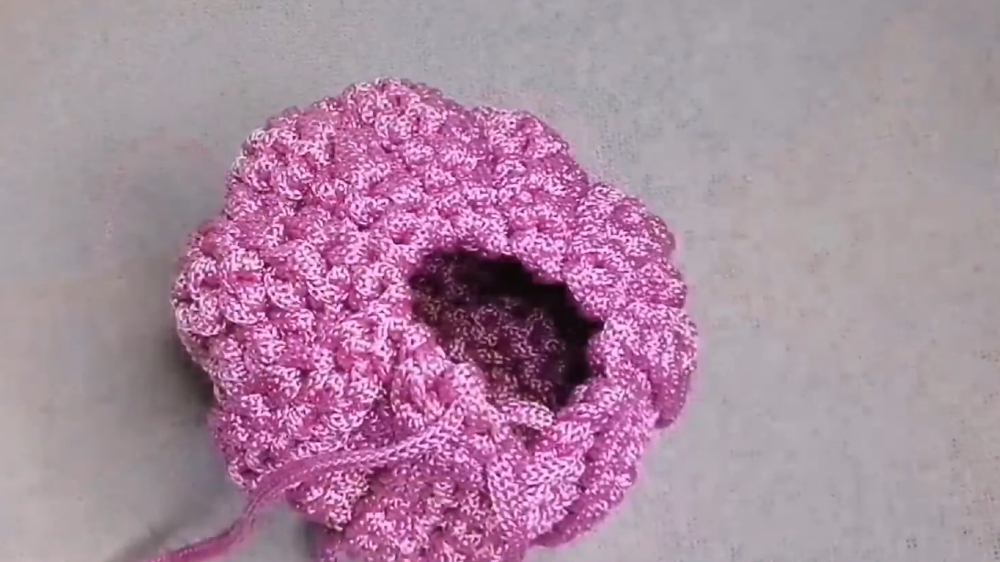
- With the yarn tail from the other end, thread through the top stitches and pull tight, closing the other side of the pumpkin.
- Make strong knots and hide the yarn ends inside.
7. Make the Pumpkin Stem
- With brown yarn, make an amigurumi ring.
- Crochet 4 single crochets in the ring. Pull to tighten.
- Work 5 single crochets in a spiral (no increases) to form the stem's height.
- Next, increase: make 2 single crochets in each stitch for a wider stem.
- Tie off and leave a yarn tail for sewing.
- Attach stem to the pumpkin using your yarn needle; sew securely and hide yarn ends inside.
8. Finishing Touches
- Add more stuffing if needed.
- Finished pumpkin can be decorated further (Halloween face, leaves, etc.), or left as a classic fall decoration.
Uses
- Home decor (table, shelf, or windows)
- Halloween decoration
- Gifts or party favors
- Photo props
Tip
If you want your pumpkin more round and plump, add more double crochet rows and stuffing. For a flatter pumpkin, use fewer rows and less filler.
Conclusion
This crochet pumpkin pattern is fun, quick, and adjustable. You can create cozy fall decorations or playful Halloween pumpkins in any size. Lena’s step-by-step instructions make it simple for all skill levels.




Leave a Reply