Revamp your old furniture with this Crochet Stool Cover Pattern that's perfect for creating a soft and colorful seat for your lovely home.
Giving your old furniture a fresh and cozy makeover is a delight with this smart design. A Crochet Stool Cover Pattern helps you make a soft, round cushion top that slides right over a hard seat to make it much more comfortable. This piece is perfect for a kitchen bar, a vanity chair, or even a small footrest in the living room. One big benefit is that it adds a layer of padding while protecting the surface of your stool from scratches or dust.
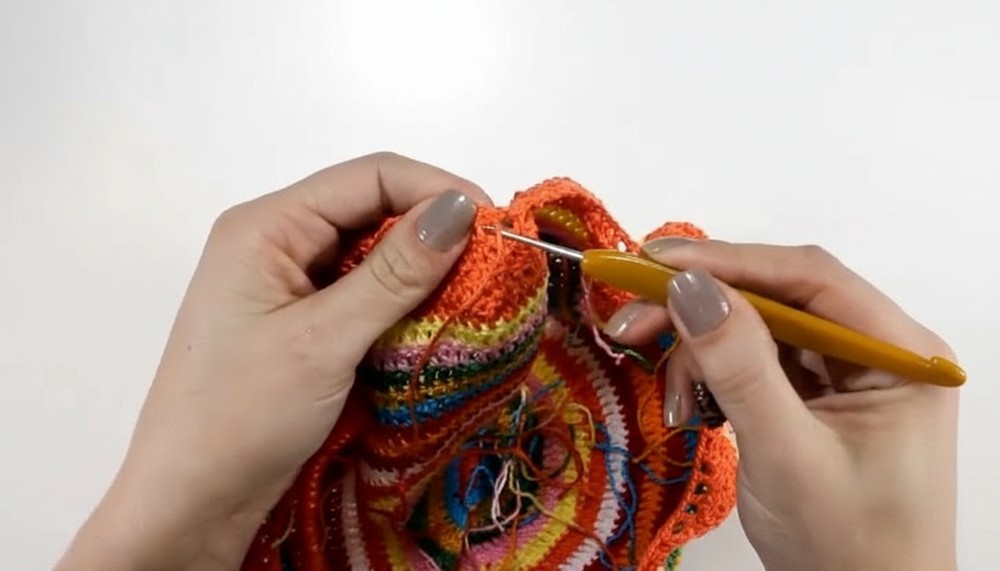
Decorate Crochet Stool Cover Pattern Perfect for Home Makeovers
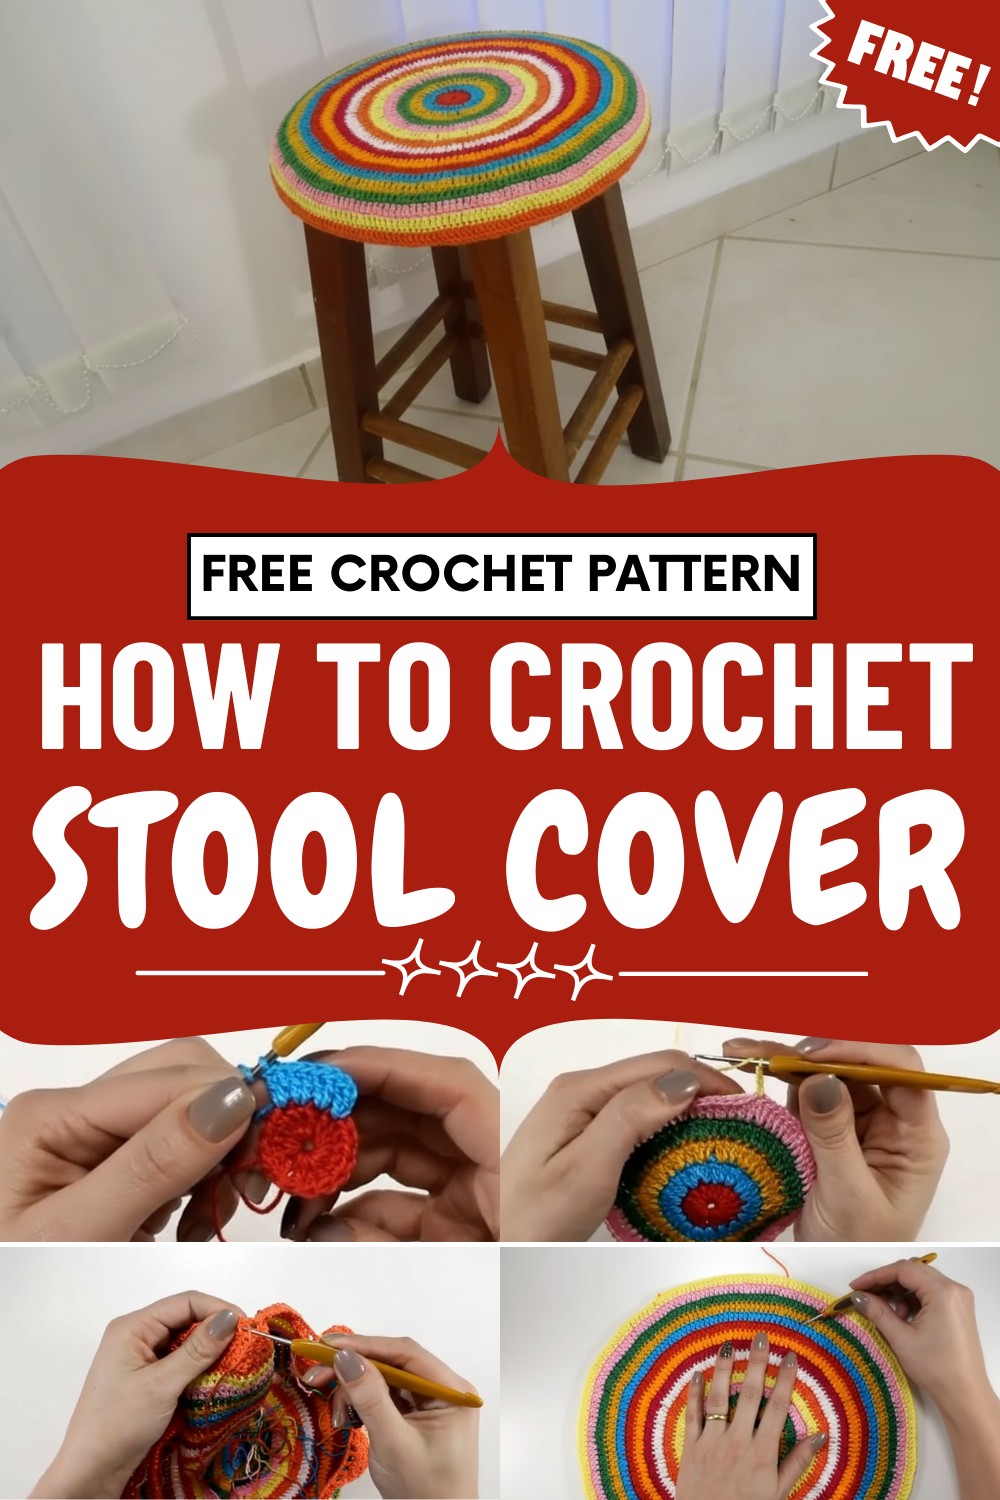
The finished look is very elegant and adds a pop of color and texture to any room in the house. Because the fabric is stretchy, it stays in place perfectly and gives your home a high-end, custom feel.

You can choose thick, chunky yarn for a modern look or soft cotton for something more classic. Using a Crochet Stool Cover Pattern allows you to update your space quickly and easily while making your seating feel warm and welcoming.
Special Features
- Uses up yarn scraps in any color combination
- Can be made to fit any round stool (just adjust the diameter)
- Sturdy, washable, and snug with a secure drawstring
- Fully reversible; no unsightly seams
- Add beads to the ends of your cord for bonus flair
Level of Difficulty
Beginner/Adventurous Beginner
- Requires knowledge of chain, slip stitch, double crochet, simple increases, joining new yarn, and basic decreases.
Tutor’s Suggestions
- Change the color every round for a lively, striped look, or use a more subtle palette.
- Weave in ends as you go for a neater finish and less work at the end.
- Always check your circumference against your actual stool to ensure the perfect fit.
- If making for a square stool, increase the number of beginning chains and work the increases accordingly.
- Don't worry about small mismatches in stitch counts as long as your pattern of increases is consistent.
Uses
- Decorative cover for stools, ottomans, small tables, or poufs
- Add color and comfort to kitchens, craft rooms, or playrooms
- Removable and easy to clean
Materials
- Anne 100% cotton yarn in as many colors as you want (scraps or partial skeins)
- 1.75 mm crochet hook
- Scissors
- Tapestry needle (for weaving ends and threading the cord)
- Optional: small beads for cord ends
Step-by-Step Pattern
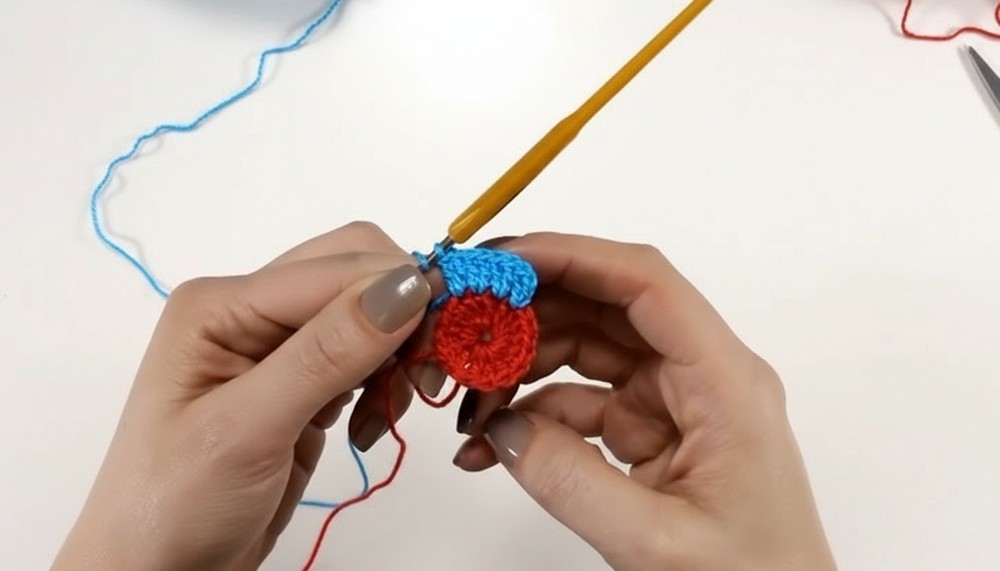
1. Center Circle
- With color A, make a slip knot and chain 6. Join with a slip stitch to the first chain to form a ring.
- Round 1: Ch 3 (counts as dc), make 16 dc into the ring. Join with a slip stitch to the top of the beginning ch-3. (17 dc)
- Fasten off, switch to a new color.
2. First Increase Round
- Join new color in any stitch, ch 3.
- Round 2: 1 dc in the same stitch, 2 dc in each stitch around. Join. (34 dc)
- Fasten off, switch color.
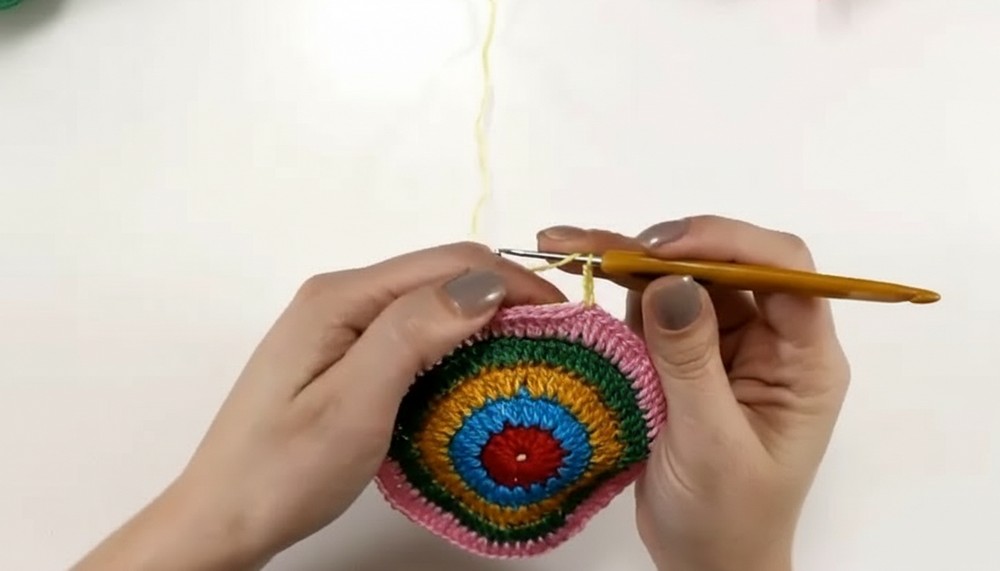
3. Second Increase Round
- Join new color, ch 3.
- Round 3: (1 dc in next stitch, 2 dc in next stitch) around; repeat sequence. Join. (51 dc)
- Fasten off, switch color.
4. Continue Increasing in Pattern
- Round 4: (2 dc, 1 increase) — that is, 1 dc in each of next 2 sts, then 2 dc in the next st (increase). Repeat around.
- Round 5: (3 dc, 1 increase), i.e., 1 dc in each of next 3 sts, then 2 dc in next st. Repeat.
- Round 6: (4 dc, 1 increase)
- Round 7: (6 dc, 1 increase)
- Round 8: (8 dc, 1 increase)
- Round 9: (10 dc, 1 increase)
- Round 10: (12 dc, 1 increase)
- For each round, join with a slip stitch, fasten off, and change color as you wish.
- Continue to increase the number of single dc between increases by 2 each round.
Pro Tip:
If your cover begins to ripple, you have too many increases; if it curls up like a bowl, you need more increases.
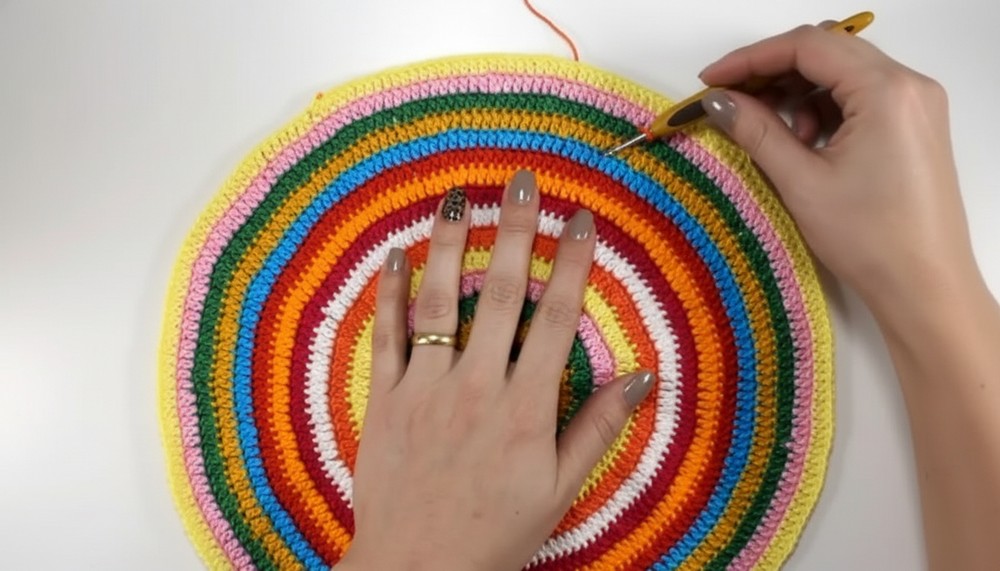
5. Repeat Until Desired Diameter
- Work increase rounds until the circle matches the top diameter of your stool (measure across the top of your stool).
- Example: For a 28 cm stool, stop increasing when your circle is about 28 cm across.
6. Start the Sides / Begin Shaping Downward
- Stop increasing.
- Next Rounds: Work 1 dc in each stitch around without increasing. This causes the work to curve down over the stool edge.
- Continue in rounds, joining and changing colors as desired, until the cover reaches the bottom edge of your stool.
7. Create Decreasing Rounds
- Once your sides are long enough (the edge is flush with your stool’s edge):
- Decrease Round 1: (5 dc, decrease over 2 sts) around. [(dc in next 5 sts, dc2tog) repeat]. Join.
- Decrease Round 2: (2 dc, decrease over 2 sts) around. [(dc in next 2 sts, dc2tog) repeat]. Join.
8. Casing for the Drawstring
- Drawstring Row: Ch 3, ch 1 (forms a space), skip next st, dc in next st, repeat around for a round of mesh-creating spaces for the cord. Join.
9. Finishing and Cord
- Weave in all ends securely on the inside.
- For the cord: With any yarn color, chain 200 (or enough to go around the base edge and tie a bow).
- Optional: Add a bead to each end, and knot securely.
- Weave the cord through the mesh spaces of the last round.
Tip
If your cover is a touch small, lightly steam-block it, or stretch it gently over the stool before tying the drawstring. Cotton will relax with use.
Conclusion
Congratulations! Your stool now has a beautiful, lively, and unique crochet cover. Enjoy switching up colors, using leftover yarns, and giving your space a crafted, cozy touch. Plus, this handy pattern adapts to the size and shape of almost any stool.


Leave a Reply