
Spruce up your table with this Free Crochet Table Runner Pattern that's perfect for adding charm, color, and a cozy touch to meals and décor.
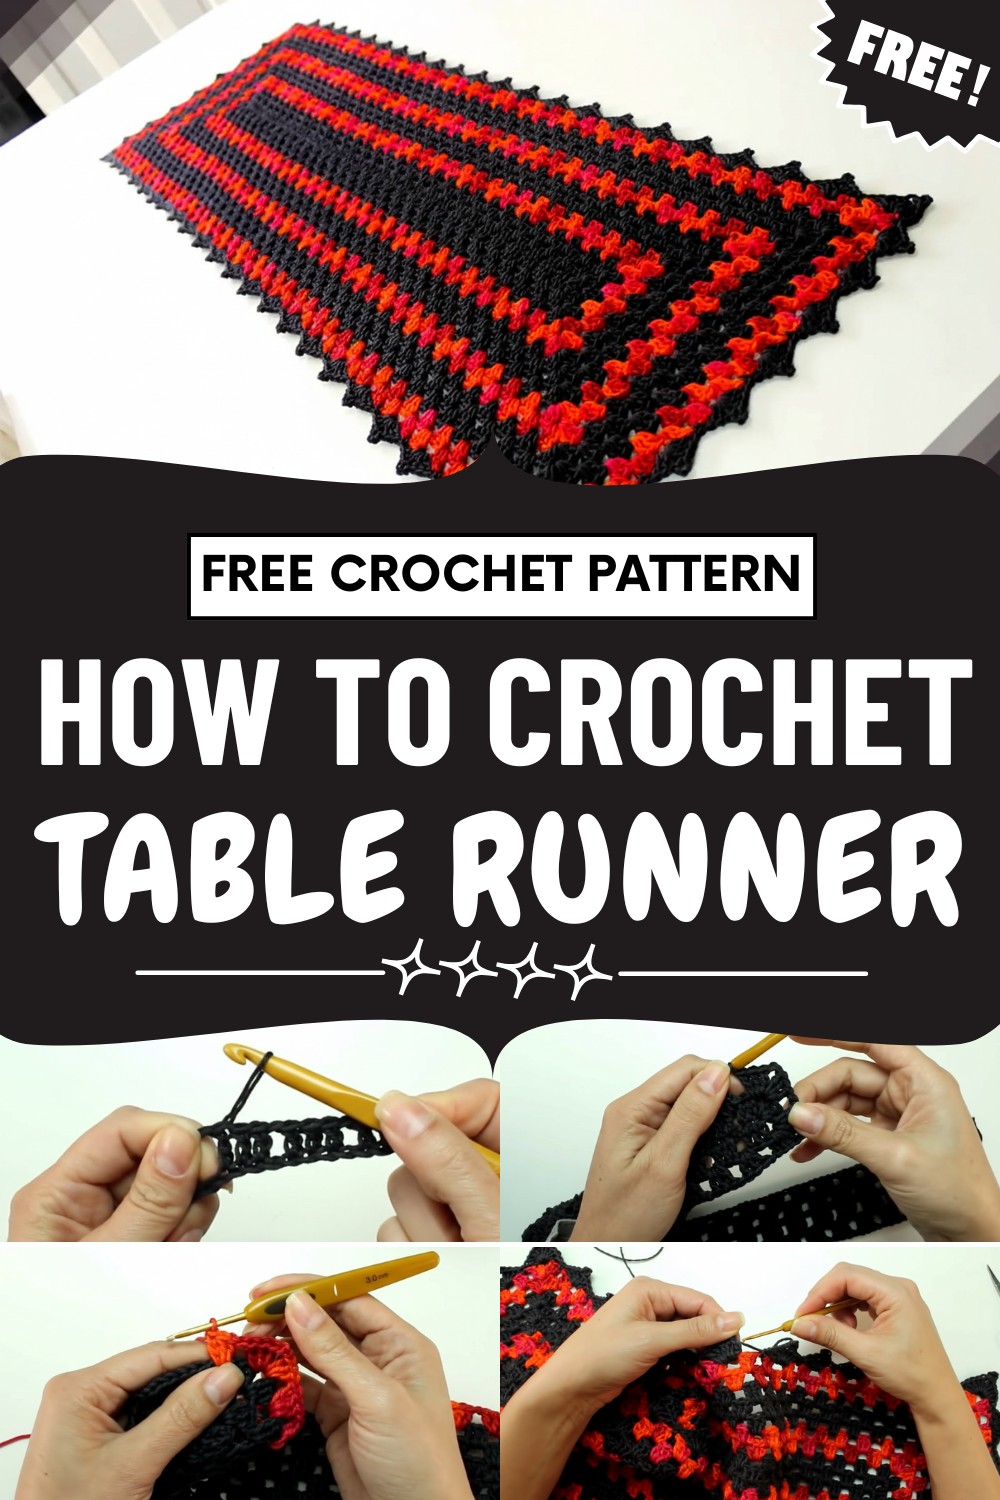
The design allows for customization in length, width, yarn type, and color palette, making it easy to match seasonal décor, holiday themes, or personal style preferences. Lightweight and easy to care for, it can be layered over plain or patterned tablecloths to elevate the tabletop effortlessly.
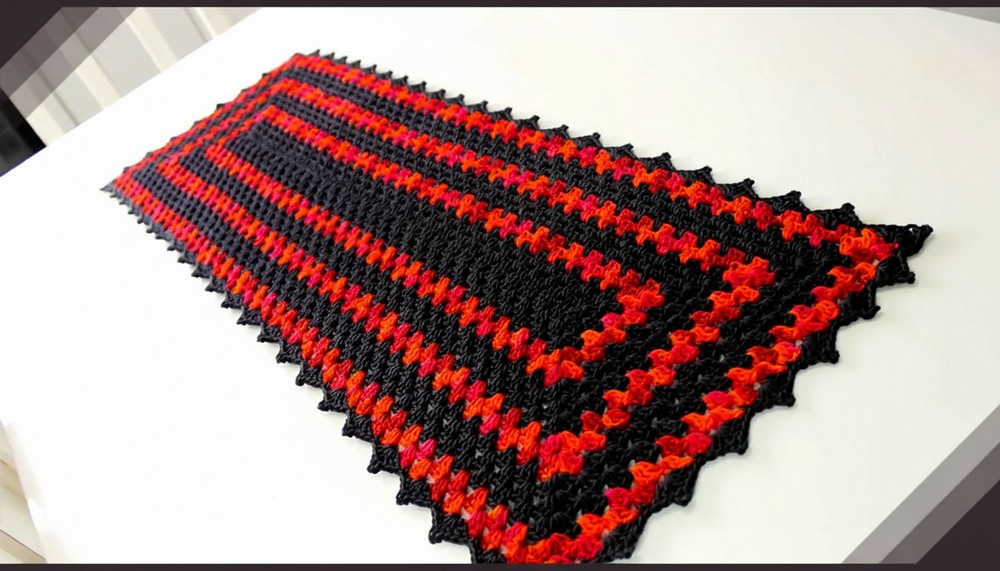
Finished pieces bring timeless charm, refined handmade beauty, and versatile elegance, transforming any table into a stylish and inviting centerpiece.
Materials
- Yarn: Number 4 cotton yarn (e.g., Contex 590). You’ll need about 1000 meters for a 100cm x 35cm runner, but adjust as per your desired size. Feel free to use leftover yarns, mix colors, or choose single shades.
- Crochet Hook: 3mm
- Tapestry Needle: For finishing touches and weaving in ends
- Scissors
Special Features
- Rectangular shape formed automatically by corners
- Alternating colors or use of leftover yarn encourages customization
- Simple, repeatable stitches
- Flexible sizing
- Beginner-friendly
Level of Difficulty
Easy / Beginner
Ju suggests even those new to crochet will find this project manageable. You mainly use chains, double (high) crochets, and slip stitches.
Pattern Step-by-Step
1. Decide Size
- Measure your table and decide runner length and width. Sample: 100 cm length x 35 cm width
2. Foundation
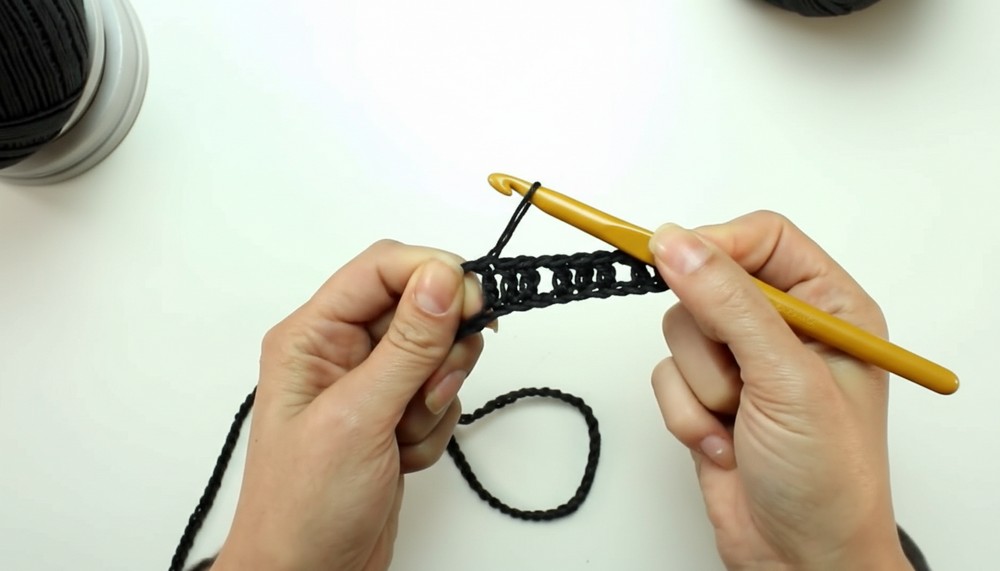
- Using your chosen yarn and 3mm hook, make a chain to match your desired length minus the width.
- Example:
To get 100 cm length and 35 cm width, chain for 65 cm. - In Ju's sample, 65 cm = 121 chains (your count may differ).
3. First Row
- Skipping first 3 chains, crochet 3 double crochets (high points) into each chain.
- After every group of 3 double crochets, make 1 chain, skip 1 chain, and repeat the process across.
- At the end, finish with 3 double crochets.
4. Turn & Side Row
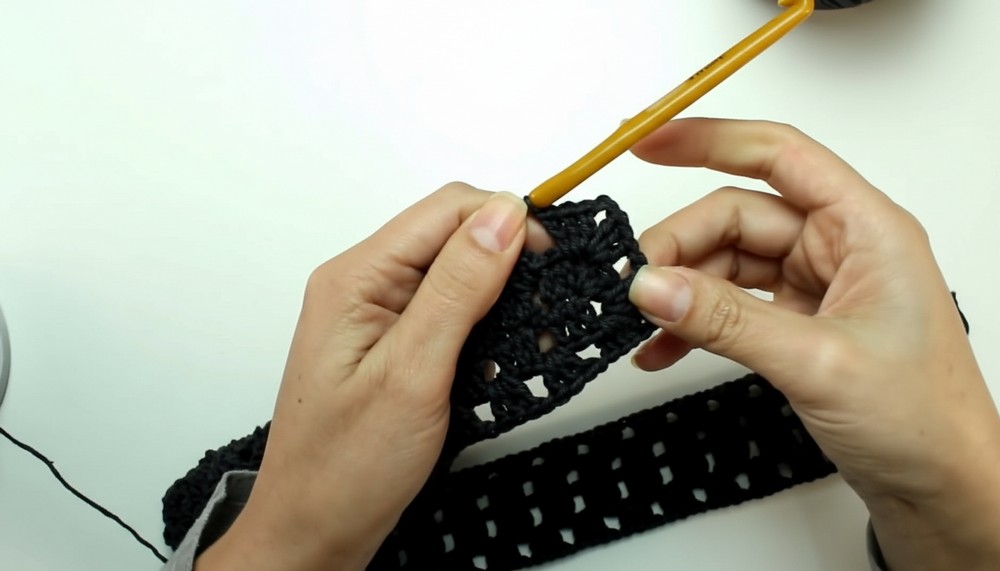
- Add 1 chain to turn.
- Work 3 double crochets on the last chain space.
- Each group starts with 3 double crochets in a chain space, separated by 1 chain.
- Repeat until the side is complete.
5. Corner Formation
- At corners, make:
- 3 double crochets
- 2 chains
- 3 double crochets in same space
- This creates the rectangle’s “tips,” causing your runner to grow.
6. Continue Rows
- Repeat:
- In each row, work 3 double crochets in every chain space.
- At corners, always do 3 double crochets, 2 chains, 3 double crochets.
- The sides grow as you add rows; soon you’ll see the rectangular shape.
7. Changing Colors
- To alternate colors, cut the previous yarn with a tail for weaving in.
- Add the new yarn in a chain space, leave a long tail for finishing later.
- Continue as before.
- Hide yarn tails using your tapestry needle, weaving them in behind the stitches.
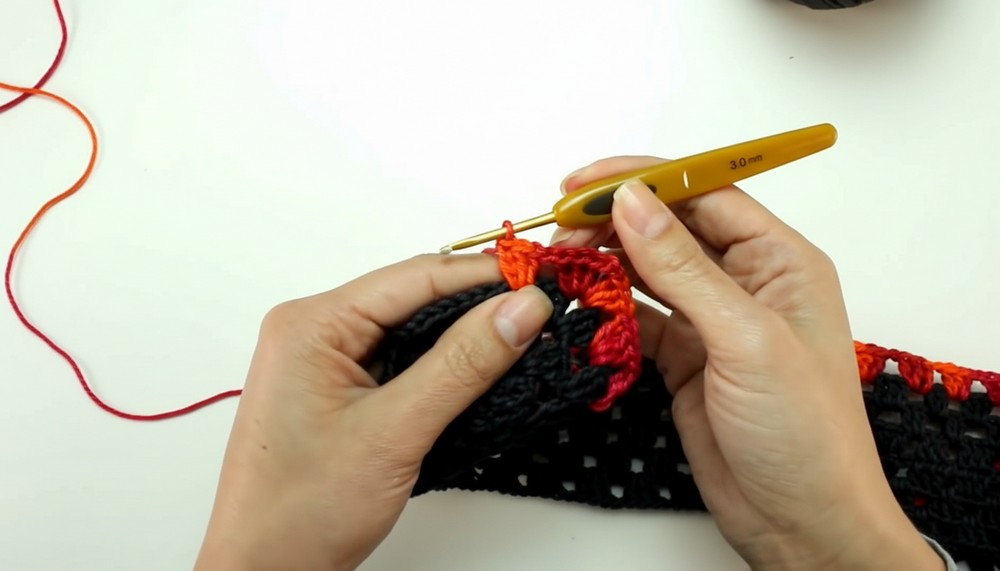
8. Finishing (Edge/Border)
- After reaching the desired width (e.g., 35cm), start edging:
- In any chain space:
- Crochet 2 chains and 2 double crochets
- Make 3 chains, attach with a single crochet in second/third stitch of previous group to accent the peak
- Crochet 3 double crochets in same space
- Secure with a single crochet in next space.
- Around the corners:
- Crochet 5 double crochets before the peak, then 5 after.
- Go all around your runner.
9. Final Weaving
- With a tapestry needle, weave in all remaining yarn tails through stitches, hiding them well.
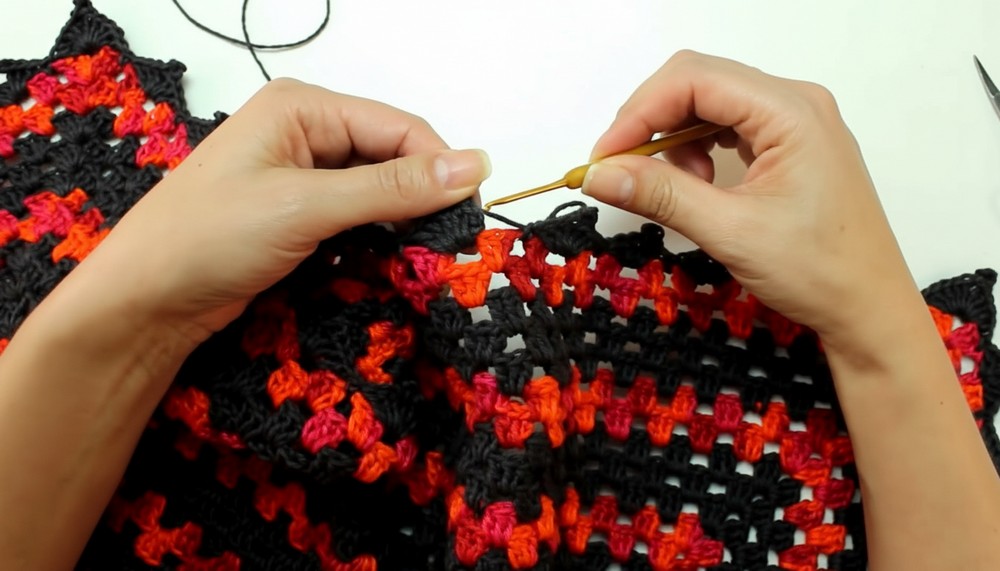
Tutor’s Suggestions
- Enjoy mixing yarns or use leftover bits; color alternation adds charm.
- For tableware, Ju prefers yarn #4; for rugs or bathroom sets, try #6 or #8.
- Use Christmas colors for a festive runner or a single shade for minimalist decor.
Uses
- Table runners for festive, formal, or everyday dining
- Sideboard or dresser decoration
- Gift for friends or family
Conclusion
Congratulations! You have created a stylish rectangular table runner that’s easy to personalize and perfect for brightening up your home. This pattern is ideal for beginners and encourages creativity through its color and sizing flexibility.
Tip
For a neat finish, always weave in yarn ends behind stitches of the same color and avoid pulling too tightly—this prevents puckering and keeps your runner flat and professional.




Leave a Reply