
Turn your autumn décor into something unforgettable with Crochet Pumpkin, blend cozy warmth, seasonal style, and a personal handmade twist.
Fall is a season of warmth and coziness, where homes transform into havens of rich colors and comforting designs. Crochet pumpkins perfectly capture this autumn charm, offering hand-stitched décor that's both beautiful and functional. These crocheted accents bring a delightful texture to mantels, tables, and quiet corners, infusing spaces with seasonal personality. Ideal for garlands, centerpieces, or eye-catching gifts, they cater to multiple uses while adding a special handmade touch.
Beginner-Friendly Crochet Pumpkin Pattern for This Fall
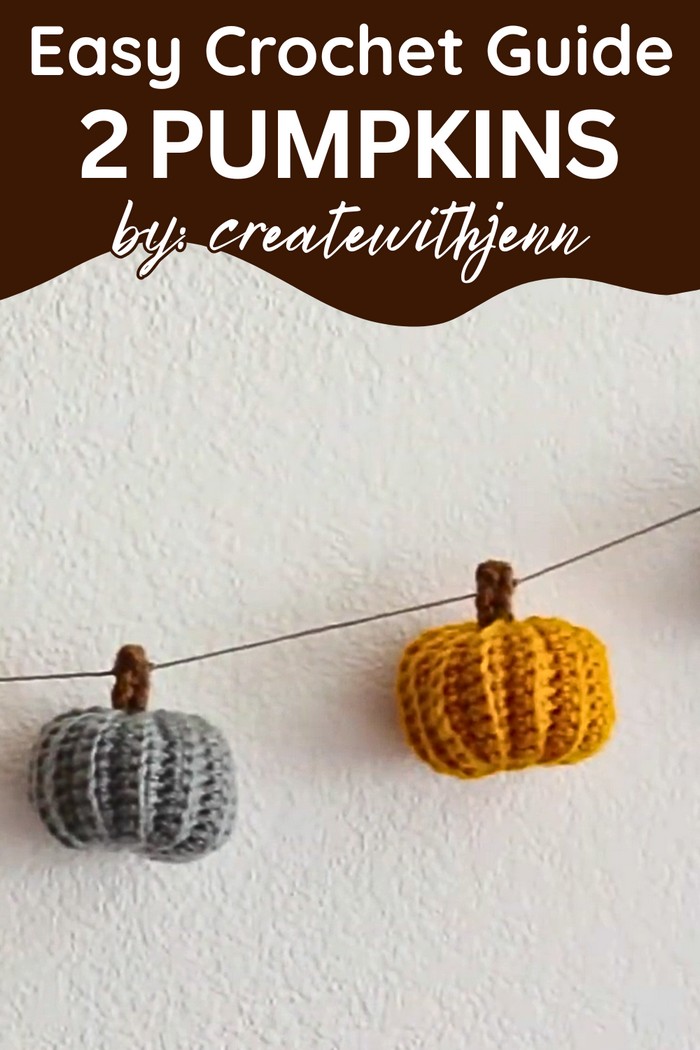
Their compact size and soft stuffing make them easy to store and rearrange, allowing versatility across various displays. With thoughtful stitching and careful assembly, they radiate warmth and skill in every detail. Perfect for beginners and experienced crocheters alike, these pumpkins transform humble yarn into unique masterpieces. You can experiment with color choices to match personal palettes or stick with classic orange for a traditional pumpkin vibe.
Decorative yet practical, these pumpkins are an affordable way to refresh your fall décor with a custom flair. Their charm lies not only in their appearance but also in their ability to evoke joy and creativity in those who design them. With every stitch, handcrafted pumpkins bring seasonal joy and a sense of accomplishment for creating something truly unique.

Crochet Pumpkins for Fall Garland
This pattern demonstrates how to crochet charming pumpkins for fall, offering step-by-step guidance on choosing the right size and crocheting the perfect garland. It's a fun and rewarding project for decorating your home and celebrating the autumn season with a personal touch.
Materials Needed
- Yarn: Choose colors to match your fall theme.
- F or 5 Crochet Hook
- Tapestry Needle
- Poly Fiberfill (for stuffing)
- Scissors
- Cord (for creating the garland)
Special Features of the Project
- Customizable Sizes: Tutorial explores making pumpkins in various sizes.
- Versatile Uses: Pumpkins can be used for a garland, standalone decorations, or even as gifts.
- Simple Techniques: Clear instructions for ribbed crochet texture and assembling a garland.
Step-by-Step Guide
1. Creating the Base of the Pumpkin
- Make a slip knot: Place the yarn over the hook, wrap it, and pull it through the loop.

- Begin with 13 chain stitches: 12 for the row and 1 to start the next row. Chain stitches should resemble a braid.
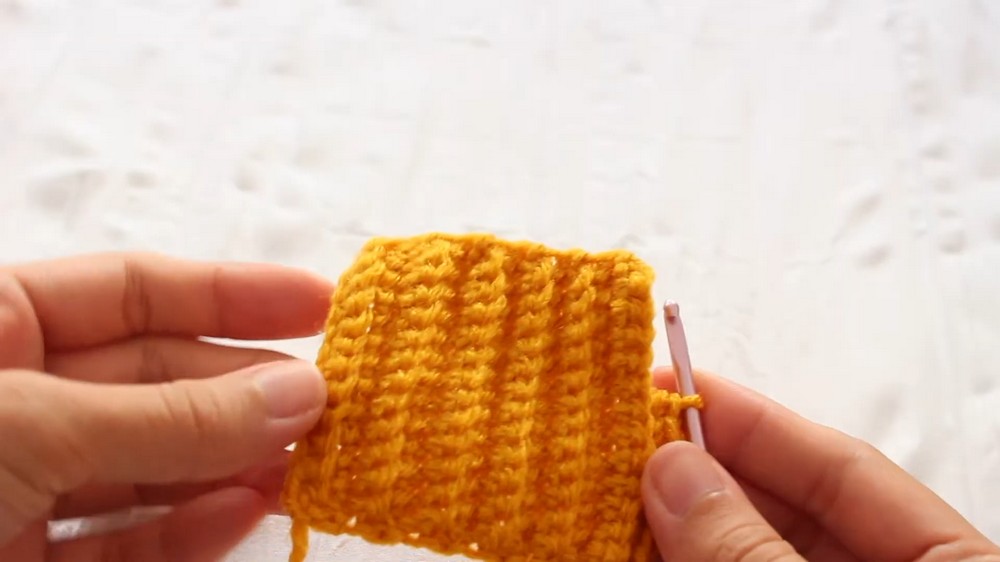
- Crochet rows using the back loop of each chain: Wrap the hook, pull the yarn through, and repeat the pattern to create a ribbed texture.
- Continue for 26 rows to form the base. Adjust the number of rows for bigger or smaller pumpkins.
2. Closing and Shaping the Pumpkin
- Cut a piece of yarn three times the length of the crochet piece.
- Connect the edges with overhand stitching using a tapestry needle.
- Sew along one edge and pull the yarn tight to close. Triple knot the yarn to secure.
- Add poly fiberfill for stuffing. Sew the other edge, pulling tightly to form the pumpkin shape.
- Tug the yarn to shape and scrunch the pumpkin for the desired look.

3. Crocheting the Stem
- Crochet an i-cord for the stem:
- Leave yarn about the length of the crochet hook before making a slip knot.
- Make 3 chain stitches, then form loops with the yarn to create rounds.
- Carefully remove two loops, then wrap and pull the yarn through each one. Repeat for 3 rounds.
- Finish by wrapping through all loops and adding a chain stitch.
- Attach the stem to the pumpkin: Sew the ends through the pumpkin top, create an "X" shape, and secure with a triple knot.
4. Making the Garland
- Use a cord to assemble your garland:
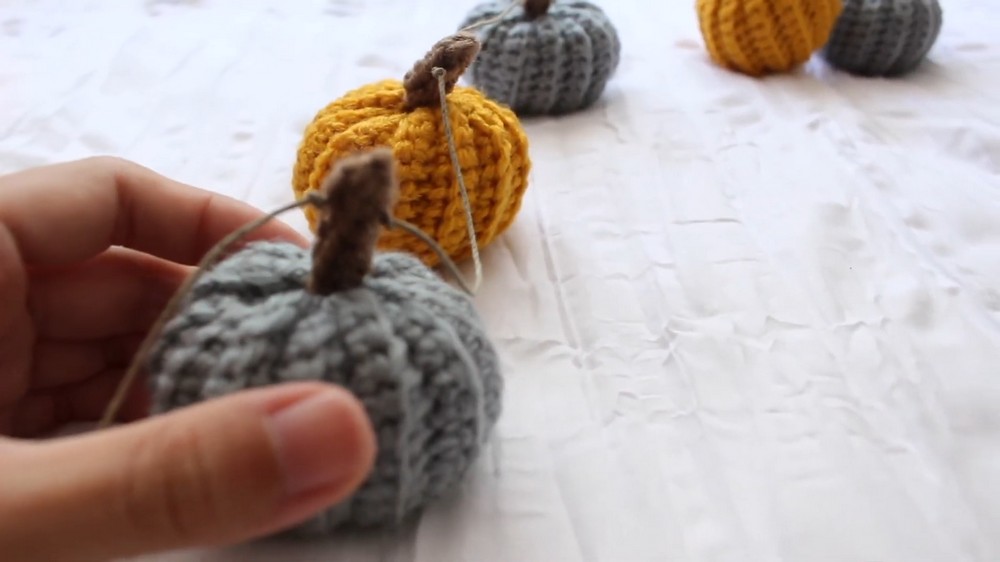
- Knot one end of the cord and thread it through the stem of each pumpkin.
- Leave 4 inches of spacing between pumpkins by knotting the cord. Repeat until the desired garland length is achieved.
Level of Difficulty
This project is beginner-friendly, utilizing simple techniques such as chain stitches and basic sewing. However, maintaining consistency in stitches requires focus and patience.
Tutor’s Suggestions
The tutor recommends experimenting with sizes to suit your decorative needs. Testing different chain stitch and row counts ensures the pumpkins fit your desired aesthetic.
Uses of the Crochet Pumpkins
- Fall-themed garlands for mantels, doorways, or walls.
- Table centerpieces for seasonal gatherings.
- Room decorations to infuse autumn vibes.
- Handmade gifts to share with loved ones.
Tip
For a sturdier pumpkin, use tighter stitches and firm stuffing. Also, ensure consistent stitch tension to achieve uniform sizes for your garland.
Conclusion
This crochet pumpkin project is a delightful way to celebrate the fall season with creative handmade décor. Whether used on a garland or placed individually around your home, the pumpkins bring charm and warmth to your space. With straightforward materials and easy-to-follow instructions, this project is perfect for crocheters of all skill levels.




Leave a Reply