
Unique Crochet Capybara Pattern for Modern Charm
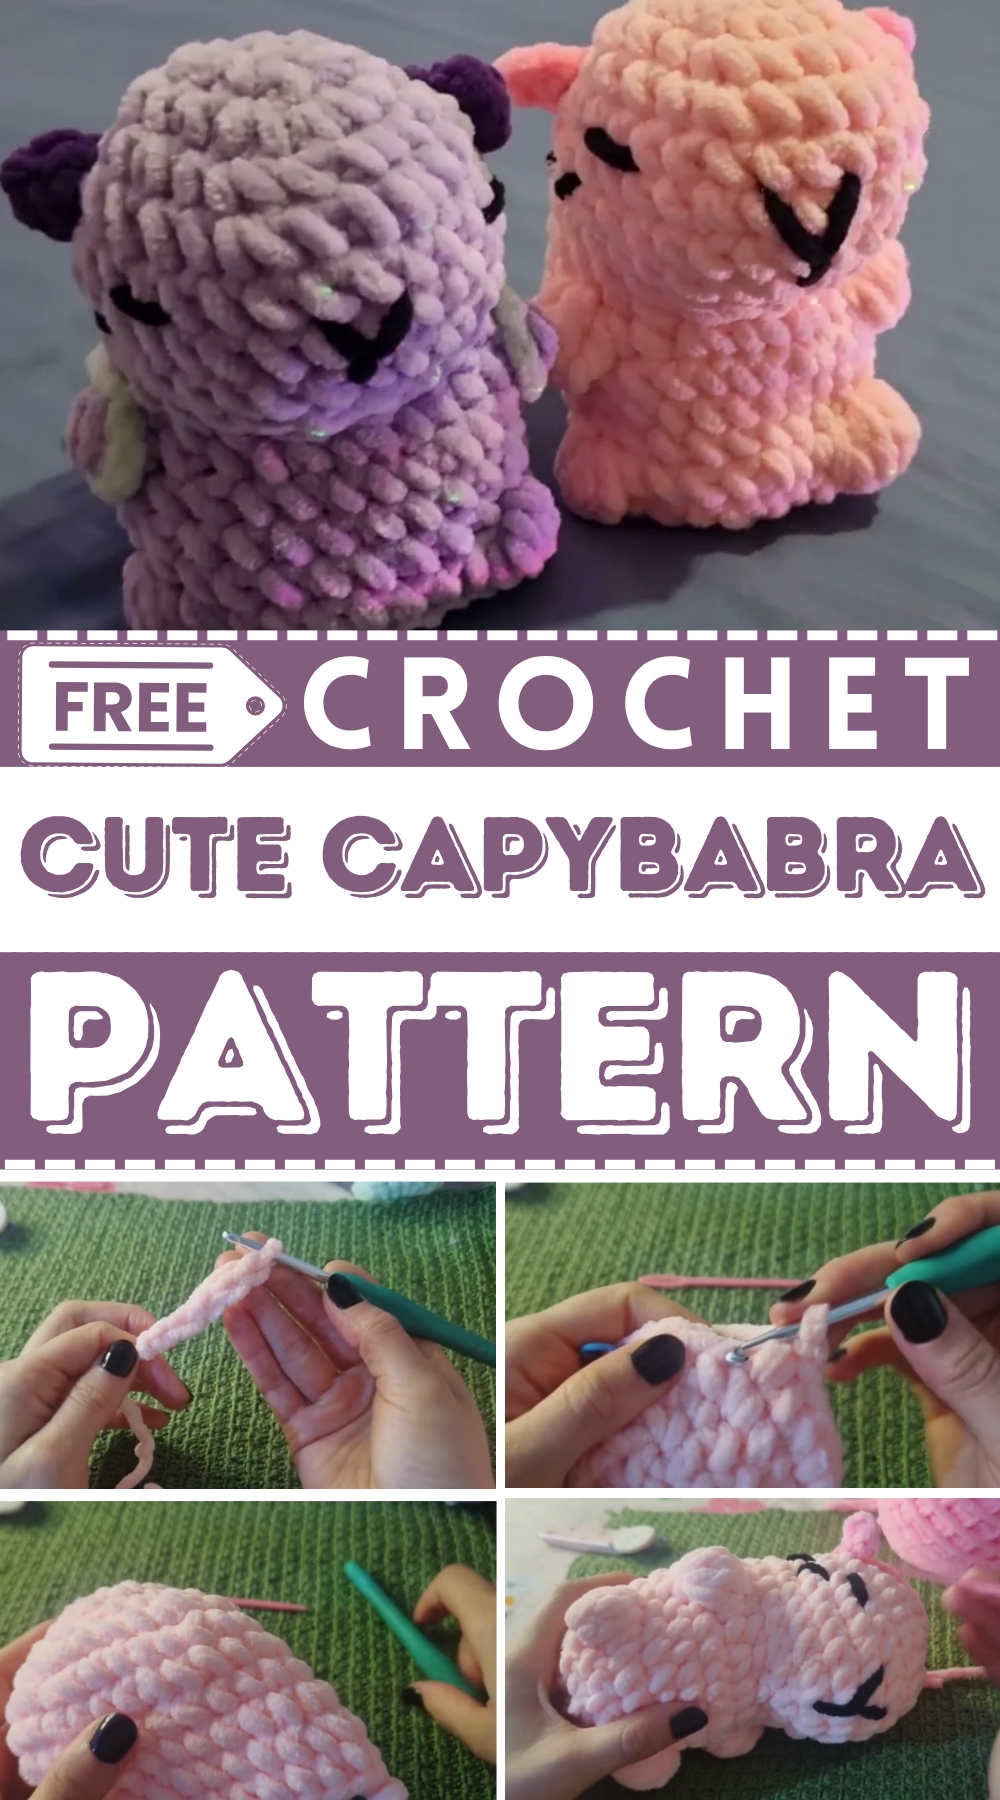
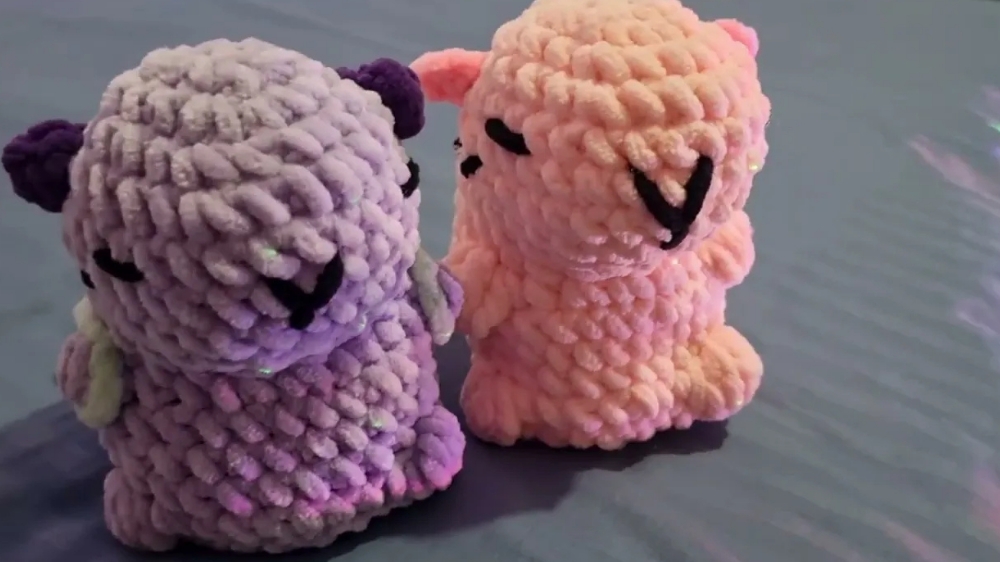
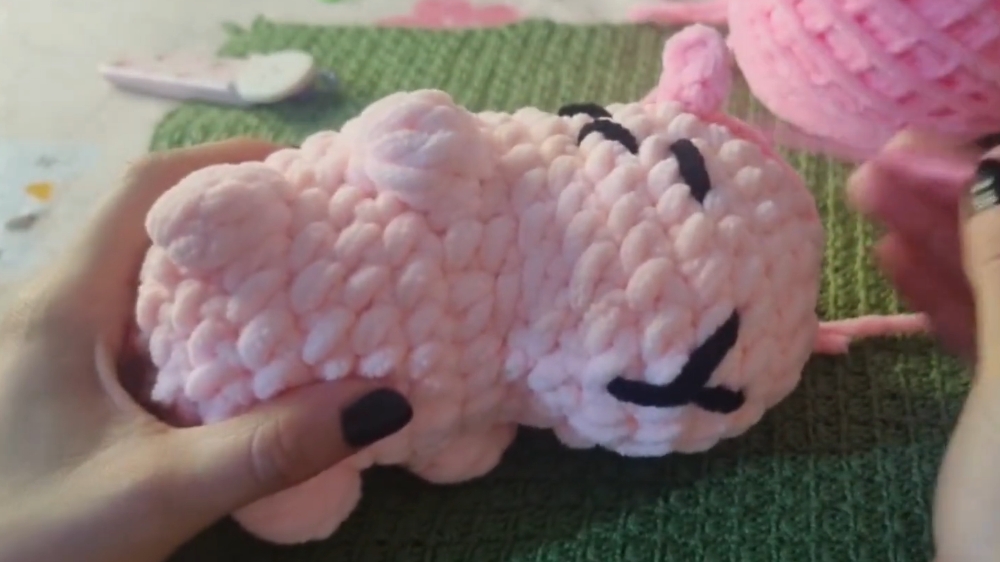
Its geometric structure also ensures a polished final product by guiding gradual increases and decreases. Finishing touches, such as simple embroidered eyes and delicate ears, highlight the capybara’s charm. Helpful tips include closely observing stitch placement, particularly around bubble stitches, to avoid skipping or miscounting rows.
Marking the bubble stitch with contrasting thread ensures smoother transitions to subsequent rounds. The result is a well-balanced, charming amigurumi capybara that makes a wonderful desk companion. The pattern blends simple techniques with unique elements to ensure enjoyable stitching and a beautiful outcome
Materials Needed
To start crocheting your capybara, you’ll need the following materials:
- Yarn: Light brown or any color of your choice for the body.
- Crochet hook: Suitable to match your yarn thickness.
- Stuffing: Polyester fiberfill to shape the capybara.
- Tapestry needle: For sewing and assembling parts.
- Scissors: To cut yarn and trim excess.
- Stitch marker: To keep track of rows.
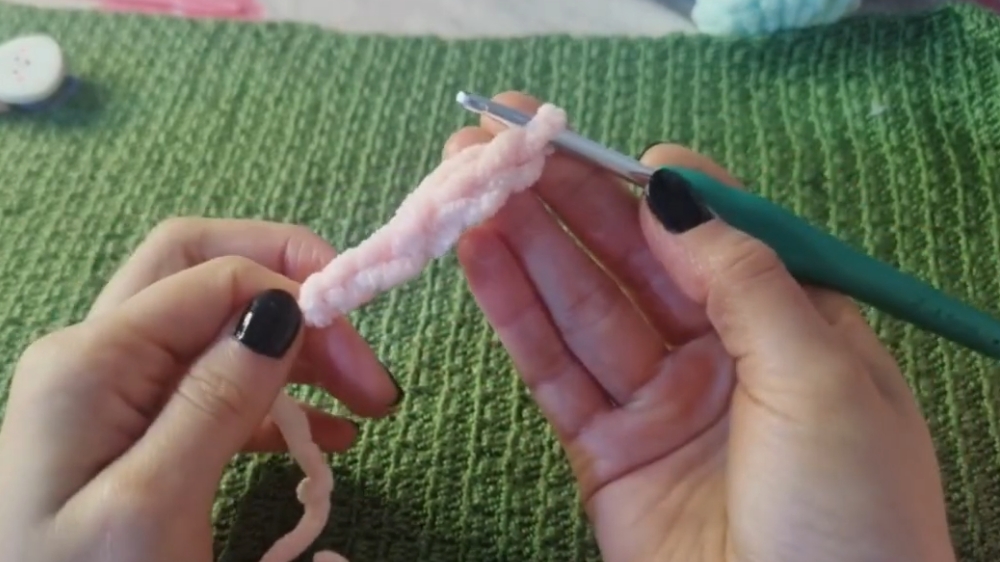
The stitching process begins with a slip knot, followed by chains to build the base of the body. Single crochet stitches dominate early rounds, transitioning to evenly distributed increases to shape the body and head segments.
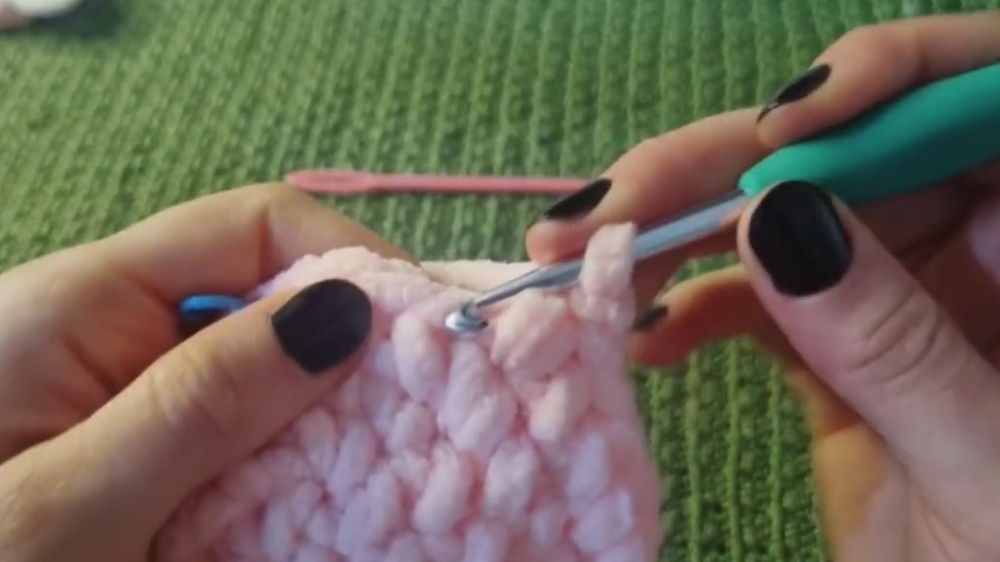
Unique techniques, such as bubble stitches, are crucial for achieving the raised texture of the arms and legs. As the tutorial progresses, crocheters are encouraged to use markers to track initial stitches in each round, ensuring accuracy in spacing and placement. The process involves strategic decreases to contour the head and tail sections, creating a smooth taper.
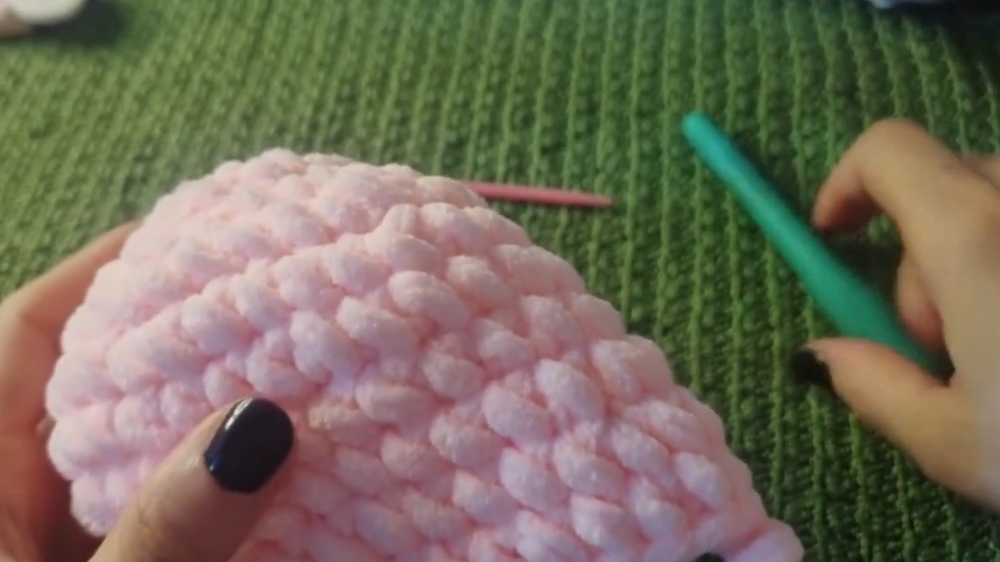
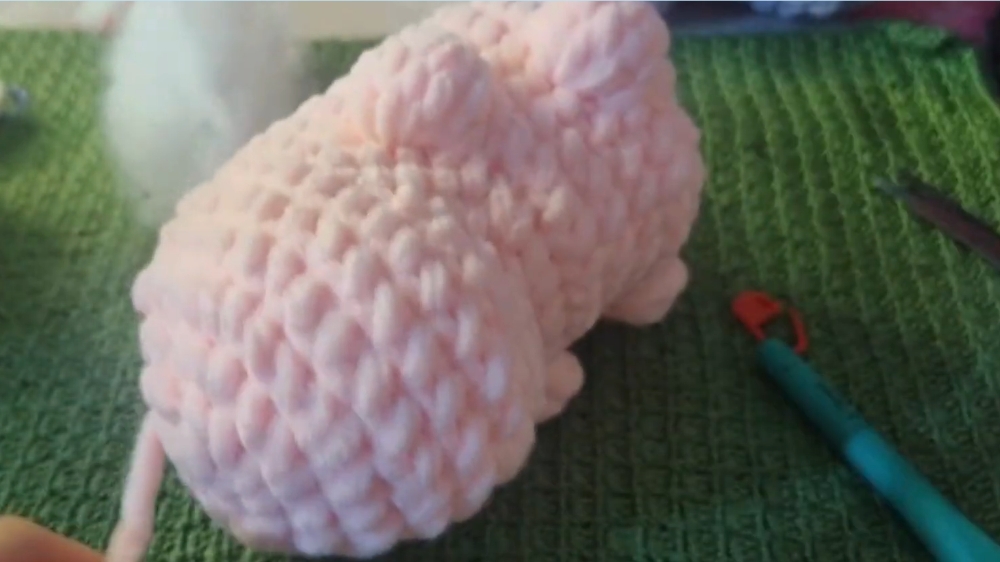
For assembly, the final steps involve finishing smaller details like the ears, made using two chains and connected back to the body with slip stitches. Filling the miniature with fiber stuffing should be done gradually, avoiding overfilling around tighter sections. Using a tapestry needle ensures precise sewing and hidden knots during final assembly.
Special Features of the Capybara Pattern
- Compact and Cute Design: The finished capybara is tiny yet detailed, perfect for tabletop decor.
- Customizable Colors: Choose any shade to suit your taste and preferences.
- Practical Hands: Includes techniques like bubble stitches for creating three-dimensional arms and legs.
Difficulty Level
This project caters to beginner-to-intermediate crocheters, as it requires knowledge of simple stitches (chain, single crochet, and slip stitch) plus increases, decreases, and bubble stitches.
Tutor’s Tips and Suggestions
- On Stitch Placement: When working on bubble stitches, carefully identify stitches around them to maintain accurate counts in the next round.
- Consistency Matters: Use a stitch marker to keep track of where each row begins—this is especially helpful when working on smaller details like arms and legs.
- Filling Advice: Stuff the head and body proportionally to avoid overexpansion or underfilling.
Potential Uses of the Capybara Amigurumi
- Decorative Item: Display it on your desk, shelves, or as part of a collection.
- Gift Item: A handmade gift for animal lovers, children, or fans of cute home decor.
- Keychain or Ornament: With slight modifications, it can act as a keychain or handbag charm.
Step-by-Step Instructions
This adorable capybara amigurumi project is a fun and rewarding way to enhance your skills. Based on the detailed tutorial, this pattern walks you through each step to crochet a cute and customizable capybara. With simple techniques and basic materials, you can bring this charming animal to life and enjoy it as a decorative piece, toy, or gift.
Conclusion
This crochet capybara pattern is an exciting and gratifying project for anyone looking to create a cute, lifelike version of one of nature’s most charming creatures. The detailed pattern provides all the technical guidance you’ll need, making it simple to follow along and build your skills. With a bit of practice and creativity, you'll have your own handmade capybara in no time.
Bonus Tip
When closing your amigurumi piece, use a strong yet gentle pull on the yarn tail—it ensures a neat finish without straining the material. Secure the end by threading the needle through multiple stitches inside the body to make the knot invisible.




Leave a Reply