
Surprise your loved ones with cheerful blossoms using this Crochet Mini Flower Bouquet Pattern, perfect for quick gifts or cute home décor.
Delicate clusters of handmade flowers bring a timeless charm to any special moment. Elevating both décor and gifting, a petite crochet bouquet combines artistic craftsmanship with endless color possibilities, offering a beautiful way to celebrate spring, brighten a work desk, or add a thoughtful flourish to handmade cards and gifts.
Blooming Crochet Mini Flower Bouquet Pattern for Spring Cheer
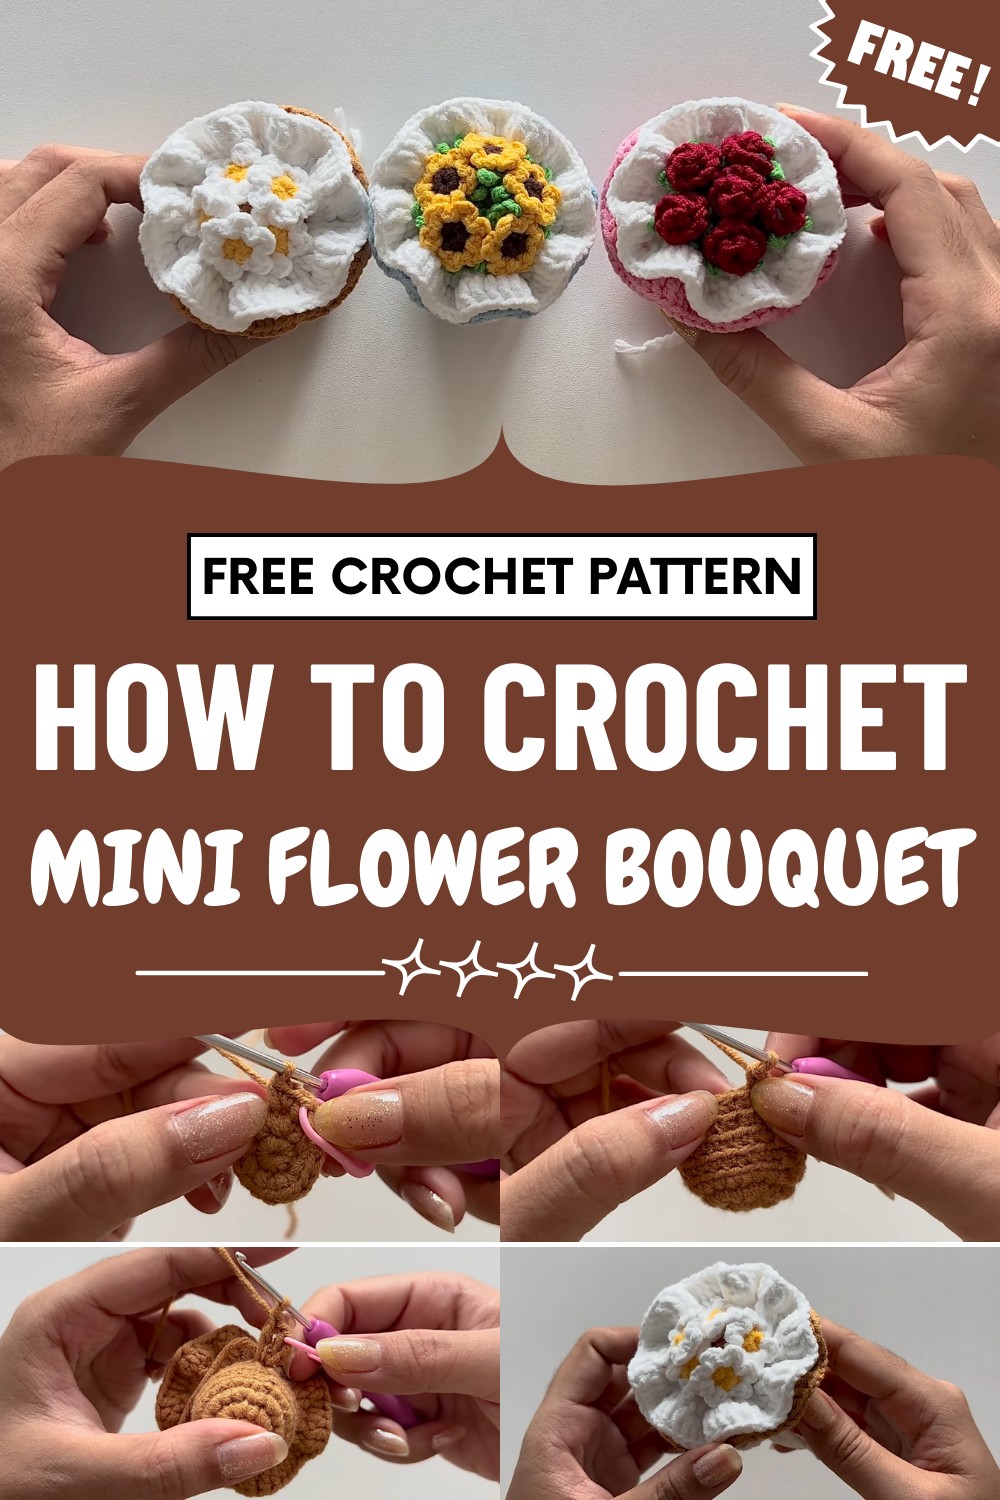
Its versatility shines—displayed in a tiny vase, used as a wedding favor, or serving as a whimsical embellishment for a bag or accessory. Each arrangement feels unique, as the pattern allows the maker to mix flower styles and hues, personalize stems and ribbons, and choose from modern or classic looks.
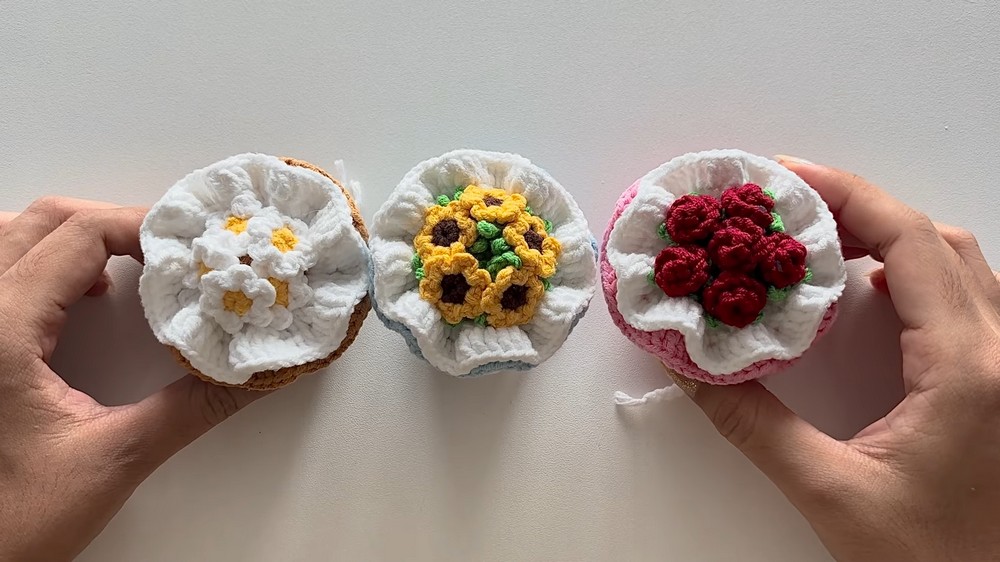
Small enough for beginners yet captivating for experts, this project is quick to finish and adds lasting beauty wherever it’s placed. The present trend celebrates the mini bouquet for its eco-friendly nature and cheerful presence, making it a perfect token of joy and creative skill in today’s world.
Special Features
- Modular Design: Create roses, sunflowers, and daisies, or swap in your favorite small crochet blooms.
- Lifelike Texture: Petal layering and ruffled wraps give a realistic bouquet look.
- Customizable: Easily vary colors, bouquet size, or even use as an applique.
- Quick & Satisfying: Each bouquet works up quickly—great for gifts or craft fairs!
Level of Difficulty
Confident Beginner
You should know how to work in the round, single/double/half-double crochet, increase, decrease, slip stitch, and back loop only. Some hand-sewing/assembly, hot glue, and basic finishing are required.
Suggested Materials
- Milk cotton yarn or any soft acrylic/cotton yarn (multiple colors)
- 2.5 mm crochet hook
- Stitch marker
- Yarn needle
- Scissors
- Hot glue gun
- Polyester fiberfill (for stuffing)
- Optional: Ribbon
- Optional: Substitute/expand with favorite flower motifs
Uses
- Cute mini bouquets for gifts, party favors, decor, or pin cushions
- Craft fair sellers—these are fast and in-demand
- Embellishments for bags, hats, or clothing
Abbreviations
- ch: chain
- sc: single crochet
- sl st: slip stitch
- dc: double crochet
- hdc: half double crochet
- inc: increase (2 sc in one stitch)
- dec: decrease (sc 2 together)
- BLO: back loop only
Step-by-Step Pattern
A. Bouquet Base
- Start: With base color (e.g., brown), make a magic ring.
- Round 1: Work 8 sc in the ring, pull to close. Sl st to first st. Ch 1.
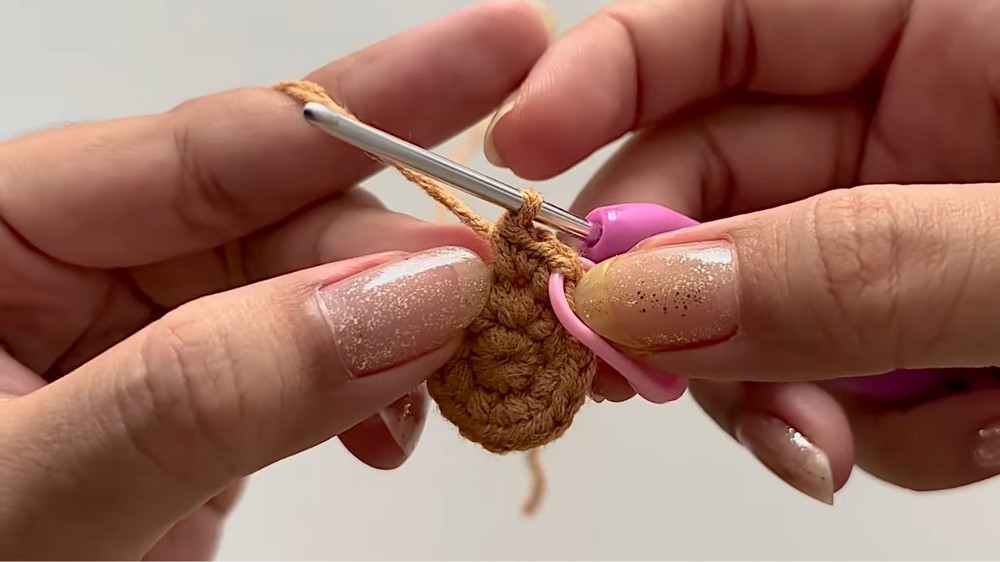
- Round 2: Increase around (2 sc in each stitch) – 16 sc. Sl st to first st, ch 1.
- Round 3: (Sc in next st, inc in next) repeat around – 24 sc. Sl st to first st, ch 1.
- Round 4: Sc BLO in every st around – 24 sc. Sl st to first st, ch 1.
- Round 5-6: Repeat Round 4 – sc BLO in every st around. After each round, sl st to first st, ch 1.
- Round 7: (2 sc, dec) repeat 6x around (BLO) – 18 sc. Sl st to first st, ch 1.
- Round 8: Sc BLO in every st around – 18 sc.
- Round 9: (Sc, dec) repeat 6x around (BLO) – 12 sc. Sl st to first st, ch 1.
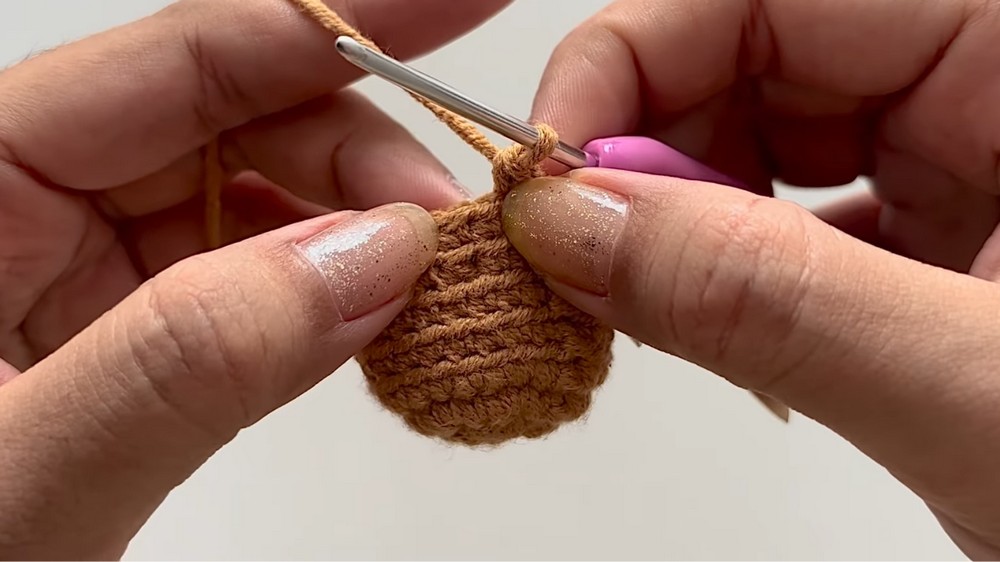
- Round 10: Sc BLO in every st around – 12 sc.
- Stuff base with fiberfill.
- Round 11: (dec) around 6x – 6 sc.
- Fasten off, thread yarn through final loops to close hole, weave in end.
- Set aside. This forms the body of your bouquet.
B. Lower Wrap Layers
1st Lower Layer (use a layer color, e.g., tan/brown):
- Working into the BLO of Round 9, join yarn.
- Ch 2 (does not count as st).
- (2 dc in each loop) around – 12 increases.
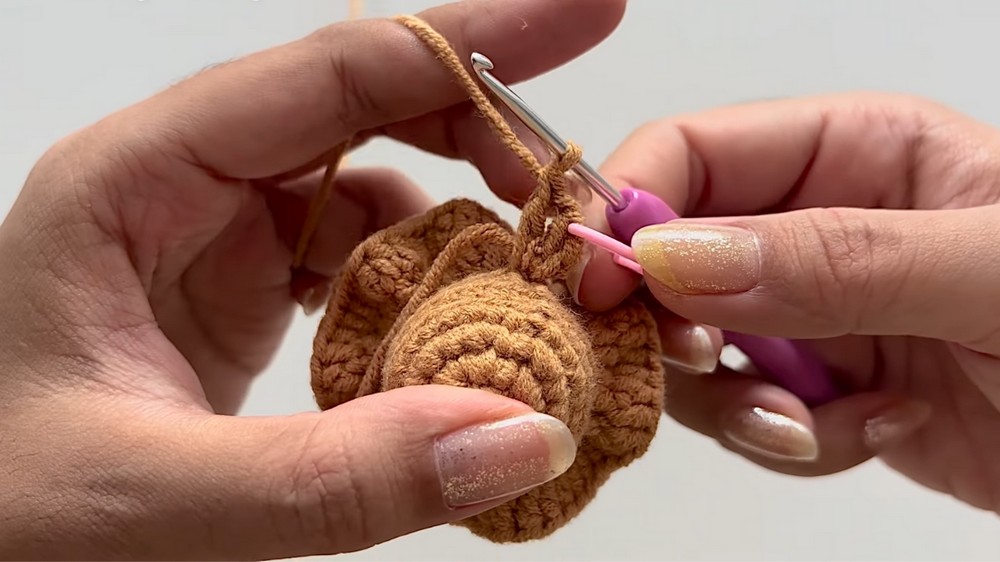
- Sl st to first st. Ch 2.
- Next round: (1 dc, 2 dc in next st) around – 18 sts.
- Fasten off, neatly weave/hide ends, shape ruffle.
2nd Lower Layer:
- Working into the BLO of lower round (as pattern), join new yarn.
- Ch 2.
- (hdc, ch 1, hdc) in each loop around.
- Sl st to first st. Ch 2.
- (hdc in st, hdc in ch-1, hdc in next hdc) repeat across.
- Fasten off, neatly weave/hide ends.
C. Upper Wrap Layers
Repeat this motif in three different rounds up the base, changing colors as desired.
- In chosen round, join yarn. Ch 2.
- (dc, ch 1, dc) in each loop around.
- Repeat as needed for 2-3 layers, changing colors as you wish. Finish off and weave ends after each layer.
D. Wrap Separator
- With white yarn, ch 21.
- Starting from the 2nd ch from hook, sc in each ch (20 sc).
- Fasten off, leave a long tail.
- Place between the upper and lower wraps, sew ends together in the back. Hide ends.
E. Ribbon
- With white yarn, ch 50. Fasten off.
- Thread through the bouquet's middle and tie as a bow.
F. Flowers
(1) Rose
- With red yarn, ch 7.
- Starting from 2nd ch: 2 sc in each ch, repeat entire row. (Creates a long, curving ruffle).
- Fasten off, thread tails through, roll up the piece into a spiral and secure with hot glue.
- Make leaves: With green yarn, make magic ring, [ch 3, sl st in 2nd ch, sc in next ch, sl st in ring] three times, pull closed. Attach with hot glue.
- Make 6 roses total.
(2) Sunflower
- With brown, make magic ring, 6 sc in ring. Before closing round, join yellow yarn.
- Sl st to first st.
- (Sl st, ch 1, sc in same st, ch 1, sl st in same st) in each st around (petal made). Repeat for all 6 petals.
- Leaves: With green, magic ring, (ch 4, sl st in 2nd ch, sc in next ch, hdc in next, sl st in ring) three times. Pull tail to close. Glue leaves behind sunflower.
- Make 5 sunflowers total.
(3) Daisy
- Same as sunflower, but use yellow for center, white for petals.
- No leaf required.
- Make 5 daisies total.
G. Assembly
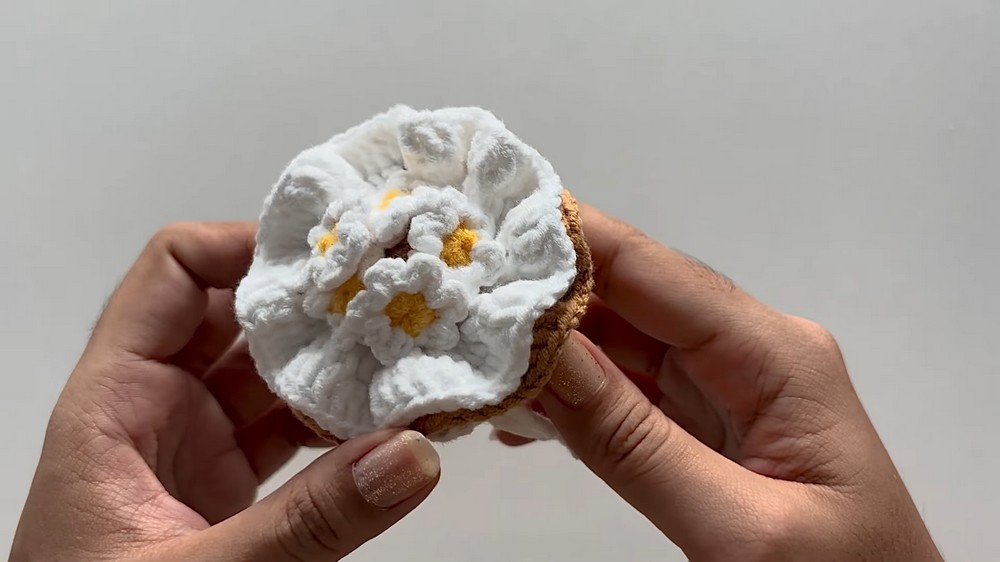
- For rose bouquet: Place one rose at center of bouquet base, glue. Surround with remaining 5 roses.
- For sunflower/daisy bouquet: Arrange 5 flowers in a ring and glue in place; no center flower.
Tutor’s Suggestions
- Work tightly to ensure firm base and crisp edges.
- Mix up flower colors for a fun, vibrant bouquet.
- Hot glue is perfect for assembling tiny parts easily and safely.
- Weave in all yarn tails for a clean, neat finish.
Conclusion
Your mini bouquets are now ready! Display them on your desk, gift them to friends, or decorate your home with these forever-blooming beauties. Each bouquet is quick, customizable, and bursting with charm. Enjoy creating this delightful crochet project!
Tip
When crocheting in the round, use a stitch marker to mark your first stitch—this makes counting and shaping much easier!




Leave a Reply