
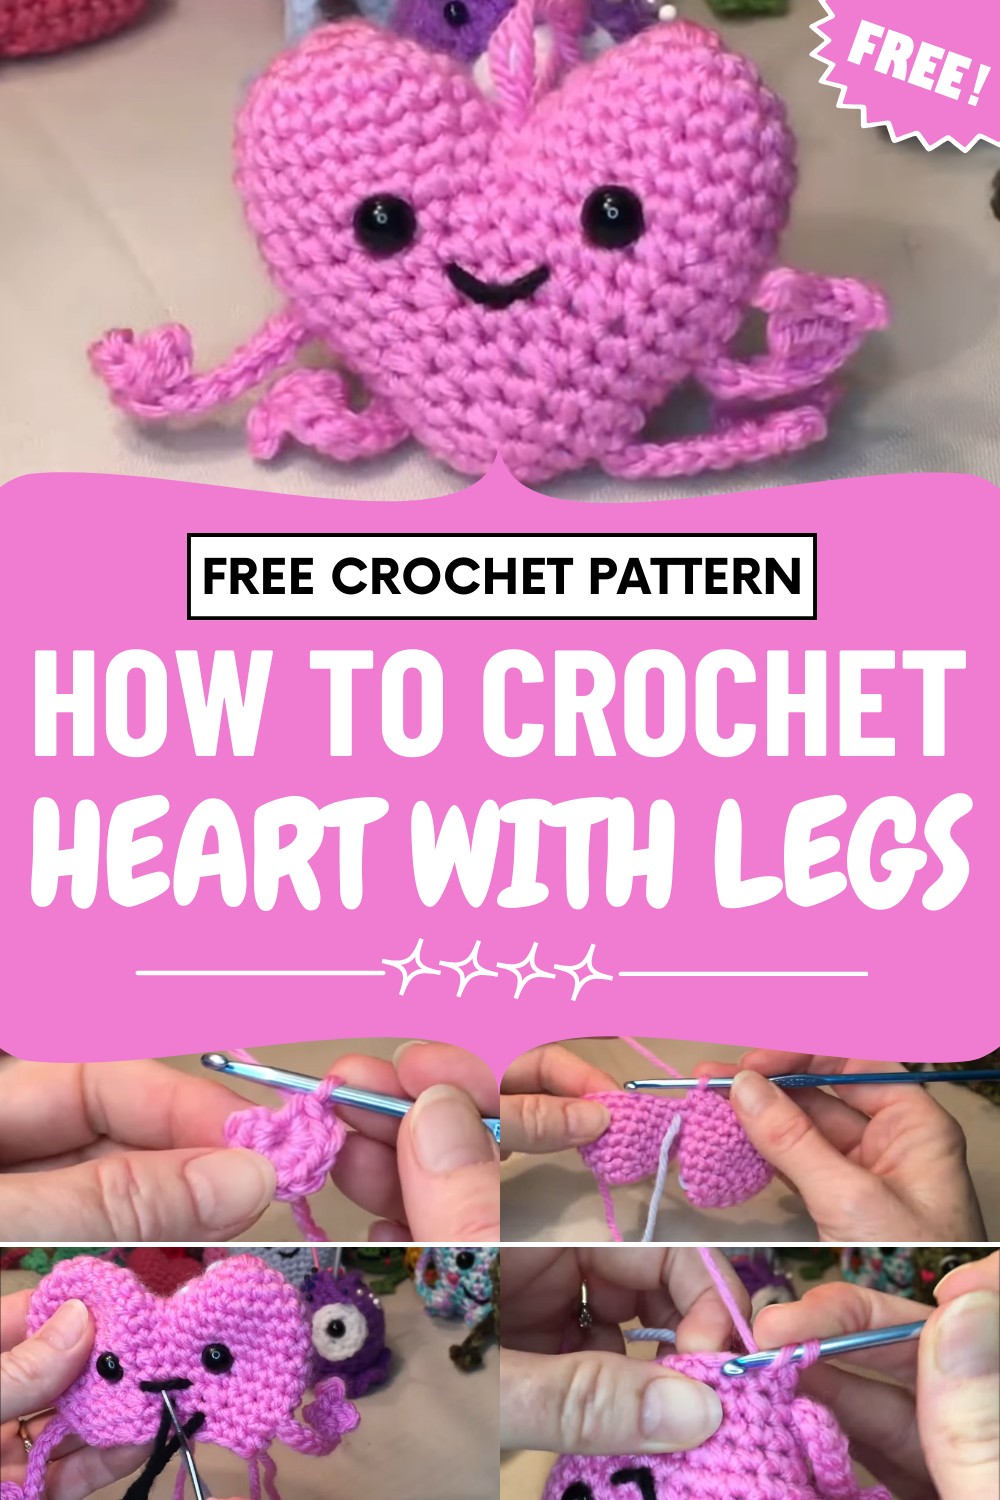
Bring smiles with this Crochet Heart With Legs Pattern perfect for whimsical accents, fun décor, and adorable details that brighten any space.
A whimsical twist on a classic favorite, this design brings personality and charm to any space. The Crochet Heart With Legs Pattern transforms simple yarn into a playful, three-dimensional figure that is perfect for gifts, home décor, or as a cute companion for children and adults alike. Its cheerful shape and tiny legs add movement and character, giving it a lively and endearing appearance that captures attention instantly.
Tiny Crochet Heart With Legs Pattern Full of Cute Personality
Following the pattern helps enhance shaping skills, stitch consistency, and attention to detail, offering a fun and rewarding crocheting experience. Lightweight yet sturdy, the finished heart can be displayed on shelves, tucked into bags, or used as a quirky decorative accent.
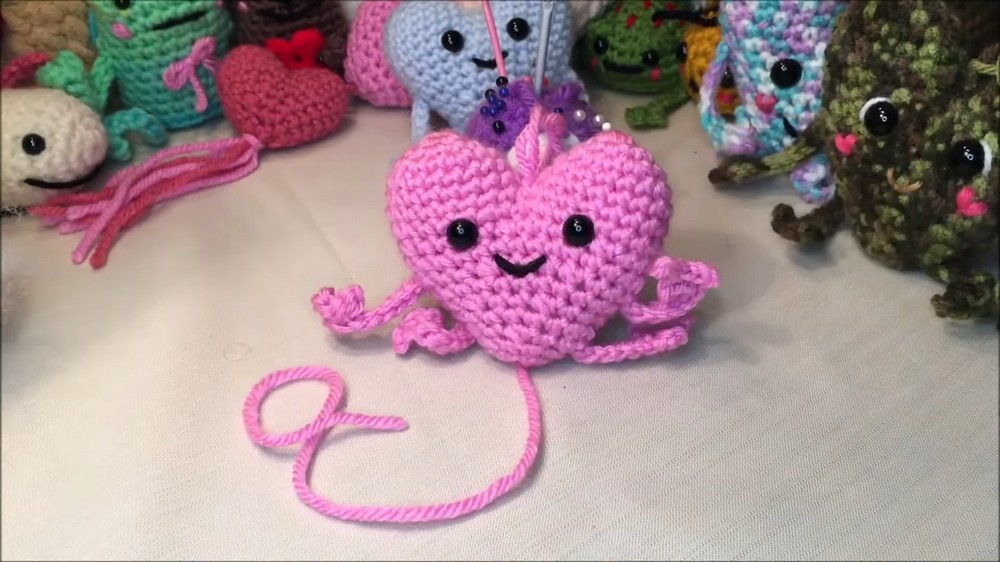
The soft texture and balanced proportions make it visually appealing from every angle, while its playful design spreads warmth and joy. This pattern turns yarn into a delightful, expressive piece that blends creativity, charm, and practical fun seamlessly.
Special Features:
- Cute noose-style arms and legs for a playful touch
- 3D design, perfect for plushies or keychains
- Includes facial features—customize with your own expression
- Seamless join for a neat and tidy look
Difficulty Level:
Beginner to Advanced Beginner. If you are comfortable with single crochets, increases, decreases, and working in the round, you’ll find this project approachable.
Tutor's Suggestions:
- Count your stitches carefully, especially during increases and decreases
- Mark rounds to avoid losing your place
- Use a darning needle for neat finishing
- Insert eyes and mouth after most shaping, before closing final rounds
Uses:
- Bag charm or keychain
- Cute plush toy
- Valentine’s Day or friendship gift
- Desk or nursery decor
Materials:
- Medium weight (#4) yarn in your choice of color
- 3.75 mm crochet hook
- 10 mm safety eyes (other sizes, like 12mm or 14mm, also work)
- Yarn needle for sewing
- Stitch marker (optional but helpful)
- Polyester fiberfill stuffing
- Scrap of black yarn or embroidery thread for the mouth
Step-by-Step Pattern
Note: Each side of the heart is worked separately, then joined together.
First Half of Heart
- Foundation and Row 1:
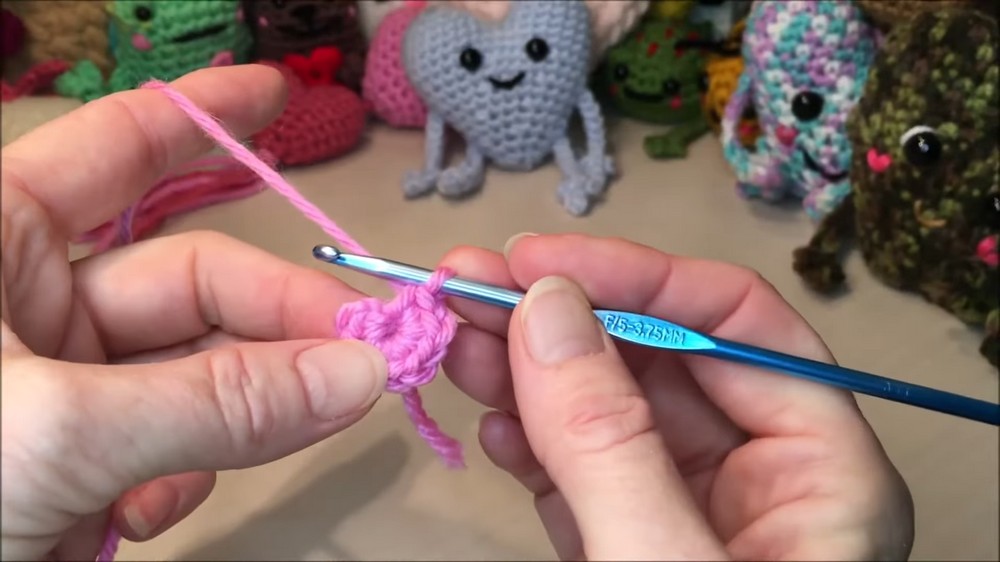
- Start with a slip knot and chain 1 (does not count as a stitch).
- Work 8 single crochets (sc) into the loop. Tighten the loop to close the center.
- Row 2:
- [1 sc, 1 increase] repeat around (total 12 sts).
- Row 3:
- [1 sc, 1 increase] repeat around (total 18 sts).
- Rows 4–5:
- Sc in each st around for 2 rounds (total 36 sts).
- Finish First Half:
- Slip stitch to finish, leaving a tail for sewing later.
Second Half of Heart
- Repeat Steps 1–4:
- Make another identical heart side as above, but don’t tie off.
Join Halves
- Row 6:
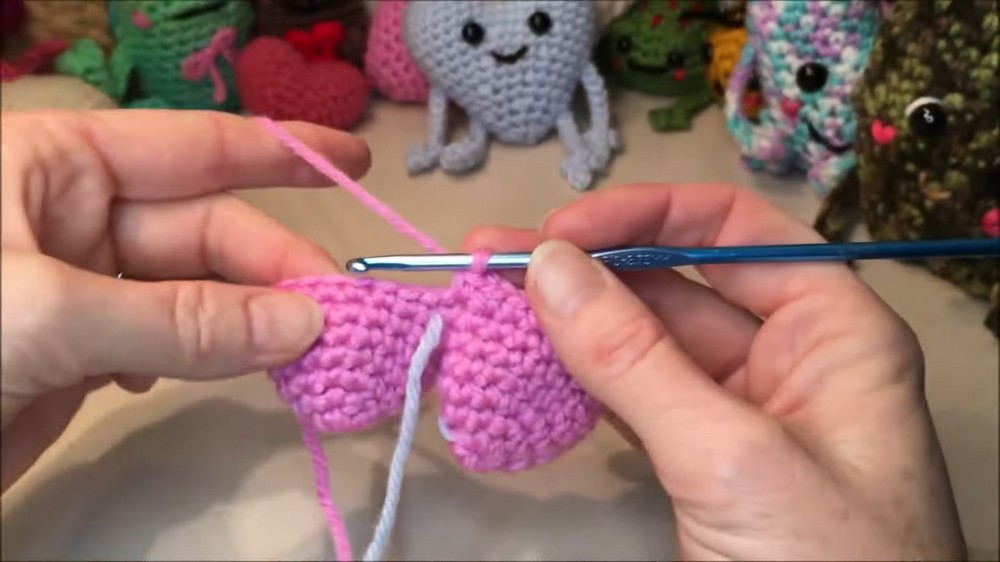
- Align both heart halves, right sides facing out.
- Starting in the stitch just in front of where you tied off, work 18 sc around the edge of the first half.
- Without breaking yarn, continue with 18 sc around the edge of the second half (total 36 sts).
- Row 7:
- Sc around (total 36 sts). Adjust stitch count here if needed.
- Sc around (total 36 sts). Adjust stitch count here if needed.
Secure Center
- Sew Center Hole:
- Use the tail from earlier to stitch any gap closed where the hearts joined.
Shape Body
- Row 8:
- [4 sc, 1 decrease] repeat (total 30 sts).
Add Arms
- Row 9:
- Sc 8, chain 10 for the arm, sl st in 2nd ch and next ch, [ch 2, sl st in 2nd ch and next ch] twice, then 7 sl st down remaining chain;
- Sc 15 across heart;
- Make the second arm (repeat as above);
- Finish row with 7 sc (total 30 sts).
Shape and Add Features
- Row 10:
- [3 sc, 1 decrease] repeat (total 24 sts).
- Decrease over the arms as described for neatness.
- Row 11:
- Sc around (24 sts).
- Row 12:
- [2 sc, 1 decrease] repeat (18 sts).
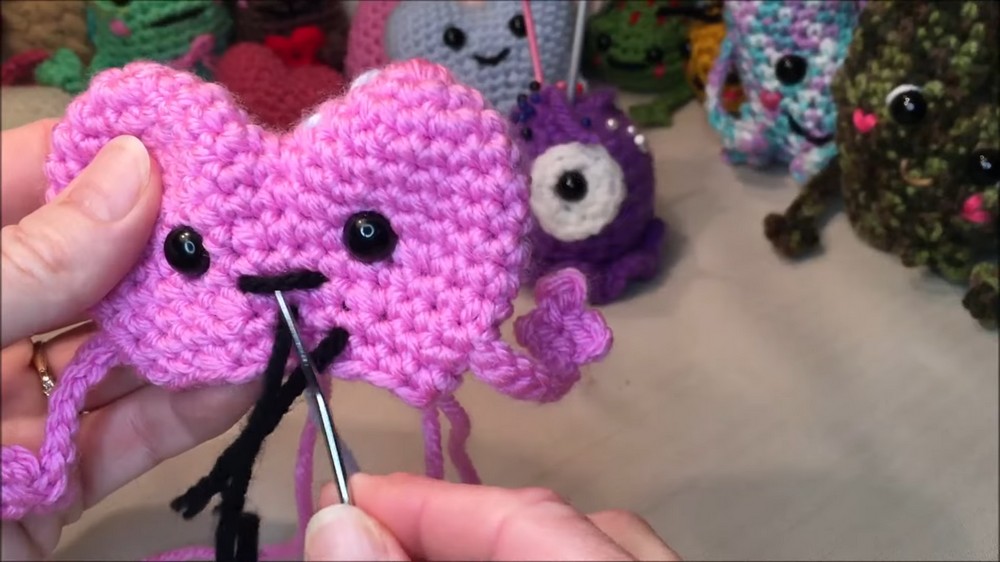
Attach Eyes and Embroider Mouth
- Placement:
- Insert safety eyes between rounds 7 and 8, about 2–3 stitches apart or as desired.
- Use black yarn to embroider a smile below eyes. Secure yarn ends inside the heart.
Add Legs
- Row 13:
- Sc 6, work leg as you did the arms, sc 9, second leg in the same method, finish with 3 sc (total 18 sts).
Decrease and Close
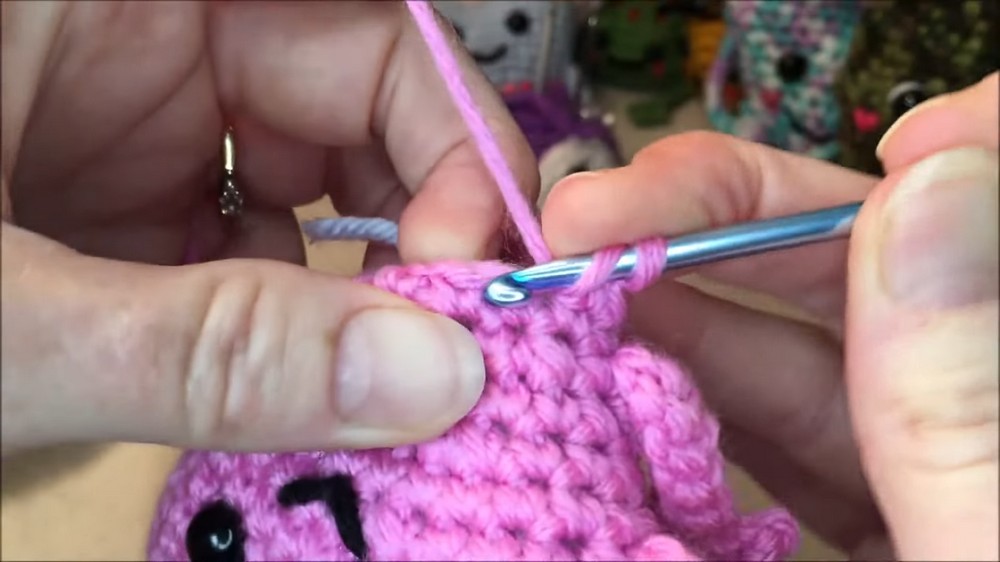
- Row 14:
- [1 sc, 1 decrease] repeat (12 sts).
- Decrease neatly behind legs, following tutor's example.
- Row 15:
- Sc around (12 sts).
- Sc around (12 sts).
Stuff and Finish
- Stuff Plushie:
- Add stuffing, shaping gently as desired for a round or flat look.
- Final Row (Row 16):
- Work 6 decreases to close (6 sts).
- Slip stitch, fasten off, and weave in end using a darning needle.
- Close small hole securely.
Optional: Add Hanging Loop
- Make Hanging Loop (Optional):
- Before closing final stitches, leave a longer tail and form a loop at the top for attaching to a keychain or bag.
Conclusion
This plushie heart makes for a sweet, memorable gift or keepsake. Its expressive face and dangly limbs give it extra charm and personality—perfect for spreading a little love wherever it goes.
Tip:
When stuffing amigurumi, use small amounts at a time and a blunt tool (even the ends of scissors) to push the stuffing into tight areas for an even result.




Leave a Reply