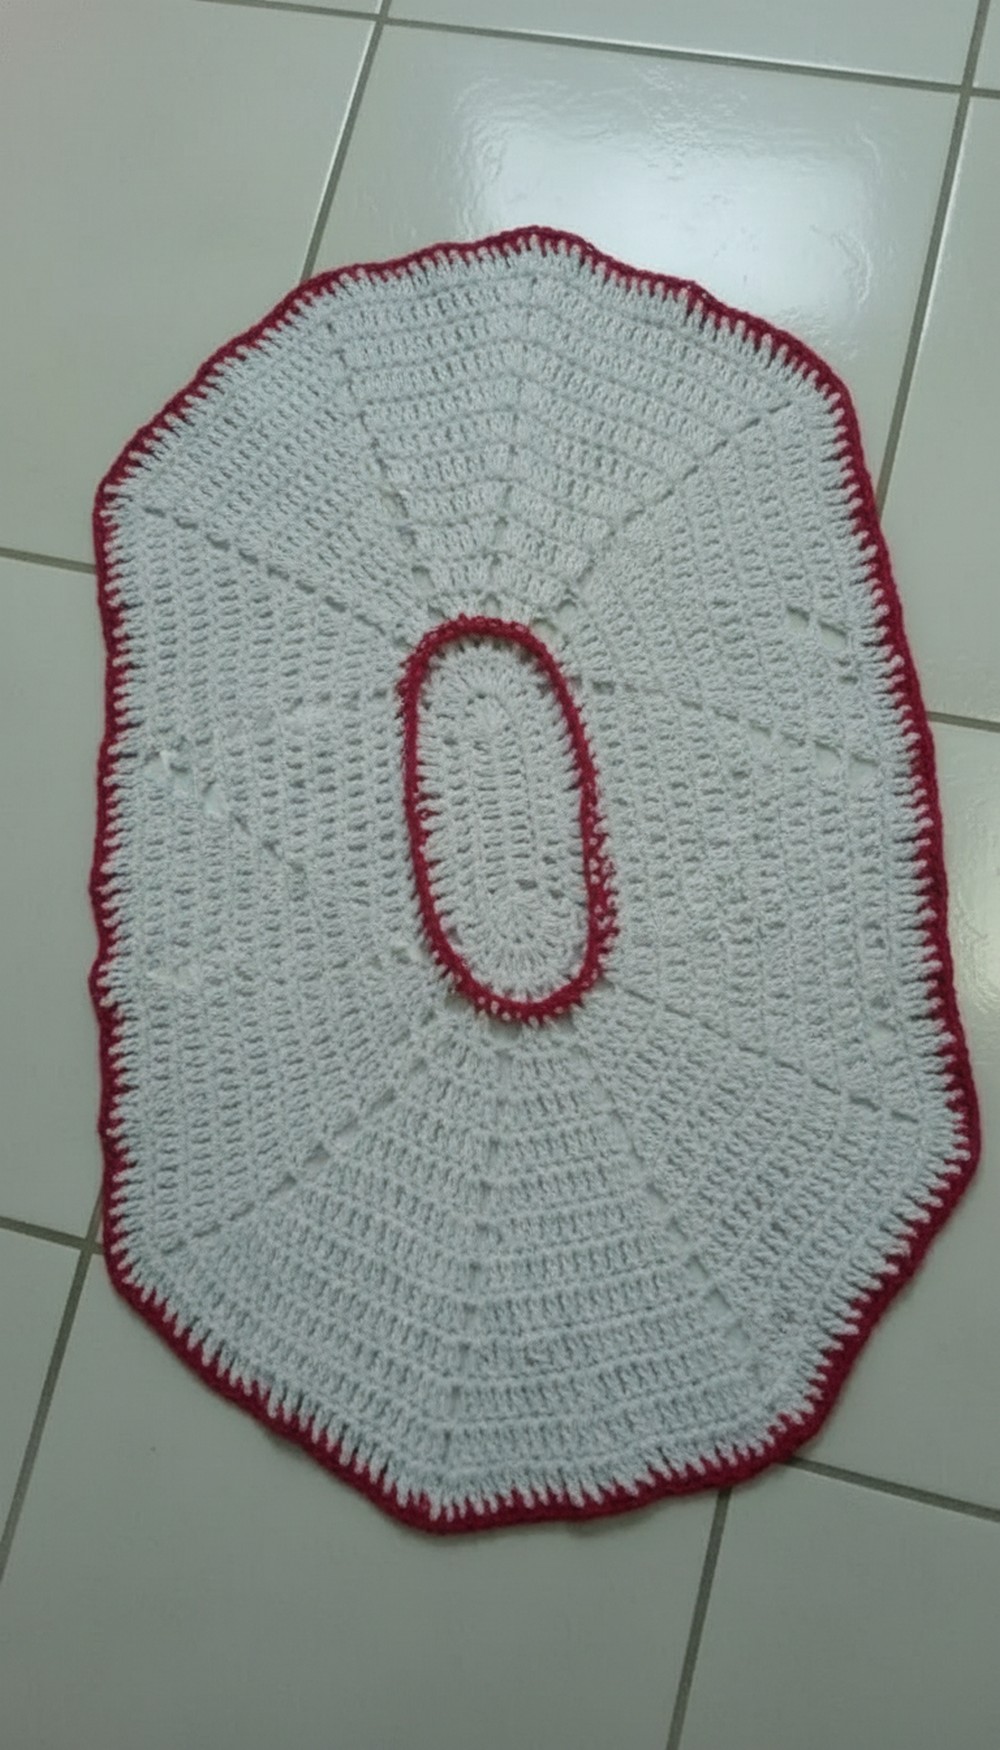
Infuse cozy comfort with this Crochet Oval-shaped Rug Pattern, ideal for soft footing, warm texture, and charming floors across living space.
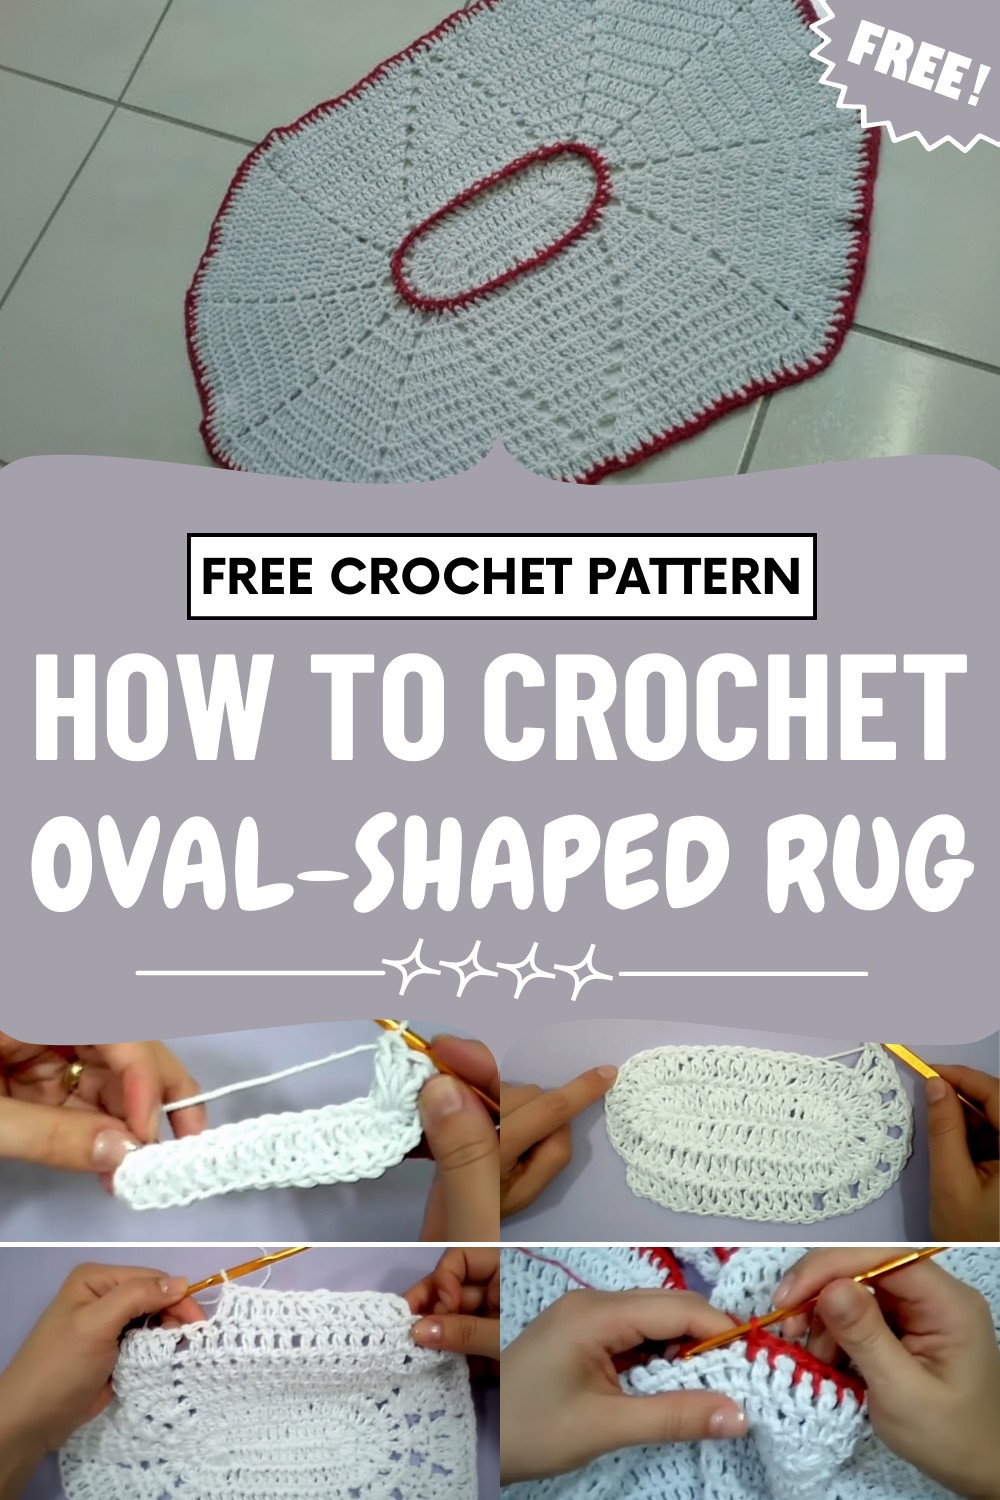
The structured stitching supports durability, helping the rug maintain its shape and appearance over time. Its adaptable style blends easily with modern, rustic, or traditional décor, allowing effortless coordination with furniture and color palettes. The Crochet Oval-shaped Rug Pattern highlights elegance through simplicity, drawing attention to thoughtful design and detailed construction.

Beyond decoration, it helps define areas, reduces floor chill, and creates a welcoming atmosphere. With its balance of function and beauty, this rug serves as a timeless accent that brings harmony, comfort, and subtle sophistication to everyday living spaces.
Materials Needed
- Twine (for a robust texture and durability)
- Yarn, Number 8, in white (main color)
- Yarn for border, in red (contrast color)
- Crochet hook: 4mm (with a thick tip, or similar)
- Scissors
- Yarn needle (for weaving ends)
Level of Difficulty
Intermediate
The pattern involves chain stitches, double crochet, increases, decreases, and working in the round. Beginners with some experience can follow with care, but the repeating increases and shaping require attention.
Special Features
- Oval design with dimensional “petal” shapes
- Worked from the center outward for symmetrical growth
- Elegant color contrast border
- Gradual increases and decreases form the rug’s signature silhouette
- Can be customized by adding more rows to reach desired size
Step-by-Step Pattern
1. Center Chains
- With white yarn, make a small loop.
- Chain 13 stitches.
- Chain 3 more for turning (total 16 chains).
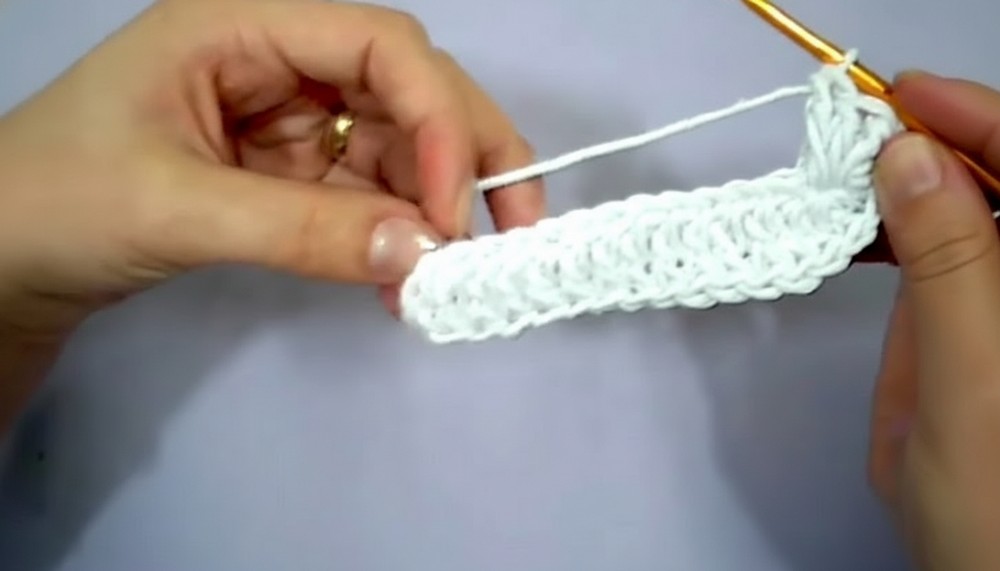
2. First Row – Laying Foundation
- Yarn over, skip first 3 chains; work 1 double crochet into the 4th chain from hook.
- Work 14 double crochets across the chain row (including starting chain as first stitch).
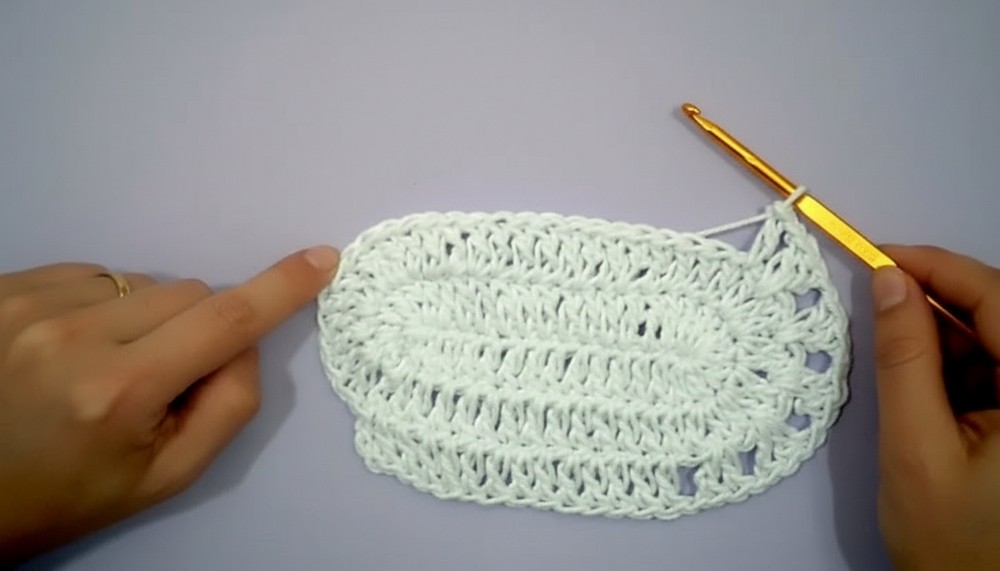
3. Creating Oval Tips
- At last stitch, work 5 double crochets into the same chain to form the tip.
- Continue along the bottom side of the initial chain, working another 14 double crochets.
- At the end, work 5 double crochets in the last chain to form second tip.
- Join to start with a slip stitch.
4. Building Rows & Increasing at Tips
- Each round begins with chaining 3 and making 14 double crochets along the long side.
- At tip (where you previously made 5 double crochets together), work 2 double crochets into each stitch (total 10 at each tip).
- Continue 14 double crochets along next side.
- Repeat tip increase and slip stitch to join.
5. Expanding Petals
- In following rows, always maintain 14 double crochet stitches along straight sections.
- Increase petal stitches at tips: each time, use this sequence — start with 2 double crochets in first stitch, then one in each middle stitch, end with 2 double crochets in last stitch.
- This sequence adds two stitches to the petal each row (example: 5, 7, 9 … up to 23).
6. Adding Spacing for Petal Definition
- After completing 14 double crochets, chain 1 to leave a space before working into tip area.
- Between each pair of double crochets at the tip, chain 1 for additional spacing.
- Continue as in previous rounds, joining at end with slip stitch.
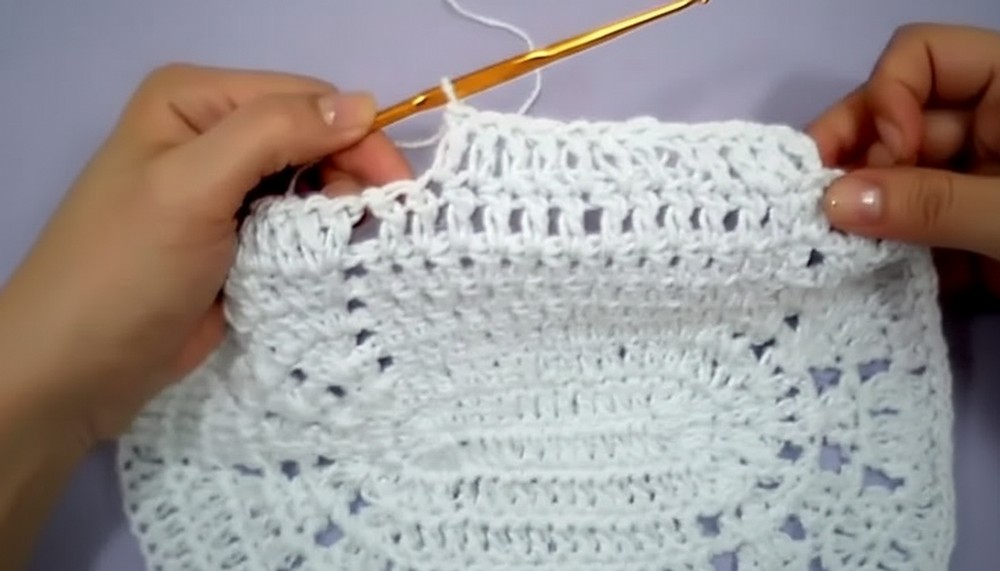
7. Decreasing Straight Sides
- When petals reach final desired size (23 stitches), begin decreasing straight section:
- Skip one stitch at both the start and end of each straight section by working a slip stitch, reducing straight section from 14 to 2 over several rounds.
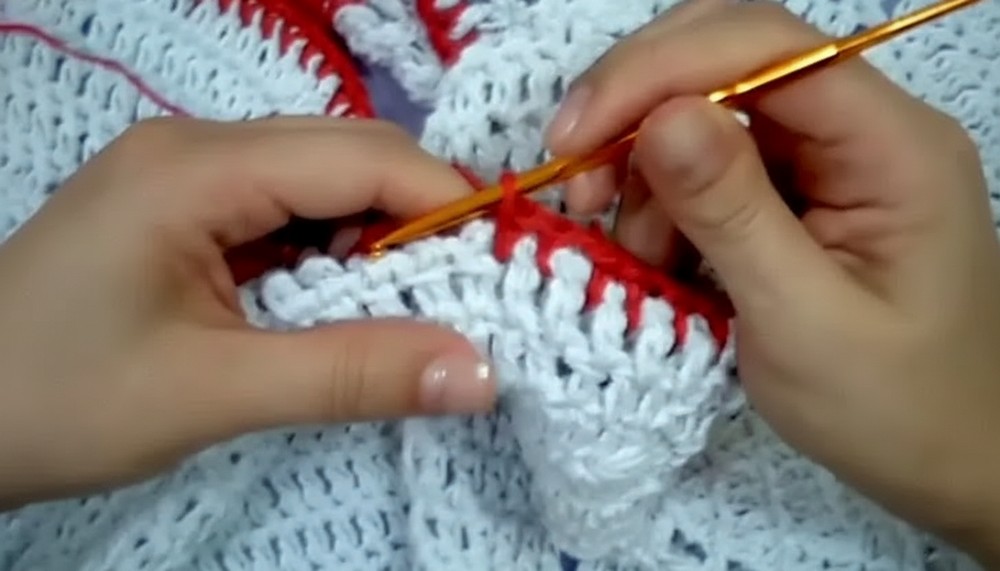
8. Finishing Touches – Red Border
- Switch to red yarn.
- Attach the yarn anywhere along the edge.
- Crochet a round of single crochet stitches, working a single crochet between each double crochet on rug edge.
- Join round with a slip stitch.
- Weave in ends securely on the wrong side.
Tutor's Suggestions
- Count carefully: Consistency is key in forming the oval and balanced petals.
- Don’t skip the chain spaces: They help maintain the rug’s shape and highlight the petal effect.
- Customize size: Add or subtract rows to adjust rug dimensions.
- Hide ends thoroughly: Use a yarn needle to weave in for a clean finish.
Uses
- Showcase in hallways, entryways, or living rooms
- Layer over large plain rugs or use solo for accent
- Display as a wall hanging for an artsy touch
- Perfect as a thoughtful handmade gift
Crochet Tip
To keep your oval rug flat, block it after finishing by dampening lightly and letting it dry flat under gentle pressure. This ensures crisp edges and a smooth surface.
Conclusion
With its artful petals and neat oval form, the Oval Renaissance Rug is a classic project for those ready to elevate their crochet experience. Whether in subtle or bold colors, it becomes a standout centerpiece that’s both functional and decorative.


Leave a Reply