
Spread smiles with this Crochet Love Bug Pattern perfect for cute gifts, playful décor, and charming little keepsakes that warm every heart.
Fun Crochet Love Bug Pattern Perfect for Kids or Gifts
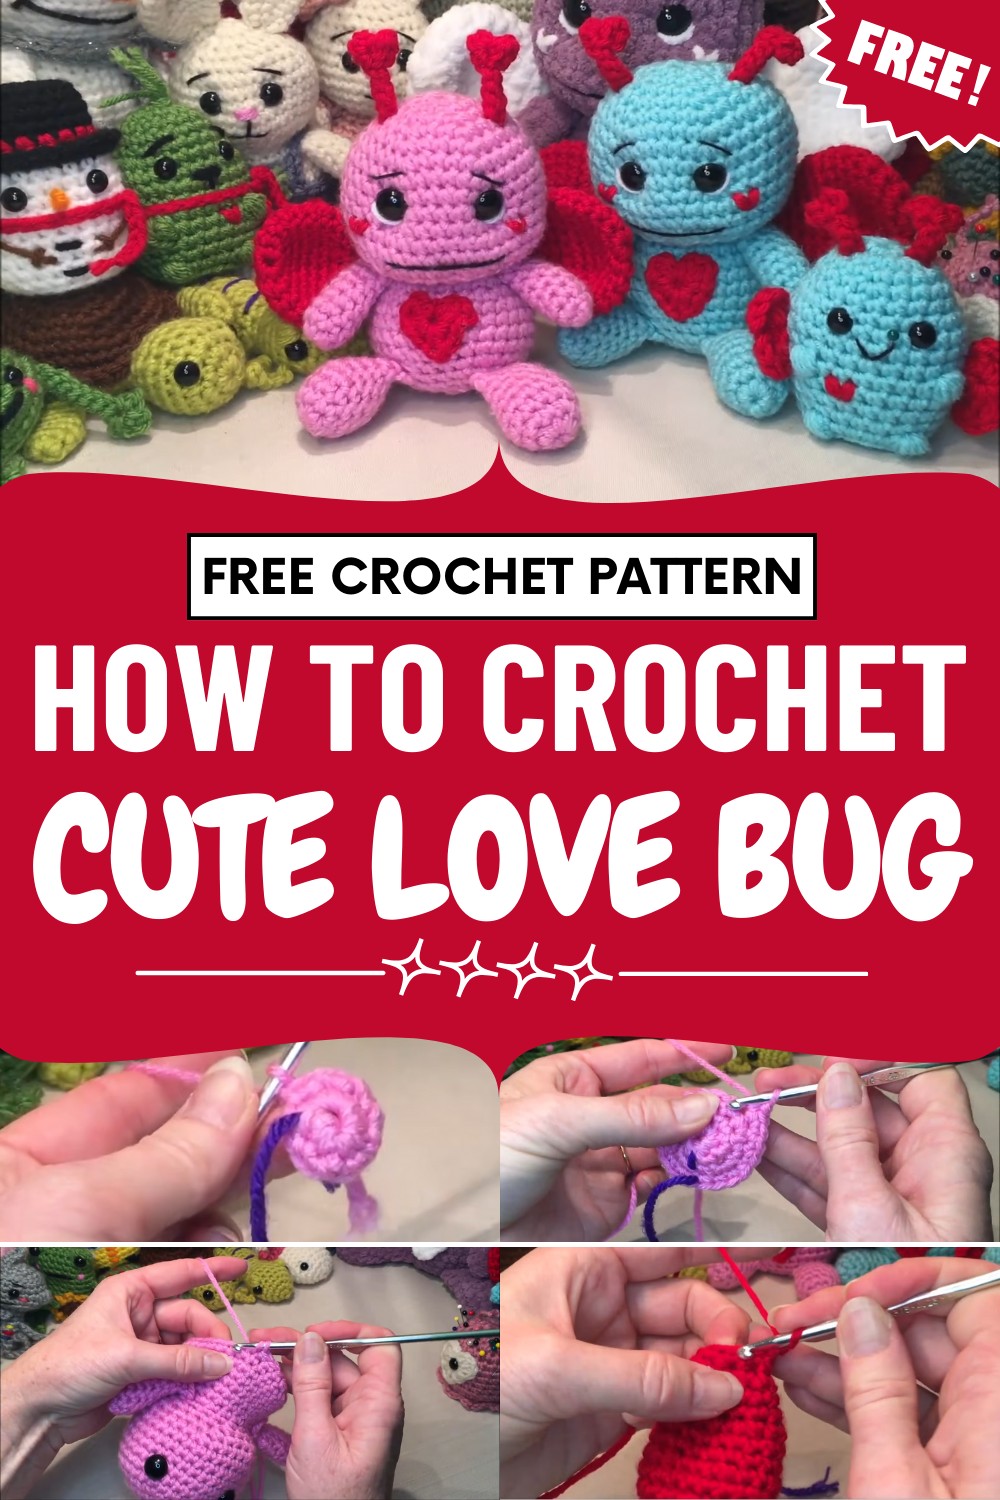
Lightweight and soft, the finished bug is easy to hold, display, or tuck into themed décor, making it both practical and delightful. Its heartwarming expression radiates friendliness, making it an ideal piece for special occasions or everyday charm.
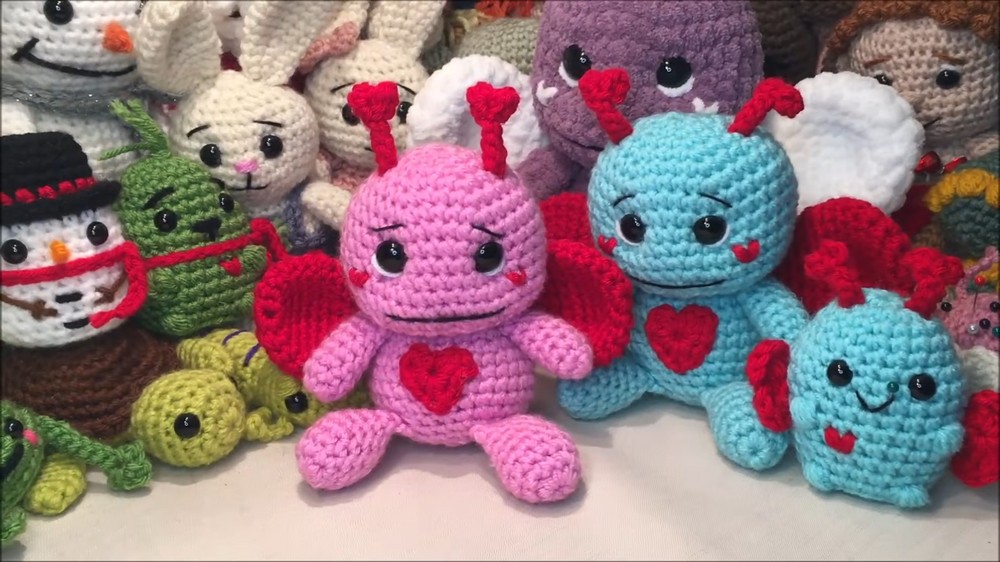
With vibrant colors and carefully crocheted details, this pattern turns yarn into a lovable, miniature companion that blends creativity, skill, and visual appeal, bringing life and joy to any space it touches.
Special Features
- No-Body Construction: Arms, legs, and body are joined as you go for a sturdy and cohesive look.
- Cute Embellishments: Includes simple antennas, heart-shaped cheeks, wings, and an attached chest heart.
- Two Yarn Options: Suitable for both medium worsted and plush/blanket yarn.
- Beginner Friendly: Clear step-by-step guidance with pattern instructions provided for each row.
Difficulty Level
Advanced Beginner: Uses basic crochet stitches, simple increases and decreases, minimal sewing, and basic embroidery. Some amigurumi experience helpful but not required.
Uses
- Valentine’s Day gift or decor
- Cute plush for kids or sweethearts
- Desk buddy or shelf decor
- Handy for customizing (different colors, faces, or embellishments)
Materials
- Yarn (main color, accent for heart/wings):
- Medium #4 worsted for standard size; #6 plush/blanket yarn for big version
- Hook: 4.25mm for worsted, 5mm for plush yarn
- Stuffing
- 14mm safety eyes (or 18mm for plush version, or embroidery option)
- Needle for embroidery and sewing parts
- Black thread or yarn for mouth, eyebrows
- White yarn/thread for eye sparkles
- Pins (for positioning)
- Scissors
- Stitch marker
Pattern Instructions
ARMS (Make 2)
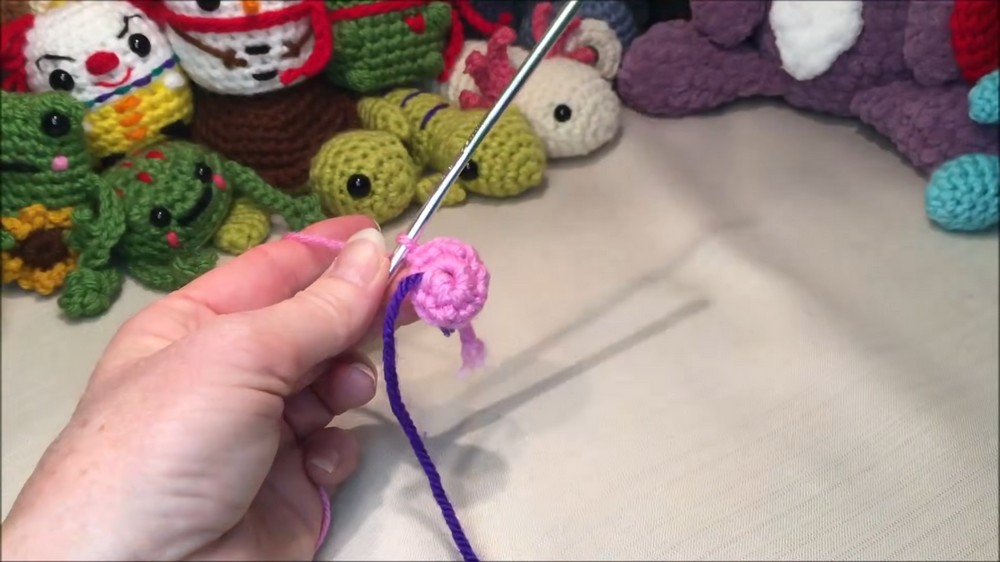
- Make a magic ring or knot with a loop.
- Row 1: 8 single crochet (sc) into the ring. Pull to tighten.
- Rows 2–8: Sc in each stitch around (8).
- Stuff arm lightly, firmer at the tip.
- Flatten the arm and, through both layers, sc 3 across the top to close.
- Fasten off, leaving a tail.
LEGS (Make 2)
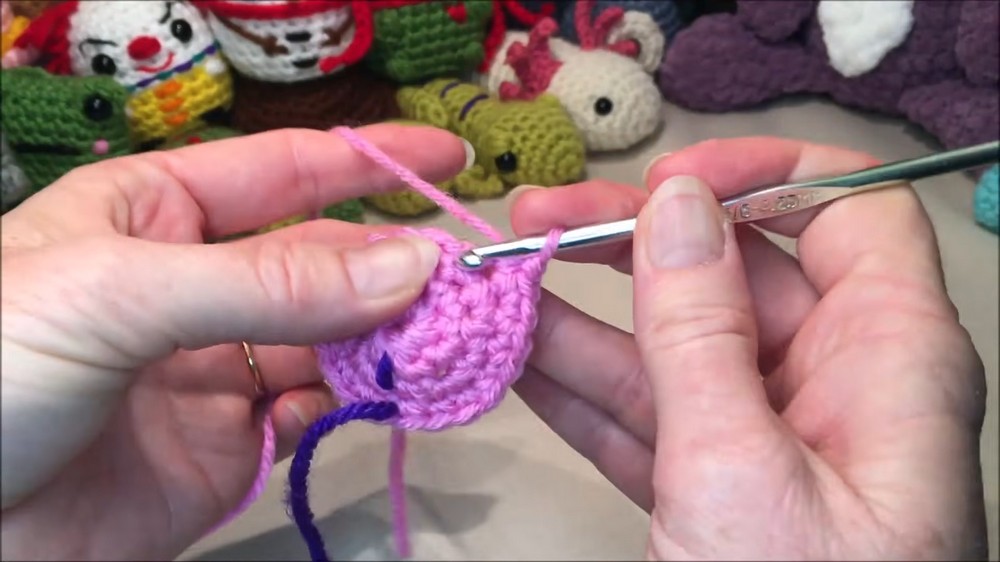
- Magic ring or knot with loop.
- Row 1: 8 sc into ring.
- Row 2: (1 sc, inc) around (12).
- Rows 3–4: Sc in each stitch around (12).
- Row 5: (4 sc, dec) around (10).
- Rows 6-8: Sc in each stitch around (10).
- Stuff the foot section firmly, top less so. Flatten top, sc 4 across, fasten off leaving a tail.
HEAD & BODY (Continuous Piece)
- Start from the top of the head working down.
Head:
- Row 1: Magic ring, 8 sc.
- Row 2: (1 sc, inc) around (12).
- Row 3: (1 sc, inc) around (18).
- Row 4: (2 sc, inc) around (24).
- Row 5: (3 sc, inc) around (30).
- Row 6: (4 sc, inc) around (36).
7–12. Sc in each stitch around (36), for 6 rounds, shaping the head. - (4 sc, dec) around (30).
- (3 sc, dec) around (24).
- (2 sc, dec) around (18).
Attach Arms (Row 16):
- Sc 3, crochet 3 sc joining arm to body (through both arm & body), sc 6, crochet 3 sc joining 2nd arm to body, sc 3 (total 18).
Start Body:
17. (2 sc, inc) around (24).
- Sc in each st around (24).
- (3 sc, inc) around (30).
20–23. Sc in each st around (30), for 4 rounds.
Insert Safety Eyes:
- Between rows 8 & 9, about 4 stitches apart, centered above arm joins.
Start Tapering for Lower Body:
24. (3 sc, dec) around (24).
Attach Legs (Row 25):
- Sc 8, crochet 4 sc joining leg to body, sc 3, crochet 4 sc joining 2nd leg to body, sc 5 (adjust #s as needed to center legs on sides).
- Tie leg tails together inside for strength.
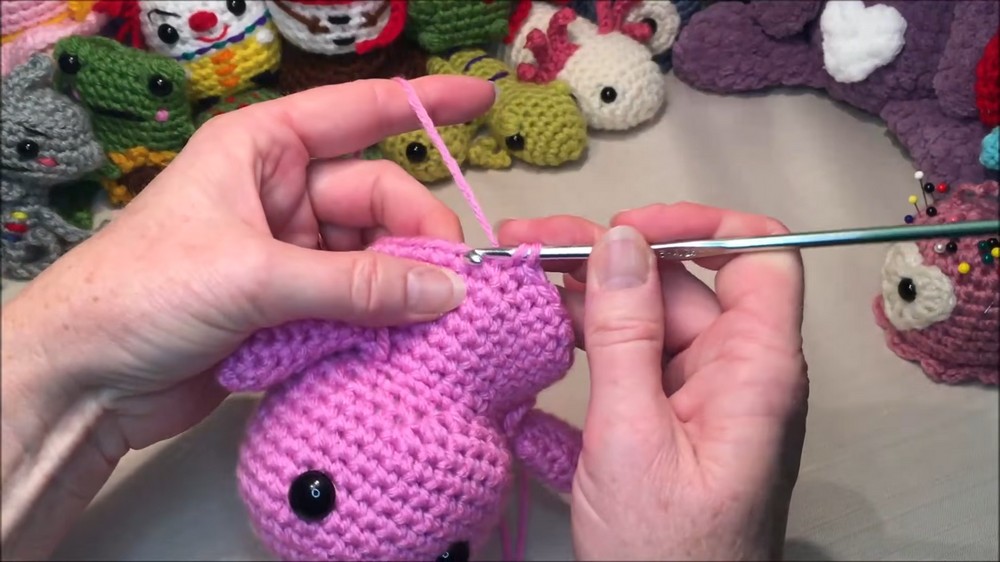
Stuff Head and Body Firmly as you go.
Finish Underbody:
26. (2 sc, dec) around (18).
- (1 sc, dec) around (12).
- Dec 6 times around (6). Slip stitch to finish, fasten off.
SHAPING & FACE EMBROIDERY
- Sculpt Eyes: Use a yarn tail and needle—pull from neck center up to below each eye, tug gently to indent eyes.
- Add Eye Sparkle: With white yarn/thread, embroider a small accent dot on each safety eye.
- Mouth: Embroider below eyes, custom shapes welcome.
- Eyebrows: Stitch small slants a row or two above the eyes.
- Heart Cheeks: Embroider small V-shapes with pink yarn/embroidery thread beside each eye.
ANTENNAS (Make 2)
- Chain 7, leave long tails at both ends.
- In the 3rd chain from the hook:
- (dc, slip st, dc, ch 2, slip st) all in the same chain for half a heart.
- Slip stitch down remaining chains (4 slip sts).
- Fasten off, leaving a tail for sewing.
- Attach each antenna between rows 3 and 4 near center top of head.
CHEST HEART
- Magic ring.
- Ch 1. Work in the ring: 3 hdc, 3 sc, ch 1, 1 hdc (for point), ch 1, 3 sc, 3 hdc, ch 1.
- Slip st into ring, fasten off with a long tail.
- Pull tight, sew to center body.
WINGS (Make 2)
- Magic ring, 8 sc in ring. (8)
- Row 2: Inc in each st around (16).
- Row 3: (3 sc, inc) around (20).
- Row 4: (4 sc, inc) around (24).
- Rows 5–6: Sc in each st (24).
- Row 7: (2 sc, dec) around (18).
- Rows 8–9: Sc in each st (18).
- Row 10: (1 sc, dec) around (12).
- Rows 11–12: Sc in each st (12).
- Optionally, decrease further for a tapered look:
- Row 13: (1 sc, dec) around (8).
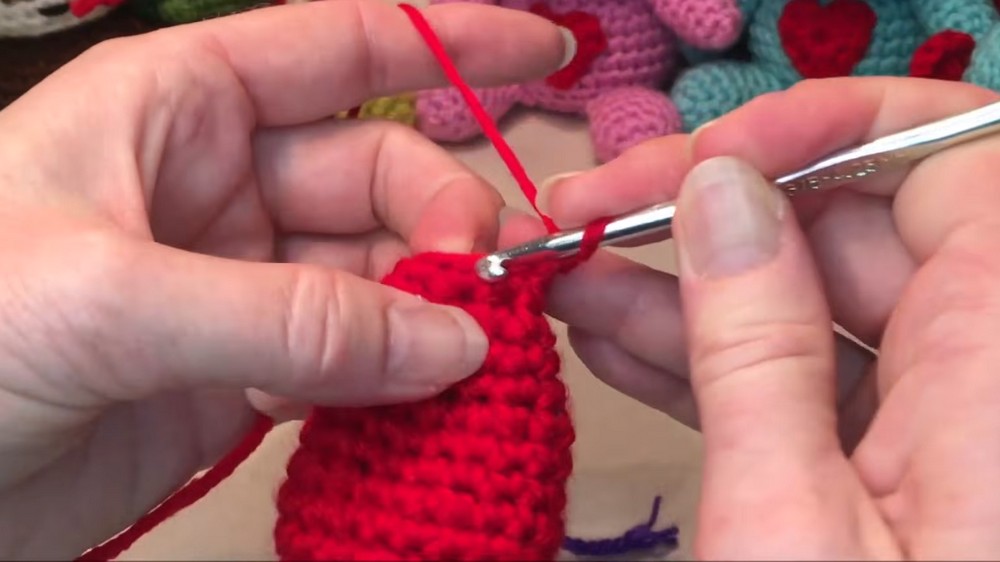
- Rows 14–15: Sc in each st (8).
- Row 13: (1 sc, dec) around (8).
- Flatten and sc across the top (3 sc for 8 sts, or 5 sc if 12).
- Fasten off, leaving a tail for sewing.
Sew onto the back across shoulders and slightly angled. Tack the top and edge for a perky look.
Tutor’s Suggestions
- Use plenty of pins to hold pieces in place before sewing.
- Don’t overstuff arms and legs—body and head should be firm.
- Adjust facial features to your taste for unique character!
- If using plush yarn, beware of fiber breakage when tying/embroidering.
Tip
Thread tails through the same under-the-head or body stitch and tie them together before burying ends—this gives stronger attachment and lets you adjust limb/antenna/wings positioning after assembly.
Conclusion
Your no-body crochet love bug is ready to spread some cheer! With easy construction, big personality, and space for custom details, it’s a perfect beginner amigurumi or thoughtful, heartfelt gift.




Leave a Reply