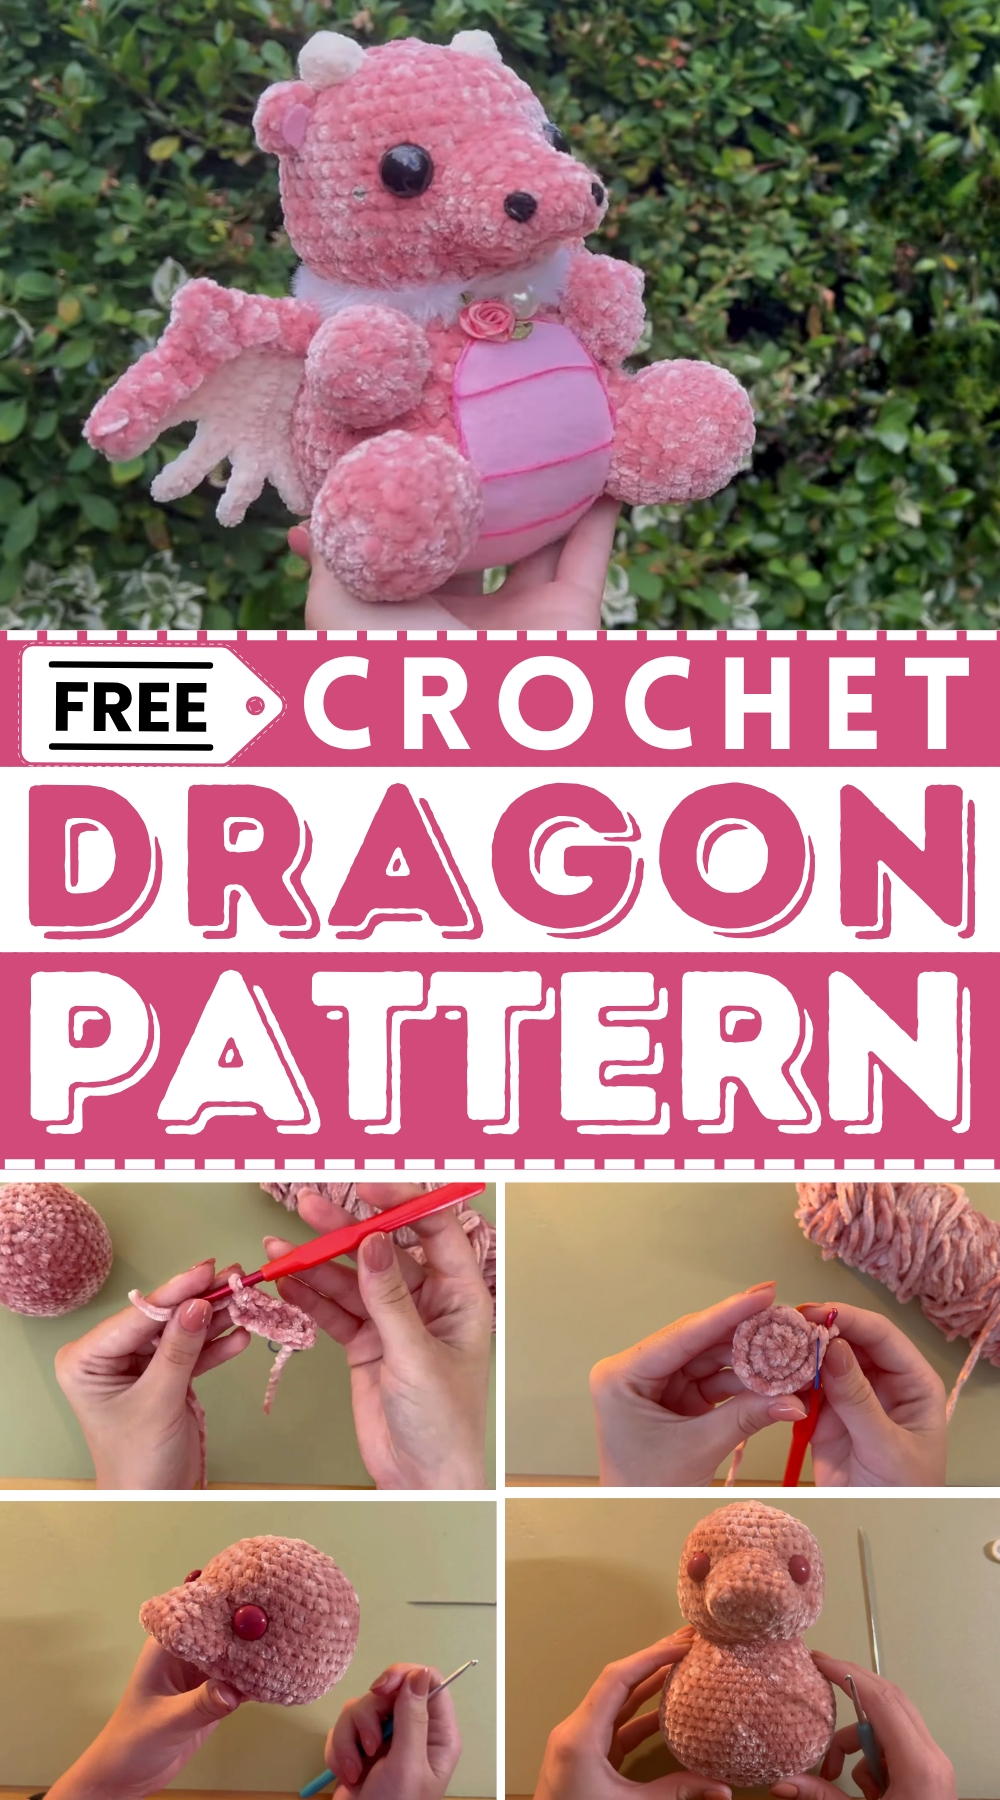
Spark bold ideas with this eye-catching Crochet Dragon Pattern that's perfect for fantasy lovers crocheting unique gifts or magical décor accents.
There's something enchanting about crochet dragon, bringing a mythical creature to life with nothing but a hook, yarn, and a dose of imagination. Dragons—majestic, untamed, and steeped in legend—have fascinated countless generations. Through the art of amigurumi crochet, these creatures can leap out of folklore and into your hands, crocheted stitch by stitch with care and creativity. This free crochet dragon pattern serves as a gateway into that magic, guiding you step-by-step toward creating your very own whimsical crochet dragon.
How to Crochet Dragon Plushie for Gifts, Decor, or Playtime
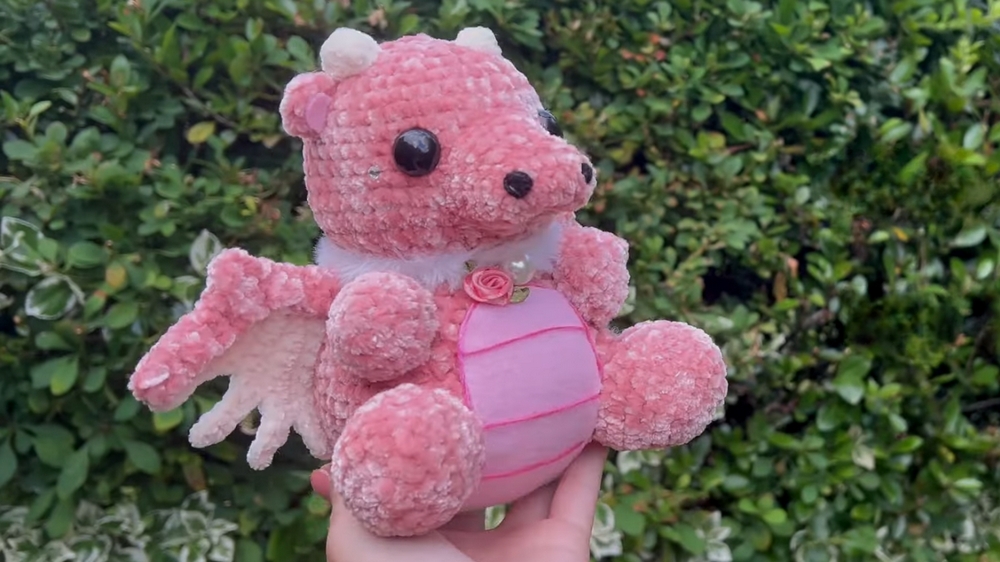
What sets this crochet dragon pattern apart is its flexibility—there’s no limit to how imaginative you can be. Choose bold colors to create a fierce, fire-breathing dragon, or opt for soft pastels for a playful and friendly companion. Acrylic yarn works wonders, making your dragon both durable and delightful to the touch, while clever substitutions for features like eyes ensure accessibility for crafters of all levels. The stuffing, meanwhile, lends your creation a plush, well-rounded form that feels as satisfying to hold as it does to admire.
Materials
- Yarn: Acrylic yarn is highly recommended for beginners due to its visibility, but velvet yarn can also be used for a softer look.
- Crochet hook: Ensure you have hook sizes appropriate for your yarn. Smaller hooks might be needed for tight stitches.
- Toy stuffing: Used to give the plushie structure and shape.
- Safety eyes or alternatives: Safety eyes or split pins (paper fasteners) can be painted and customized for the dragon's eyes.
- Sewing needle: A large-hole needle for closing gaps and attaching parts.
- Optional materials: Felt for detailing (ears, body accents), glue gun or fabric glue, and wooden skewers for wing reinforcement.
1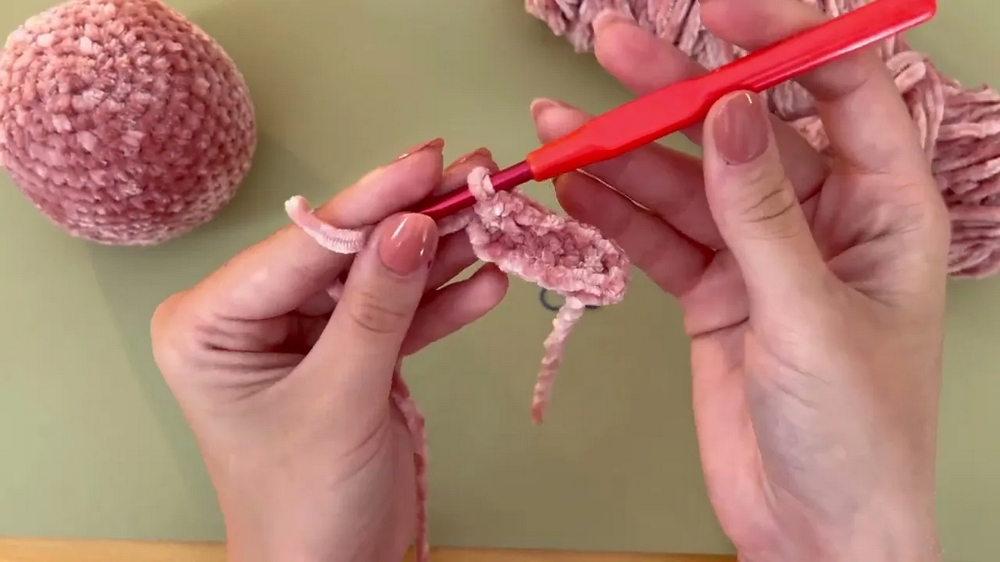
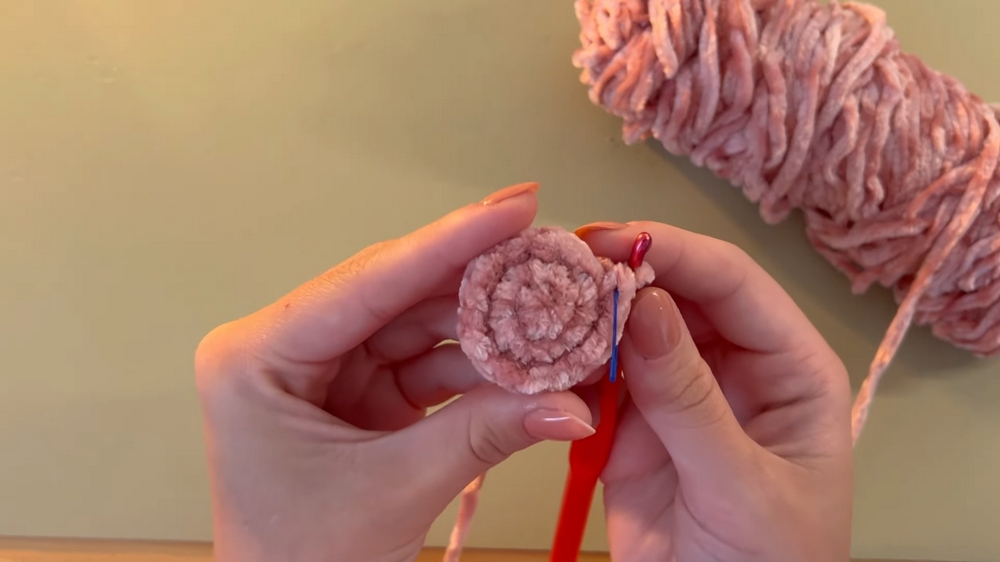
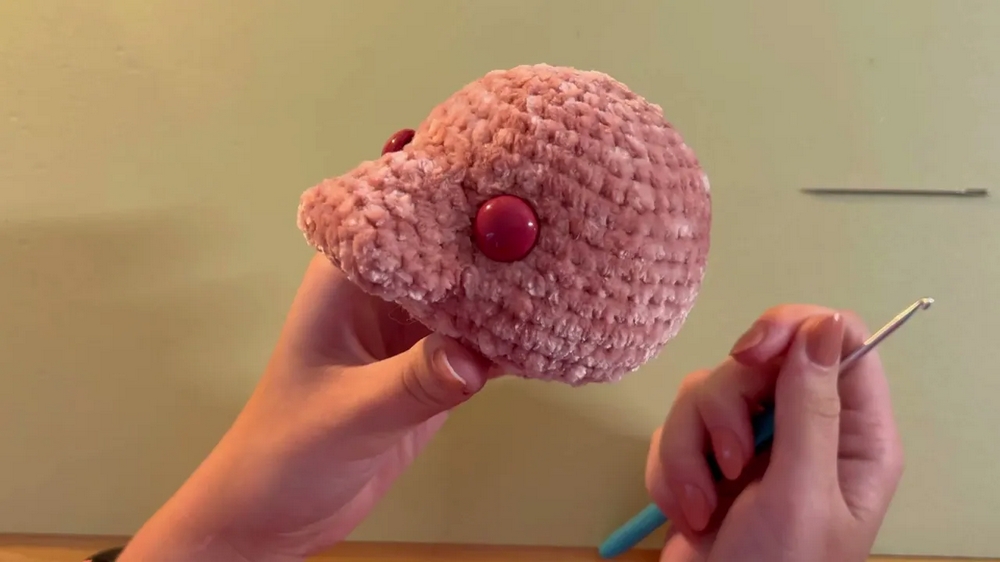
The process begins with a simple yet captivating task: shaping the dragon’s nose. With a slip knot and a chain, you're laying the groundwork for something truly remarkable. From there, single crochet stitches and precise increases transform your yarn into a defined, sculpted head. It's almost poetic how loops and knots evolve into curves and contours, creating a personality for your dragon as its features start to emerge.
 3
3
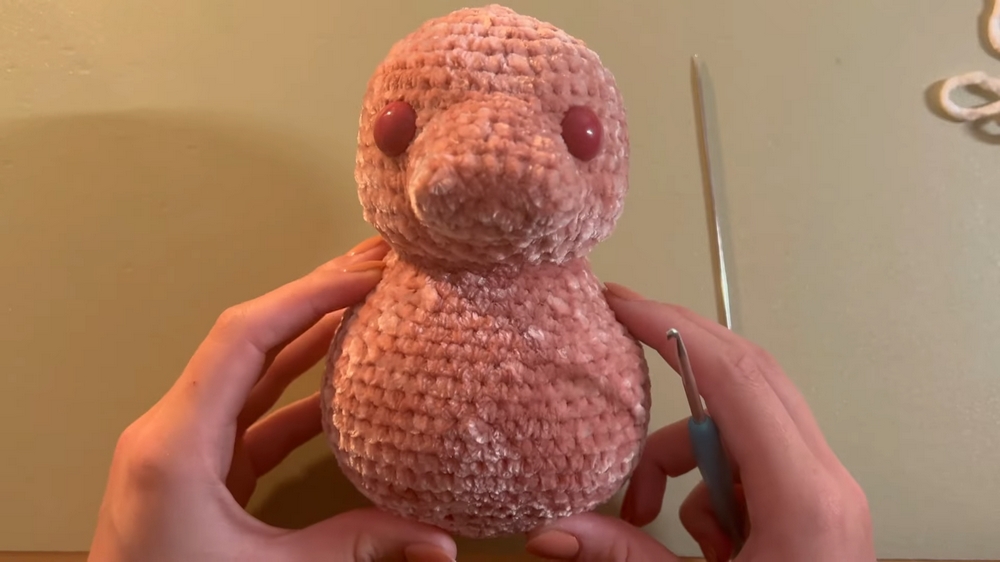
The body comes next, with smooth transitions from basic stitches to carefully planned decreases that taper the structure with elegance. The tail, undeniably a challenge, tests your skills—but, like any great adventure, the payoff is worth the effort.
Finally, the wings and legs add the finishing touches, giving your dragon the presence it deserves.When the final stitches are in place, your dragon becomes more than just an amigurumi crochet project—it’s a story, a memory, and a testament to your creativity. This crocheted masterpiece can be gifted to children who will embrace its magical charm, displayed as a bold decorative accent, or even kept as a personal treasure that reminds you of the joy in crocheting something with your own hands
Special Features of the Dragon
- Customizable Colors: You can modify the yarn colors for a personalized dragon.
- Unique Tail Design: The tail is bendable and works without wire, giving the dragon a natural, curved look.
- Wings: Options to reinforce the wings with wooden skewers to add stability.
- Frill: This feature along the dragon’s back adds texture and design; it can be created with yarn or substituted with fluffy material for a softer look.
- Alternative Materials for Eyes: Safety eyes are ideal, but Tasha demonstrates how split pins can create a unique look when painted.
Tips & Tricks
- Count Stitches to Avoid Errors: creator frequently reminds viewers to count their stitches, as mistakes can derail progress.
- Use Smaller Crochet Hooks for Tight Stitches: Especially helpful for the tail and early rounds.
- Stuff Gradually: Avoid crumpling in areas like the cheeks and body by adding stuffing during each critical stage.
- Bend for Final Shape: Many parts, like the tail, nose, and head, can be shaped after assembly using your hands.
- Customize Your Plushie: Use felt, paint, or alternative materials like fluffy yarn for wings or frills.
Level of Difficulty
- Beginner-Friendly: Parts like the nose, ears, and horns are accessible to those starting out.
- Intermediate: Sections requiring shaping and repetitive rounds, such as the tail and feet.
- Advanced: The wings and frill are complex, requiring multi-part assembly and attention to details.
Uses
- Gifts: Crocheted dragons make thoughtful handmade presents.
- Decor: Display on shelves or desks as personalized decor.
- Kids’ Toys (with adjustments): Ensure safety features, like securely attached eyes, if gifting to children.
- Collectible: Customize colors and shapes for unique plushie collections.
Introduction
In this tutorial, viewers are guided through the process of crochet dragon. The project involves creating intricate, customizable parts such as the head, body, tail, wings, arms, legs, horns, and frill. creator uses clear, step-by-step instructions and offers helpful tips for beginners and advanced crocheters alike.
Conclusion
Crochet pattern offers an excellent opportunity to bring creativity and learning together, guiding you step-by-step in making a stunning crochet dragon. With options for customization and detailed explanations, the video is suitable for crocheters of all levels. Although some parts might be tedious, the final product is rewarding and versatile. Whether as a gift or keepsake, this plushie is an adorable addition to anyone’s collection.
Bonus Tip
creator notes that eye placement and overall assembly can drastically impact the dragon’s appearance. Experiment with positioning parts before sewing to finalize the look you love most.


Leave a Reply