
Bring charm to your crochets with this Free Crochet Mini Amigurumi Pig Pattern, perfect for gifts, decorations, or personal collections.
Handmade treasures have a way of turning ordinary moments into unforgettable memories. A charming example of this is the mini amigurumi pig, a crochet pattern that combines creativity with practicality. Whether you’re searching for a heartfelt gift, a unique keychain, or a playful décor item, this pattern offers endless possibilities. With its adorable features and petite size, it’s easy to incorporate into your daily life or gift to someone special.
Lovely Crochet Mini Amigurumi Pig Pattern for Handmade Fun

What makes this pattern even more delightful is its accessibility. Designed to suit beginners and seasoned crocheters alike, the pattern teaches foundational skills while allowing room for customization. You can experiment with yarn colors, add blush to the cheeks, or even include accessories like a tiny scarf or hat. The joy of shaping its curly tail, tiny ears, and soft snout adds a therapeutic aspect to the process, making it time well spent.
Besides being cute, this mini pig is practical. It can be used as a decorative piece, a bag charm, a keyring, or a fun toy for kids. The result is not just an adorable keepsake but also a reflection of your effort and unique style. It’s a creative way to turn simple materials into something deeply meaningful.
Materials
- Crochet Hook: 2mm hook.
- Yarn: Pink yarn (lighter for the body, darker for the snout), brown yarn for embroidery.
- Stuffing: For filling the figure (optional for sturdiness).
- Needle: For sewing pieces together.
- Stitch Marker or Yarn Piece: To track rounds.
- Additional Embellishments: Blush, lipstick, or paint for cheeks, and red yarn for making a neck bow.
- Scissors: To trim excess yarn.
Special Features
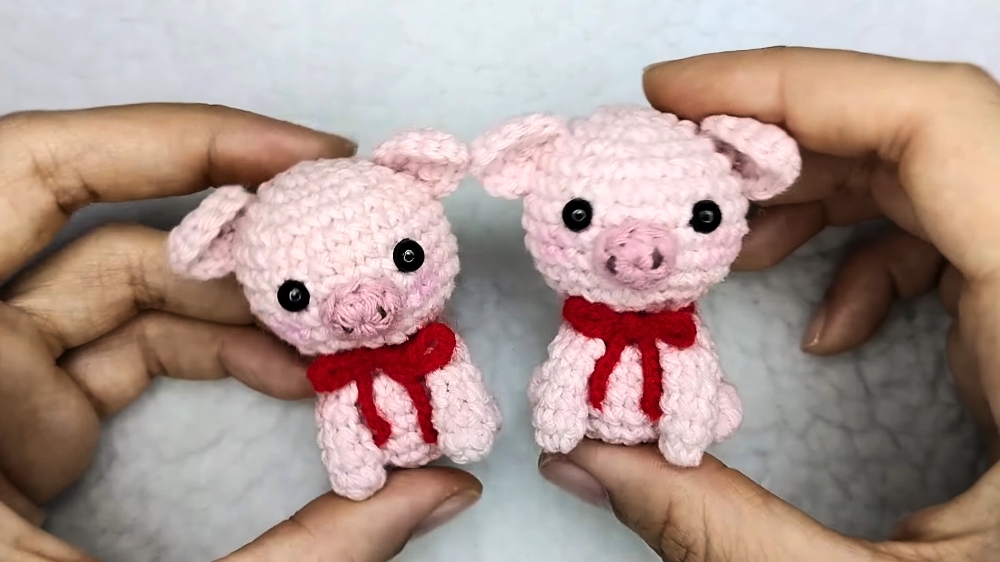
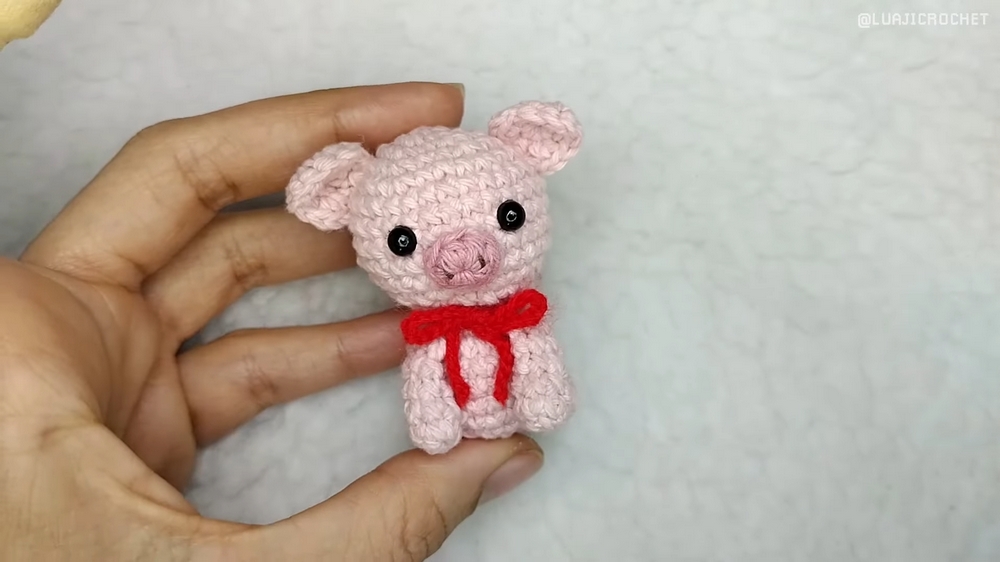
- Appearance: Compact and adorable, with lifelike features such as tiny legs, a curled tail, and pig ears.
- Easy to Complete: The pattern is quick and simple, making it beginner-friendly and enjoyable for all skill levels.
- Customizable Details: Add personal touches like blush, different colors, or a neck bow for a unique look.
Level of Difficulty
This project is Beginner to Intermediate. Basic crochet techniques are used, with an occasional increase and decrease for shaping. Attention to detail is essential for assembling parts.
Step-by-Step Instructions
Body
- Start with a magic ring, then make six single crochets in the ring.
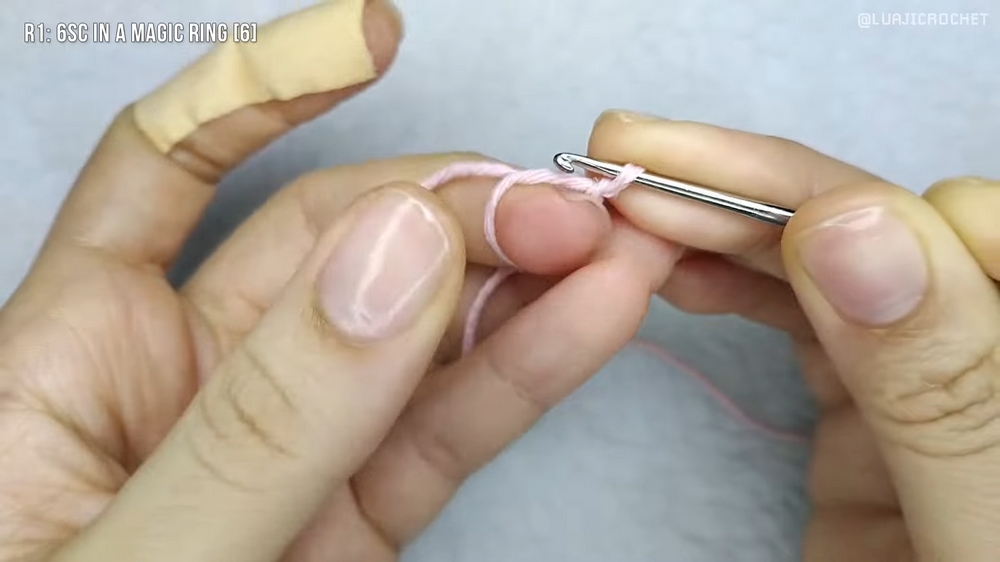
- Round 2: Make six increases (two single crochets per stitch) to end with 12 stitches.
- Round 3: Alternate one single crochet and one increase for 18 stitches.
- Round 4: Use two single crochets and one increase to reach 24 stitches.
- Round 5: Crochet three single crochets and one increase for 30 stitches.
- Rounds 6–10: Make 30 single crochets in each round.
- Round 11: Begin decreasing with three single crochets and one decrease for 24 stitches.
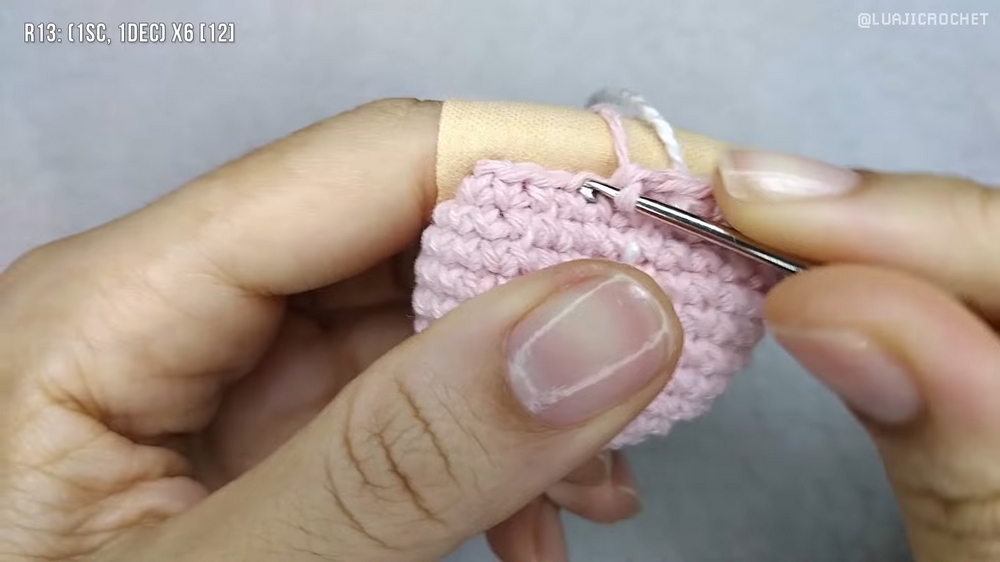
- Round 12: Continue decreasing with two single crochets and one decrease, ending with 18 stitches.
- Round 13: Crochet one single and one decrease for 12 stitches.
- Round 14: Start increasing again, using one single crochet and one increase for 18 stitches.
- Round 15: Alternate two single crochets and one increase for 24 stitches.
- Rounds 16–19: Make 24 single crochets in each round.
- Round 20: Create two single crochets and one decrease for 18 stitches.
- Round 21: Use one single crochet and one decrease for 12 stitches.
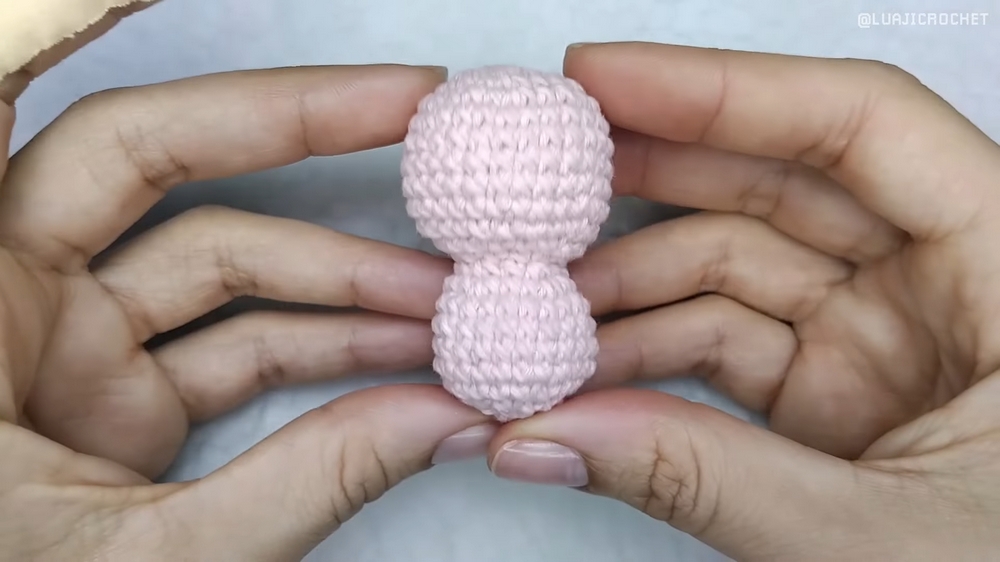
- Round 22: Crochet one single crochet and one decrease four times, leaving eight stitches.
- Close the hole using a needle by threading through the front loops of the stitches.
Legs
- Front Legs
- Begin with six single crochets in a magic ring.
- Continue rounds 2–5 with six single crochets in each.
- Fold the work in half during round 6 and make three single crochets to close the leg. Leave a tail for sewing.
- Repeat to make the second leg.
- Back Legs
- Start with a magic ring, chain one, and make seven half-double crochets inside it.
- Slip stitch into the starting chain and leave a tail for sewing.
- Repeat for a second, back leg.
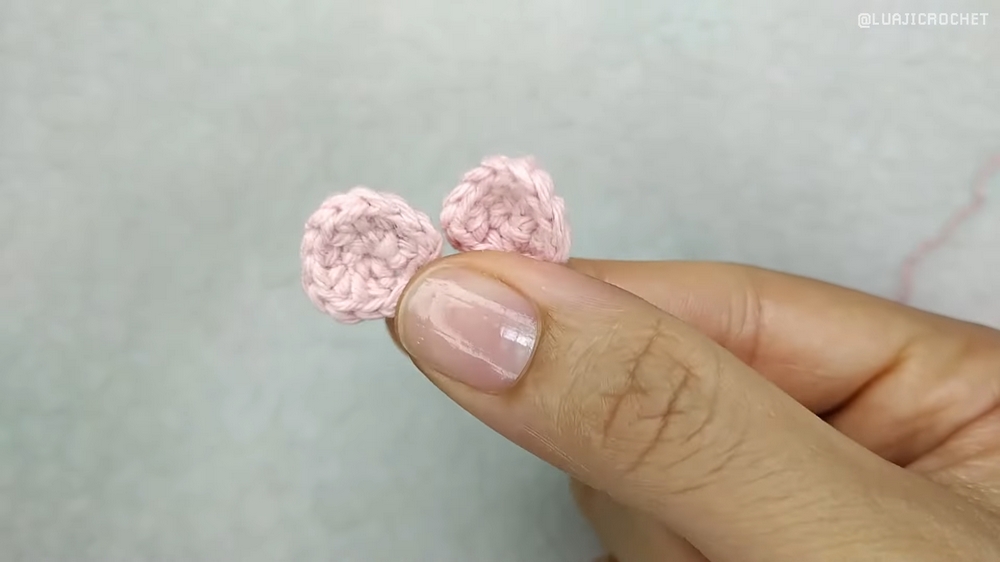
Ears
- Begin with six single crochets in a magic ring.
- Round 2: Crochet one triple increase (three single crochets in one stitch) and one single crochet. Repeat three times to get 12 stitches.
- Slip stitch into the next stitch, leave a tail, and repeat for the second ear.
Snout
- Use darker pink yarn for the snout.
- Make a magic ring, chain two, and crochet six double crochets inside the ring.
- Finish with a slip stitch into the second chain and leave a tail for sewing. Embroider the nostrils with brown yarn.
Tail
- Start with a chain of eight stitches.
- Skip the first chain and alternate one single crochet and one increase along the rest of the chain.
- Curl the tail for shaping and leave a tail for sewing.
Assembly
- Attach front legs between rounds 14 and 15, spacing them two stitches apart.
- Sew back legs between rounds 18 and 20, ensuring a neat finish by sewing through back loops only.
- Place the snout on the head between rounds 8 and 9.
- Attach ears between rounds 4 and 6, pinching tips to shape them like pig ears.
- Attach eyes on the seventh round, leaving three stitches of space between them.
- Sew the tail at the back of the body.
- Add a red yarn bow around the neck, and optionally, apply blush or lipstick to the cheeks.
Tutor’s Suggestions
- Use stitch markers or pieces of yarn to track rounds accurately.
- For a polished look, sew through, back loops of the stitches during assembly.
- Adjust the snout's color by using blush or paint if you don’t have darker pink yarn.
Uses
- Keychains: Lightweight and perfect for accessorizing bags or keys.
- Decorations: Can be placed around the home for cute holiday décor.
- Gifts: Thoughtful and handmade items for friends and family.
Pro Tip
To achieve a clean finish, always weave in excess yarn and trim off carefully after joining pieces. This will make your mini pig look professional and well-made.
Conclusion
Crocheting a mini amigurumi pig is a delightful project that combines simplicity with creativity. Whether you are new to crocheting or already have experience, this pattern provides clear steps to produce a gorgeous, compact design that makes a lovable ornament or gift. Have fun showcasing your handmade creation.




Leave a Reply