
Enjoy every moments with this crochet rose pattern for cheerful, lasting blooms that add charm to gifts, décor, and moments of creative fun.
Delicate yet enduring this crochet rose pattern captures the essence of a real rose while offering lasting beauty in any setting. Perfect for adding a sophisticated touch to home décor, enhancing special events, or gifting to a loved one, it combines elegance with versatility. Its timeless appeal allows for endless color and size customization, easily matching any personal style or occasion.
Bloom Magic Crochet Rose Pattern You’ll Want to Try Tonight
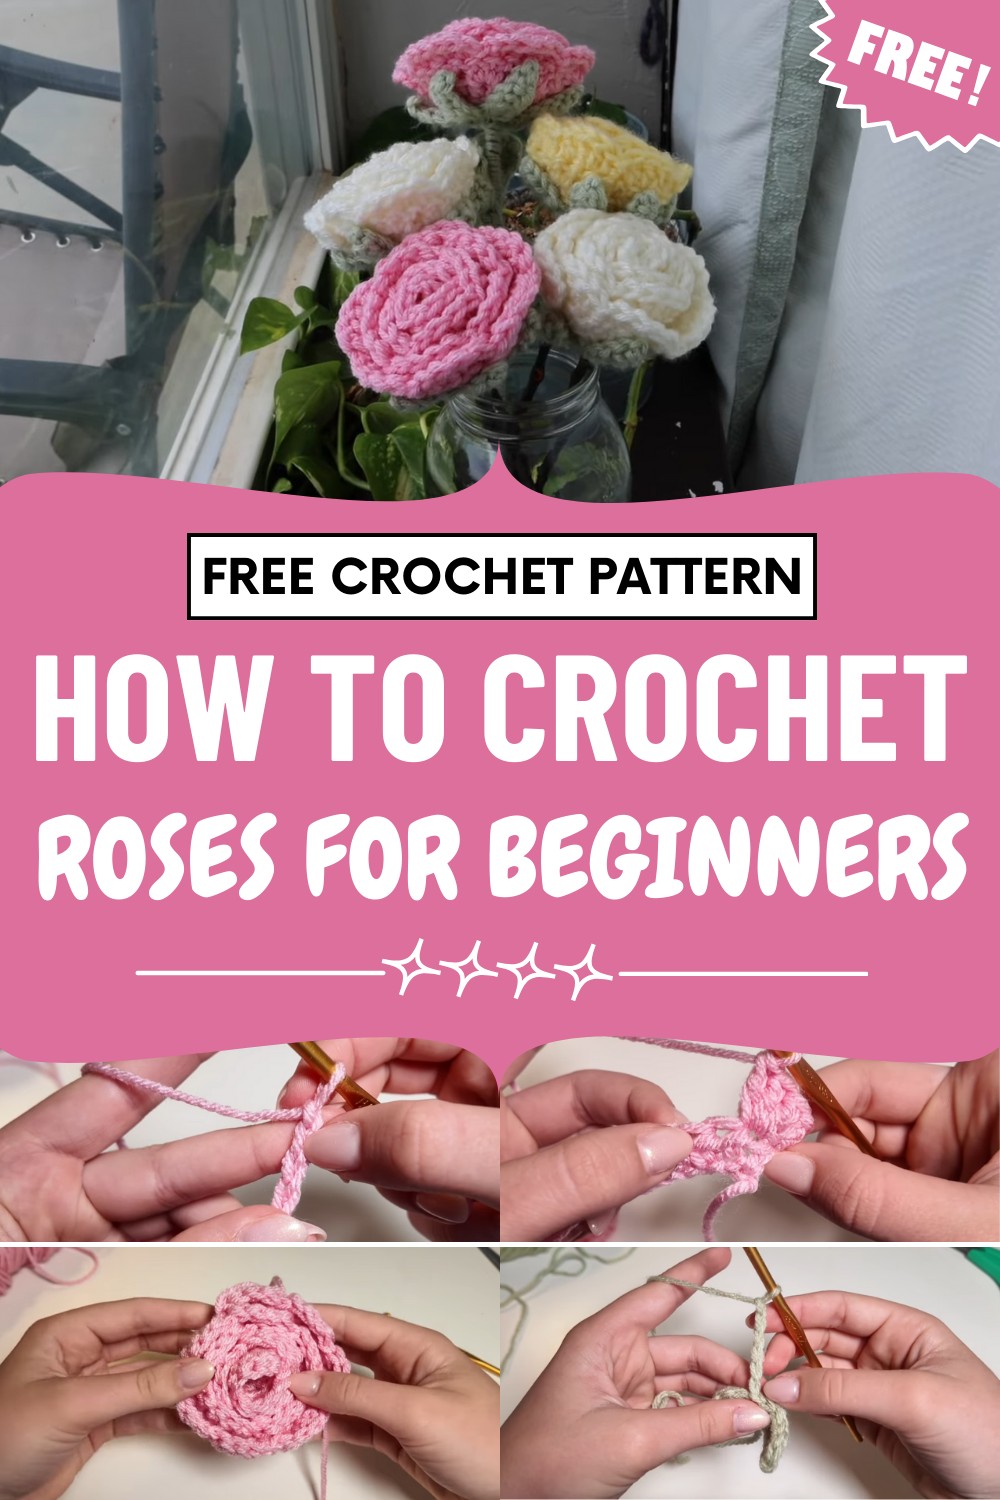
Enthusiasts enjoy the calming and imaginative process of making each petal, while recipients appreciate that this rose remains vibrant and fresh indefinitely, requiring no water or maintenance. Not only does it serve as a gorgeous centerpiece, wedding bouquet accent, or unique boutonniere, but it can also be used for festive wreaths, wearable accessories, or even as a heartfelt addition to gift wrapping.
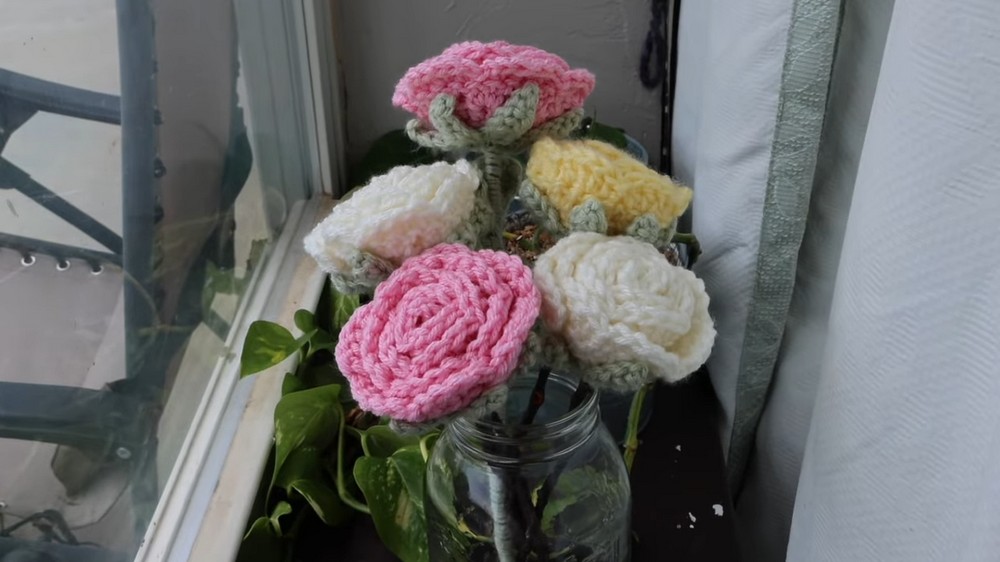
Sustainable and endlessly reusable, this lovely blossom provides an eco-friendly alternative to real flowers, bringing warmth and creativity to every project. A crochet rose pattern stands out as both a decorative delight and a meaningful handmade keepsake.
Special Features
- No sewing—assemble your rose with hot glue
- Completely customizable (make roses and leaves in any color)
- Beginner-friendly, step-by-step instructions
- Uses common yarn and tools
- Realistic leaves and a sturdy stem
Level of Difficulty
Beginner – The pattern uses basic crochet stitches and includes detailed explanations at every step. If you’ve never made a magic ring or basic stitches, you’ll still be able to follow along.
Tutor’s Suggestions
- Don’t worry about perfection. Roses look charming even when each one is a bit different.
- Use found sticks from outside for a rustic stem, or use wooden dowels for uniformity.
- Avoid sewing by tucking all yarn ends in place with hot glue during assembly.
- Mix and match colors for creative bouquets.
Uses
- Gifts for loved ones (Mother’s Day, birthdays, Valentine’s Day, etc.)
- Home décor in vases, wreaths, or centerpieces
- Wedding or party flower arrangements
- Craft projects for kids or beginners
Materials Needed
- Medium weight acrylic yarn (rose color of your choice)
- Medium weight acrylic yarn (green for leaves)
- 5 mm crochet hook
- Hot glue gun and glue sticks
- Stick, twig, or wooden dowel (for the stem)
- Scissors
Pattern Instructions
Step 1: Crochet the Rose
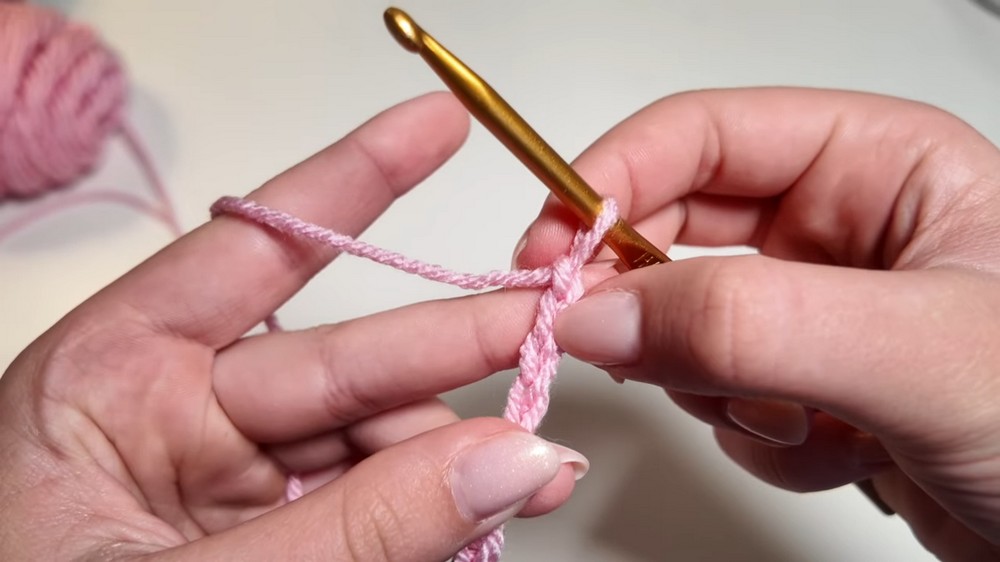
1. Make a Slip Knot & Chain
- Start with a slip knot.
- Chain 48.
2. Half Double Crochet (HDC) Row
- HDC in the second chain from the hook.
- HDC in each chain across. (Total: 47 HDC).
- This forms the base row.
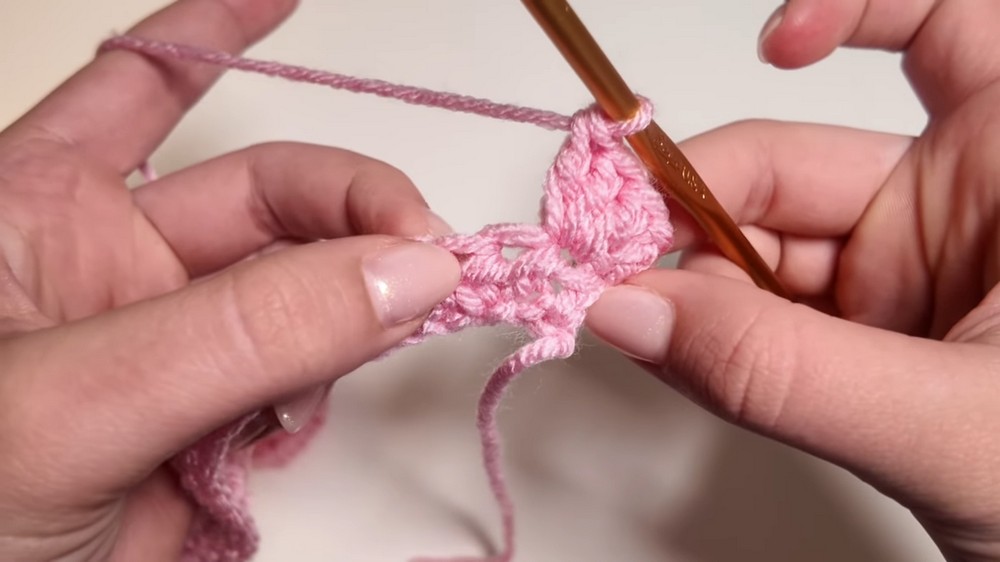
3. Create Petals Base
- Chain 2, turn.
- [3 double crochets (DC) in first stitch, skip next stitch]—repeat this sequence across the row.
- When done, each "set" forms part of a petal.
4. Make Petal Layer
- Chain 2, turn.
- Repeat this sequence across the row:
1 DC in first stitch, 2 DC in next stitch, 1 DC in third stitch, slip stitch in next stitch. - Continue to the end of the row.
- Fasten off and leave a tail.
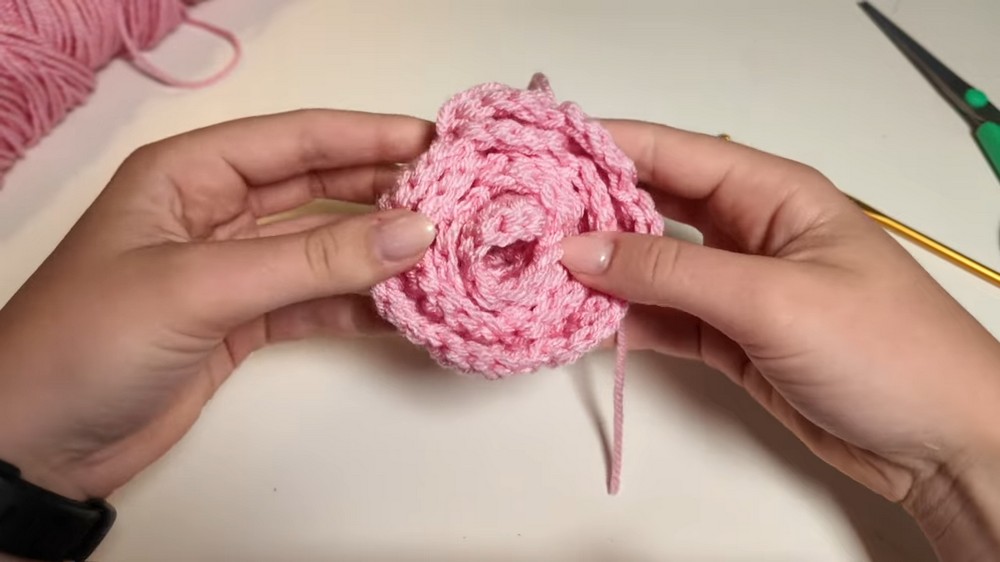
Step 2: Crochet the Leaves
1. Make a Magic Ring
- Create a magic ring and chain 1.
2. Leaf Center
- Crochet 6 HDC into the ring.
- Gently tighten the ring but leave a center hole (to slide onto your stem).
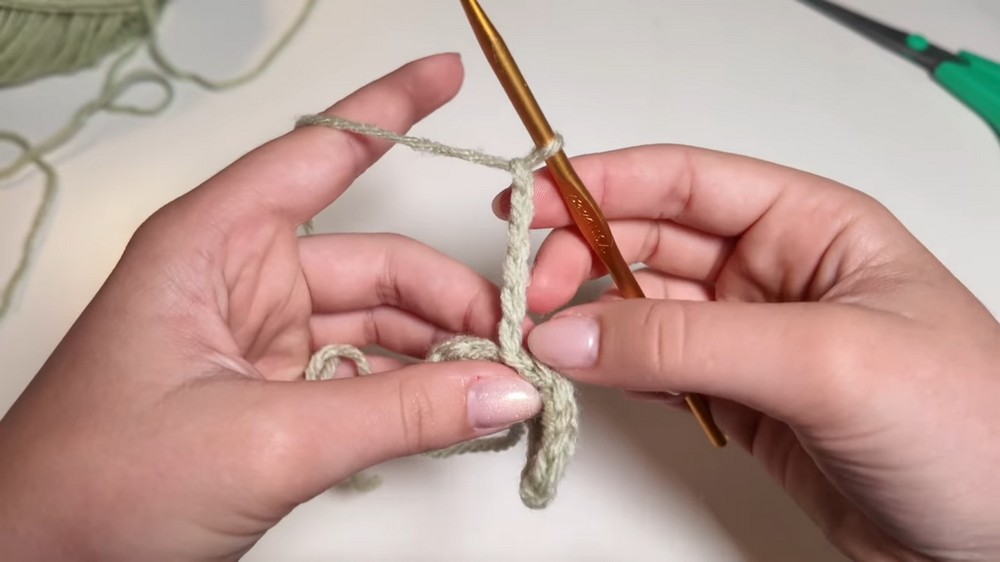
3. Create the Leaves (6 in total around the ring)
- *Slip stitch to the next stitch
- Chain 6.
- In 2nd chain from hook: single crochet (SC).
- In each of the next 2 chains: half double crochet (HDC).
- In final 2 chains: double crochet (DC).
- Slip stitch to next stitch on center.*
- Repeat * to * for each of the 6 leaves.
- Fasten off and leave a tail.
Step 3: Assembly
1. Attach the Rose to the Stem
- Heat your glue gun.
- Apply a small blob of glue to the tip of your twig/dowel.
- Attach the end of your rose piece.
- Start rolling the crocheted strip around the tip, adding glue as you go to secure it in a rose shape.
- Continue until the whole strip is rolled up and the base feels solid.
- Tuck in and glue any loose yarn ends.
2. Secure and Add Leaves
- Trim any excess yarn but leave a little to tuck in/glue.
- Slide the leaf ring up over the stem, right under your rose.
- Tighten the ring, glue it into place, and position the leaves as desired, gluing the base of each leaf for extra security.
- (Optional) Wrap any leftover yarn tail from the leaves around the stem, securing with a glue line for a polished look. Trim excess.
Conclusion
You’ve now made a gorgeous, never-wilting crochet rose! These roses are perfect for gifting or displaying in your space. With just yarn, glue, and a stick, you can create a full, vibrant bouquet in any color you’d like. Enjoy your handiwork—and remember, each rose is uniquely beautiful!
Pro Tip
For extra curl on the petals, gently roll and pinch them with your fingers before gluing. Play with the tightness of the roll for different rose looks—loosely rolled for a large bloom, tighter for a classic rosebud style.




Leave a Reply