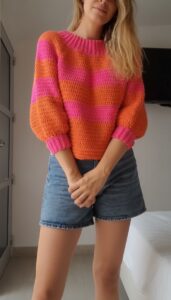
Fabulous Crochet Fringe Blouse Pattern to Elevate Your Wardrobe

What sets this pattern apart is the ability to personalize it. From choosing your favorite color to adjusting the fringe length, you can tailor it to match your unique style. It pairs beautifully with jeans, shorts, or skirts, giving you endless outfit options for every occasion. Plus, it’s a rewarding project that suits both beginners and experienced crocheters, offering a chance to bring your creativity to life.
Not only does making this blouse reduce dependence on mass-produced clothing, but it also doubles as a therapeutic and mindful activity. With its comfort, sustainability, and timeless appeal, this crochet pattern is the perfect way to combine creativity with practical fashion.
Materials Required
- Semi-thick cotton yarn or thinner cotton yarn (e.g., 1.5 mm or thicker yarn)
- Crochet hook (size based on yarn thickness)
- Scissors
- Markers for measurements and divisions
- Cardboard (for fringes, optional)

Step-by-Step Guide
1. Starting the Base of the Blouse
- Begin by making 15 chains, followed by eight backward counts to locate the eighth chain.
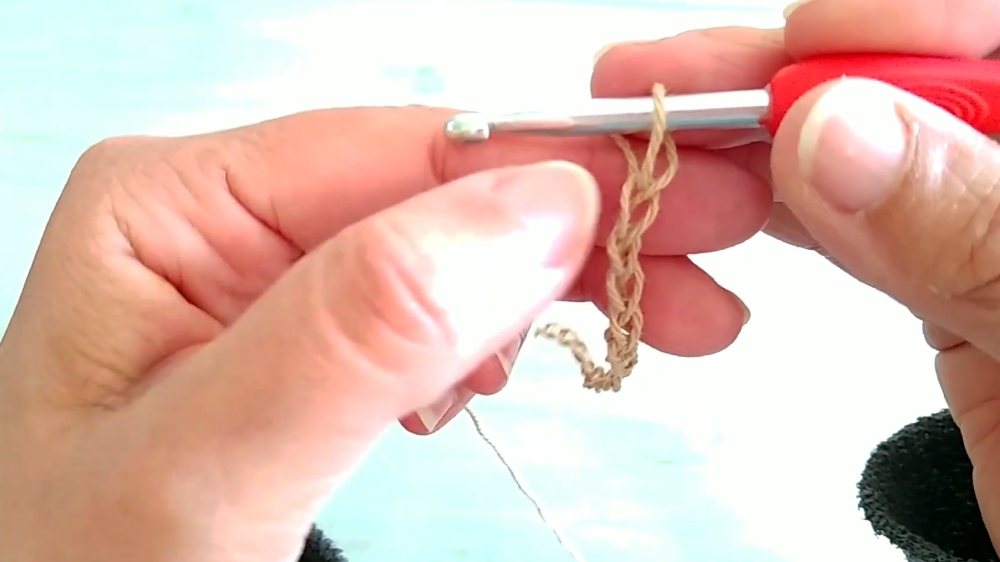
- Create a double crochet stitch in the eighth chain. Continue by making two chains and repeating the double crochet stitch in every third chain segment.
- Keep increasing along the edges to give the piece a triangular shape. Use six chains to go upward and turn for each row, maintaining consistency.

2. Shaping the Triangle
- As the blouse progresses, ensure every edge increase is consistent to maintain the triangular shape. Work according to your preferred shoulder width and circumference size. For measurements:
- Divide your required blouse size in half (e.g., contour of 100 cm equals 50 cm width for each triangle).
- Once you achieve the desired triangle size, stop increasing and crochet straight by reducing to five chains per turn.
3. Knitting Vertically for the Shoulders
- Start crocheting vertically to form the height of the blouse and the shoulder sections. Continue creating rows until the desired blouse length is achieved.

- Leave 20-24 cm space for the neck width and apply markers to divide squares equally between the shoulders.

4. Joining Shoulder Sections
- Complete two rows for each shoulder before joining both parts together. Use a slip stitch or sew with a needle, ensuring the squares align properly for a clean finish.
5. Creating the Armholes
- Measure the armholes based on your size:
- 18 cm for smaller sizes (S/M)
- 20-22 cm for larger sizes (L/XL)
- Start crocheting around the armholes, maintaining even spacing and counting squares to make the sleeves symmetrical. Continue crocheting rows until the desired sleeve length is achieved.
6. Finishing the Edges
- Add single crochet stitches along the blouse’s straight edges for a polished look. Create a ribbed finish by making two single crochets in each box.
- You may sew or leave open any parts that extend beyond straight sections based on your preference.

Special Features
- Adaptable Design: Suitable for all sizes, with adjustable neck width and sleeves.
- Optional Fringes: Adding fringes provides a playful texture, enhancing the blouse's overall style.
- Elegant Finish: Single crochet edges create neat, polished lines across the blouse.
Tutor’s Suggestions
- Use markers to keep track of triangular increases and square divisions for symmetry.
- Adjust the yarn thickness based on the desired texture and blouse weight.
- Experiment with fringe length and spacing for a personalized finish.
Uses
- Perfect for casual wear, summer outings, or layering under jackets.
- Adds a handcrafted touch to your wardrobe or serves as a unique gift item.
Tip
To achieve uniform fringes, use a cardboard piece (12-13 cm) for accurate measurements as you wrap the yarn. Ensure you stretch the knots tightly for a durable finish.
Conclusion
This cotton crochet blouse balances style and simplicity, offering adaptability for different sizes, yarn choices, and finishes. The optional fringes, V-shaped pattern, and ribbed edges make it a versatile project suitable for intermediate crocheters. With the easy-to-follow steps outlined above, you can customize this pattern to suit your preferences while enjoying the creative process.


Leave a Reply