
Snuggle up in cuteness with this Crochet Pig Amigurumi Pattern that's an adorable, cuddly friend adding charm and fun to your cozy creations.
A cheerful little companion with a round snout and tiny curled tail brightens any space instantly. The Crochet Pig Amigurumi Pattern turns soft yarn into an adorable miniature pig that radiates personality through its expressive eyes and plump, huggable shape. It fits perfectly on shelves, desks, or in nursery displays, making it a delightful addition to home décor or a thoughtful gift for loved ones.
Charming Crochet Pig Amigurumi Pattern That Brings Smiles
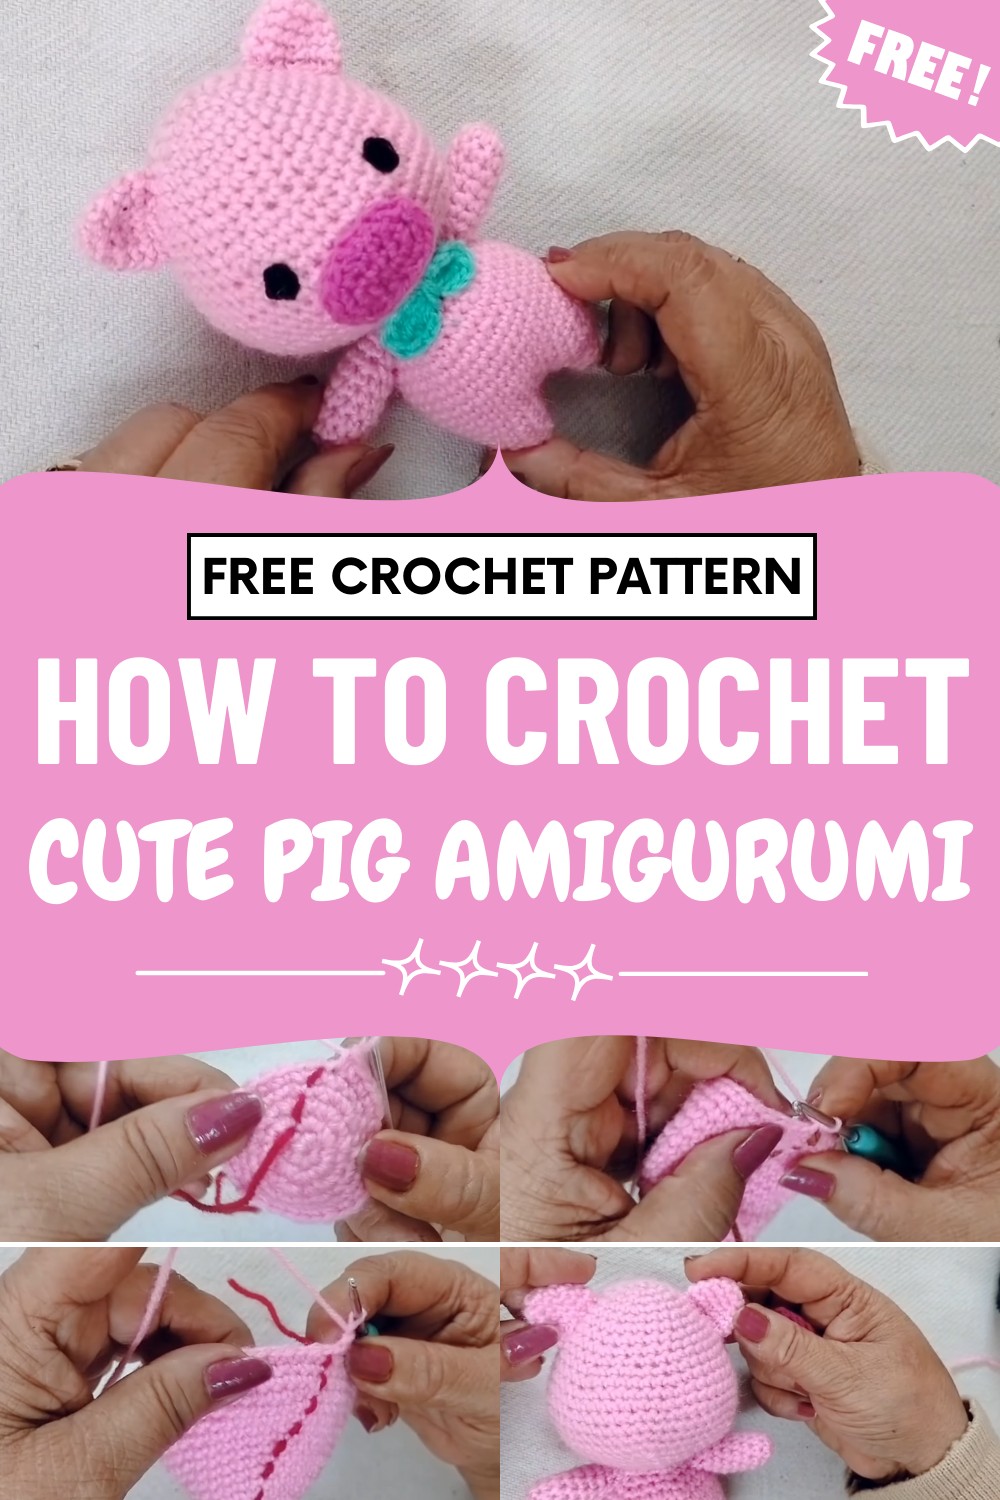
This pattern emphasizes balanced shaping, neat stitching, and careful assembly, helping improve precision and attention to detail. Each pig can be personalized with different colors, tiny outfits, or playful accessories, creating a unique charm for every piece.
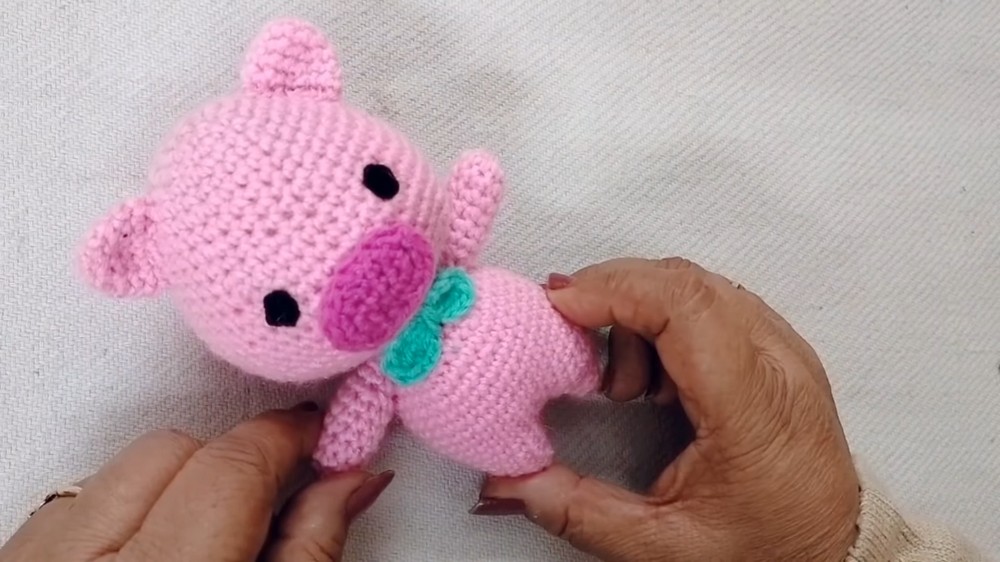
Lightweight yet resilient, it retains its form and feels soft to touch, making it ideal for gentle handling or display. Combining whimsy, practicality, and visual appeal, this Crochet Pig Amigurumi Pattern brings warmth and joy wherever it is placed, offering both aesthetic pleasure and a comforting presence.
Special Features
- Child-safe: Embroidered eyes prevent choking hazards
- Stash-buster: Great for using up scrap yarns
- Customizable: Easily change colors or add accessories like bows
- Versatile: Use as a gift, toy, or decor
Level of Difficulty
Easy to Intermediate:
Great for beginners ready to follow rounds, increases, and decreases.
Tutor’s Suggestions
- Count your stitches each round, especially on increase and decrease rounds.
- Use a yarn marker or contrasting thread to keep track of round beginnings.
- Firm stuffing will give your pig a perfect shape.
- Don’t forget to have fun and add your creative touch—try different colors or accessories!
Uses
- Children’s plush toy
- Desk or shelf decor
- Unique handmade gift
- Seller’s item for craft fairs
Materials
- Four-ply acrylic yarn in pink (main), black (eye detail), and color for the bow
- 3mm crochet hook
- Yarn needle
- Fiberfill/polyester stuffing
- Scissors
- Stitch marker or spare thread
Step-by-Step Pattern
HEAD
- Magic Ring:
6 sc in magic ring, join with slip stitch (6) - Round 2:
2 sc in each st (12) - Round 3:
[2 sc in next st, 1 sc in next st] x 6 (18) - Round 4:
[2 sc in next st, 1 sc in next 2 st] x 6 (24) - Round 5:
1 sc in each st (24)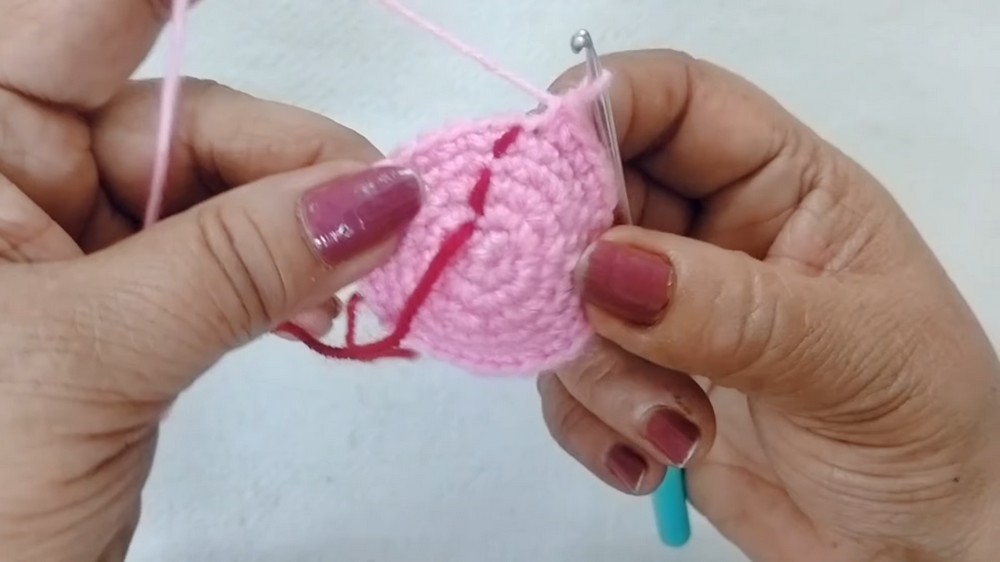
- Round 6:
[2 sc in next st, 1 sc in next 3 st] x 6 (30) - Round 7:
1 sc in each st (30) - Round 8:
[2 sc in next st, 1 sc in next 4 st] x 6 (36) - Round 9:
1 sc in each st (36) - Round 10:
[2 sc in next st, 1 sc in next 5 st] x 6 (42) - Round 11:
1 sc in each st (42) - Round 12:
[2 sc in next st, 1 sc in next 6 st] x 6 (48)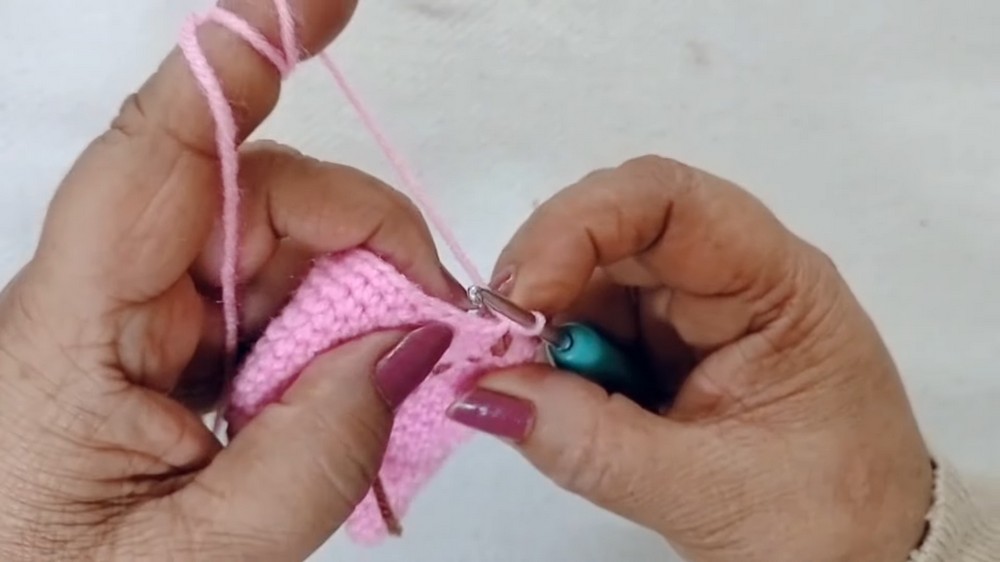
13-15. Rounds 13–15:
1 sc in each st (48) - Decrease Rounds:
- Rnd 16: [sc2tog, 1 sc in next 6 st] x 6 (42)
- Rnd 17: [sc2tog, 1 sc in next 5 st] x 6 (36)
- Rnd 18: [sc2tog, 1 sc in next 4 st] x 6 (30)
- Rnd 19: [sc2tog, 1 sc in next 3 st] x 6 (24)
- Rnd 20: [sc2tog, 1 sc in next 2 st] x 6 (18)
Finish off. Stuff firmly.
BODY & LEGS
Make Two Legs:
- Magic ring, 6 sc in ring (6)
- 2 sc in each st (12)
- [2 sc in next st, 1 sc] x 6 (18)
- [2 sc in next st, 1 sc in next 2 st] x 6 (24)
- [2 sc in next st, 1 sc in next 3 st] x 6 (30)
- Slip stitch and leave a tail on the first leg only.
Do not break yarn on second leg—move straight to joining for body.
Joining for the body:
- Place both legs side by side. Join with 1 sc and continue around both for a total of 60 sc (30 on each leg).
- Continue sc in each st for 7 rounds (or until desired body height).
- Begin decreases as follows:
- [sc2tog, sc in next 4] around (50)
- [sc2tog, sc in next 3] around (40)
- [sc2tog, sc in next 2] around (30)
- [sc2tog, sc in next 1] around (20)
- [sc2tog] around (10)
- Stuff as you go
- Close opening, fasten off.
ARMS (Make 2)
- Magic ring, 5 sc (5)
- 2 sc in each st (10)
3–7. sc in each st for 5 rounds (10) - Decrease: [sc2tog, sc 3] repeat (8)
- sc around (8)
Leave tail for sewing. Lightly stuff.
EARS (Make 2)
- Magic ring, 6 sc (6)
- [2 sc in next st, sc in next st] x 3 (9)
- [2 sc in next st, sc in next 2 st] x 3 (12)
- [2 sc in next st, sc in next 3 st] x 3 (15)

- sc in each st (15)
Fasten off, leave tail for sewing. Flatten to a half-circle for shape.
SNOUT (Make 2, then sew together)
- Ch 5.
- Sc in 2nd ch from hook and next 2 ch (3 sc)
- 4 sc in last ch, continue on other side: sc 2, 2 sc in end (to make a small oval)
- Sew two ovals together, lightly stuffing for dimension.
- Sew to center of head about halfway down.
ASSEMBLY
- Stuff body and head securely.
- Attach head to body with whip stitch, ensuring it's centered.
- Sew arms and ears in place.
- Attach snout in the center of the face.
- Embroider eyes using black yarn in cross shape for each, or as preferred.
- Sew a bow (see below) or crochet a tie for its neck if you like.
BOW
- Make a magic ring. Ch 3,
- 3 treble crochets, ch 3, sl st in ring, ch 3
- 3 treble crochets, ch 3, sl st in ring.
- Pull to cinch center, wrap yarn around center, tie and secure. Sew to one ear or below the chin.
FINAL DETAILS
- Weave in all ends. Adjust stuffing if needed.
- Embroider small nostrils on snout.
- Add any finishing touches—such as a curly tail, extra accessories, or blushing cheeks with a hint of pink yarn or embroidery floss.
Tip
Use your leftover yarn for bows, hats, or even a tiny scarf to give each pig its own personality!
Conclusion
This charming Crochet Pig Amigurumi Pattern is now complete and ready to brighten up any space or delight its recipient. Its simple construction, child-safe features, and friendly look make it a favorite for crafters and gift-givers alike.




Leave a Reply