
Evolve small details into accessories with this crochet dress keychain, perfect for personalizing your belongings and gifting handmade joy.
Small details often hold the power to brighten our day and express personality in subtle yet meaningful ways. A simple yet delightful crochet dress keychain embodies this idea perfectly—it’s an accessory that combines charm and practicality in a miniature, yet stunning, format. Its delicate stitching and design bring a touch of handmade elegance to everyday objects, turning ordinary items like keys or bags into reflections of style and care.
Fun Crochet Dress Keychain for Embellishment
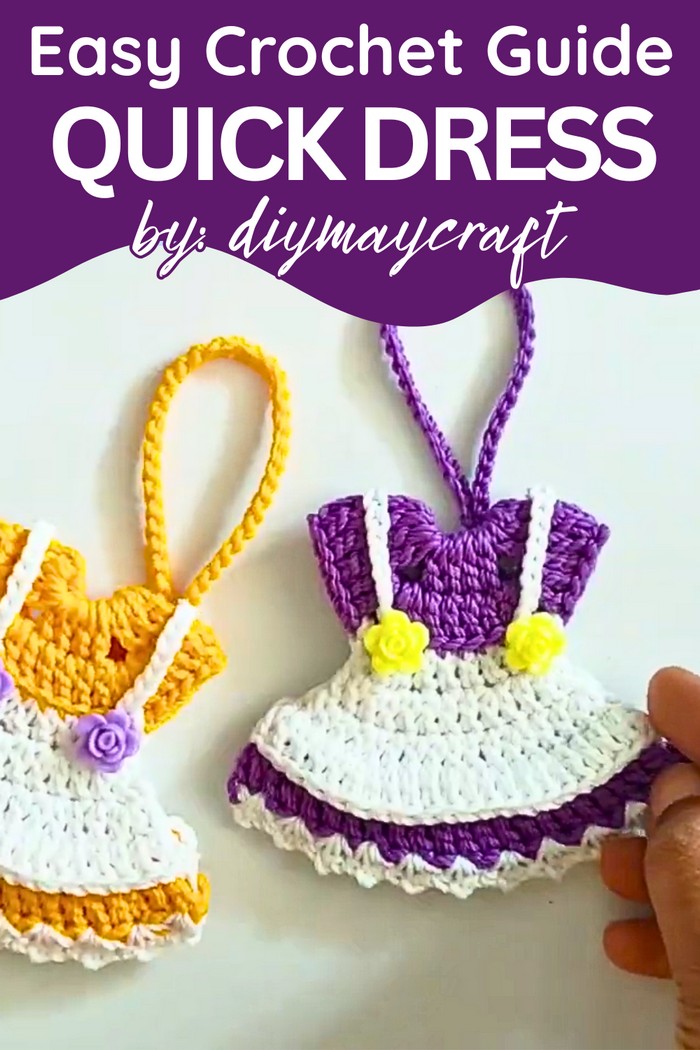
Adding one of this dress-shaped keychain to your belongings not only enhances their appearance but also adds convenience. It helps you locate your keys faster or transforms a plain bag into something unique and eye-catching. The versatility of this accessory allows for endless personalization options, whether you want to match it with your favorite colors or create a thoughtful gift for someone special.
Making this adorable keychain introduces new opportunities for creativity. It encourages skill-building while offering a chance to experiment with designs, textures, and patterns. Projects like this inspire crocheters expression and deliver something practical at the same time. From practicing new stitching techniques to sharing the joy of gifting handmade items, this crochet piece is much more than an accessory—it’s a celebration of effort, imagination, and ingenuity.
Tools and Materials
- Thread: Polycherry thread (yellow and white)
- Hook: Suga hook size 4/0 (Tulip brand)
- Additional Tools: Lighter or match for finishing ends
How to Crochet dress keychain
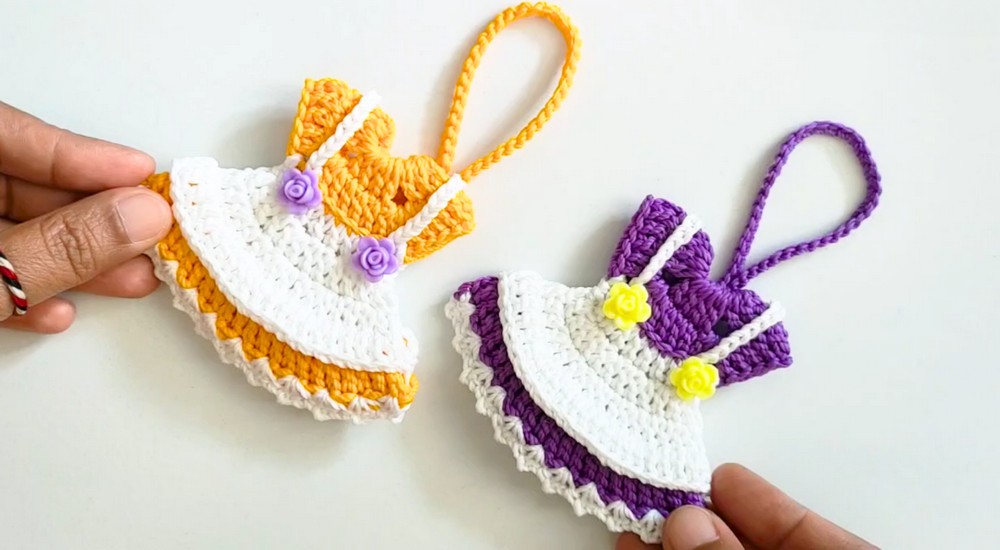
This step-by-step pattern showcases a creative crochet dress keychain design using vibrant colors and intricate techniques. The process involves combining multiple stitches and pattern to achieve a decorative, handmade accessory that’s both beautiful and functional. Ideal for intermediate-level crocheters, the design offers a fun way to hone skills in using loops, double crochets, chains, and other crochet patterns.
Step-by-Step Instructions
Step 1: Creating the Rope
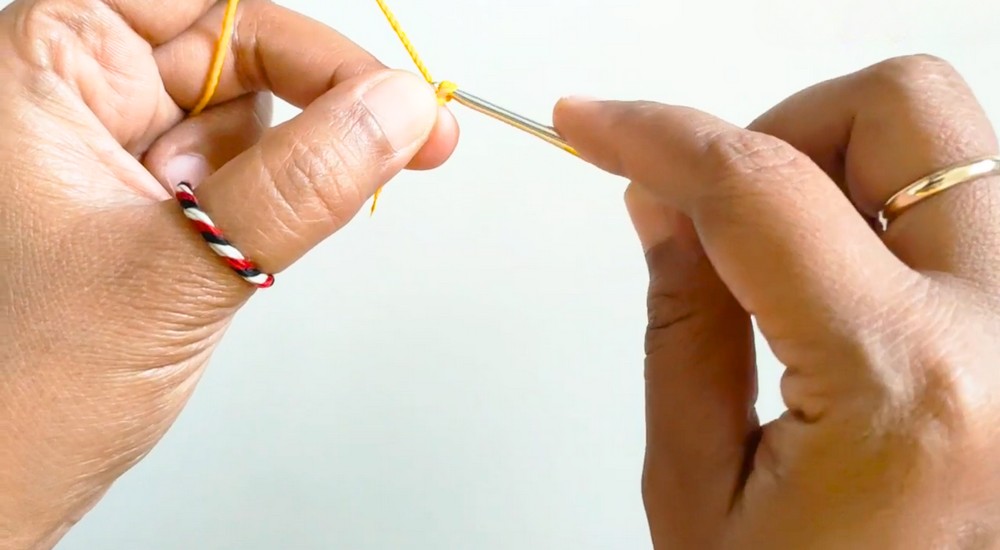
- Start with a Slipknot, then make 12 chains.
- Connect the last chain to the first using a Slip Stitch.
- Make 40 more chains for the rope section, joining them with a Slip Stitch to create a solid base.
Step 2: Beginning the Yellow Double Crochet Design
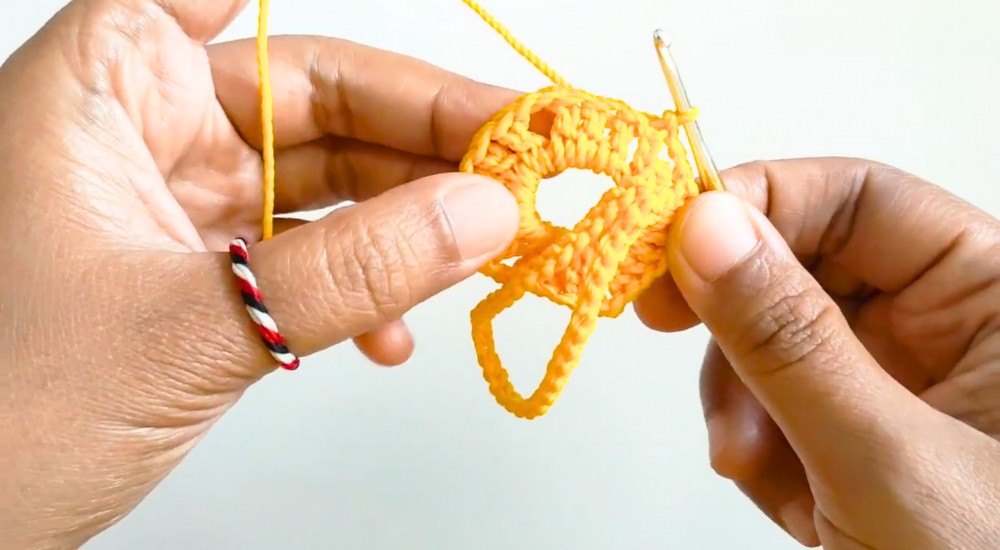
- Create a prefix of 3 chains to start the first row.
- Add 3 double crochets within the created circle (starting chains count as 1 double crochet).
- Continue the row pattern:
- 2 chains, followed by 6 double crochets in the circle.
- Repeat the sequence: 4 double crochets, 2 chains, 6 double crochets, and so on.
- Join the row with a Slip Stitch.
Step 3: Adding Layers and Cavity Work
- For the next rows, start with 3 chains and create clusters:
- Inside the cavity, work 2 double crochets, 2 chains, and 2 double crochets.
- Alternate between 6 double crochets and cavity patterns.
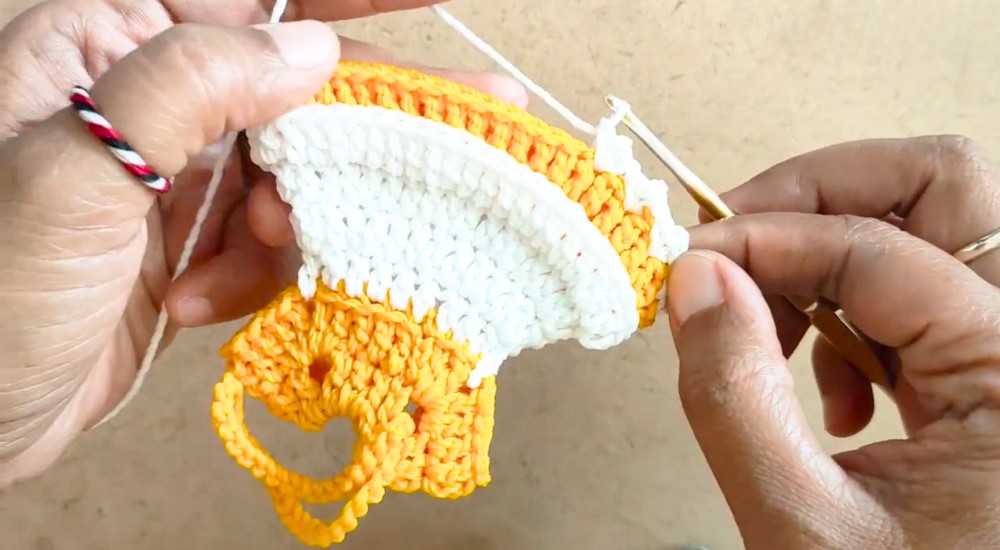
- Use white thread for additional rows and repeat similar cavity-based patterns.
- Incorporate back loops to add depth and texture to the design.
Step 4: Working with White Thread
- Break the yellow thread and start with the white thread using a Slipknot.
- Create a new cavity design, emphasizing double crochet increases by entering the back loop.
- Repeat the double crochet increases across all rows, switching color threads as needed.

Step 5: Adding Front Loops and Back Loops
- Begin the next rows focusing on front loops to create depth.
- Switch to yellow thread and work exclusively on back loops, incorporating triple crochet increases for added volume.
- Unite the raised layers carefully with a Slip Stitch.
Step 6: Finishing with Edge and Keychain Details
- After completing the structured layers, create a smooth edge using single crochets:
- In each chain hole, make 1 single crochet followed by 2 chains.
- Skip one chain hole and repeat the sequence.
- Break the threads with a lighter and tidy up the ends.
- Create 18 chains on each side of the finished piece for the keychain handles. Unite using Slip Stitches and trim any excess thread.
Special Features
- Intricate cavity and loop designs that elevate the texture.
- Alternating color threads for a vibrant mix.
- Raised layers for added volume and elegance.
Tutor’s Suggestions
The creator recommends carefully managing thread tension and using a match or lighter to prevent fraying when breaking threads. Switching between white and yellow threads enhances the visual appeal but requires attention to detail for a polished finish.
Level of Difficulty
This project is best suited for intermediate-level crocheters due to the mixed use of front and back loops, double crochet increases, and triple crochet stitches. Beginners may require practice to master the cavity designs.
Uses
This crochet keychain adds a personal touch to bags or keys and can be gifted as a handmade accessory. It highlights your crochet skills while serving as a practical and decorative item.
Tip
To keep your stitches consistent and prevent misalignments, use stitch markers to track progress when working on loops and cavity designs.
Conclusion
Creating this crochet keychain is a rewarding experience, allowing you to explore intricate techniques while crocheting a unique accessory. Whether for personal use or as a thoughtful gift, this vibrant design is a wonderful way to showcase your crochet skills.




Leave a Reply