
Bring joy to your essentials with a Crochet Ice Cream Keychain Pattern that turns simple stitches into a charming and creative accessory.
A warm breeze carrying hints of laughter from a nearby park brings back memories of summer desserts, and nothing captures that feeling quite like a crochet ice-cream keychain. This little accessory charm of ice cream cones into a soft, colorful design that not only adds a playful touch to your belongings but also serves a useful purpose. Lightweight and compact, it’s perfect for keeping your keys or bags organized while showcasing your unique personality.
Colorful Crochet Ice Cream Keychain for Vibrant Style
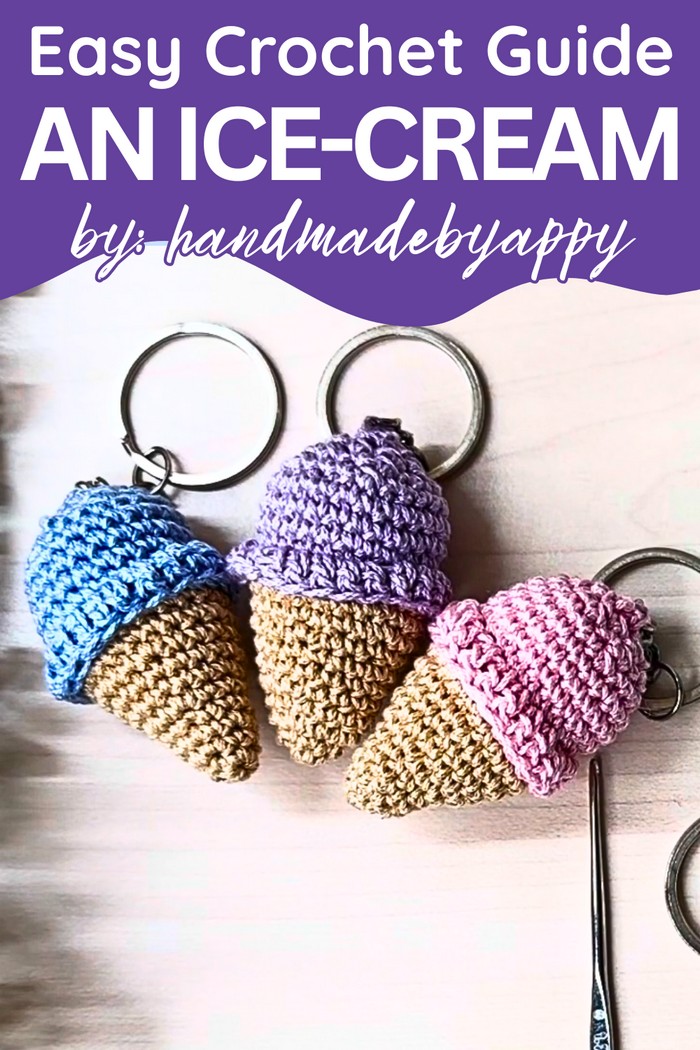
More than just a charming trinket, this handmade creation makes for an incredibly thoughtful gift. With endless color possibilities, it can be personalized to match someone’s favorite flavors—think strawberry, chocolate, or mint chip tones. Whether gifted for special occasions or simply as a surprise, the whimsical design can brighten anyone’s day and spark smiles wherever it goes.
The crochet ice-cream pattern itself offers an enjoyable project for crocheters of all skill levels. Made with soft yarn, it’s a relaxing pastime that results in something functional yet fun. Once completed, the keychain doubles as a conversation starter and an everyday accessory, blending practicality with a touch of nostalgia. It’s a small piece of joy that makes both the crocheters and recipient appreciate life’s simple pleasures.
1. Materials You’ll Need:
- Anchor Cotton Threads: Two shades: sand (for the cone) and aqua (for the ice cream).
- Crochet Hook: 1.75 mm.
- Key Ring: Used to attach the ice cream cone for finished use.
- Safety Pin: Acts as a stitch marker.
- Darning Needle: For weaving threads and closing stitches.
- Polyfill Fiber: To stuff the ice cream cone.
- Scissors: For trimming threads.
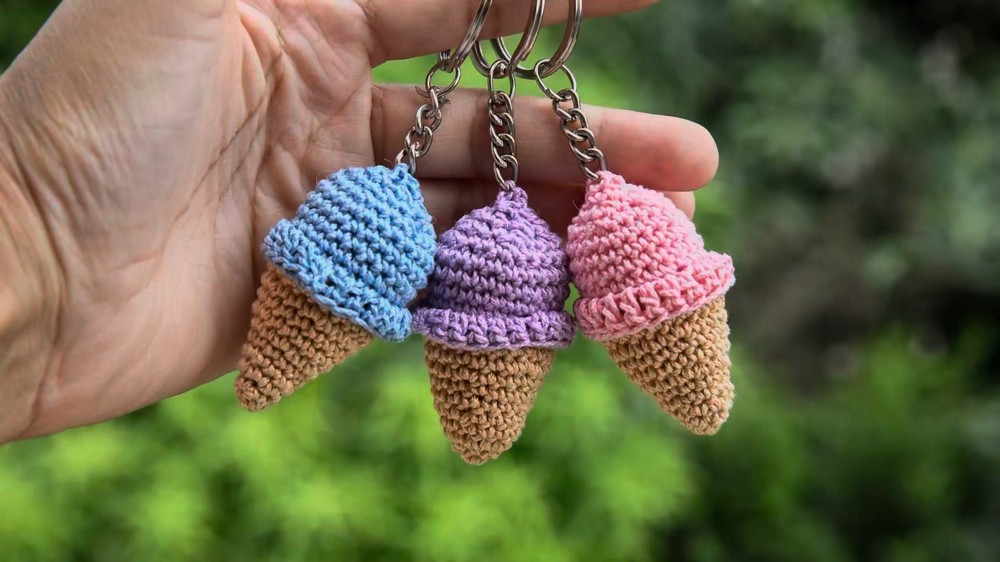
How to Crochet Ice Cream Keychain
This pattern, presented teaches how to create adorable crochet ice cream keychains using simple techniques. Perfect for beginners or intermediate crocheters, this project introduces basic crochet skills, the use of small materials, and a creative idea for handmade accessories.
Step-by-Step Details
2. Starting with the Cone:
A. Forming the Base
- Begin with the magic circle and make 6 single crochets into the magic circle.
- Pull the tail to close the circle.
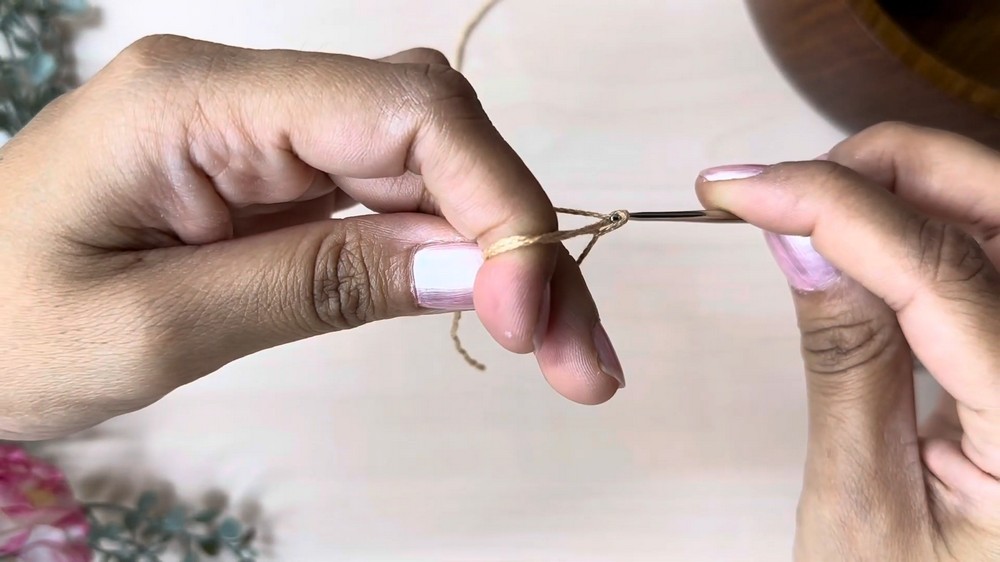
B. Building Up
- Add single crochet stitches into each stitch.
- Create an increase round: Add 2 single crochets to each stitch (12 stitches).
- Crochet one single crochet into each stitch for 2 rounds (12 stitches per round).
C. Expanding the Cone:
- Follow the pattern: 1 single crochet in the next stitch, 2 single crochets in the following stitch, and repeat (18 stitches).
- Afterward, create 2 rounds of one single crochet in each stitch (18 stitches per round).
D. Final Expansion:
- Add 1 single crochet in the next 2 stitches and 2 single crochets in the third stitch. Repeat to get 24 stitches.
- Crochet 2 rounds of one single crochet in each stitch (24 stitches per round).
- End the cone by making a slip stitch and cutting the thread.
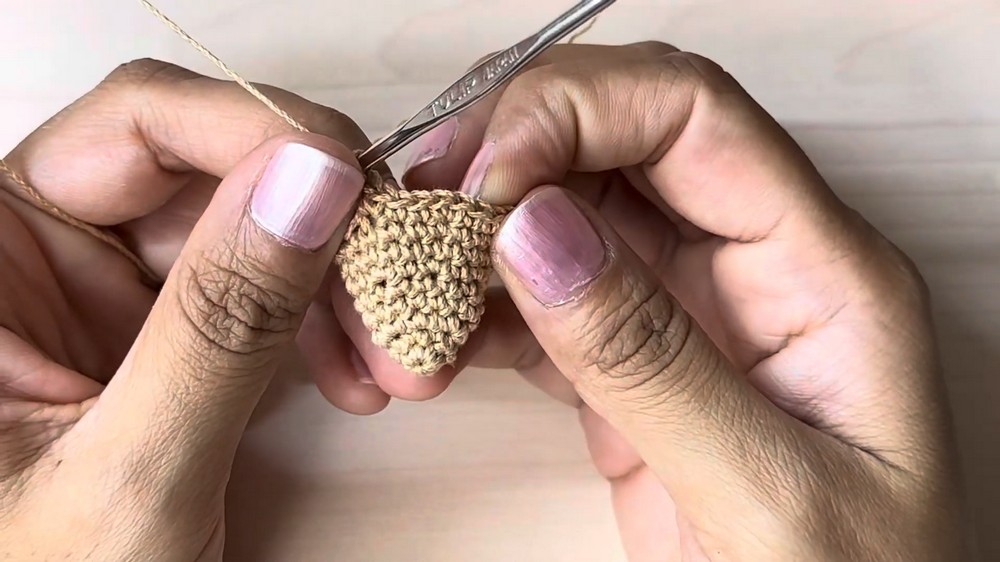
3. Starting the Ice Cream Section:
A. Attaching the Yarn:
- Attach the aqua-colored thread to the final stitch of your cone. Tie firmly and start crocheting.
B. Layering the Ice Cream:
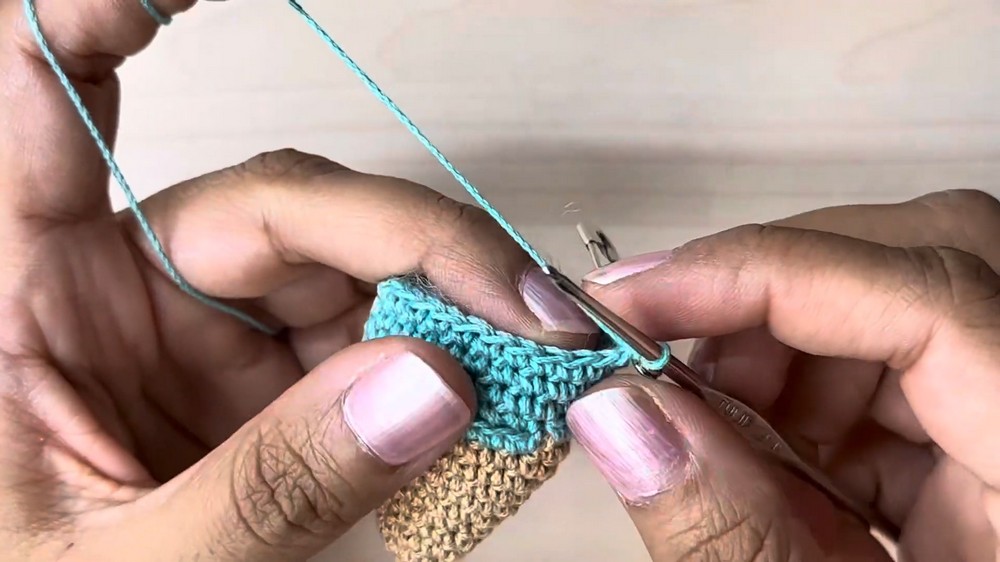
- Do single crochets all around, weaving in the thread tails as you go.
- For the second round, only crochet through the top loop of each stitch for texture.
C. Building Ice Cream Layers:
- Create 3 rounds of single crochet (normal texture through both loops).
- Begin stuffing the cone lightly with polyfill fiber to maintain its shape.
4. Decreasing for Ice Cream Closure:
A. First Round of Decreases:
- Crochet into the next 2 stitches, then decrease by pulling loops through next 2 stitches together. Repeat (18 stitches remaining).
B. Second Round of Decreases:
- Crochet 1 single crochet, then decrease. Repeat (12 stitches remaining).
C. Final Round of Decreases:
- Decrease all stitches until only 6 stitches remain.
D. Closing:
- Make a slip stitch, pull the thread out, and use the darning needle to close the opening neatly.
5. Adding Decorative Layers:
- Use the one loop left from the second round to crochet the decorative layer.
- Insert thread, chain 2, and follow with double crochet stitches.
6. Attaching the Key Ring:
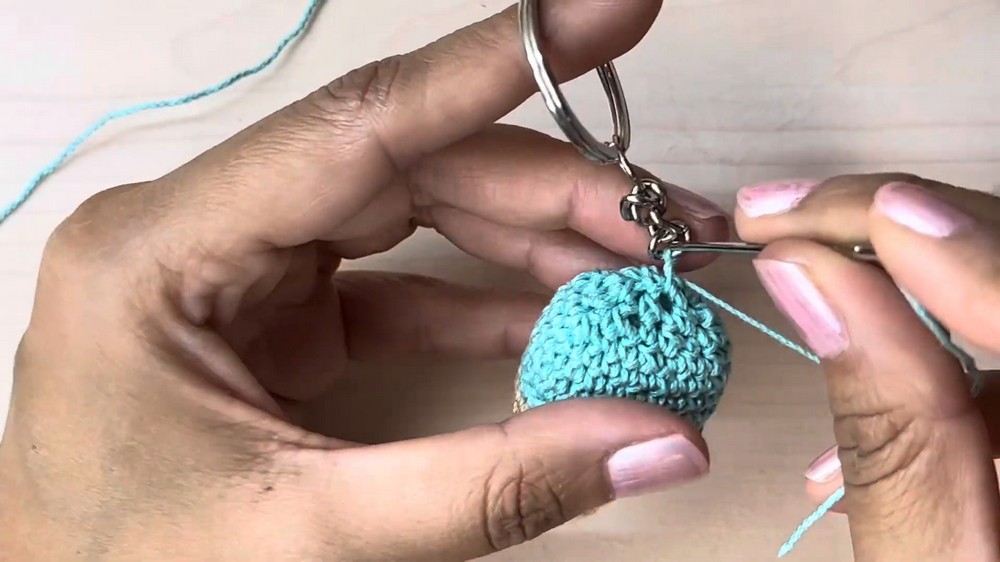
- Use the darning needle to securely connect your crochet ice cream cone to the key ring by stitching through the top.
Special Features
- Unique Design: The ice cream cone is both adorable and practical, perfect for accessories like keychains, bag charms, or gifts.
- Compact Size: Lightweight and easy to carry.
- Customizable: You can choose your favorite yarn colors for a personal touch.
Difficulty Level
- Beginner to Intermediate: This pattern is suitable for beginners who are familiar with basic crochet techniques (single crochet, magic circle) but includes some intermediate steps like increases and decreases.
Tutor’s Suggestions
- A safety pin is optional but can help track stitches effectively.
- Avoid over-stuffing the polyfill to prevent distortion in the cone shape.
- Use a darning needle for neat closures and strong attachment to the key ring.
Uses
- Keychains: Perfect accessory for keys or zippers.
- Gifts: Handmade, customizable gifts for friends or family.
- Decorations: Use as bag charms or hanging ornaments.
Tip
For added charm, consider using colorful beads or embroidery to decorate the ice cream section once you’re finished.
Conclusion
This crochet ice cream keychain pattern combines creativity and practicality, resulting in a delightful handmade accessory. The straightforward steps, customizable options, and adorable design make it an enjoyable project for crochet enthusiasts.




Leave a Reply