
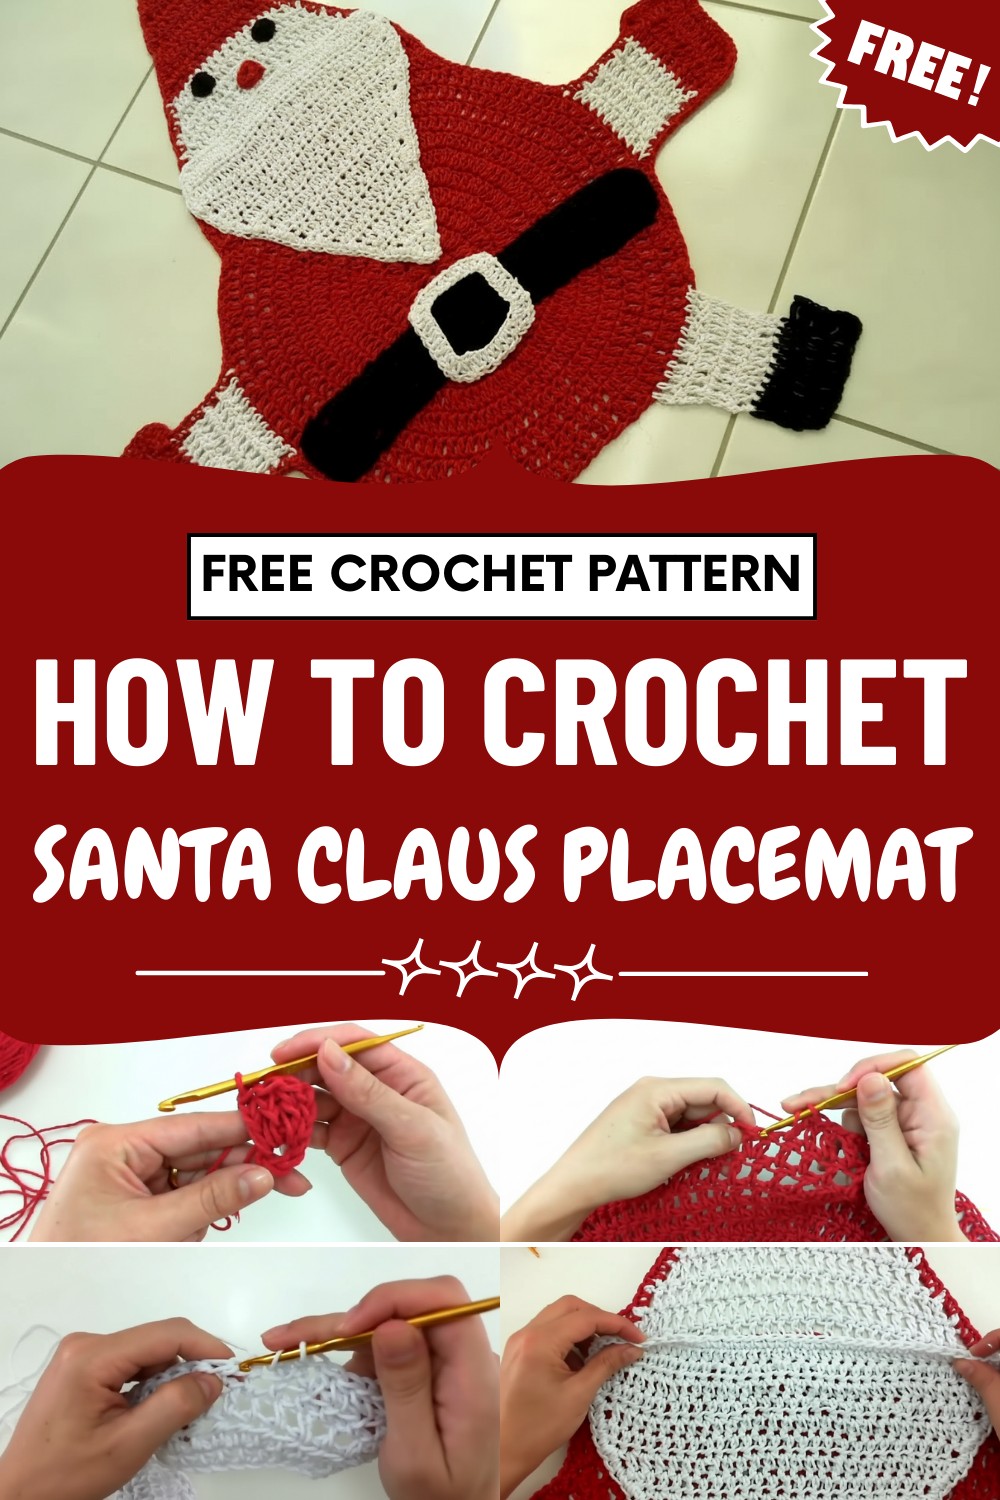
Decorate festive floors with this Free Crochet Santa Claus Rug Pattern, perfect for holiday charm, playful textures, and cozy seasonal décor.
Bring festive cheer and a playful touch to any room with this charming holiday rug. Perfect for living rooms, entryways, or cozy corners, it instantly adds a seasonal vibe while keeping floors warm and inviting. The detailed design highlights the iconic Santa Claus figure, combining bright colors and whimsical elements that capture the spirit of Christmas.
Magical Crochet Santa Claus Rug Pattern Adds a Touch of Christmas
Its sturdy construction ensures durability for frequent use, while the soft texture provides a comfortable surface underfoot. The Crochet Santa Claus Rug Pattern allows flexibility in yarn choice and size, letting makers adapt it to different spaces and décor styles.
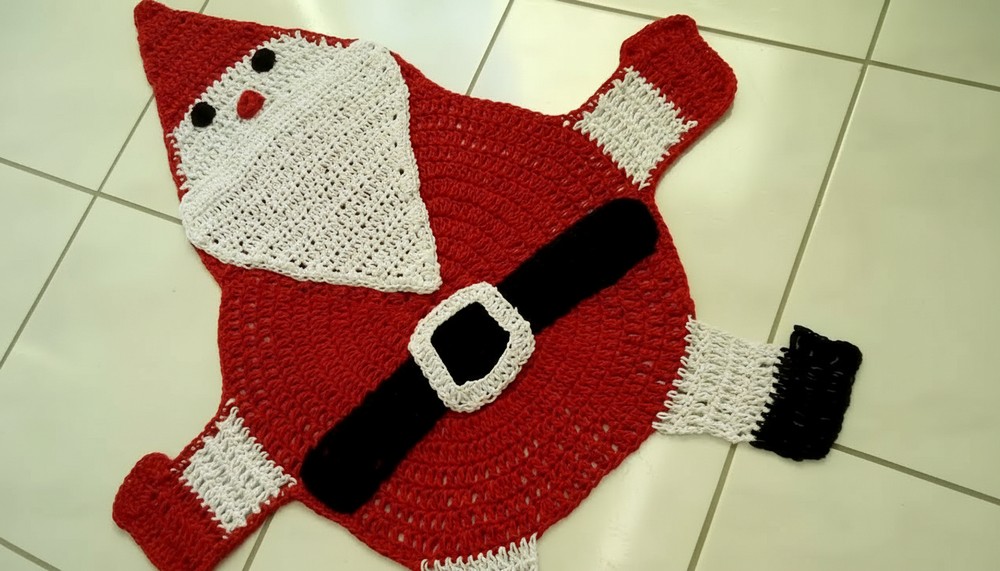
Lightweight yet durable, it is easy to move or store after the holidays. This rug not only serves as a decorative accent but also brings joy and a handmade charm to the home. It is an ideal project for adding festive warmth, personality, and creativity to seasonal décor.
Special Features
- Large, Decorative Rug: Shaped like Santa’s face and body, immediately recognizable and delightful for kids and visitors.
- Emphasis on Shaping & Appliqué: Create Santa’s hat, beard, arms, legs, and face as one integrated project.
- Join-As-You-Go Elements: Assemble different pieces by sewing, making finishing neat and sturdy.
- Durable & Washable: Crafted in sturdy cotton twine or similar, designed for floor use.
Level of Difficulty
Adventurous Beginner to Intermediate
You’ll need to know (or learn) how to crochet in the round, work basic increases/decreases, change colors, and assemble using a tapestry needle.
Materials
- Yarn/Twine:
- Red String/Twine No. 8 (one full cone, or ~250m)
- White String/Twine No. 8 (half cone or less)
- Black Yarn No. 8 (small amount for boots, eyes, and belt)
- Hook:
- Size 8 (4.0 mm), or size to match your string/yarn
- Tapestry Needle:
- Large eye for thick thread (for assembly)
- Scissors
- Stitch markers or scrap yarn (for marking sections)
Suggested Uses
- Christmas door rug/mat
- Play rug for kids
- Festive decoration under a tree or at entryways
- Bright, cheerful holiday gift
Step-By-Step Pattern
1. Main Circle (Santa’s Body) — With Red Yarn
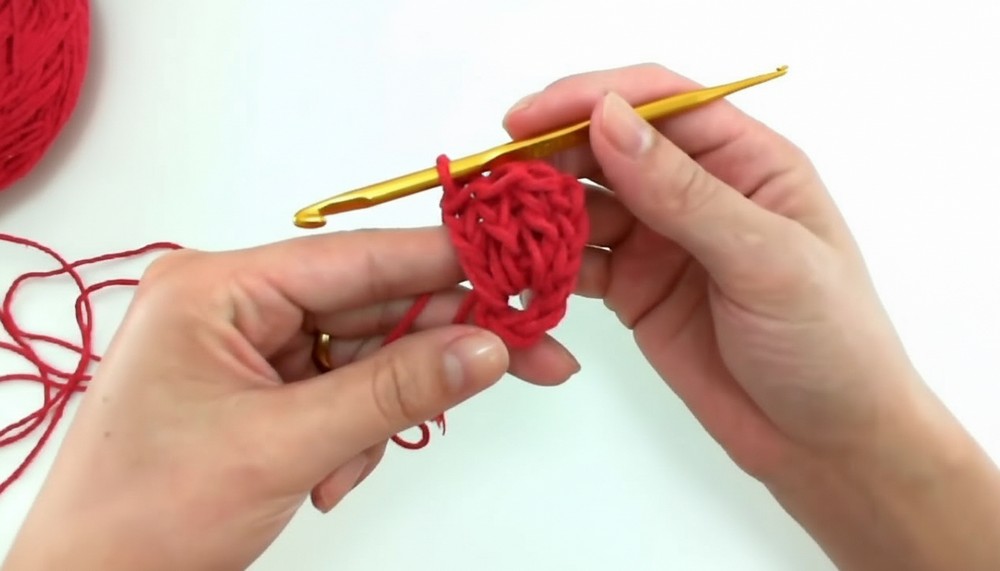
- Start Ring:
- Chain 5, join to form a ring with a slip stitch.
- Round 1:
- Ch 3 (counts as dc), work 15 dc into ring (16 dc in total). Join to top of ch-3.
- Round 2:
- Ch 3, dc in same stitch, 2 dc in each stitch around (32 dc). Join.
- Round 3:
- Ch 3, 2 dc in next st, 1 dc in next st around (48 dc). Join.
- Ch 3, 2 dc in next st, 1 dc in next st around (48 dc). Join.
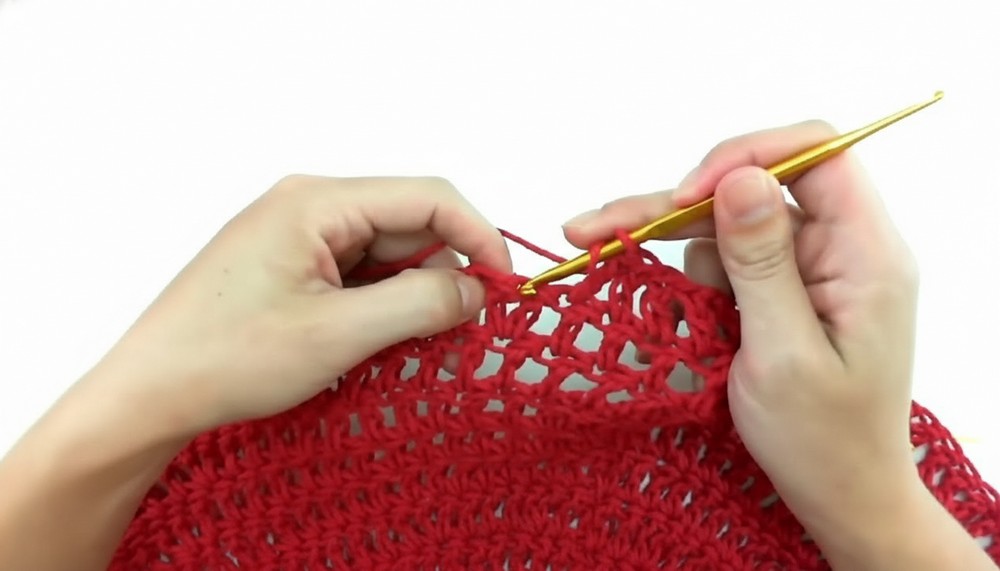
- Round 4 (and subsequent Rounds, Increase as follows):
- Ch 3, dc in next st(s), 2 dc in next st, dc in each of next (increase sequence) st(s) around.
- Continue increasing each round so a new dc is added between increases, until your circle lays flat.
- Example (from transcript):
- 4th round: every third dc is an increase
- 5th/6th round: every fourth dc is an increase, then fifth, etc.
- Continue this logic, increasing the distance between increases, up to 11th round, where you have 132 sts.
2. Mark Sections for Hat, Legs, and Arms
- Hat and Face:
- Mark 33 stitches (about ¼ of the circle).
- Arms & Legs:
- Divide remaining 99 sts into 9 equal sections (11 sts each).
- Using scrap yarn or markers, mark these points around circle.
3. Santa’s Hat (Red and White Section)
- At hat section:
- Flip work, attach red yarn to wrong side.
- Row 1: Work 33 dc across hat section, turn.
- Decrease Rows: Each row, skip first and last dc, working decreases for shaped point. Repeat in red for shaping.
- Switch to White for the trim:
- Work 5 rows, continuing to decrease at both ends (the hat tapers to a point).
- On last row, join red yarn before finishing.
- Finish with red, decreasing to a single st.
4. Santa’s Arms (White Then Red)
- Skip first 11-st section (next to hat).
- Join white yarn at next section; work 11 dc, turn. Work 3 more rows in white (total 4).
- Switch to red: 3 rows of 11 dc each.
- At end, add "hand": make 3 dc into each side stitch around hand to form small rounded end.
- Repeat for opposite arm, skipping sections accordingly.
5. Santa’s Legs (White Then Black)
- Work like arms, using the two lower 11-st sections (leave one between for space).
- Four rows of white followed by 3 rows of black.
- At end, work "boot tip": 3 dc into each side stitch, shaping boots to point outwards.
6. Belt (Black)
- Ch 10, dc in 4th ch from hook, dc across (8 dc per row).
- Work in rows until strip measures circumference of Santa’s belly (about 46 cm; 20 rows).
- Work a round of sc around outside of belt for a neat edge.
- Use tapestry needle to hand-sew (using single crochet row as base) to Santa's body, just below arms.
7. Belt Buckle (White)
- Ch 36, join with sl st to form a big ring.
- Work 2 rounds of hdc, placing increases/corners after every 8 hdc for a rectangular shape (hdc, ch 2, hdc in same st).
- Adjust as needed. Join.
- Sew (with tapestry needle) centered onto the belt.
8. Face, Beard, and Features
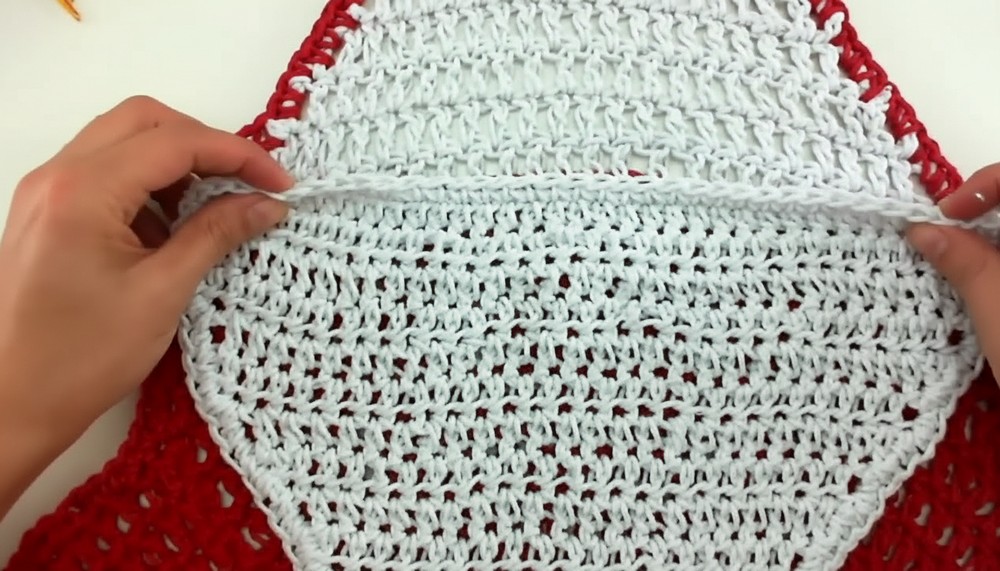
- Beard:
- Row of hdc: Work 34 hdc in a row, repeat for 3 total rows.
- Decrease by one at end and beginning of each row until only 2 hdc remain.
- Edging: sc around beard.
- Sew/attach to Santa's face, curving around the base of hat section.

- Eyes (Black):
- Ch 5, join to ring, work 8-9 sc into ring, join. Make 2. Sew above beard.
- Nose (Red):
- As eyes above, but in red. Sew between eyes.
- As eyes above, but in red. Sew between eyes.
9. Final Edging
- Work a round of sc (red yarn) all around mat, excluding area between legs.
- Weave in all ends securely.
Tutor’s Suggestions
- Take time to mark sections before beginning arms/legs to keep Santa perfectly proportioned.
- Stuff hands/boots lightly for dimension if desired.
- Use a thick, strong tapestry needle for sewing through bulky string/yarn.
PRO TIP
Block your finished rug (dampen then lay flat to dry, pinning into shape)—this ensures the rug lays smooth and flat, especially with so many joins and color changes.
Conclusion
You’ve crocheted an adorable Santa Claus rug, ready to bring the holiday spirit to any corner of your home. This pattern blends basic stitches, shaping, and a bit of simple assembly for fantastic results.



Leave a Reply