
Bring adorable charm to your creations with this Free Crochet Amigurumi Chick Pattern, perfect for unique gifts or delightful décor projects.
Searching for a fun and relaxing project that combines creativity and functionality? This Crochet Amigurumi Chick Pattern is perfect for making tiny chicks that are great for gifting, decorating, or adding a touch of whimsy to your space. With just a few basic materials like yarn, stuffing, and safety eyes, you can bring these cute little creatures to life in no time. This handmade treasure works wonderfully as Easter decorations, thoughtful presents for loved ones, or even playful accessories for children.
Fun and Easy Crochet Amigurumi Chick Pattern for Your Creations
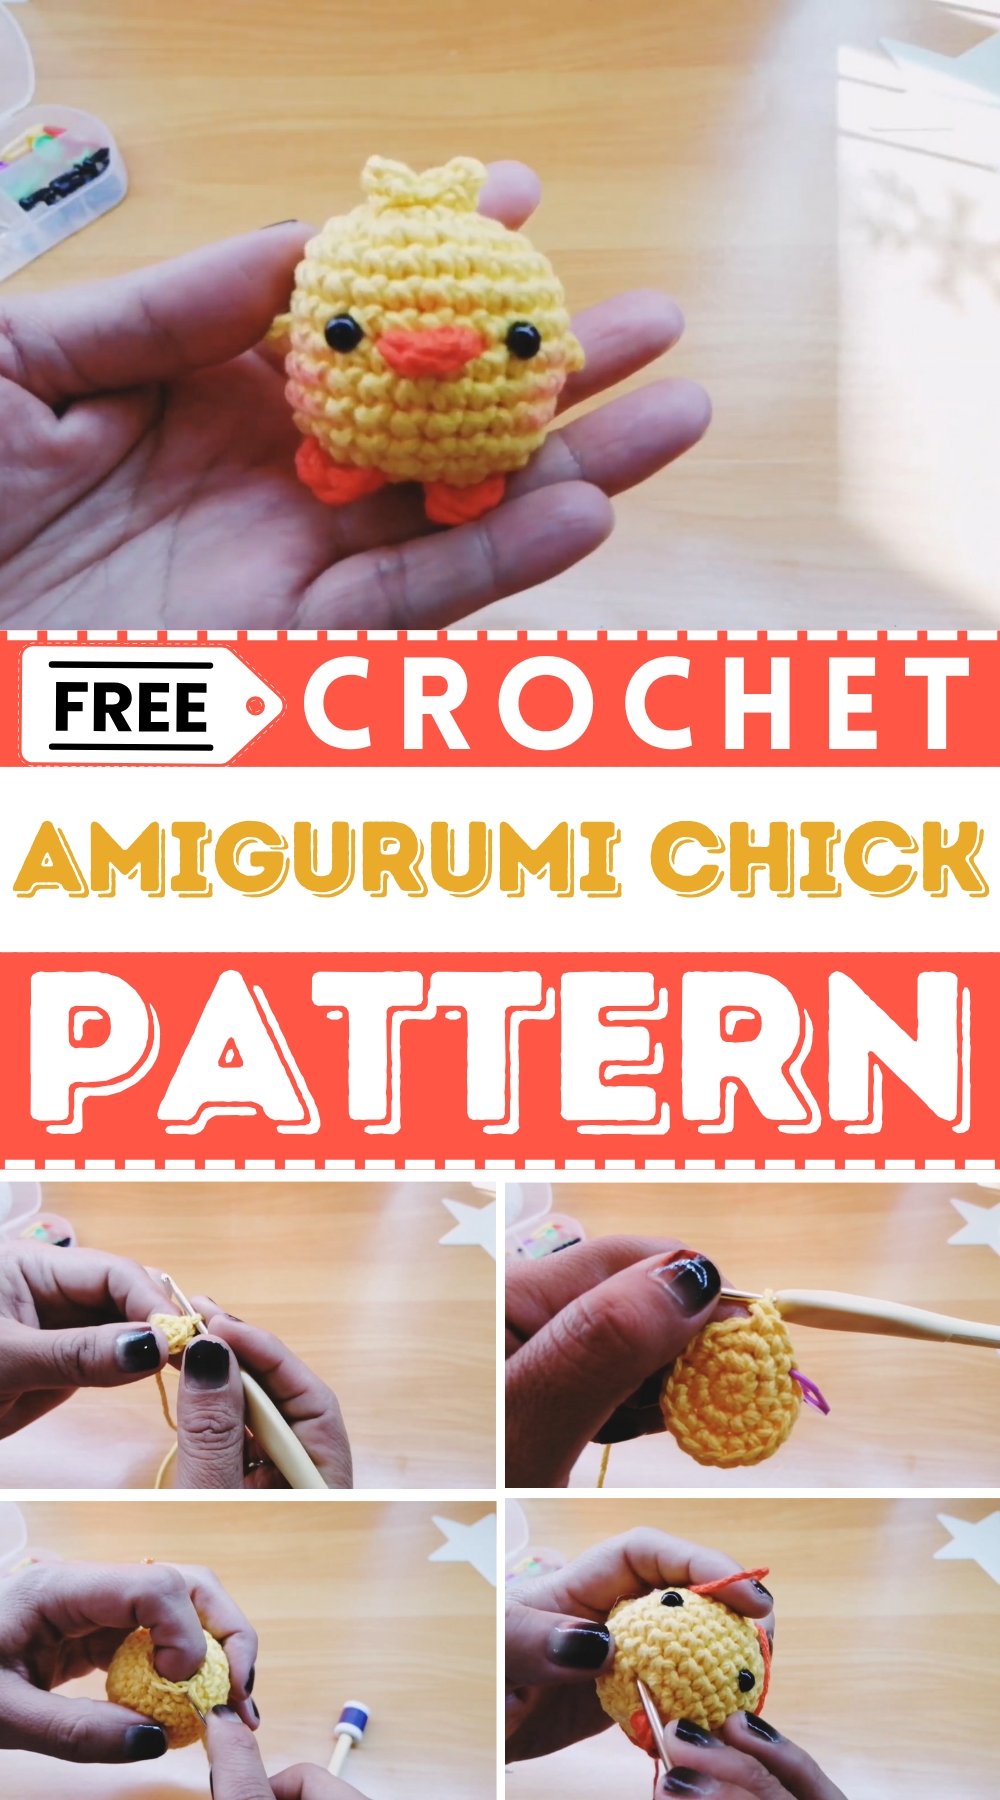
This is small, lightweight, and easy to customize, making it ideal for beginners as well as seasoned crocheters who want a quick, satisfying project. The step-by-step pattern provides clear instructions to make the process simple and enjoyable. You’ll love how every stitch turns into an essential detail, from the fluffiest wings to the tiny, cheerful beak.
Whether you’re looking for a creative outlet or a heartfelt, handmade addition to your home décor, this pattern offers endless possibilities. Plus, crochet is a calming hobby that adds a sense of accomplishment to your day. Give this pattern a try—you’ll not only end up with charming little chicks but also a new skill to cherish and share.
Materials Needed
- Yellow and orange yarn.
- Crochet hook (size 3).
- Round counter.
- Stitch markers.
- Pins.
- Wool needle.
- Safety eyes (size 6).
- Scissors.
- Stuffing.
- Blush or rouge for cheeks.
Special Features
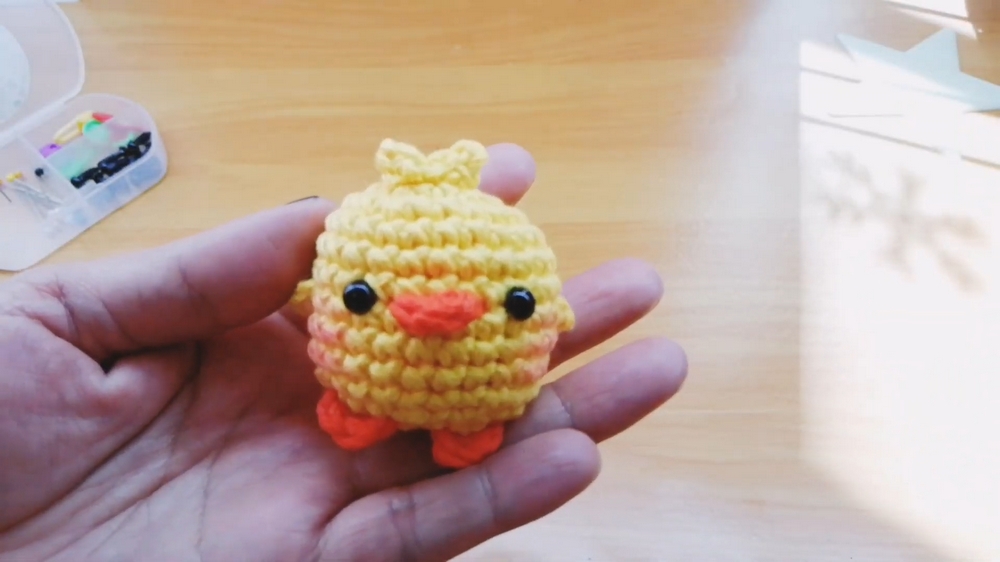
- Adorable Details: The chick includes a tuft on its head, tiny wings, legs, and a small beak, giving it an endearing look.
Level of Difficulty
This tutorial is suitable for beginners due to its simplicity. However, intermediate crocheters will also enjoy crocheting this project by adding creative embellishments or experimenting with colors.
Suggested Uses
- Decorative items for homes or nurseries.
- Handmade Easter gifts.
- A small accessory for personalized presents.
Step-by-Step Instructions
1: Making the Body
- Use yellow yarn and start with a magic ring of 6 single crochet stitches in round 1.

- Build round 2 by adding 6 increases (total of 12 stitches).
- For round 3, alternate 1 single crochet stitch and 1 increase (18 stitches total).

- Round 4 – alternate 2 single crochet stitches and 1 increase (24 stitches total).
- Work single crochet stitches from round 5 to round 11 to shape the body.
- Place the safety eyes between a round 7 and 8, leaving 5 stitches apart. Secure them using safety caps.
- Continue to round 12 with 2 single crochets and 1 decrease (18 stitches total). Add stuffing as needed.
- Work round 13 by alternating 1 single crochet and 1 decrease (12 stitches total).
- Close the body using a wool needle, taking the front part of each stitch to make a neat finish.

2: Making the Beak
- For the beak, use orange yarn and create a magic ring.
- Add 4 half-double stitches into the ring, leaving some yarn to join later.
3: Creating the Wings
- With yellow yarn, create a wing at the left of the eye, counting 3 spaces away.
- Insert your hook into the designated stitch, chain one, and work 2 double crochets.
- Use a wool needle to secure the ends of the yarn neatly. Repeat this step on the opposite side to create the second wing.
4: Adding the Tuft
- Using yellow yarn again, create a tuft at the top of the chick’s head near the second round.
- Raise 3 chains in the air, work slip stitches in the first chain, and create a single crochet stitch in the second.
- Repeat the same process to complete the tuft.
5: Making the Legs
- Switch to orange yarn and work the legs in a similar way to the wings.
- Start at the bottom of the chick's body, under the magic ring.

- Use the wool needle to secure both leftover ends, ensuring the legs are properly attached.
6: Joining the Beak and Final Details
- Place the beak in the center, between the eyes, and secure it with a pin.
- Use the wool needle to stitch the beak to the body gently.
- Add a little blush or rouge to the chick’s cheeks for a pop of charm!
Tutor’s Suggestions
The chick is one of the easiest projects for beginners to try, along with her previous bunny tutorial. For those looking to add a creative touch, she recommends adding a heart-shaped balloon accessory to make the chick more personalized.
Conclusion
This adorable crochet amigurumi chick is a creative and simple project sure to brighten anyone's day. With minimal materials and easily manageable instructions. The finished chick can be a cute decoration or a handmade gift, perfect for any occasion.
Tip
Use contrasting yarn to crochet a colorful tuft or unique wings for a playful look. This adds a creative flair and makes every chick unique.




Leave a Reply