Step into sunny days with this Crochet Halter Top Pattern and enjoy making a stylish, comfortable, and breezy top for every summer adventure.
Not just another basic top with the same old look this elegant Crochet Halter Top Pattern elevates casual style with its unique charm and versatility. Lightweight and airy, it gracefully accentuates the shoulders and neckline, providing a flattering fit for a variety of body types. An adjustable tie ensures both comfort and a custom fit, making it well-suited for beach outings, festival days, or adding cheerful flair to everyday wear.
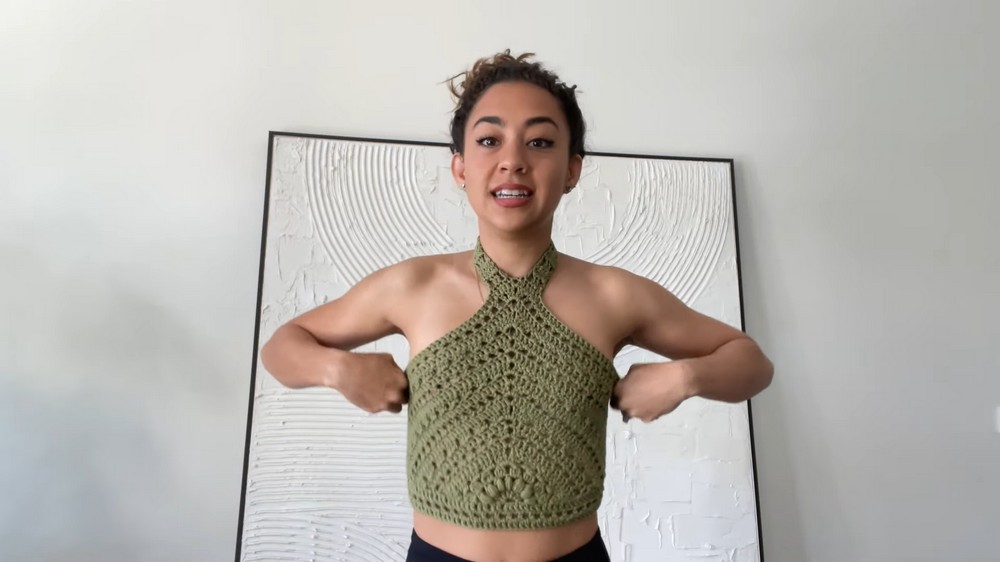
Vintage Crochet Halter Top Pattern Perfect for Sunshine Days

The pattern allows for endless personalization, enabling selection of colors, textures, and border accents that showcase individual taste. Its open design encourages breathability, perfect for warm, sunny weather and easily layered over a swimsuit or tank top.
Those who admire modern, boho-inspired looks will appreciate how this piece becomes a standout item in any wardrobe, blending ease, beauty, and the opportunity to make a bold statement wherever it’s worn.
Materials Needed
- Worsted weight yarn (color of your choice; a lively green adds a stunning pop, but neutrals work beautifully too)
- 5mm crochet hook
- Scissors
- Yarn needle (for sewing in ends)
- Measuring tape
- Optional: Contrasting yarn for border or extra color
Special Features
- Uses the Sunburst Granny Triangle as the main motif
- Customizable fit for different body types
- Adjustable halter neck and waist ties, finished with trendy braids
- Beginner-friendly and quick—ideal for one-day projects or last-minute summer makes!
Level of Difficulty
⭐ Beginner/Easy: This pattern is ideal for those comfortable with basic stitches like double crochet, chain, and working in rows.
Step-by-Step Pattern
1. Create the Sunburst Granny Triangle
Start by making a Sunburst Granny Triangle as the centerpiece (refer to your favorite Sunburst Granny pattern or use the one demonstrated in the video).
- Set aside your finished triangle – this forms the bust of your top.
2. Add Rows for Custom Fit
Repeat these round/row instructions until you reach your desired coverage and fit, checking the size by holding the triangle to your body (from your neckline down over your bust). Emma recommends about four repeats of the pattern set below as a suggestion.
A. Row of Double Crochet
- Chain 2.
- Double crochet (dc) in every stitch across.
- When you reach the corner: (dc, ch 2, dc) into the corner space.
- Continue with dc in every stitch down the next side.
- Check your edges to ensure a straight line (don’t skip or add extra stitches by accident).

B. Space Stitch Row
- Chain 2, turn. Chain 1 more (for the space).
- Skip 1 stitch, dc in next. Chain 1, skip 1, dc in next... repeat across.
- At the corner: (dc, dc, chain 2, dc, dc) in the corner space.
- Continue space stitch pattern to the end.
C. Double Crochet Row
- Chain 2, turn.
- Dc in every stitch and space across.
- At the corner: (dc in 2 sts, dc in space, ch 2, dc in space), continue dc in each stitch to the end.
D. Cluster Row
- Chain 2, turn.
- 3 dc in the same stitch, skip 2 stitches, 3 dc in the next stitch, repeat until corner.
- At the corner: (2 dc, ch 2, 2 dc) into the corner space, continue clusters to end.
Repeat Rows A-D until the triangle covers your bust properly.
Emma typically completes four sets, ending on a double crochet row at the bottom for a polished finish.
3. Finish the Lower Edge
- Without breaking yarn, chain 2 and turn the work to the bottom raw edge.
- Work a row of double crochets along the bottom (since there are no defined stitches, evenly space your dcs to keep the edge smooth).
Optional:
- Add a row of space stitches and finish with another double crochet row at the bottom for extra neatness and coverage. Weave in stray ends as you go.
4. Adding the Halter Neck Ties
- Identify the top center of your triangle (the 'point'). Reattach yarn by slip knot if needed.
- Using space stitches and dc rows, work a strap about six stitches wide:
- Start with space stitch row: ch 1, skip 1, dc, dc in next, repeat.
- Work alternating rows of solid dc and space stitches.
- Continue for about 8 rows, or until the strap reaches around to the base of your neck (allowing for finishing ties).
(Tip from Emma: You can also add a contrasting yarn border with single crochet, but she ultimately prefers the look without.)
5. Braided Ties—Neck and Waist
Prepare Ties:
- Cut six long strands of yarn for each tie.
- Slip knot and attach to the corners of the top and back of the neck strap with a slip stitch.
Form Braids:
- Gather each set of three strands and braid evenly. Knot the end and trim as needed for a tidy finish.
- Optional: Unravel the tail ends for a cute frayed look.
- For waist ties, repeat as above, attaching strands at multiple spots on each bottom corner for more even gathering, then braid.

Tutor's Suggestions & Uses
- Try it on as you go! Keep checking coverage and fit, so you don't make the top too tight or loose.
- Use a bright color for a statement piece, or stick to neutrals for everyday wear.
- Leave off the neck strap and use only waist ties for a bandeau-style look.
- This top is perfect for festivals, the beach, or as a fun layering piece over a tee or tank top.
Tip
When braiding long ties, braid slowly and untangle as you go to avoid knots and frustration!
Conclusion
You’ve created a stunning, fully adjustable crochet halter top that’s sure to turn heads. This pattern is quick, satisfying, and a perfect way to practice granny stitches while making something super wearable.


Leave a Reply