
Wear casual comfort with this Free Crochet Tank Top Pattern offering breathable texture, relaxed fit, and versatile styling for daily outfit.
Easy elegance and breathable style define a wardrobe essential loved for warm seasons. The Crochet Tank Top Pattern presents a light and airy structure that feels comfortable while adding beautiful texture to everyday outfits. It suits casual wear summer outings beach layering and relaxed gatherings and pairs smoothly with jeans skirts or shorts. The pattern allows flexible sizing and shaping options which support a flattering silhouette across different body types.
Seasonal Crochet Tank Top Pattern Ready for Sunshine
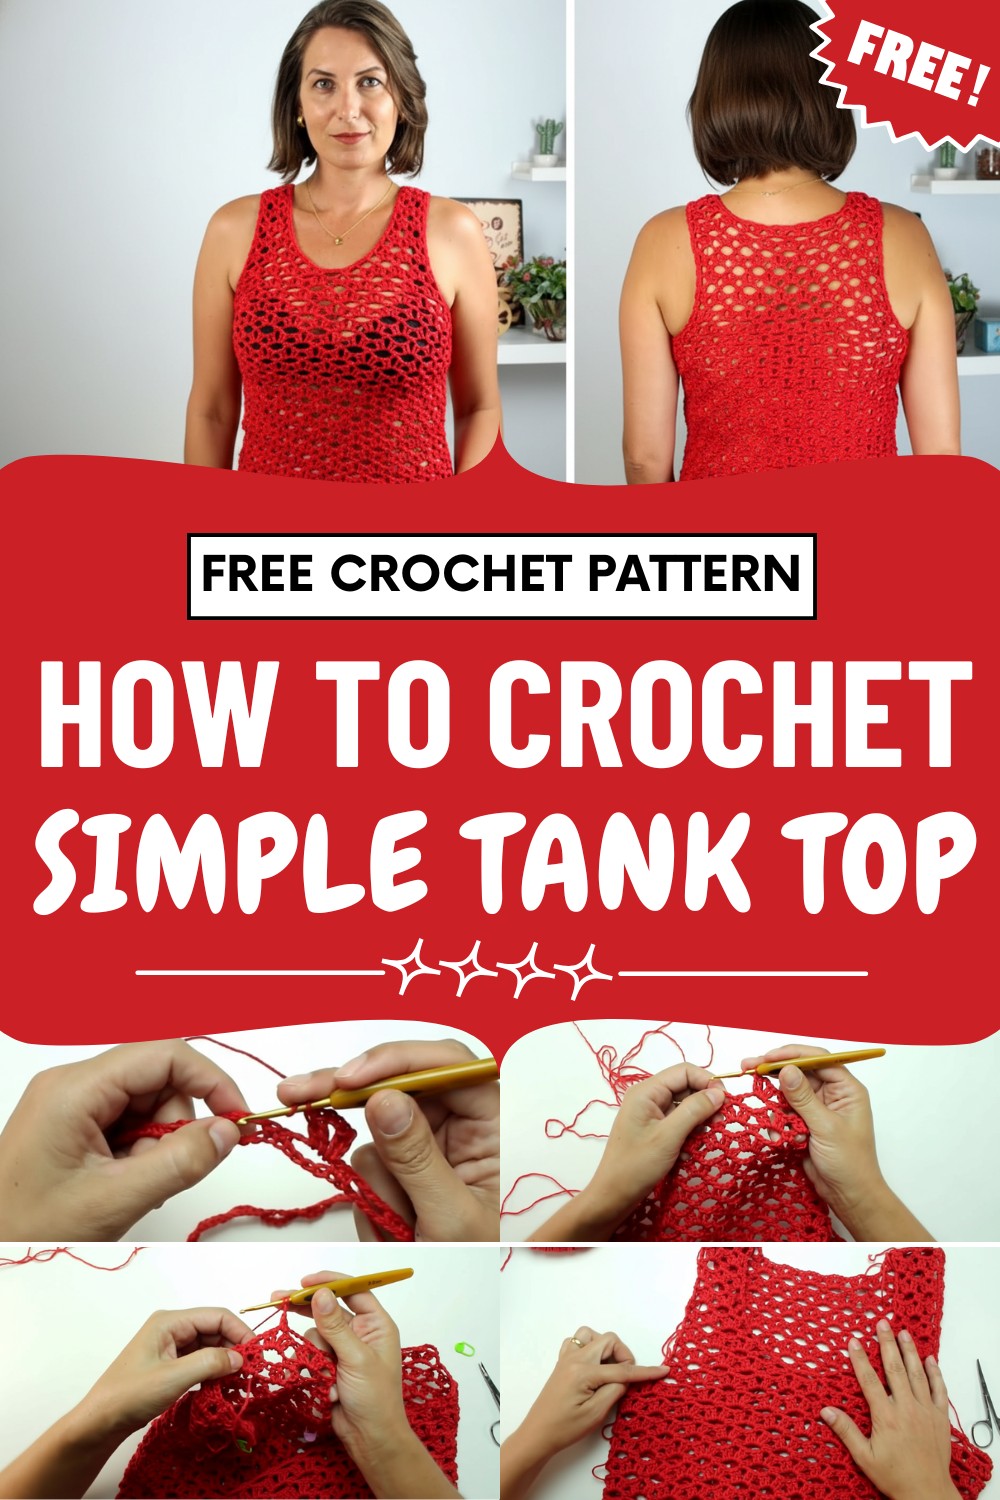
Open stitch details enhance airflow and add visual interest while keeping the overall appearance polished and balanced. This design strengthens stitch flow shaping techniques and finishing skills through clear and engaging construction. Visually it feels fresh modern and stylish with yarn choices guiding the final mood from soft elegance to bold statement.
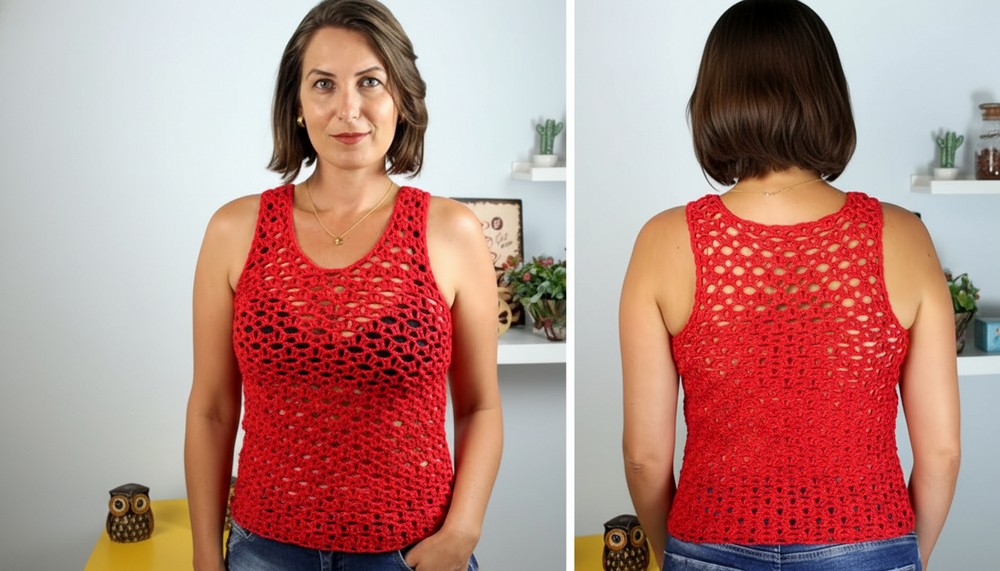
Neutral shades offer a refined look while brighter tones bring personality and energy. Comfortable to wear and simple to style this pattern blends function and beauty effortlessly. Its adaptable design supports seasonal layering and adds lasting value to any handmade wardrobe with charm confidence and versatility.
Easy Summer Mesh Tank Top Crochet Pattern
Materials Needed
-
Yarn: 100% Cotton yarn (Example: 295 Tex for a delicate look or 590 Tex for a sturdier finish).
-
Hook: Compatible with your yarn (Example: 1.75mm for thin yarn or 3.5mm for thicker yarn).
-
Tools: Stitch markers, measuring tape, tapestry needle, and scissors.
Part 1: The Body (Tubular Construction)
Sizing Logic
Measure your bust circumference in centimeters. Ensure your foundation chain is a multiple of 6.
-
Size M (Standard): 92 cm circumference = 162 chains.
-
Custom Size: Work chains until you reach your bust measurement, then add/remove a few to make the total divisible by 6.
Foundation and Setup
-
Foundation: Chain 162 (or your custom count). Join with a slip stitch to the first chain, being careful not to twist the ring.
-
Row 1 (Mesh Base): Ch 2, sc in next chain. Ch 4, skip 4, sc in next 2 chains. Repeat from * around. Join with a slip stitch.
-
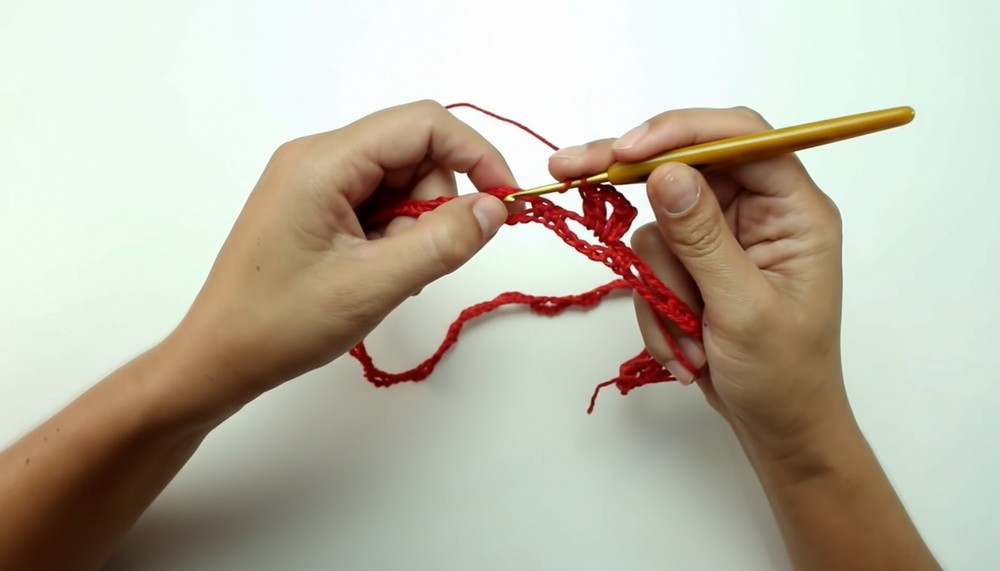
Row 2 (V-Stitch Row): Slip stitch into the first ch-4 space. Ch 3 (counts as 1st dc), 1 dc, ch 2, 2 dc into the same space. Skip to the next ch-4 space and repeat the cluster. Join with a slip stitch.
-
Row 3 (Base Bridge): Slip stitch into the ch-2 space of the "V". Ch 4, work 2 sc in the space between the clusters of the previous row. Repeat around.
-
Growth: Continue alternating Row 2 and Row 3 until the piece reaches 35 cm in length (or your desired length to the underarm).
Part 2: Dividing for Armholes
The Back Panel
-
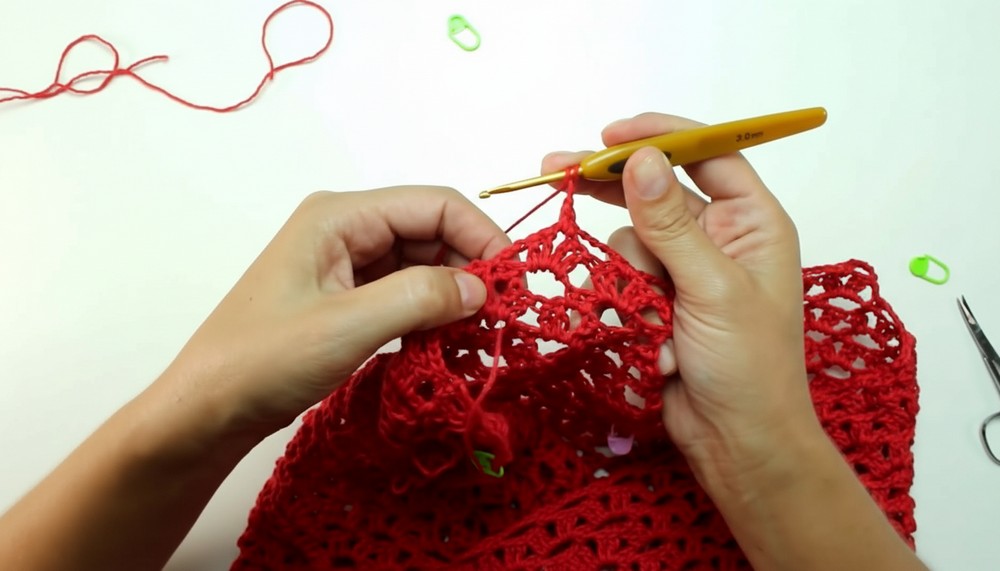
Marking: Leave two full spaces (8 cm) on each side for the armhole gap. Place stitch markers to define the back panel (approx. 9-10 spaces).
-
Back Body: Work Rows 2 and 3 back and forth (not in the round) for 16-18 cm.
-
Shoulder Slant: Divide the back into three parts. Work only the outer 6 cm on each side for two additional rows to create the shoulder straps, leaving the center 12 cm for the neck gap.
The Front Panel
-
Marking: Attach yarn to the front markers.
-
Neckline Decrease: To create the "V" or scoop neck, decrease by working a "half V-stitch" (2 dc only) at the neckline edge for 3-5 rows until your shoulder width matches the back (approx. 6 cm).
-
Height: Continue straight until the front reaches 17 rows (matching the back height).
Part 3: Joining and Finishing
Shoulder Union
-
Align the front and back shoulder straps with the "wrong" sides together.
-
Join using a slip stitch join or a single crochet seam across the top of the straps.
Edging (Sleeves and Neck)
-
The Border: Attach yarn to the underarm.
-
Work 2 sc, ch 1, 2 sc in the larger chain spaces and 2 sc, ch 1 along the row side edges.
-
Repeat this process for the other sleeve and the entire neckline.
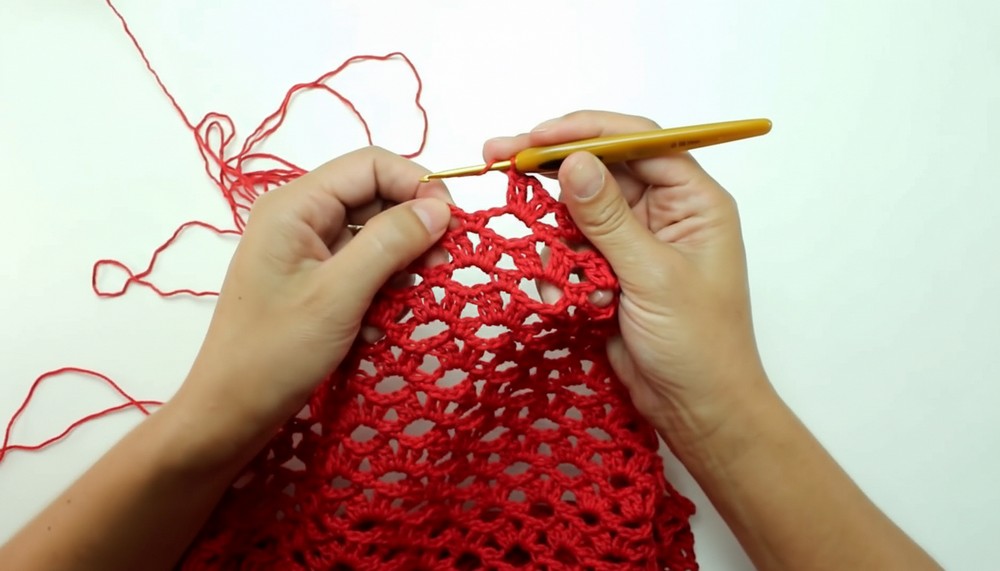
Bottom Hem
-
Attach yarn to the bottom of the top.
-
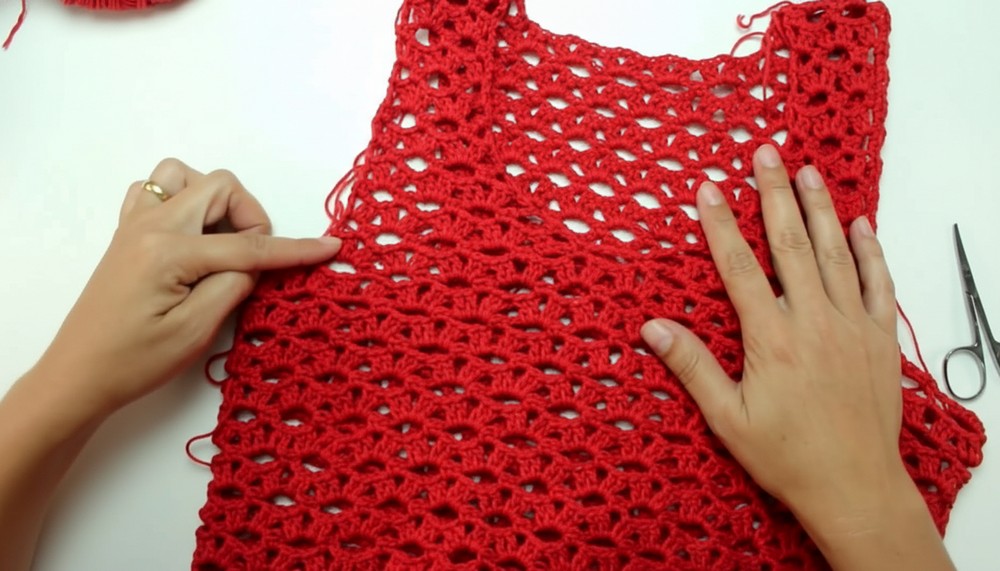
Work a final Row 2 (V-cluster row) around the entire bottom circumference to provide weight and a decorative finish.
Conclusion
Finishing your tank top provides you with a custom-fit, breathable garment that showcases your precision in lacework. By utilizing the tubular start and the decreased neckline, you’ve created a boutique-quality piece without bulky seams. Once you have weaved in all loose ends and given the top a light steam, your summer-ready creation is ready to wear.
Pro Tip: To prevent the straps from stretching over time, work your final sleeve edging slightly tighter than the rest of the garment. This acts as a structural "rib" that holds the shape of the armhole.
Would you like me to find patterns for other summer accessories, such as a mesh beach bag or a wide-brimmed sun hat?




Leave a Reply